
Today I wrapped up service of the second Pierce Navigator chronograph that I purchased back in February of this year. This watch was purchased at the same time as the nickel plated Pierce that I serviced earlier but it took much longer to complete as there were numerous issues on the inside and it needed a bit more restoration work on the outside.
 As you can see this watch was in a poor state when I received it. The watch was lacking a crown and crystal and the sweep second hand had gone missing as well. Furthermore, the watch didn’t run, but being a bit naive and at the same time confident in my skills I figured “how bad can it be” and dove right in.
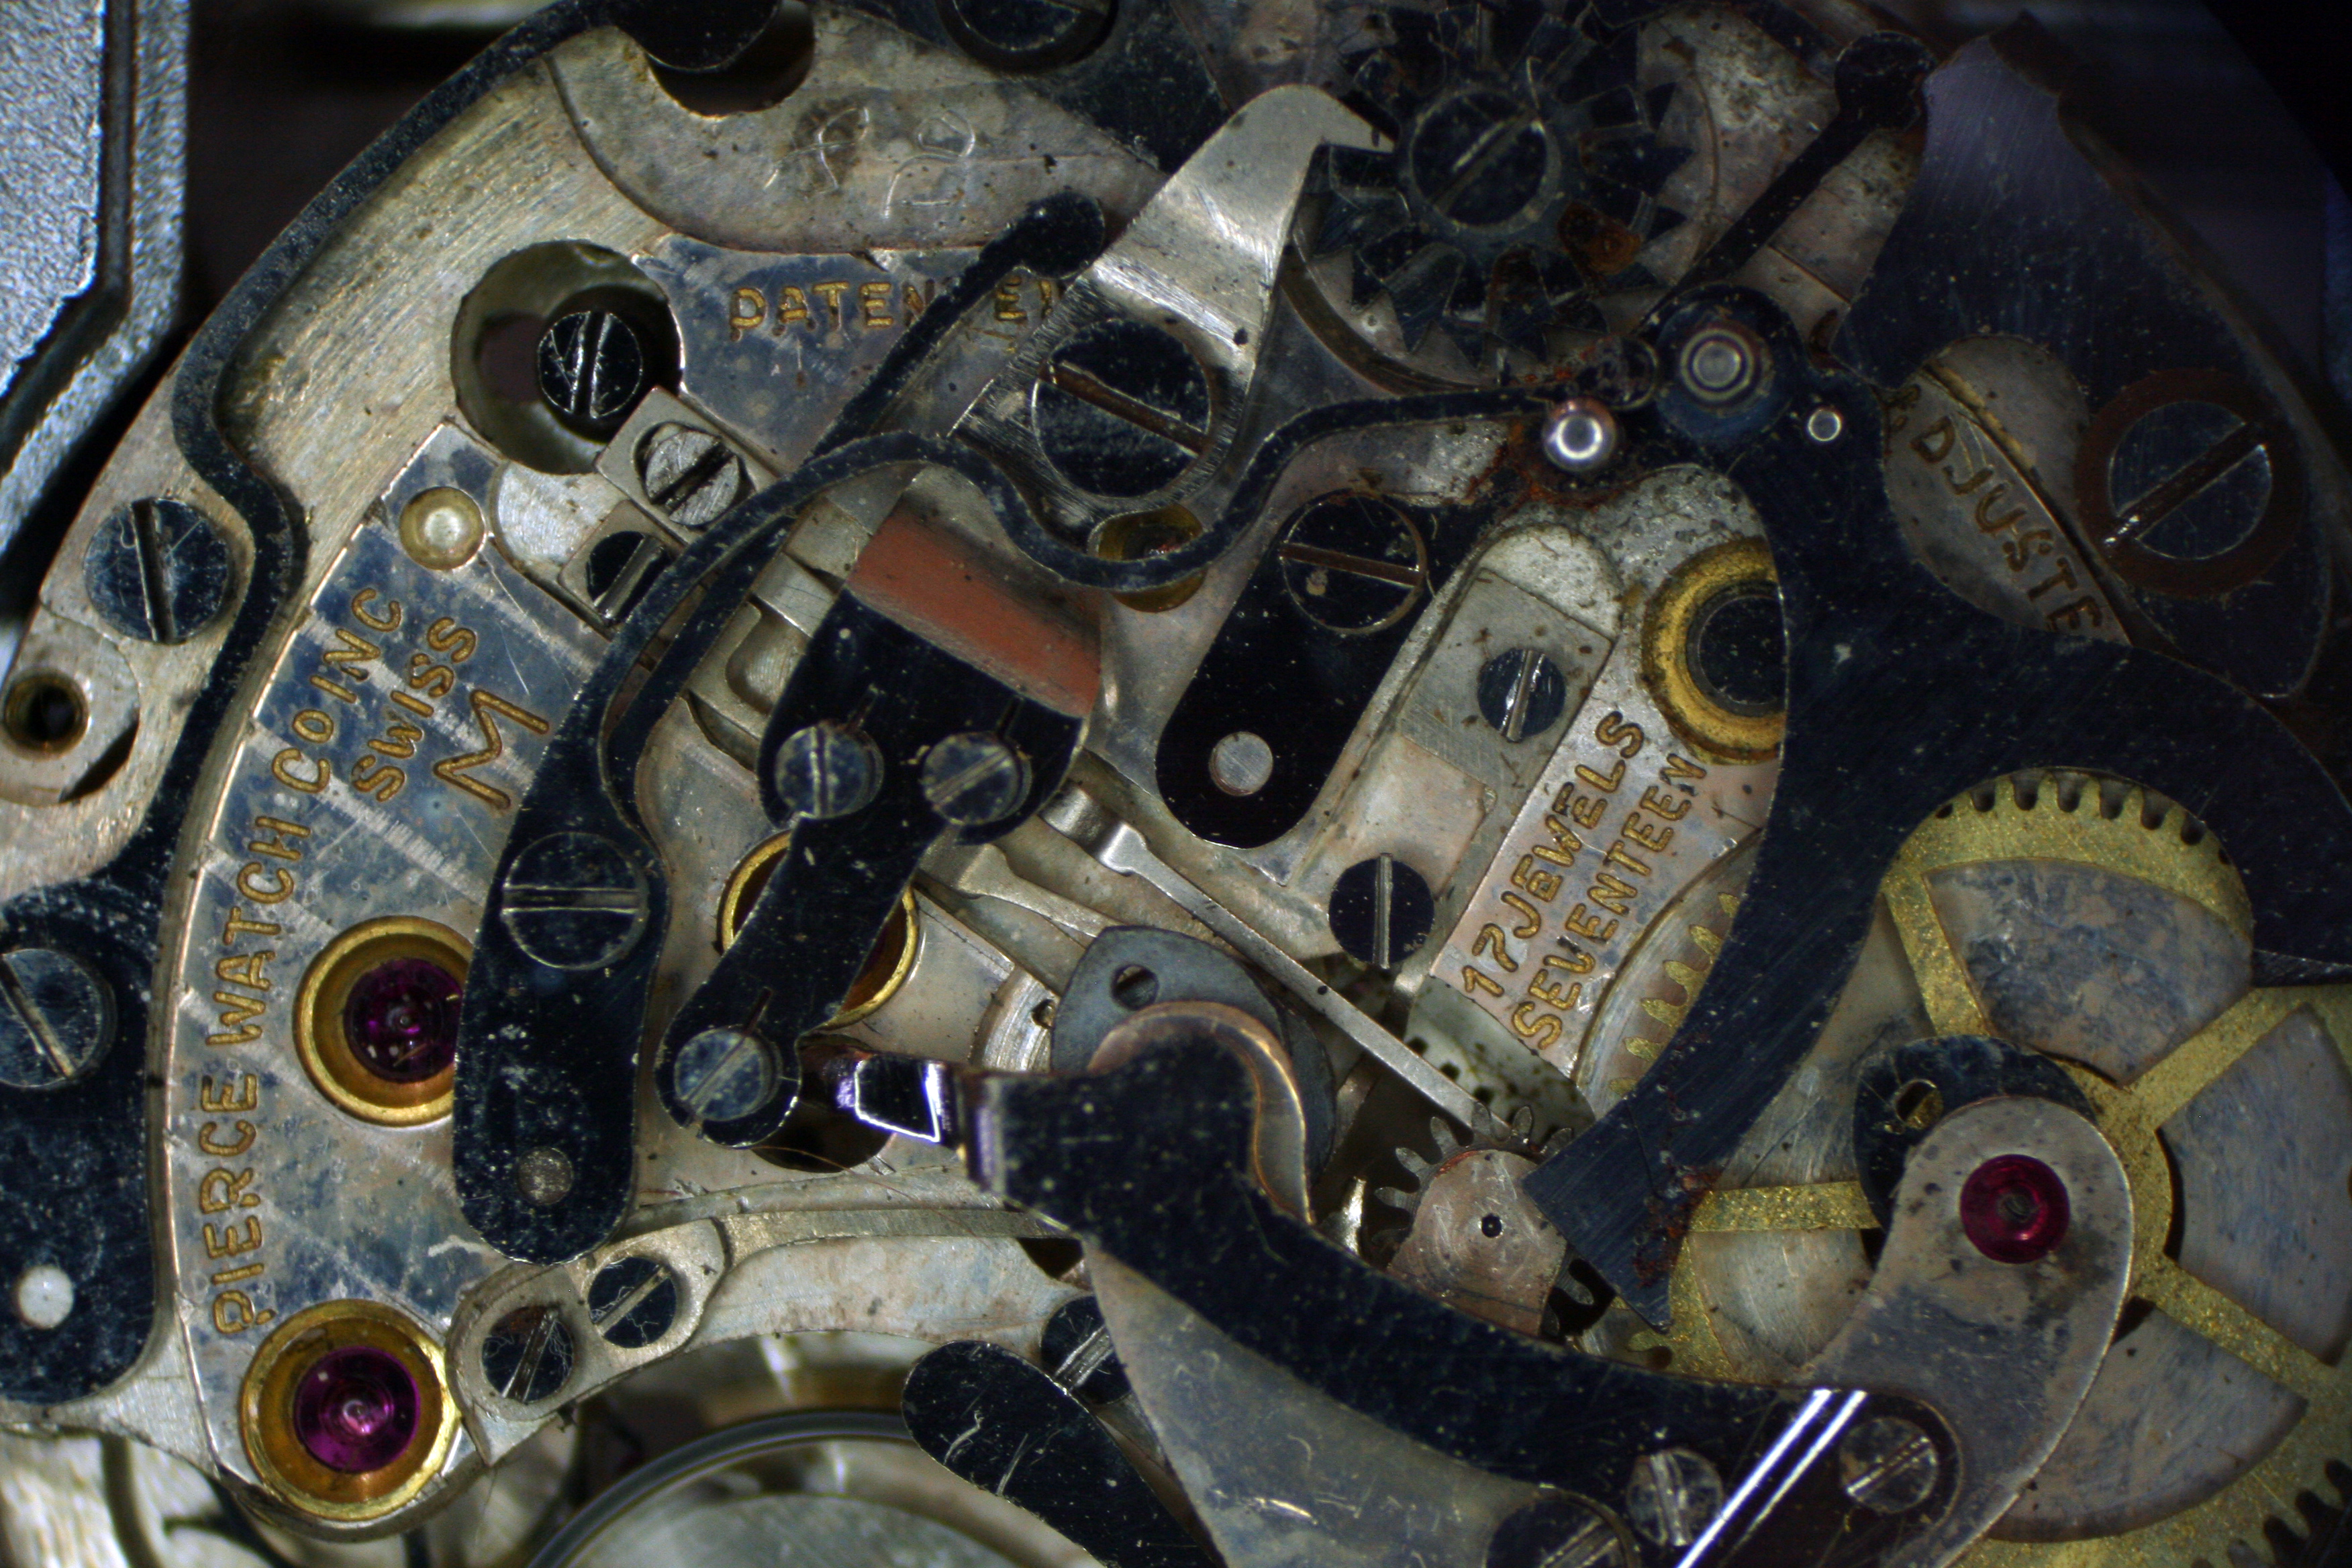
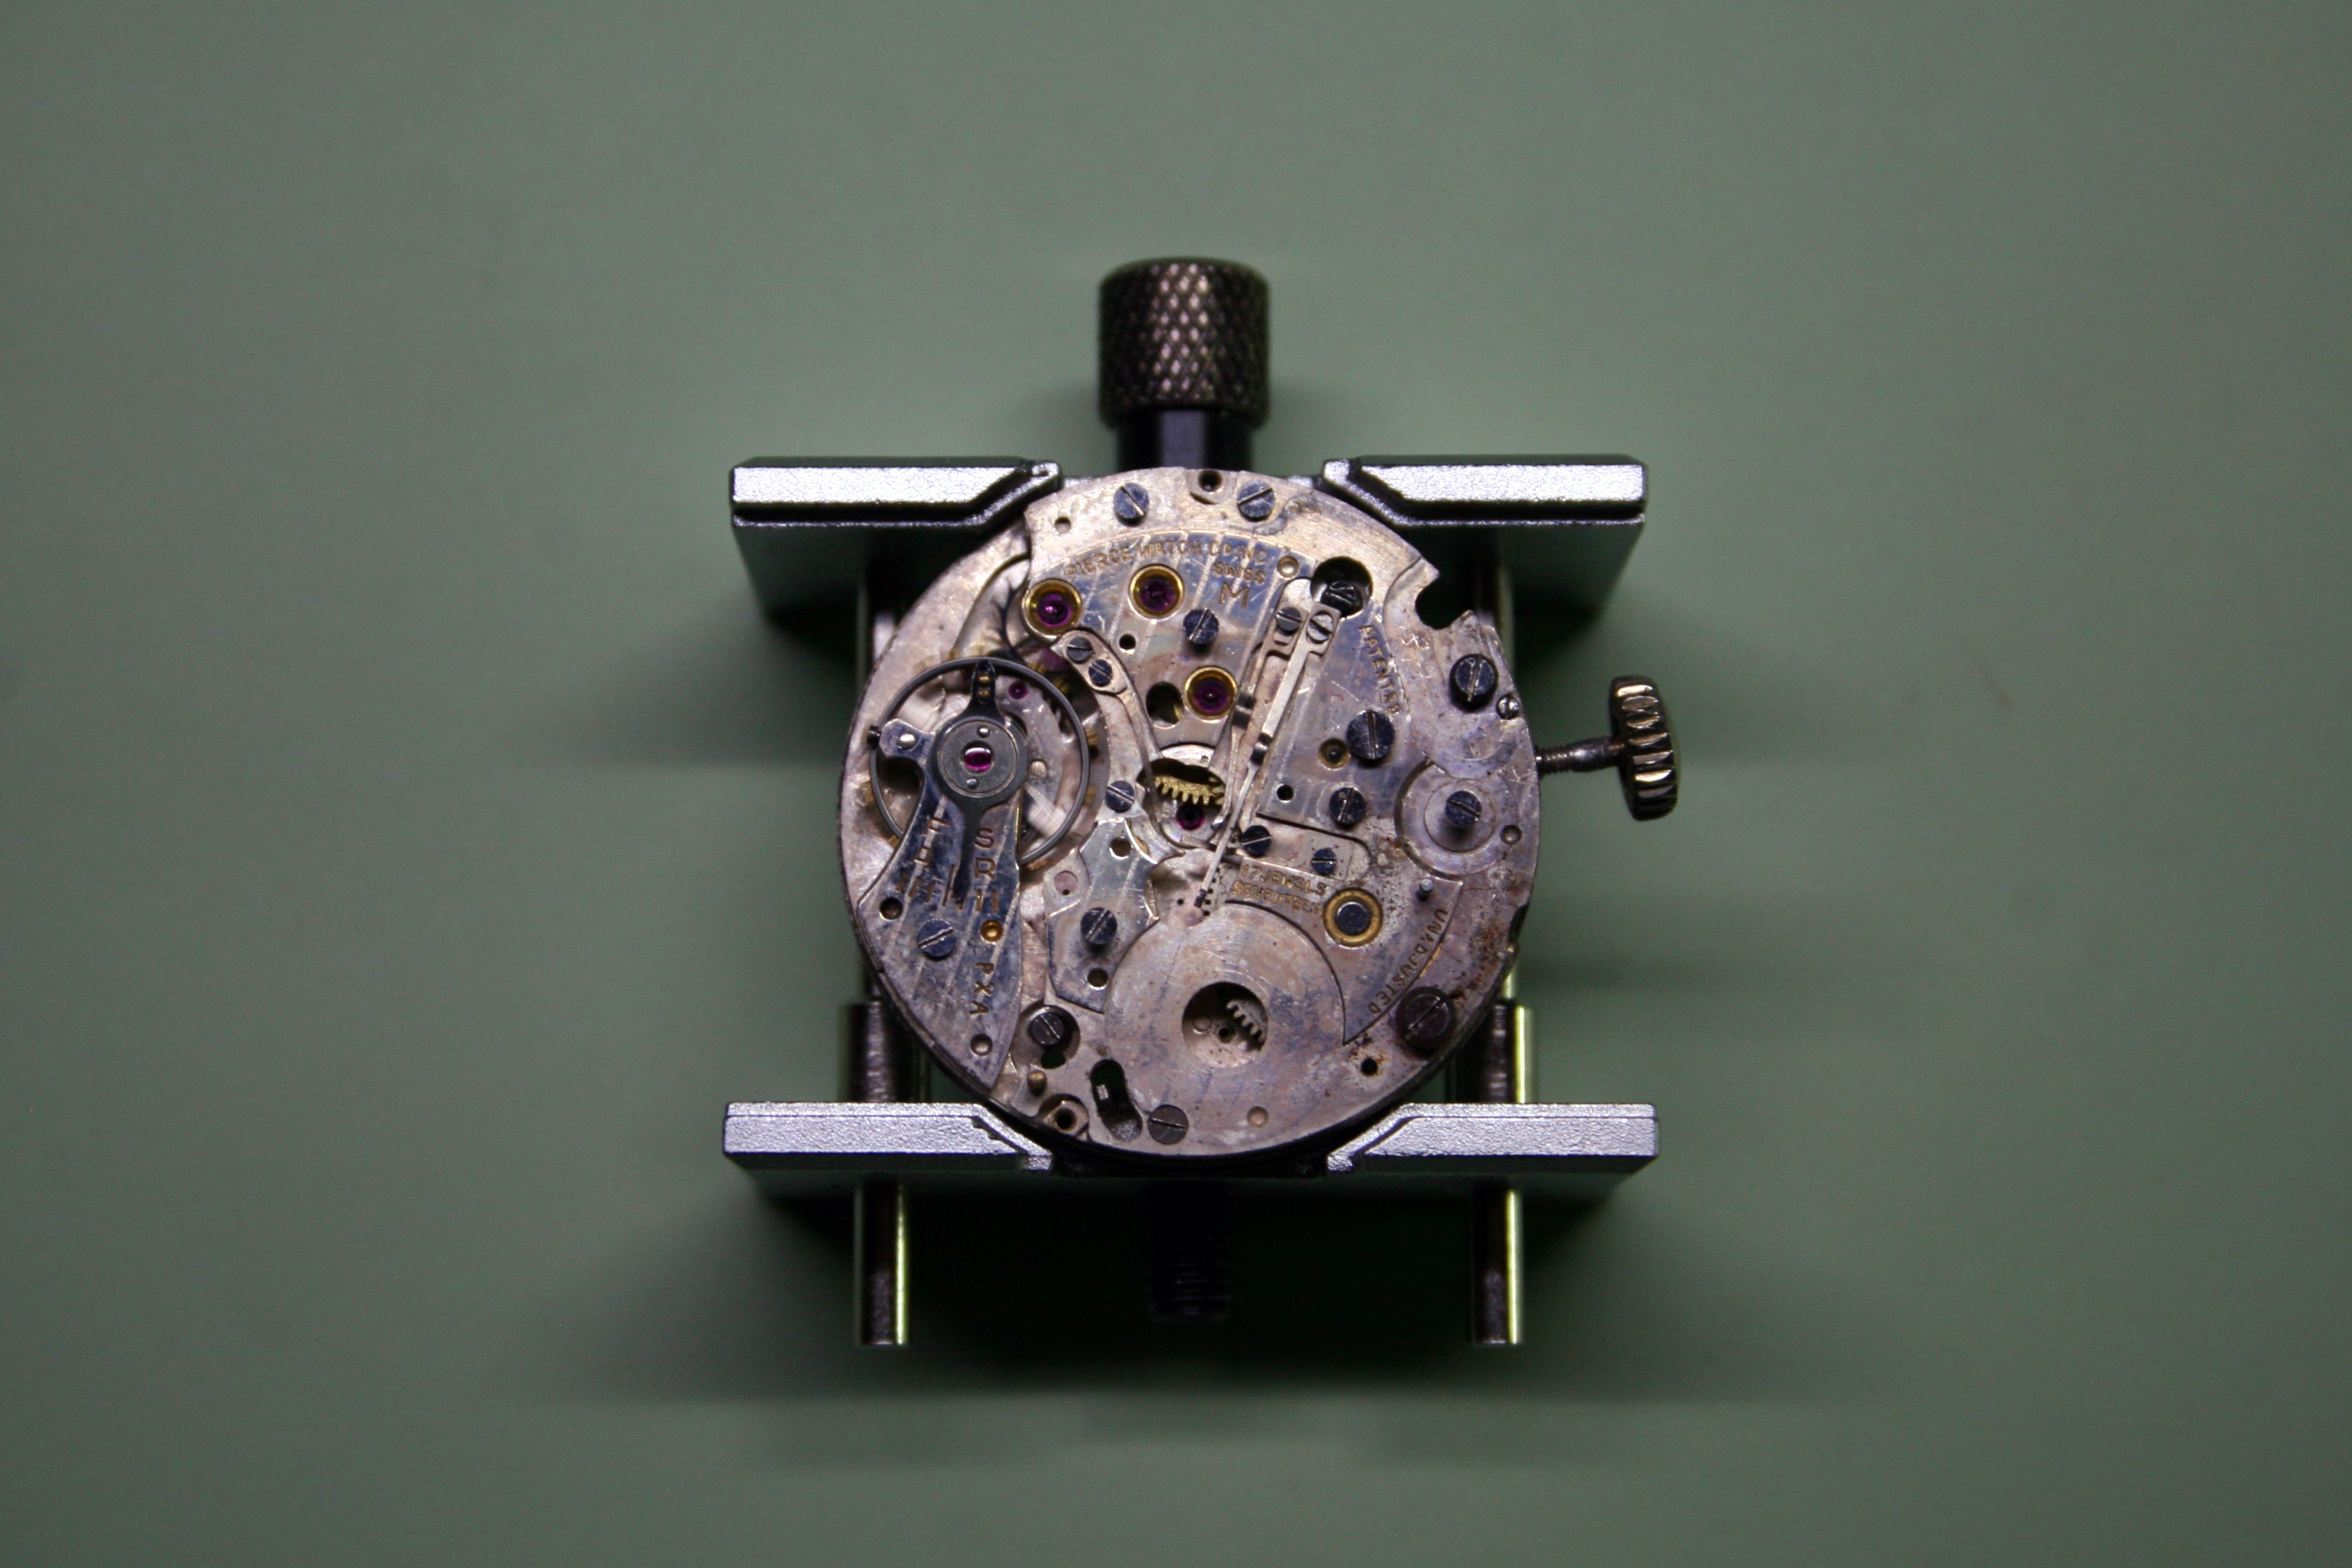
Upon removal of the case back I could see that there would be a lot of cleaning involved to get things up and running again. There was quite a bit of dirt inside but I can’t say this was unexpected because the crystal and crown were missing and with those bits gone there were a lot of opportunities for dust to get inside. Gleaming beneath the dust was a fine silver finish that would certainly sparkle if given the chance.

Using the crown from my other Pierce watch, I gave the mainspring a wind and placed the watch on the timegrapher to see what sort of reading I could get. The picture was a bit ugly.

I de-cased the movement and began breaking it down for cleaning. The dial came off first and revealed even more dust contamination.

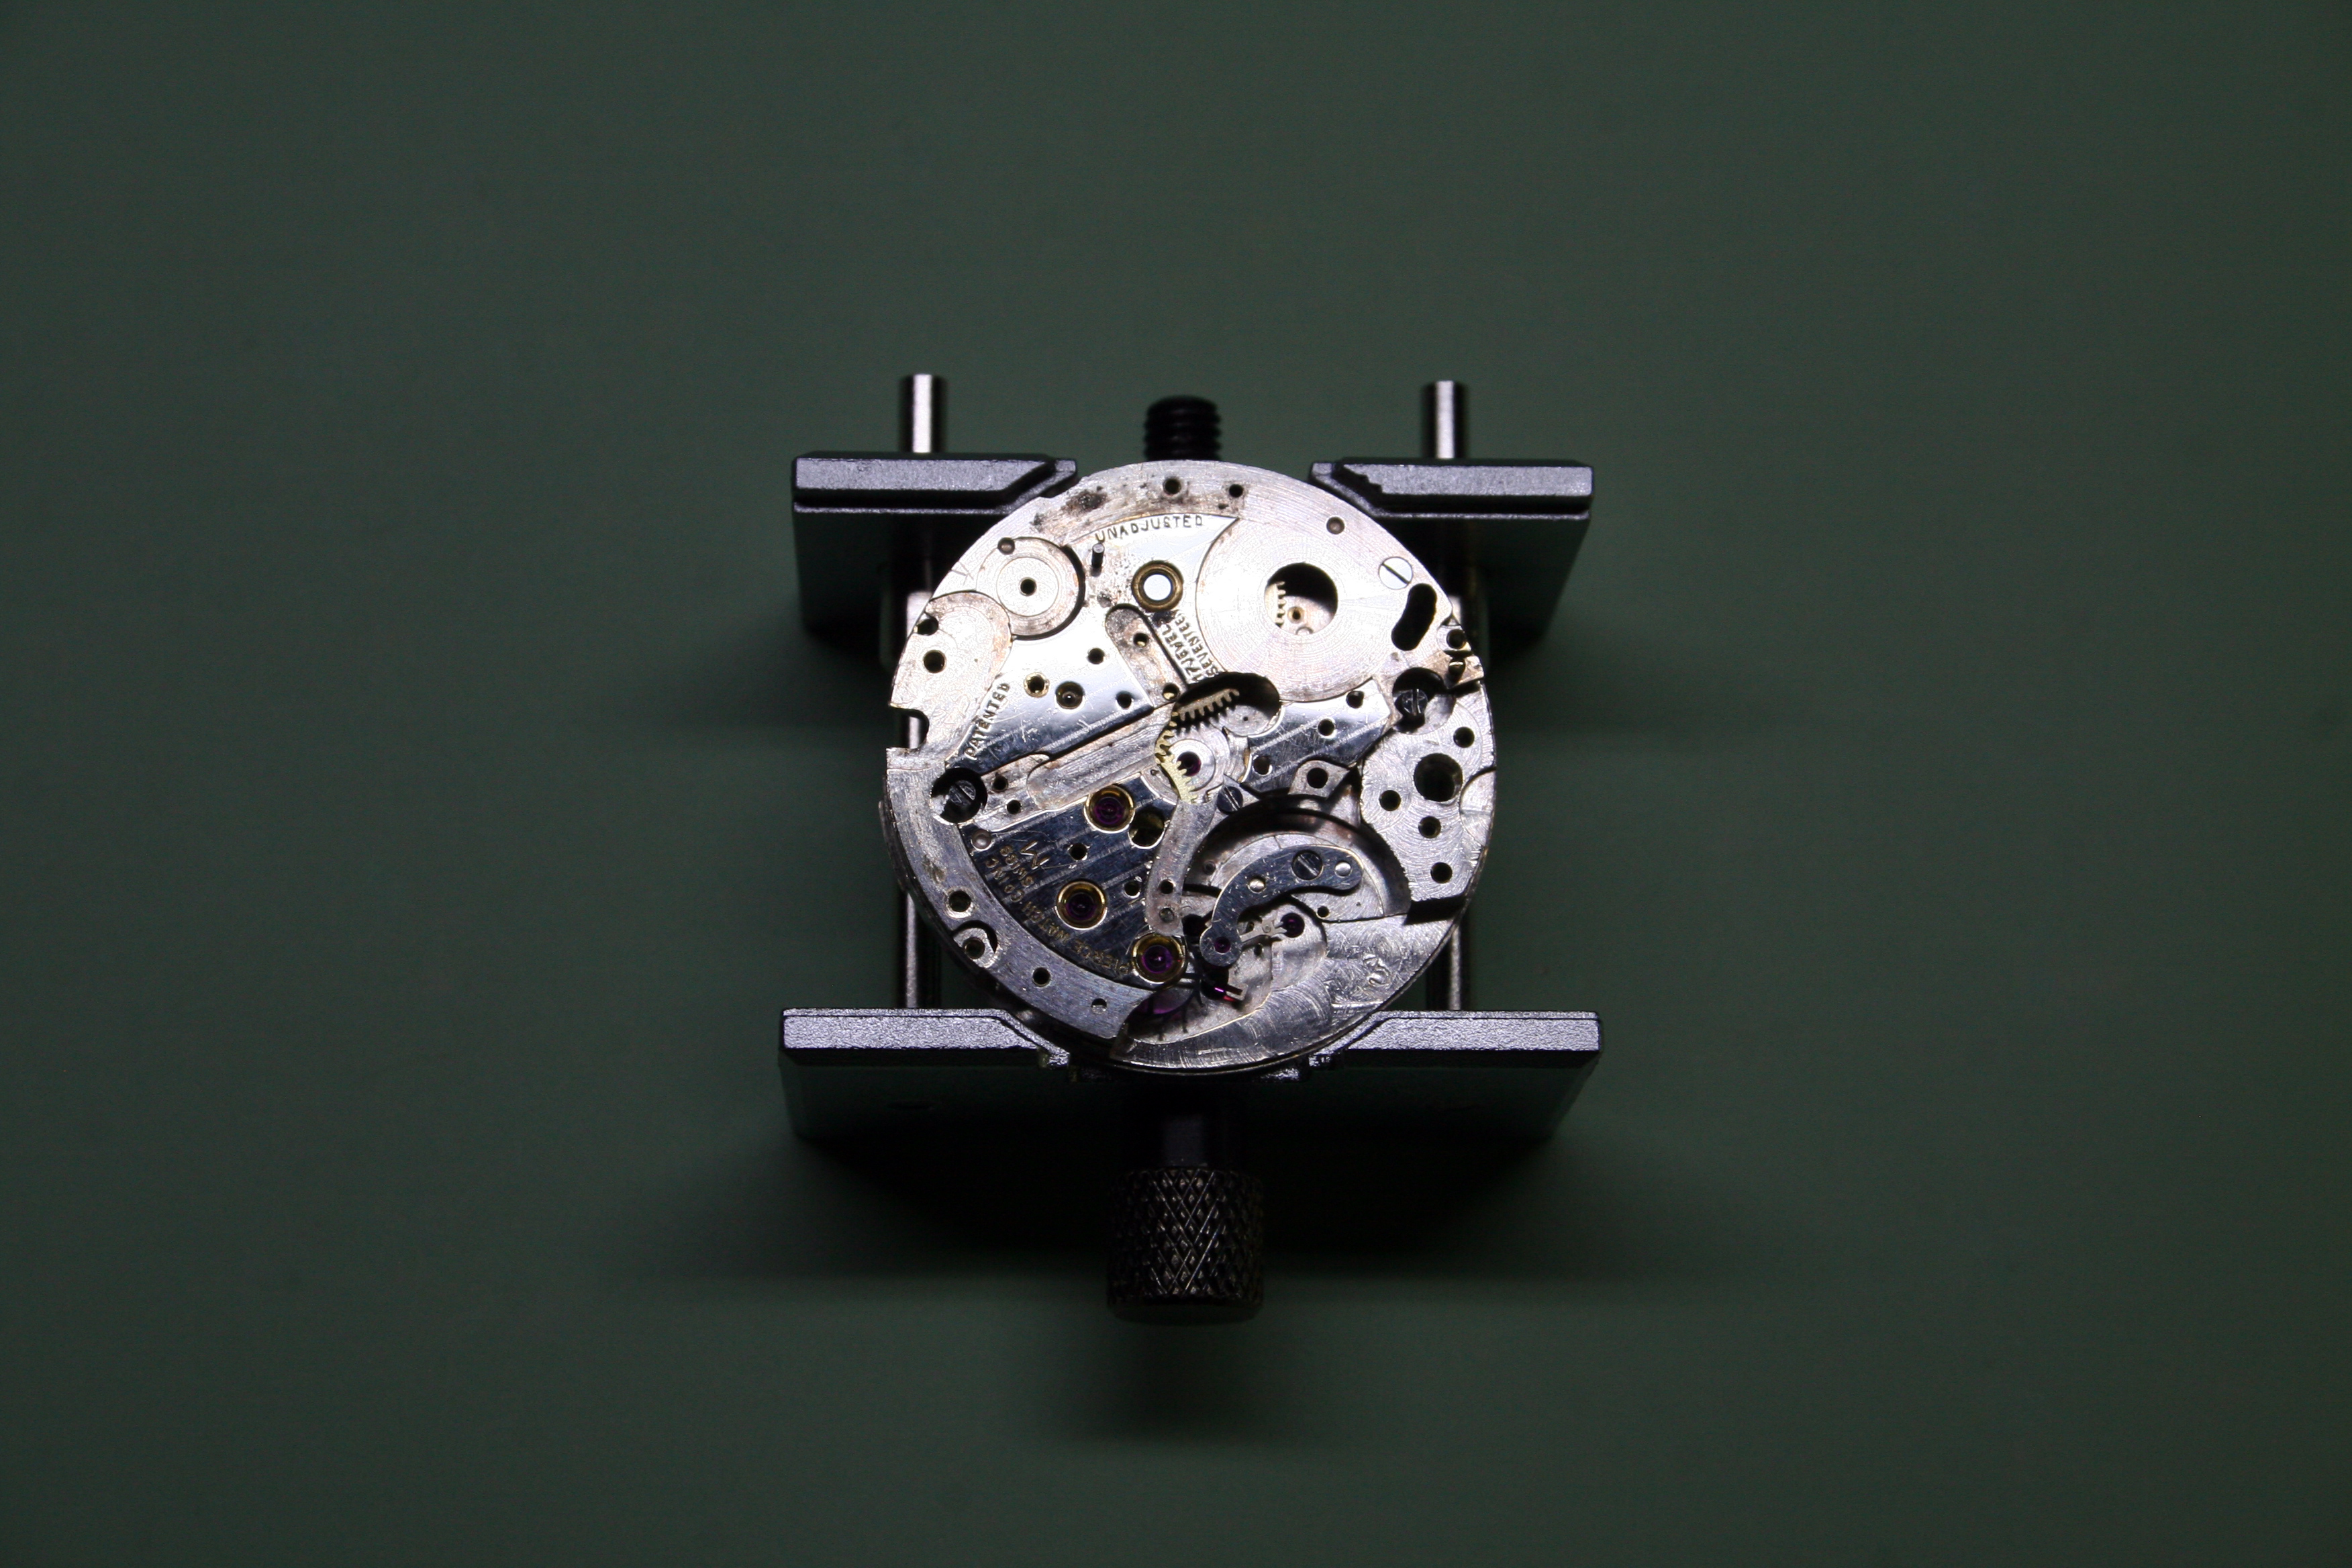
I removed the hour wheel and canon pinion before flipping the movement over to begin breaking down the chronograph layer. While not quite as messy as the dial side, the full extent of the contamination became clear under the microscope.
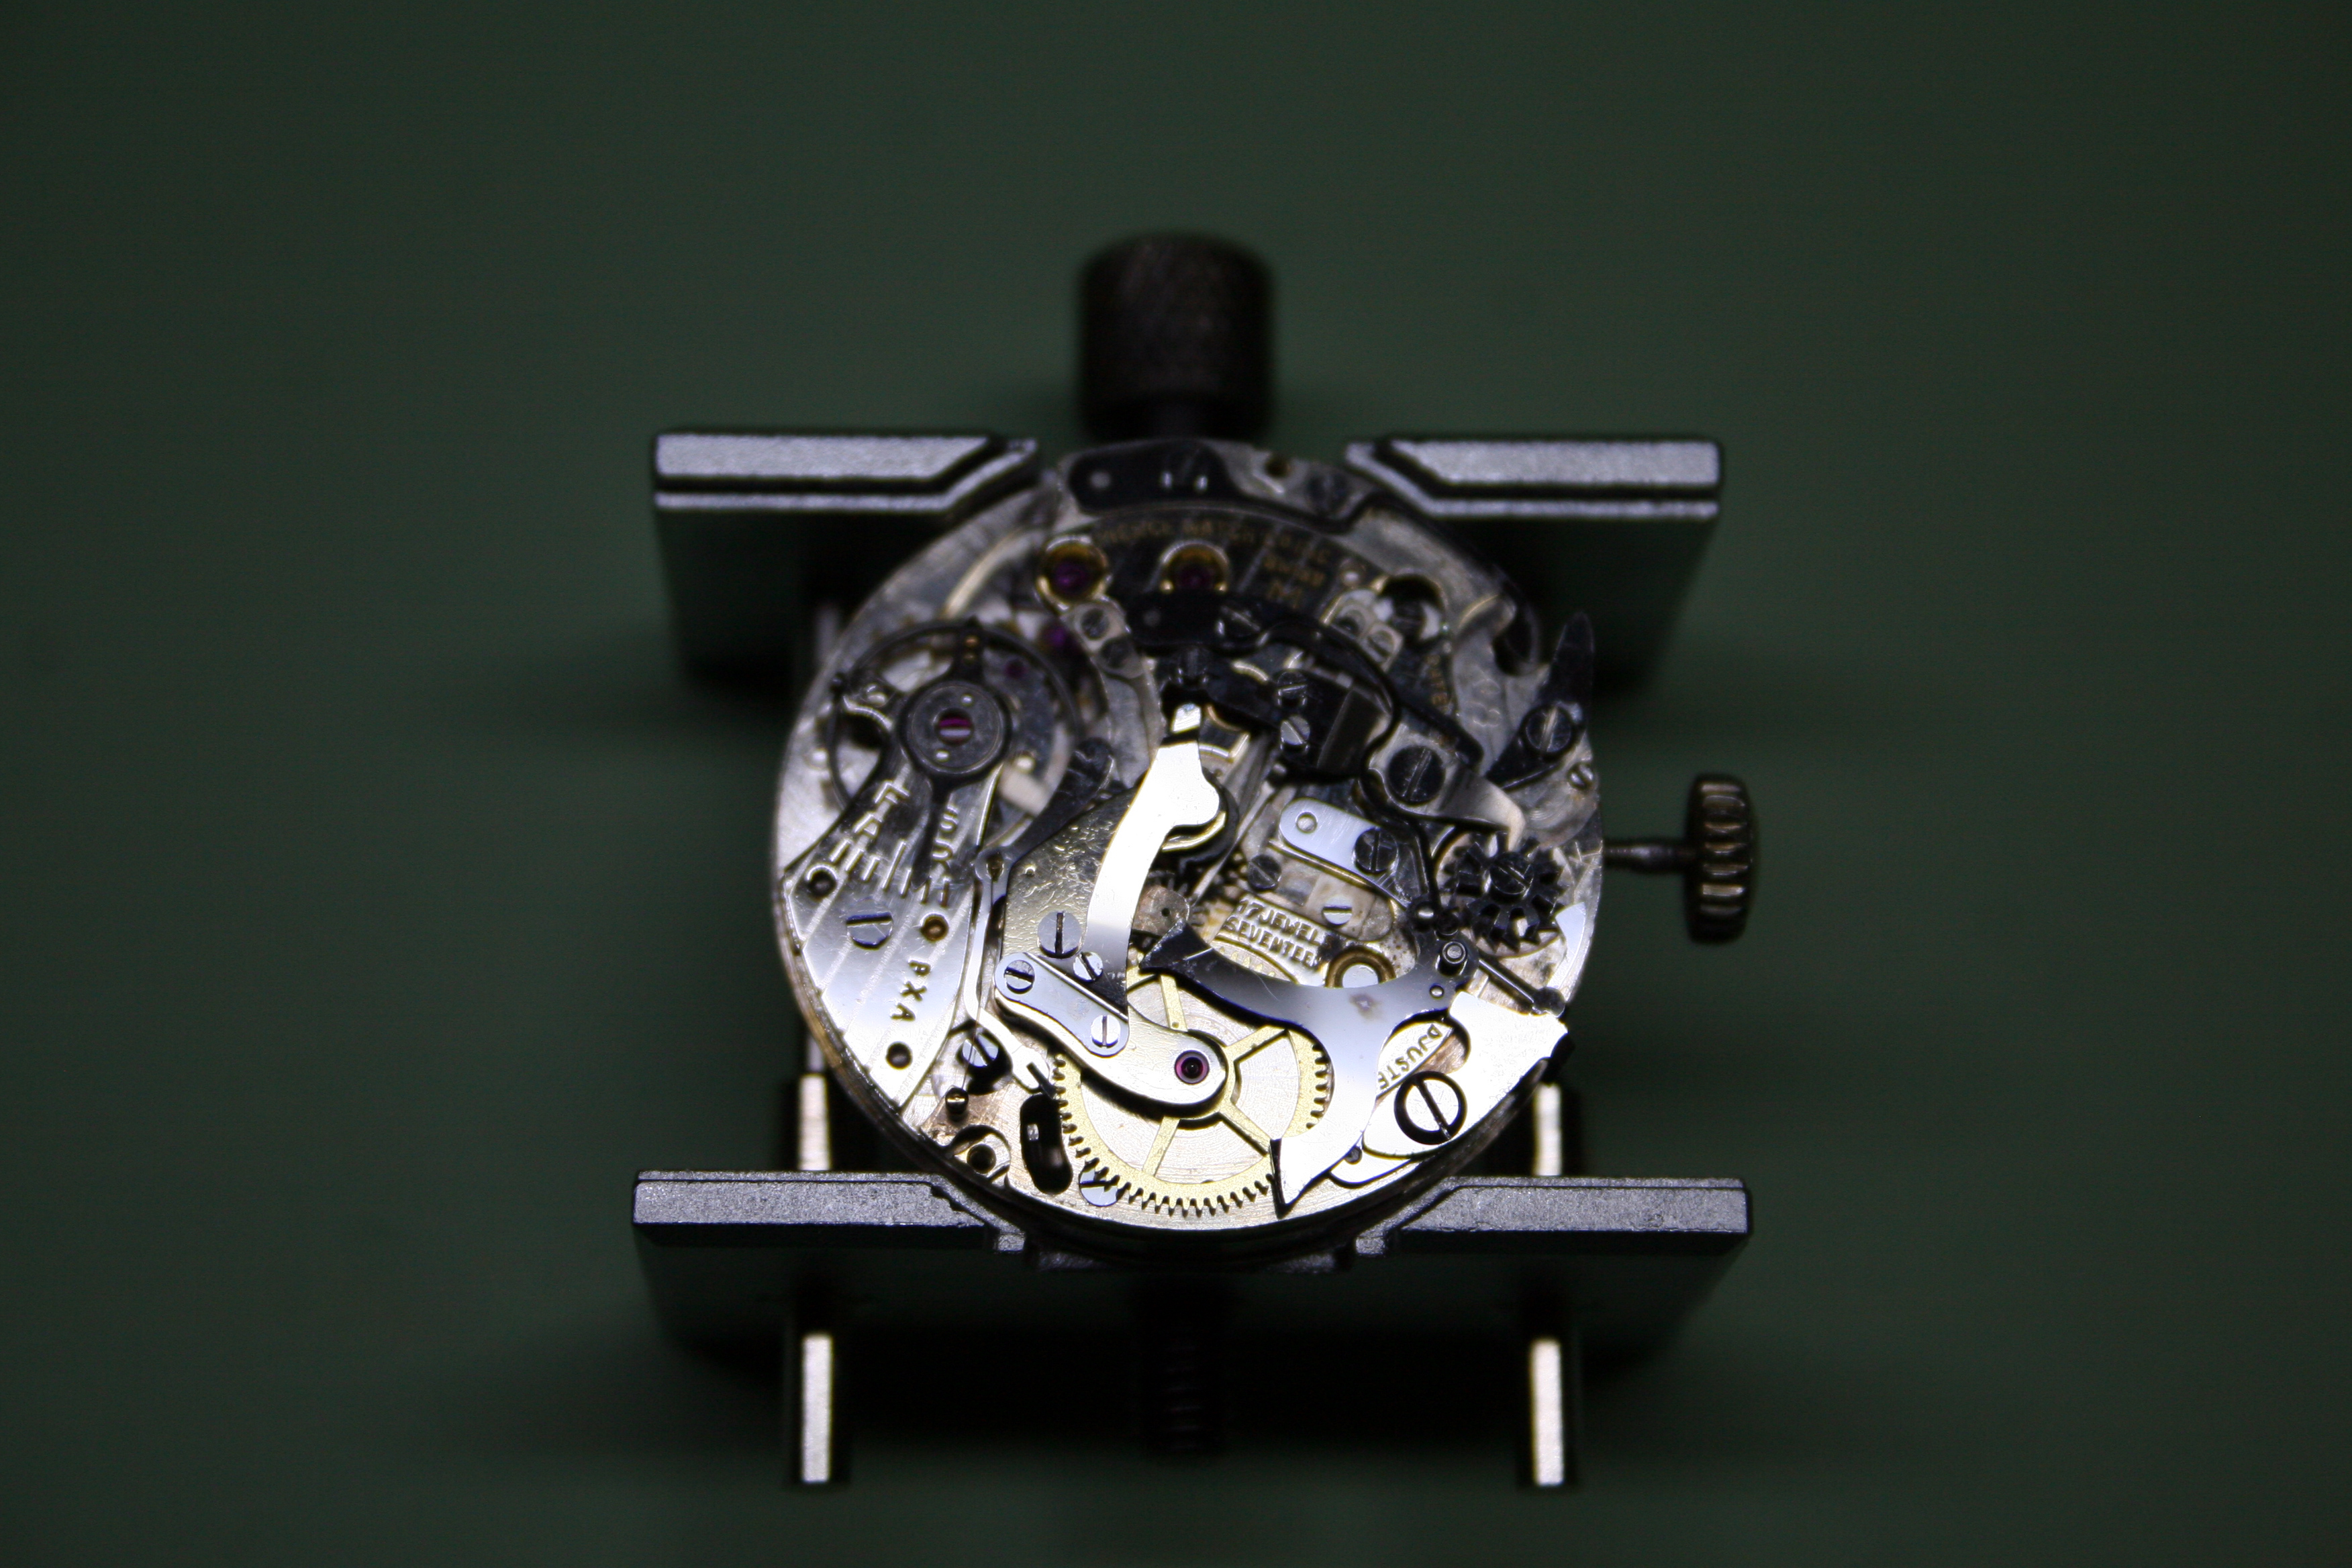
Proceeding methodically I removed the levers and springs that made up the chronograph. Most screws were returned to their respective holes to speed reassembly later.

Once the chronograph levers and springs had been removed access was granted to the screws retaining the barrel plate. Removal of this plate allowed access to the gear train beneath.
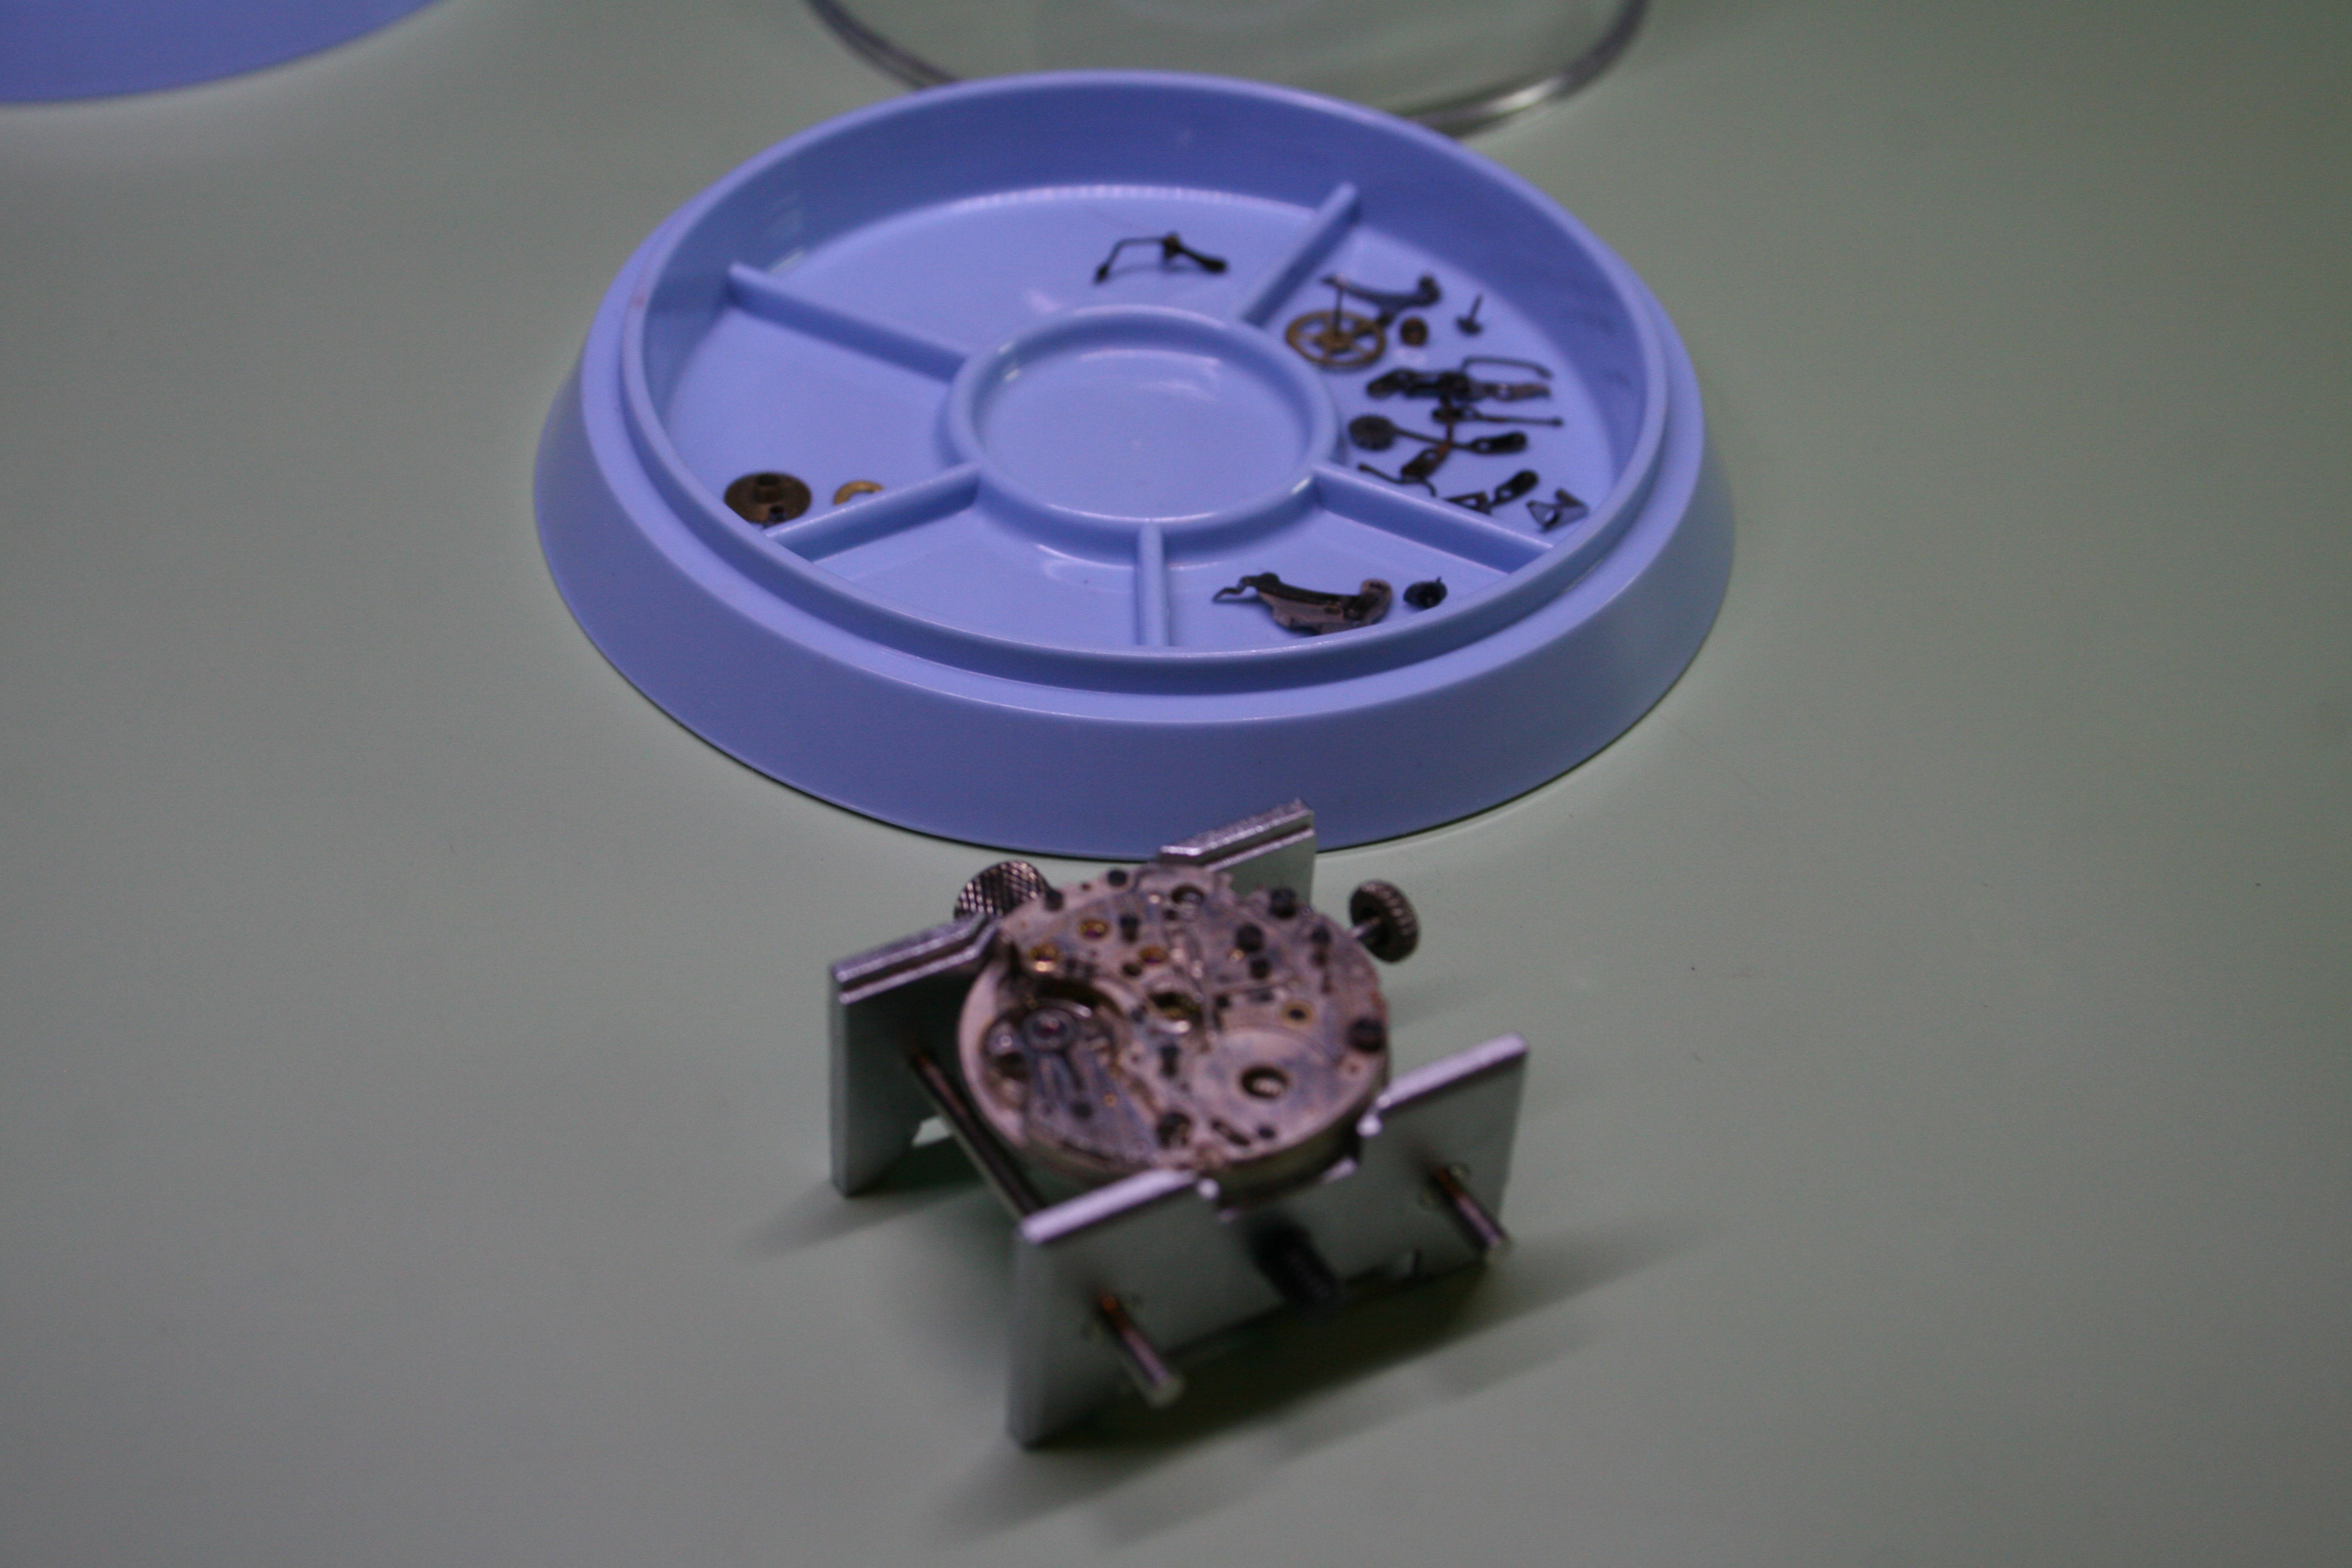
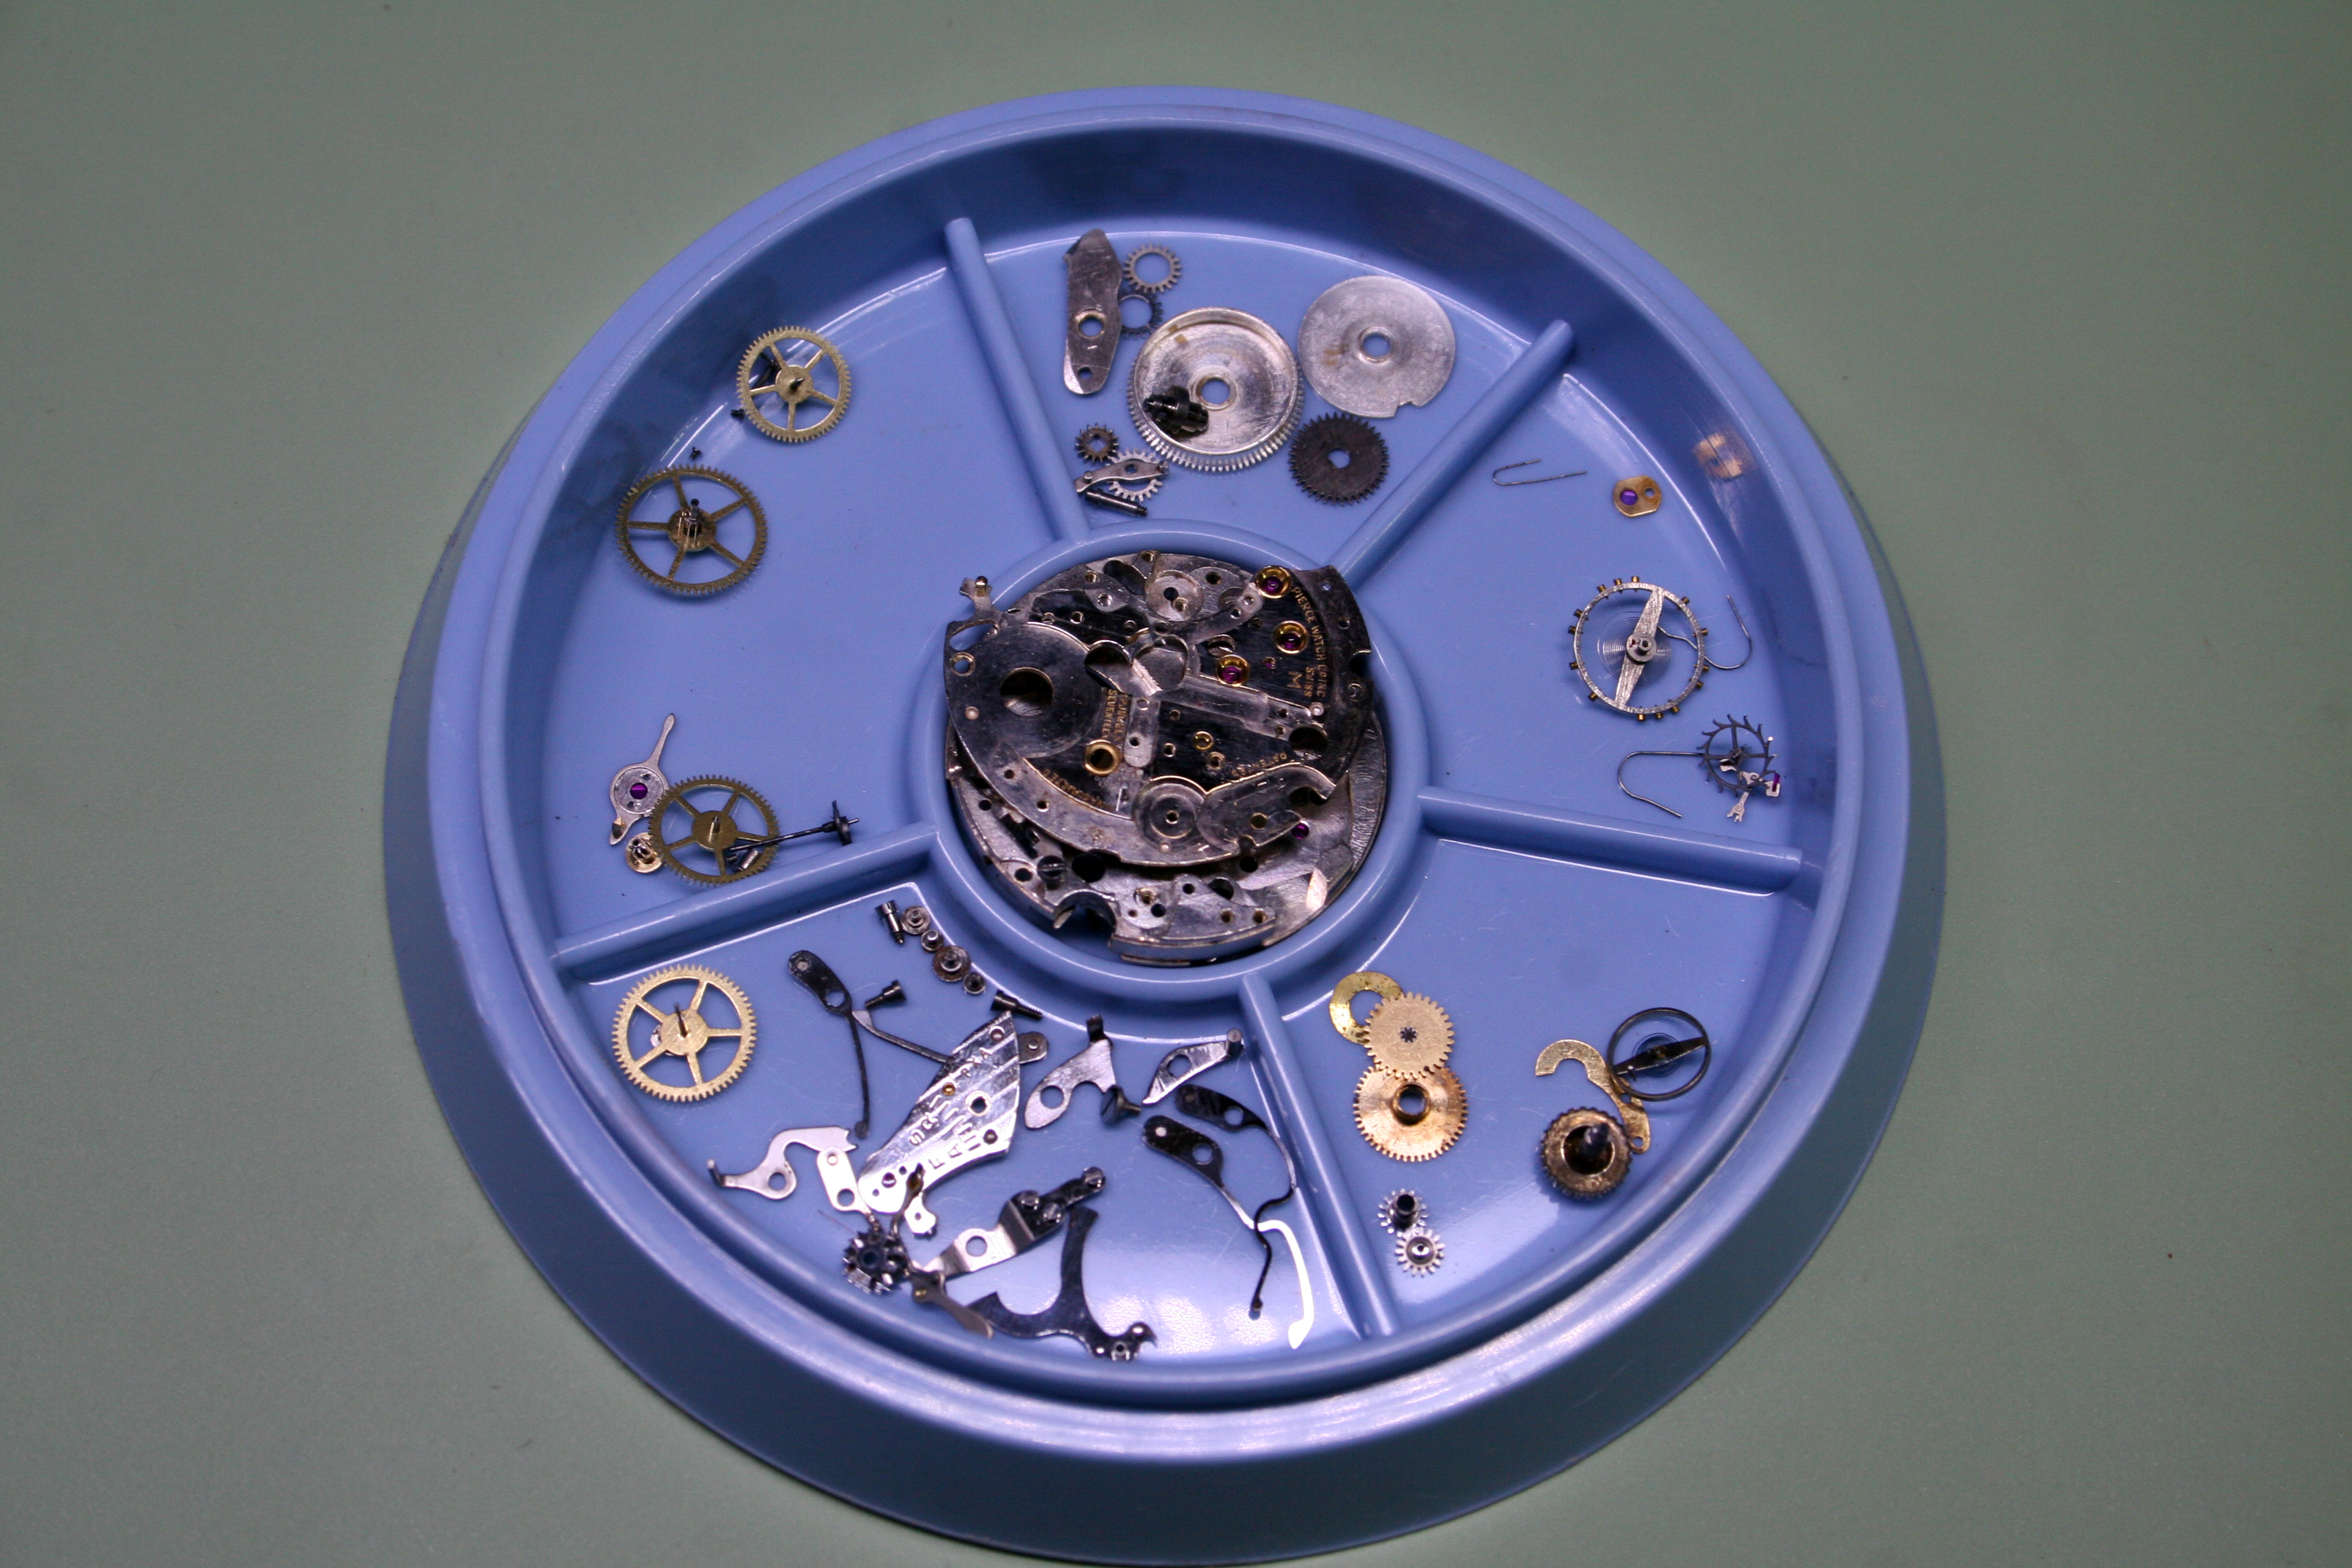
Chronographs have many bits and pieces since they are essentially a clock and a stop watch all in one. Here you can see all the parts that make up the chronograph layer (the stop watch works) in the tray while I have yet to break down the timekeeping elements of the watch.
With the chronograph layer broken down, I removed the barrel plate to reveal the gear train. As expected it too was quite dirty.

Once the watch was broken down I placed the parts in a small metal basket for immersion in the ultrasonic cleaner. The cleaner bombards the parts with ultrasonic waves. These waves are strong enough to remove paint and so you must be considerate of what goes into the ultrasonic bath.
After the ultrasonic cleaning is complete the parts basket went to the L&R watch cleaning machine which spins the basket in a strong cleaning solution for up to ten minutes. An equally long rinse cycle is followed by a second rinse before the parts are ready for drying. Since the heating element of my L&R cleaner has crapped out, the basket was dried instead in a warming oven.
These parts came out of the bath looking quite good. In many cases a bit of rust remediation is needed and this involves pegwood, polish, and elbow grease or sometimes even the Dremel tool.
Assembly is the reverse order of disassembly with the added step of lubrication. I started by assembling the gear train.

Followed with the barrel bridge.
Then the keyless works came together.

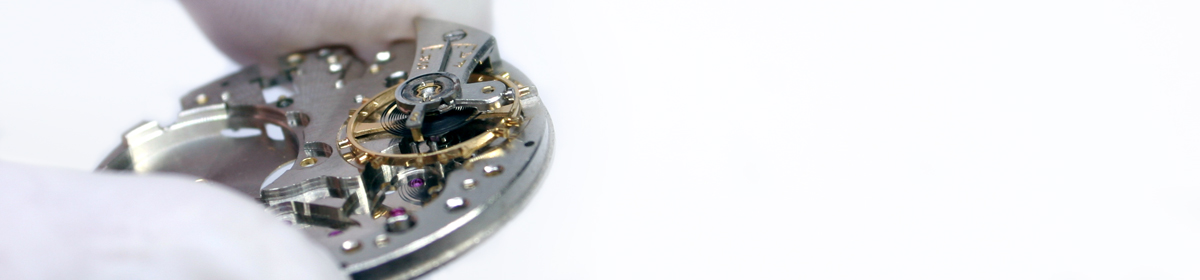
And finally the balance and balance cock. Since this watch predates shock protection, the balance must be removed to unscrew the cap jewel setting. A drop of Mobius 9020 oil is placed on the balance cap jewel before the jewel setting is screwed tight to the balance cock. Afterwards the balance is reinstalled. It’s all a bit fiddly and is best done under the microscope.

The watch was now ready for initial testing. I gave it a wind and placed it on the timegrapher to see how much adjustment would be necessary for it to keep time. The results were good.

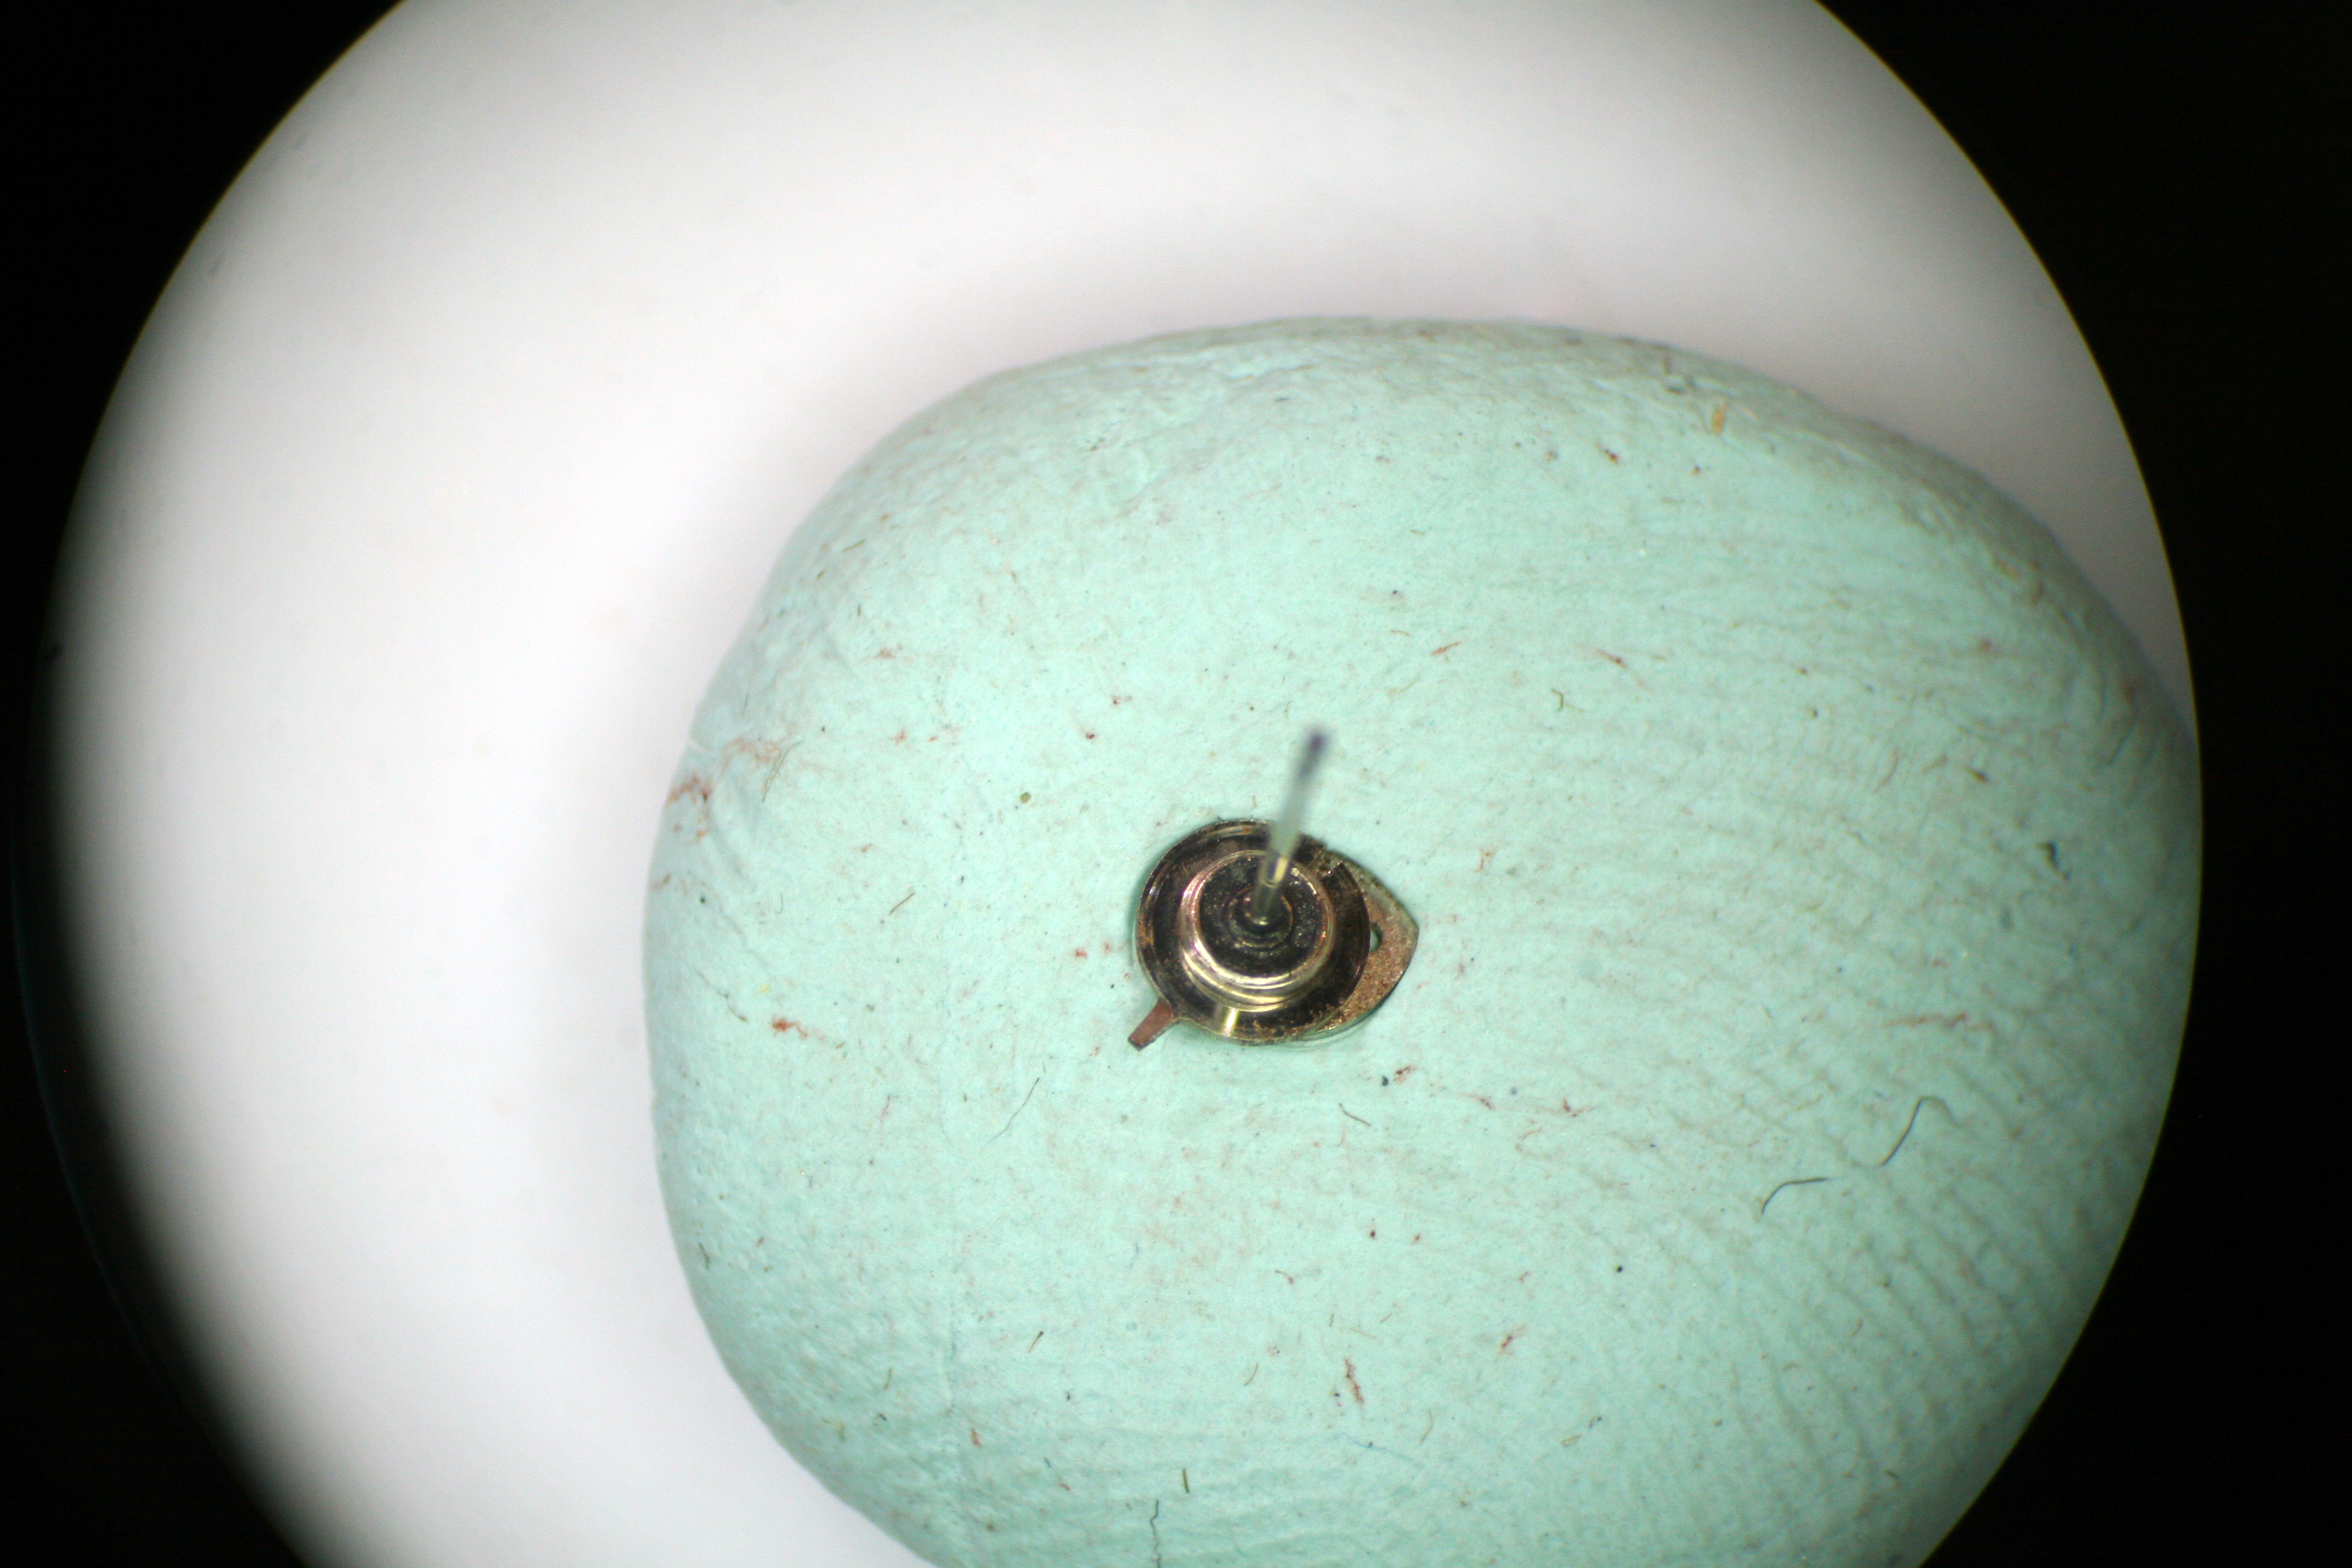
With the watch keeping fair time it was on to the chronograph works. Problems were apparent right off the bat as I discovered that the pivot for the minute recording wheel was broken off.

It must have received a heck of a shock because the jewel setting for the minute recording wheel was broken too.

I replaced the minute recording wheel and the chronograph bridge (which houses the jewel) with spares from another movement before proceeding.
The chronograph staff (which the large sweep second hand attaches to) has a rubber clutch plate which often has disintegrated over time; this watch is no exception. I used a small oiler to remove any rubber residue and some silicone gasket paste to form a new clutch plate.
The silicone was given twenty-four hours to cure before I returned to work. The remainder of the chronograph layer came together quickly.
The watch was then re-cased. With the pushers installed in the case I could begin adjusting the chronograph to ensure its smooth operation. There are many springs which require adjustment before the chronograph will function properly without stopping the watch.

A replacement stem and crown were ordered before I turned my attention to the hands. These watch hands are carbon steel and heat blued. They were a bit rusted but since replacements are not readily available they needed restoration. You can follow the restoration process via my previous post here.

Finding a replacement sweep second hand turned out to be a real chore. The post for the sweep second hand is 0.35mm in diameter and the hand is 14-15mm in length from the post. Finding a new hand that met these dimensions was not possible but I was able to procure a used hand via eBay. The paint was old and flaking away and so the hand went straight into a vial of paint stripper.
Once stripped of the old paint, the hand was prepped for new coat.

Painting was done under the microscope with a small oiler and a vial of Testors flat red model paint. Twenty-four hours of curing time was given before the hand was ready for installation.

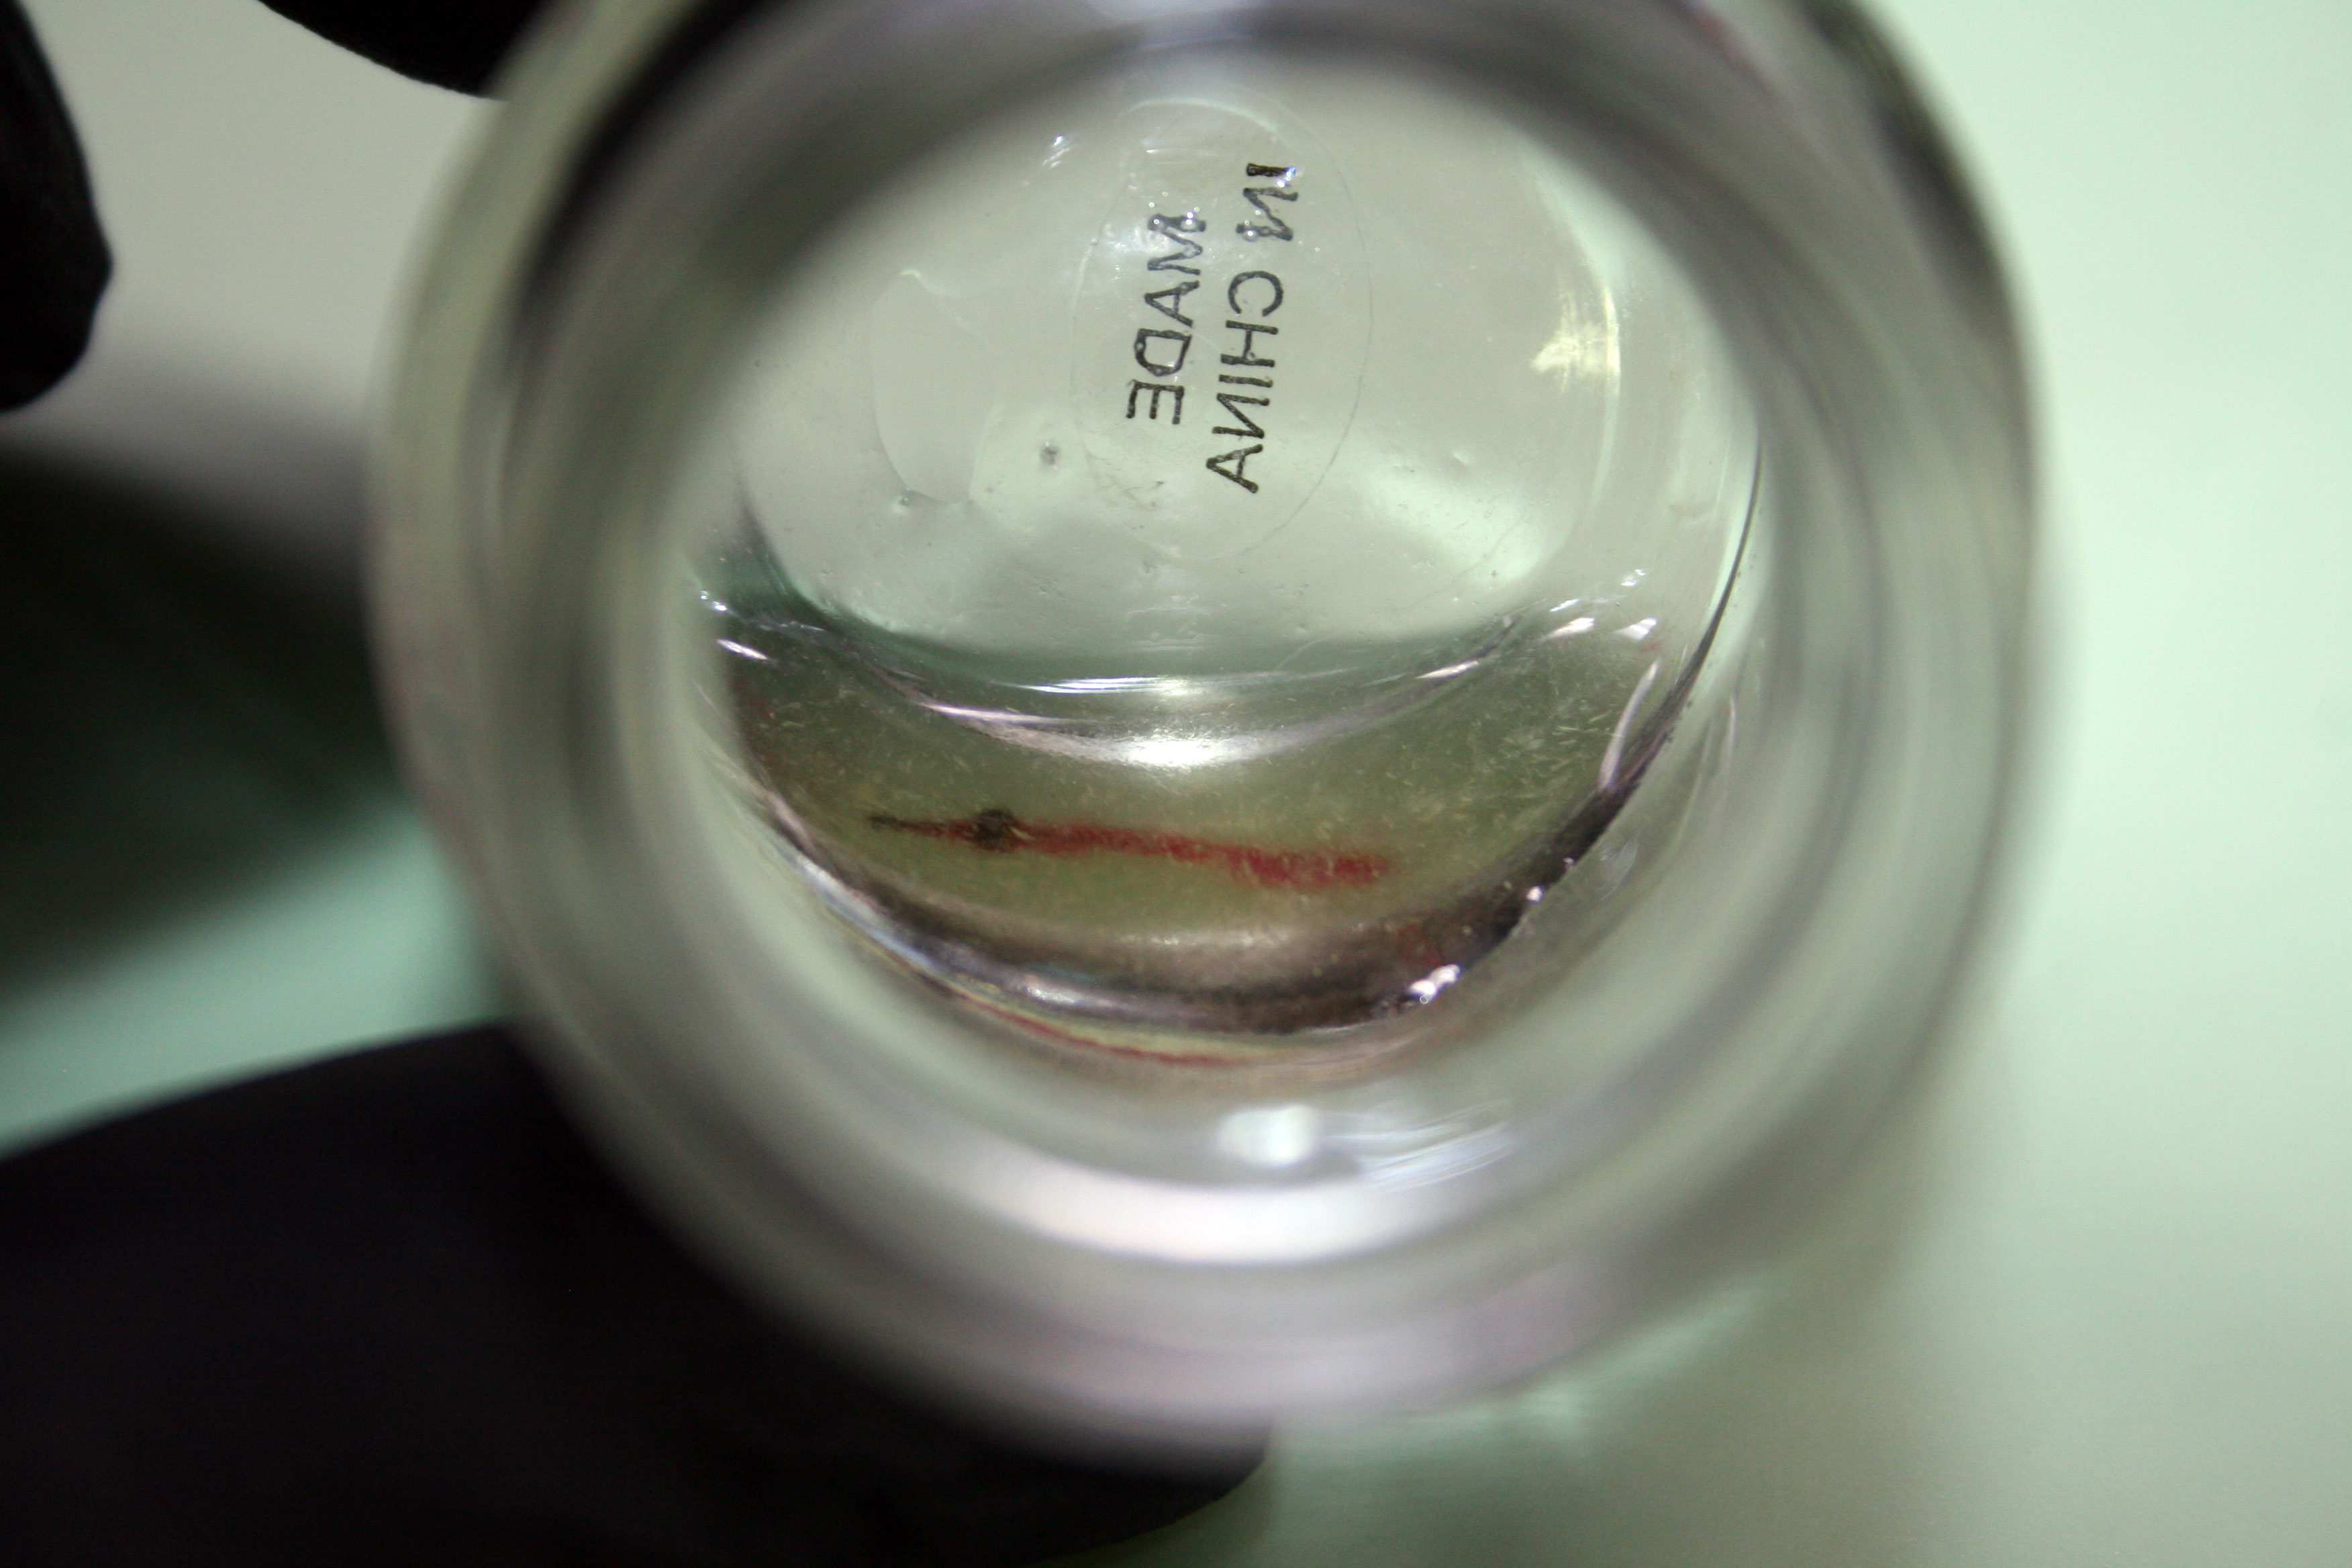
Since the original dial was in poor repair I purchased a replacement from a gentleman who dropped several Pierce parts on eBay a few months back. The replacement dial isn’t perfect but it’s much better than the original. Installation of a new crystal closed out the project.
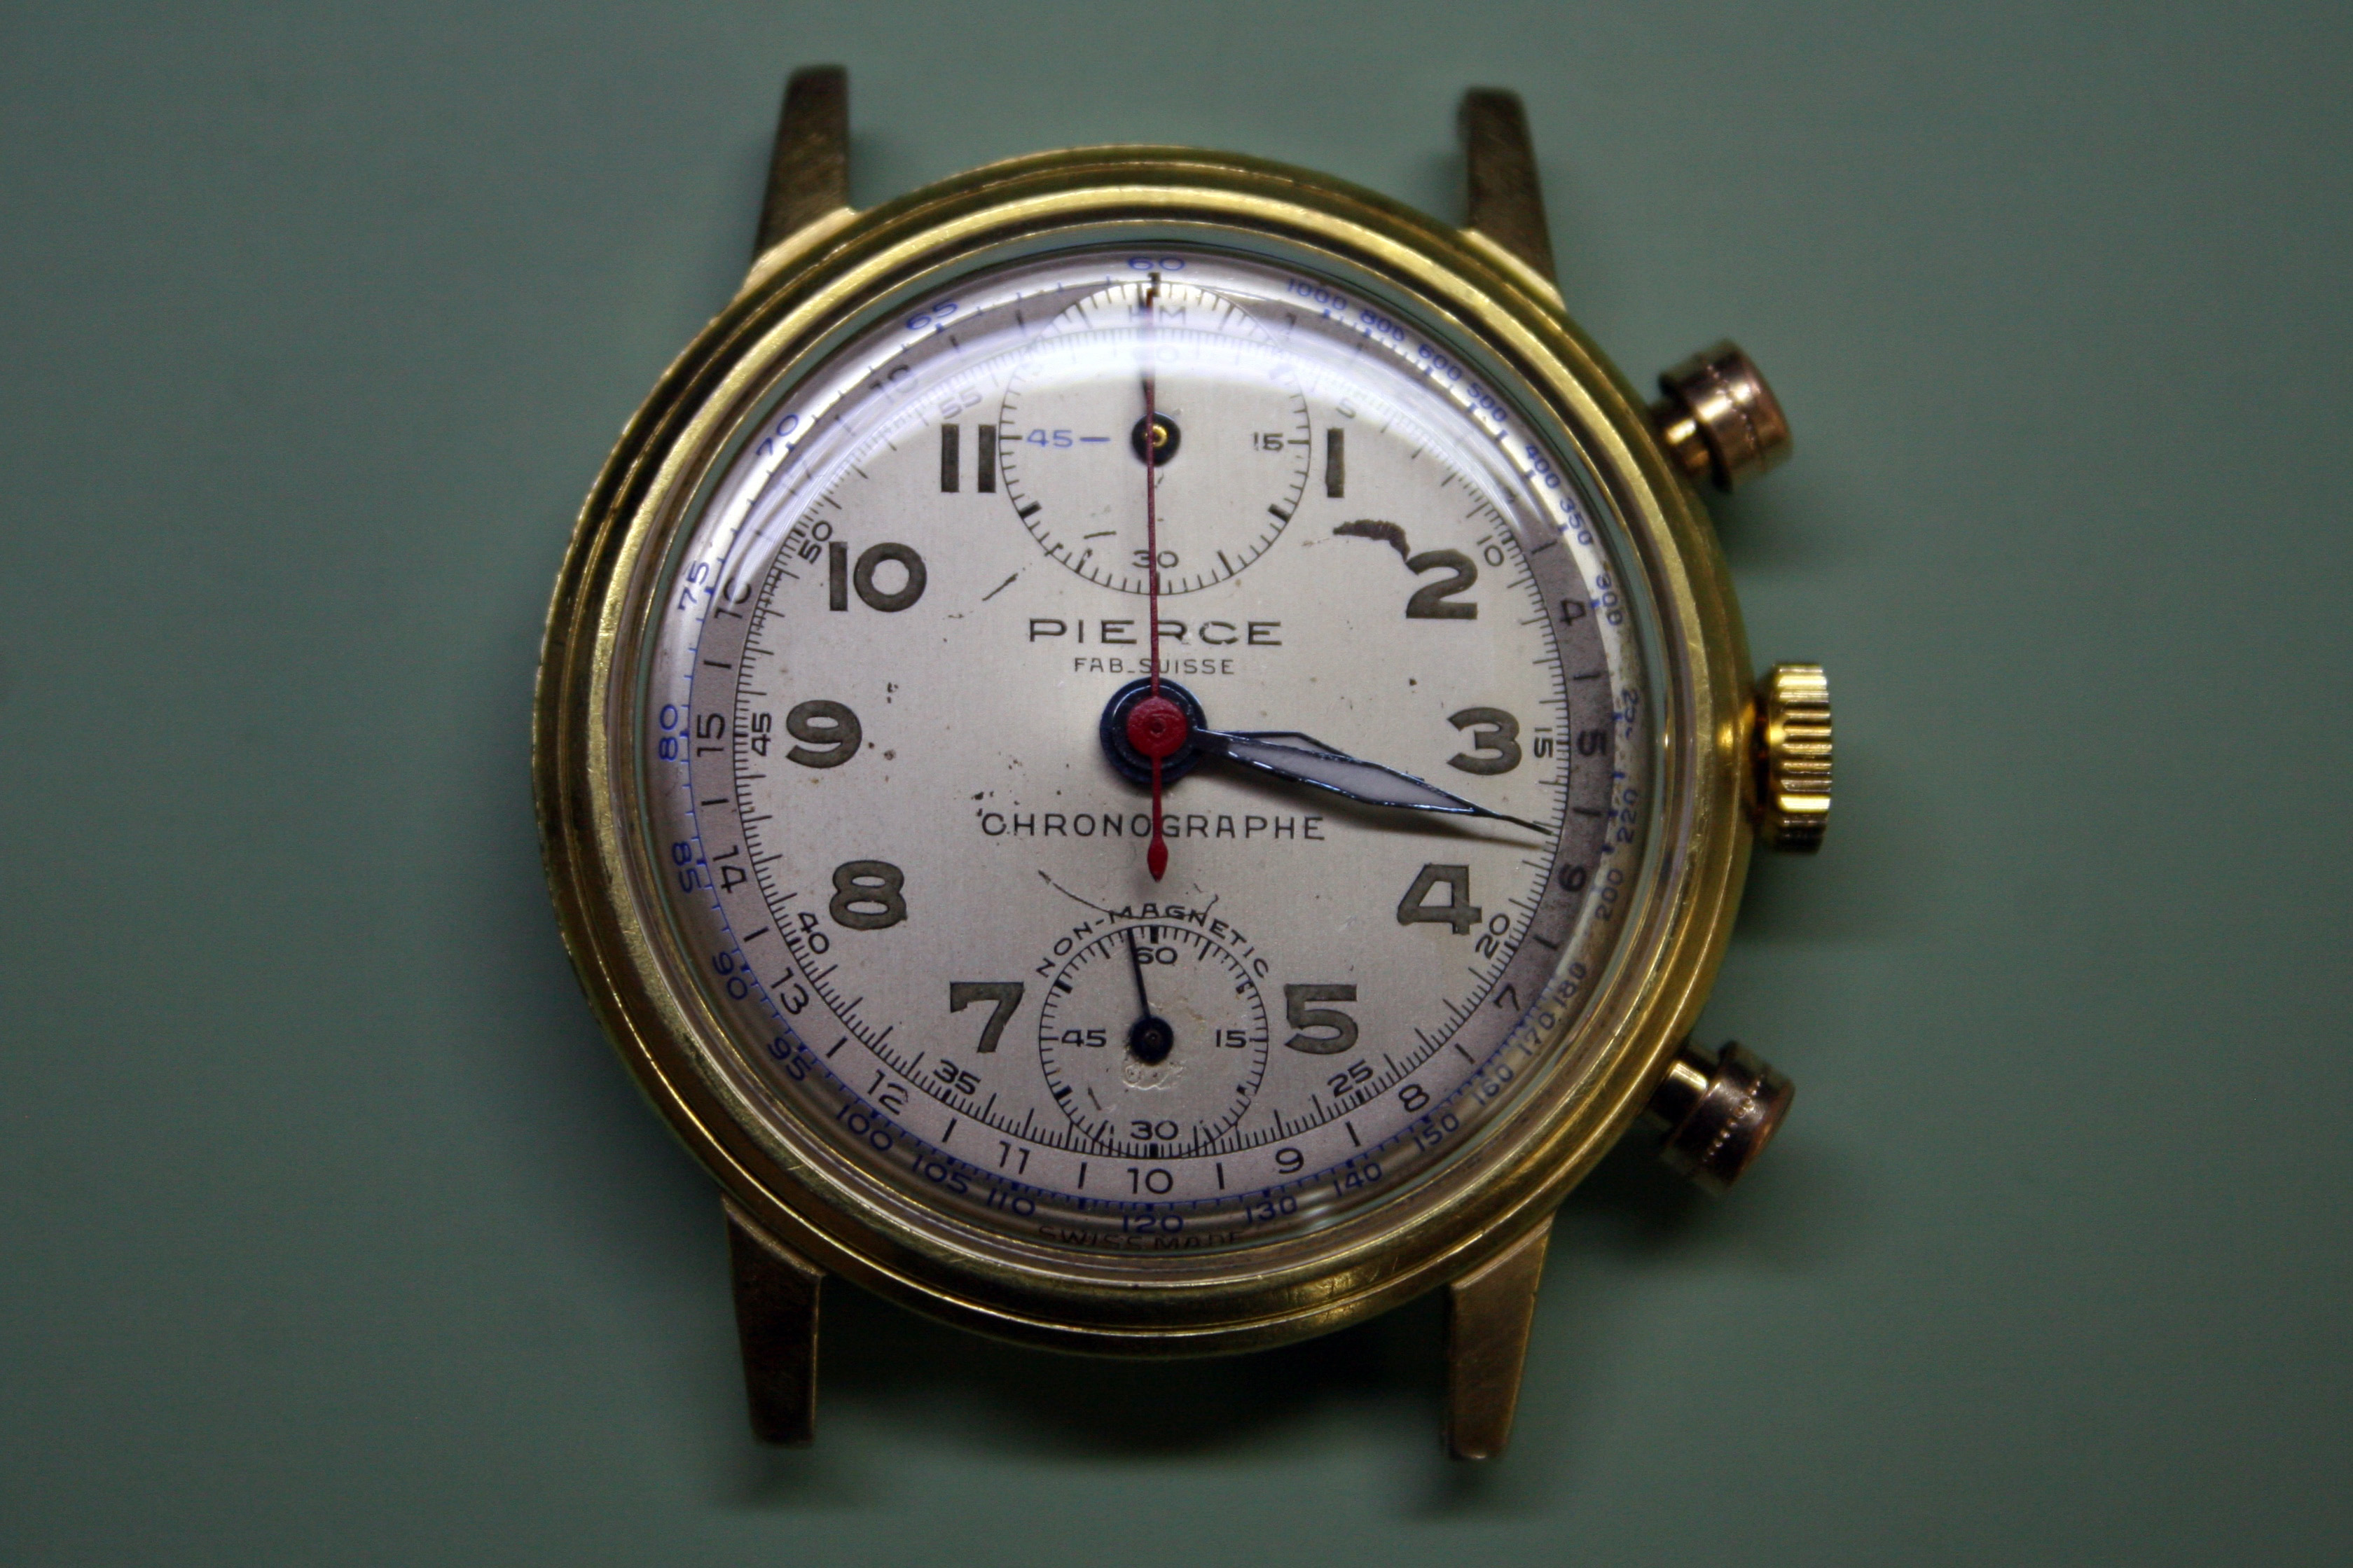
Getting this watch going again was quite a bit of work but as usual I learned a lot from the process. It will need a strap before it’s ready for a night out on the town but otherwise it’s good to go.

Great write up, I have a few of these I have been meaning to restore, just trying to find some cebtre seconds hands for them!
LikeLike
Yes, same problem here. I have three more and all of them are missing the sweep second hand. I think I’m going to have to work on fabricating my own replacements!
LikeLike
Any chance you’d be interested in restoring one my grandfather brought back from Germany in WWII? It’s been difficult finding someone who can give me a definite answer locally…
LikeLike
I can take a look at if you’d like but I do have a bit on my plate right now. Fill out the form on the contact page and I’ll email you back to work out the details.
LikeLike