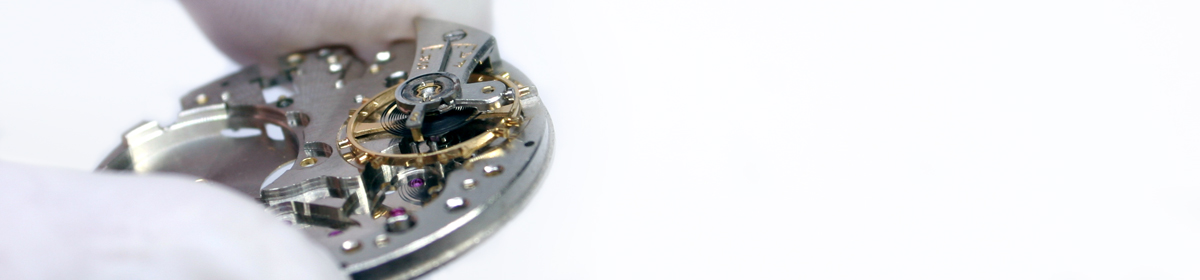

There are many tragedies that can befall a mechanical watch: dirt or grime can gum up the works, a slight fall will break pivots and jeweled bearings, moisture will oxidize steel pinions in a heartbeat, and magnetism can enchant a hairspring ruining the balance wheel’s consistent beat. When examining a malfunctioning movement under the loupe, grime and oxidation are easy to discern. Broken pivots and jewels will also come to light during early testing. A magnetized hairspring can sometimes be difficult to discern.
Fortunately there is a simple solution to this problem. Savvy watchmakers have discovered that simply placing a compass next to a watch afflicted by magnetism will result in the compass pointing at the watch instead of magnetic north. A handheld compass is therefore an important part of any watchmaker’s tool kit.
I used to own a nice lensatic compass like those issued to soldiers of the US Armed Forces. The compass had affixed a small lens to make reading easier. It was liquid dampened and also fit nicely in the pocket; unfortunately it is now lost to time. As a person who appreciates finely crafted instruments, I set about finding a suitable replacement which would excel in both form and function. I settled upon a vintage Francis Barker & Sons Mk III Prismatic Compass.
The Mk III was produced by the famed compass manufacturer Francis Barker of London during the first half of the 20th Century and was used primarily by the British forces during the Second World War. It is a well designed precision instrument that allows soldiers to orient to within a half a degree of accuracy. Also, since the compass was treated liberally with luminous paint, it is just as functional in the dead of night.
I purchased my Mk III compass from a dealer in Greece who kindly shipped it stateside. The compass has had a harsh life though and would need restoration before returning to service.
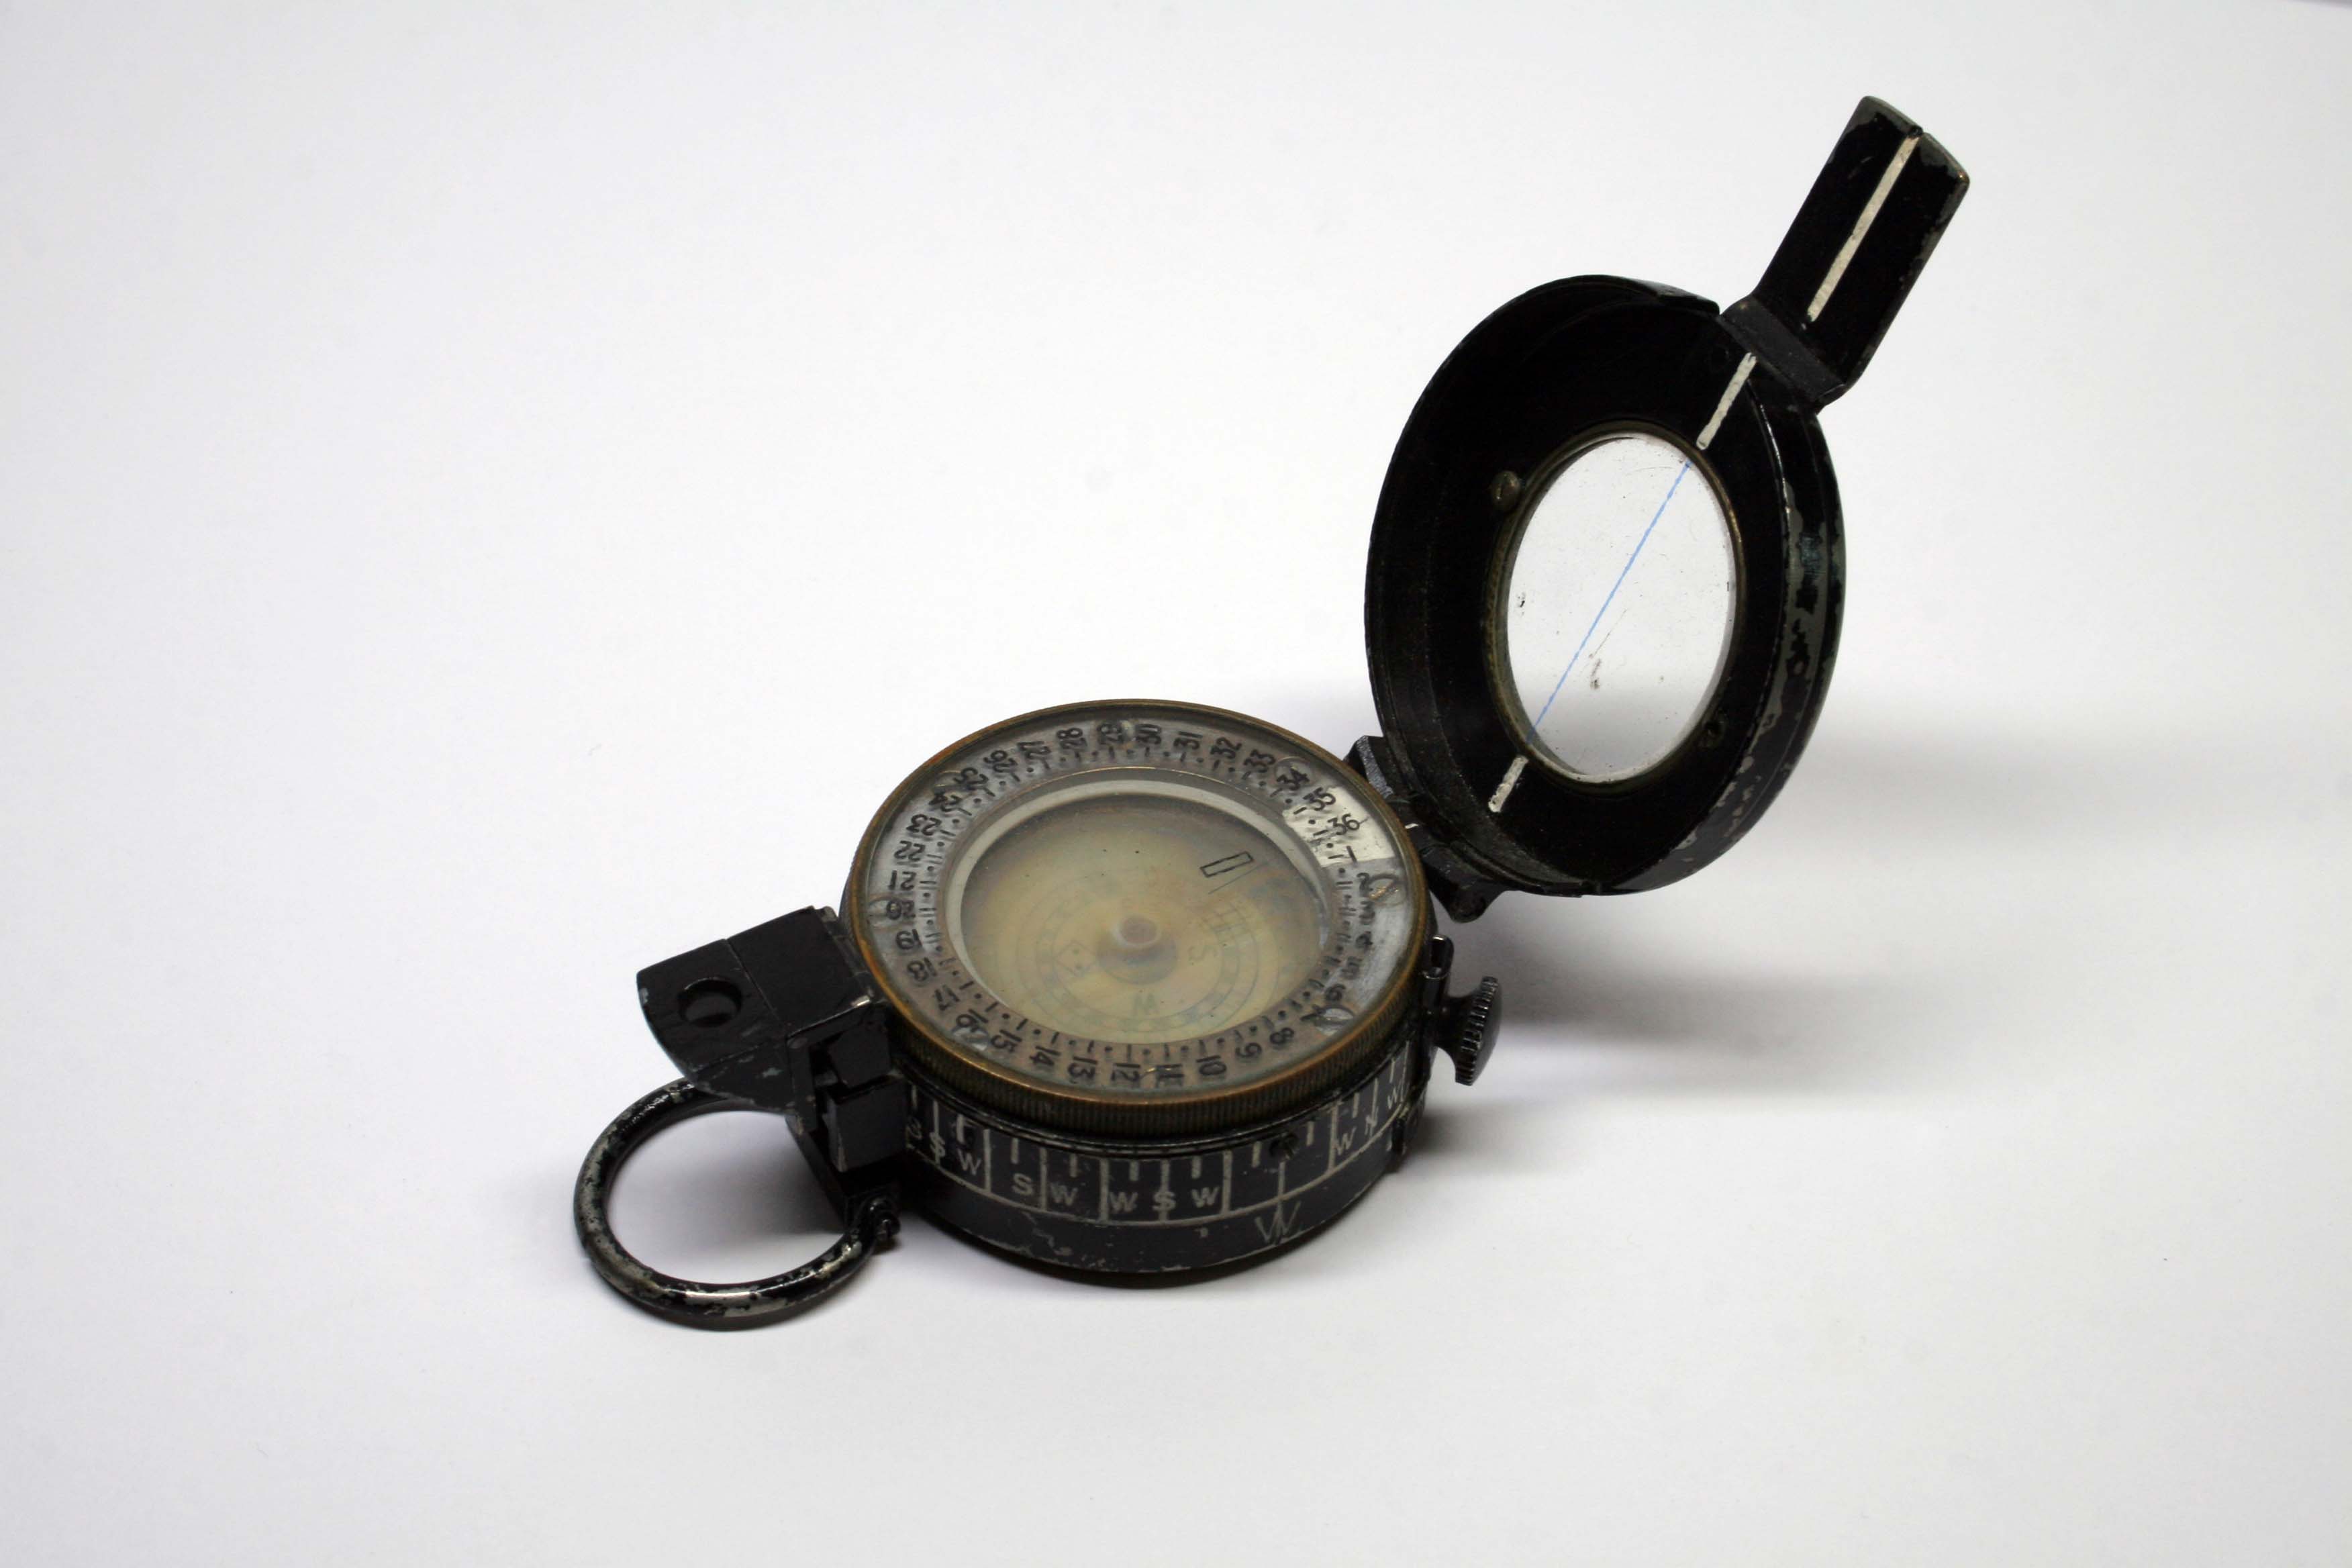
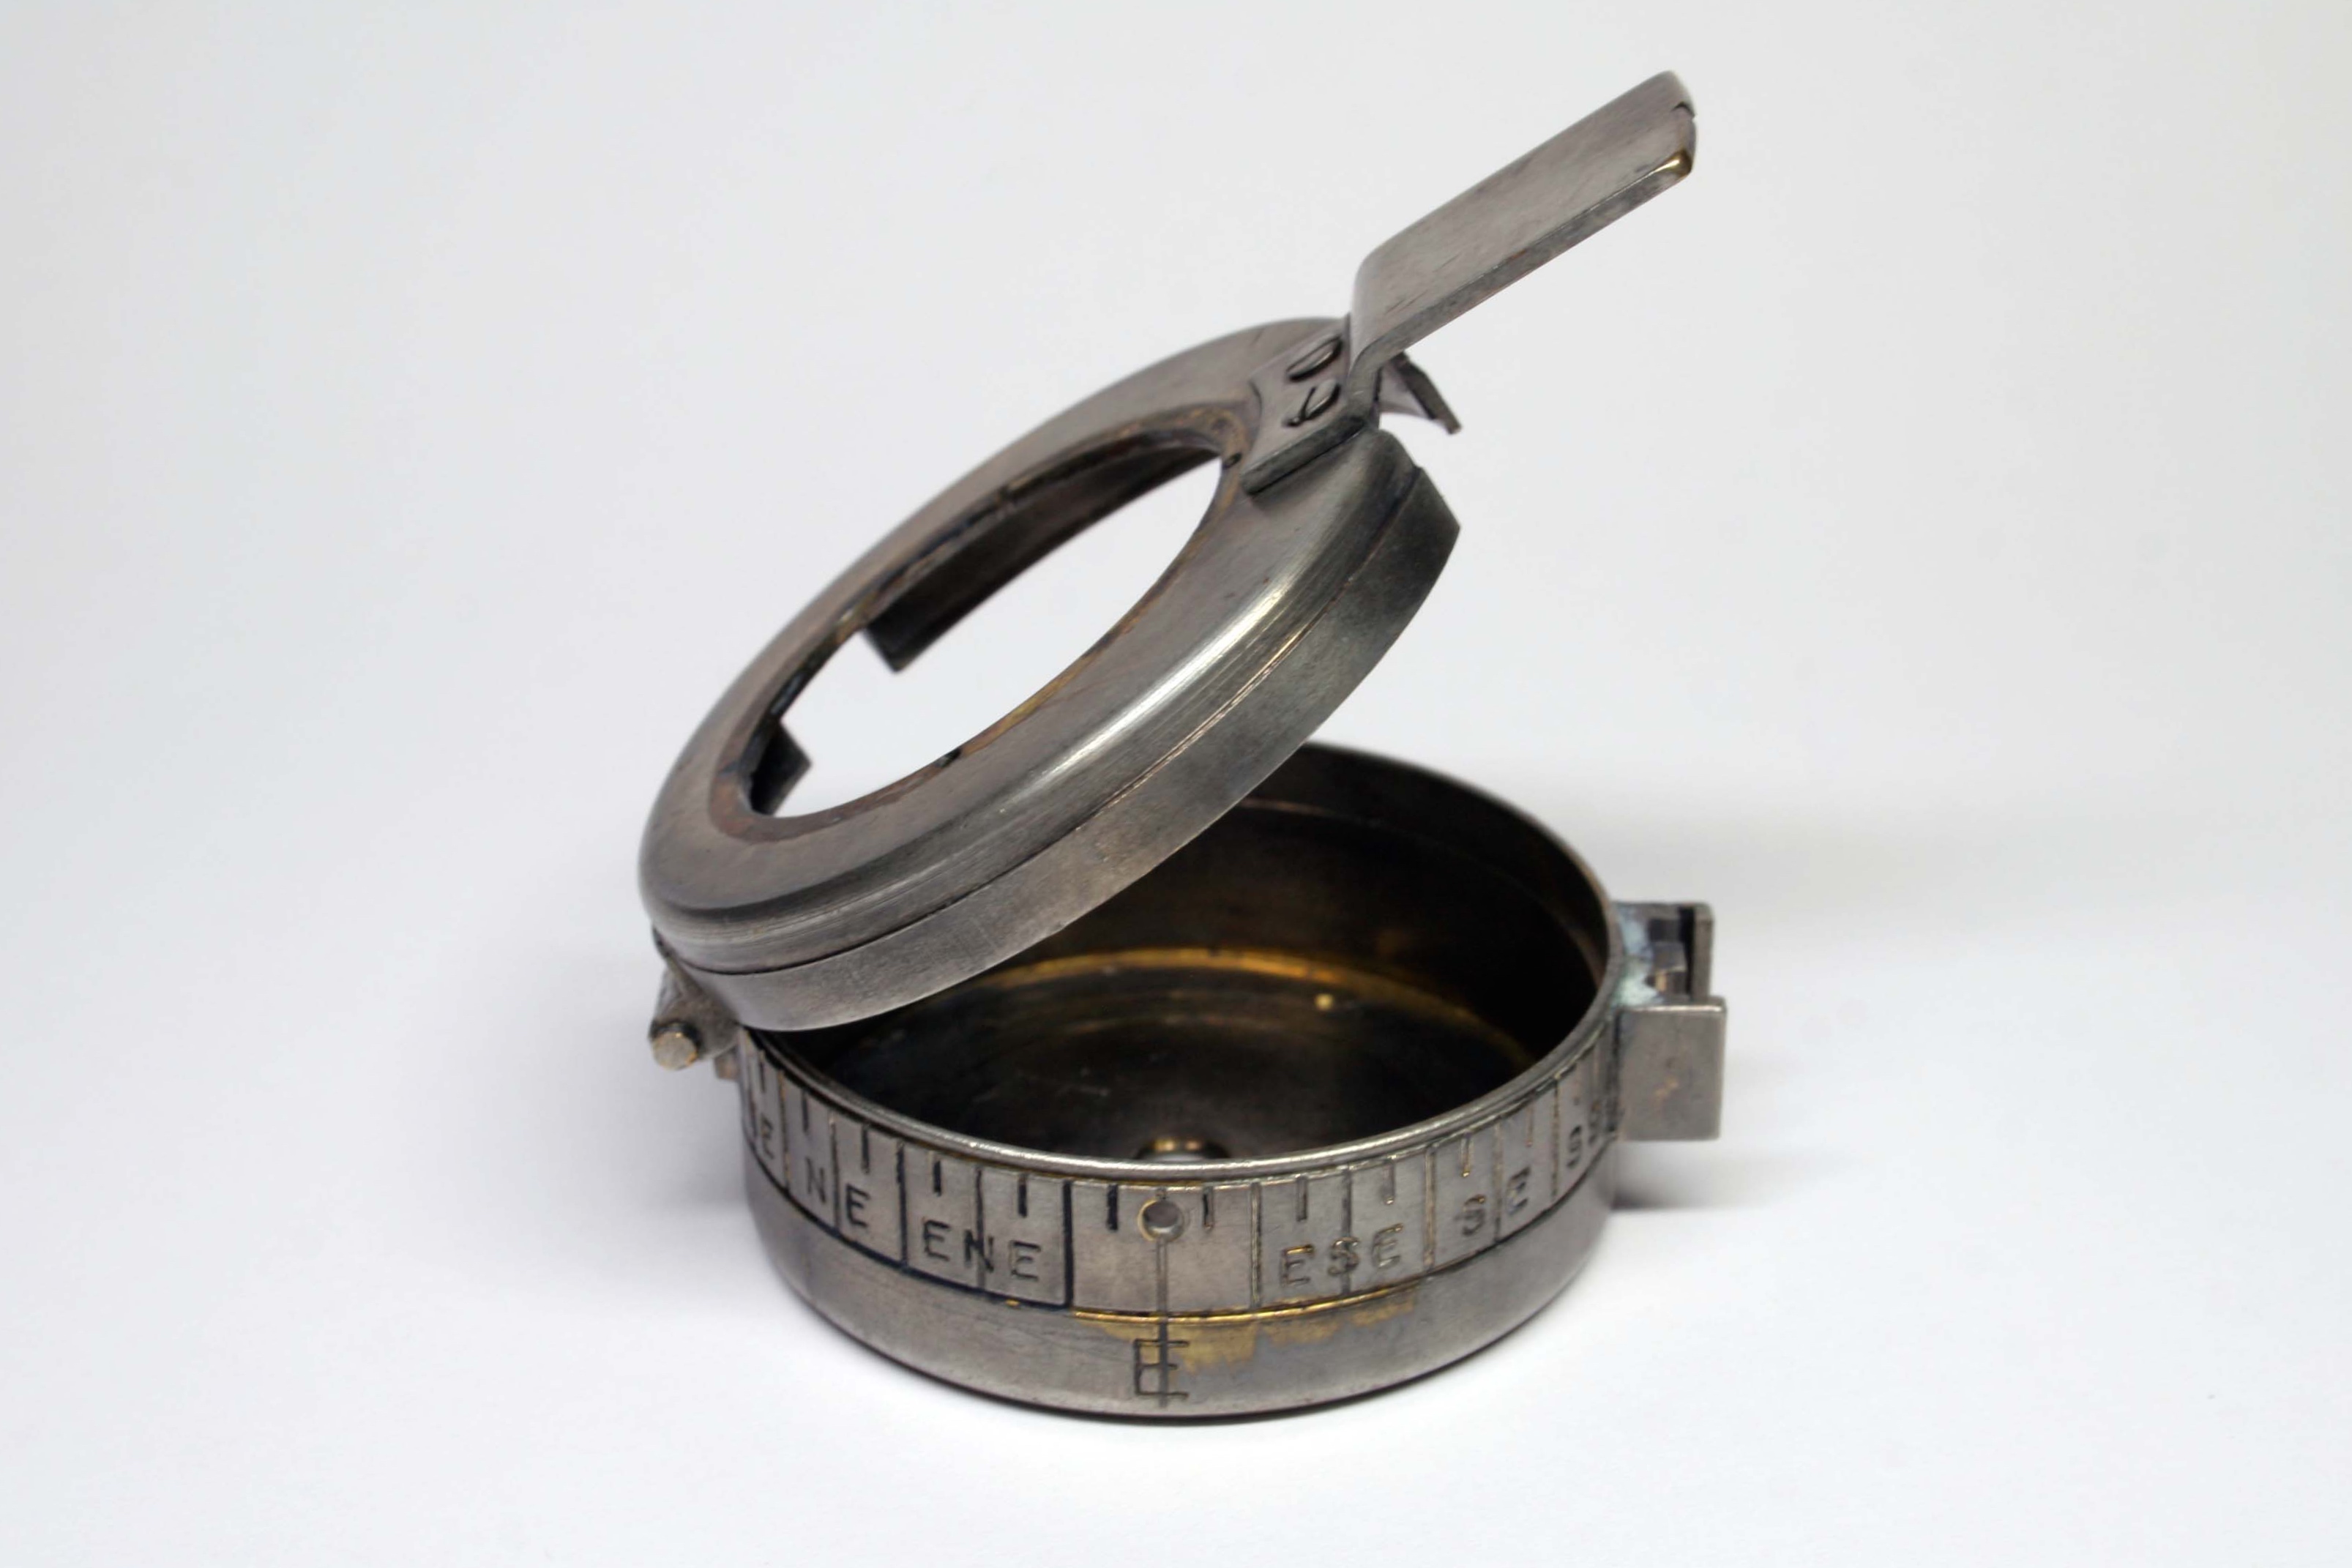
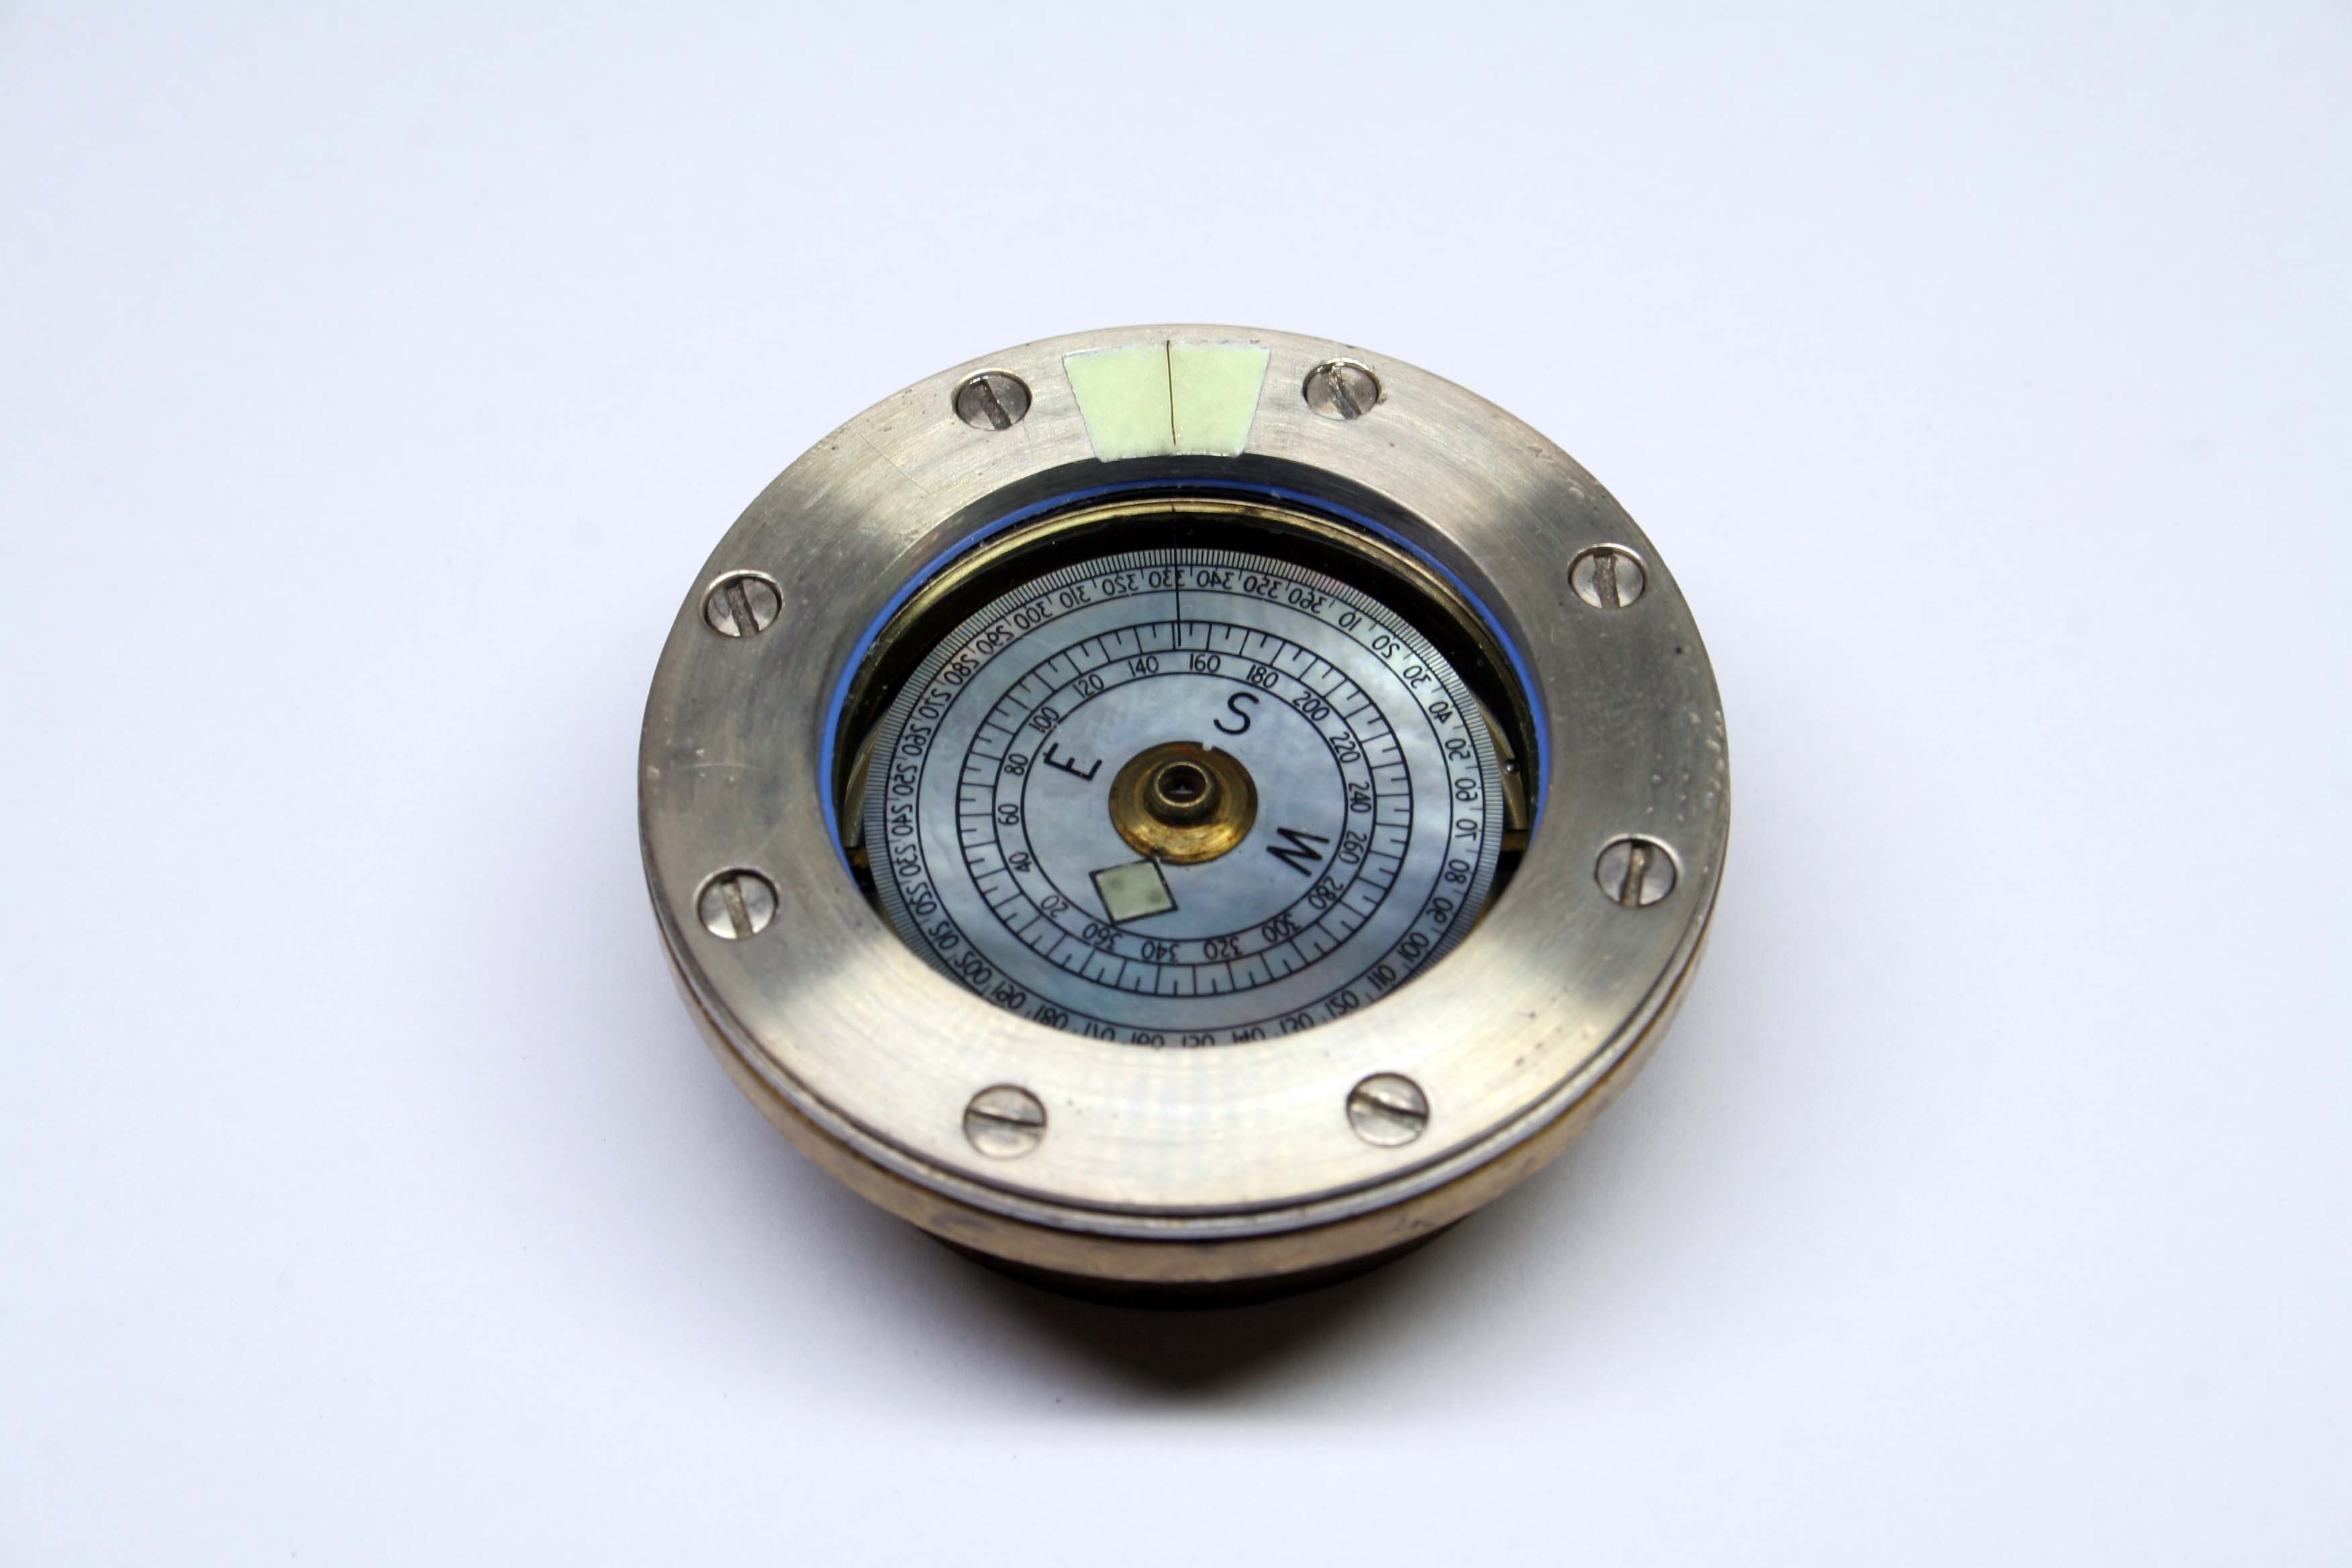
The Mk III is large, about sixty millimeters in diameter, and made of heavy brass. Inspecting it, I discovered all the glasses were still intact and the hinged prism functioned as expected. The bowl housing the compass card had long ago lost the dampening fluid which resulted in the card swinging wildly to and fro before settling; however, this suggested the jeweled bearing was still intact. To my relief the luminous radium paint had been removed by a previous owner.

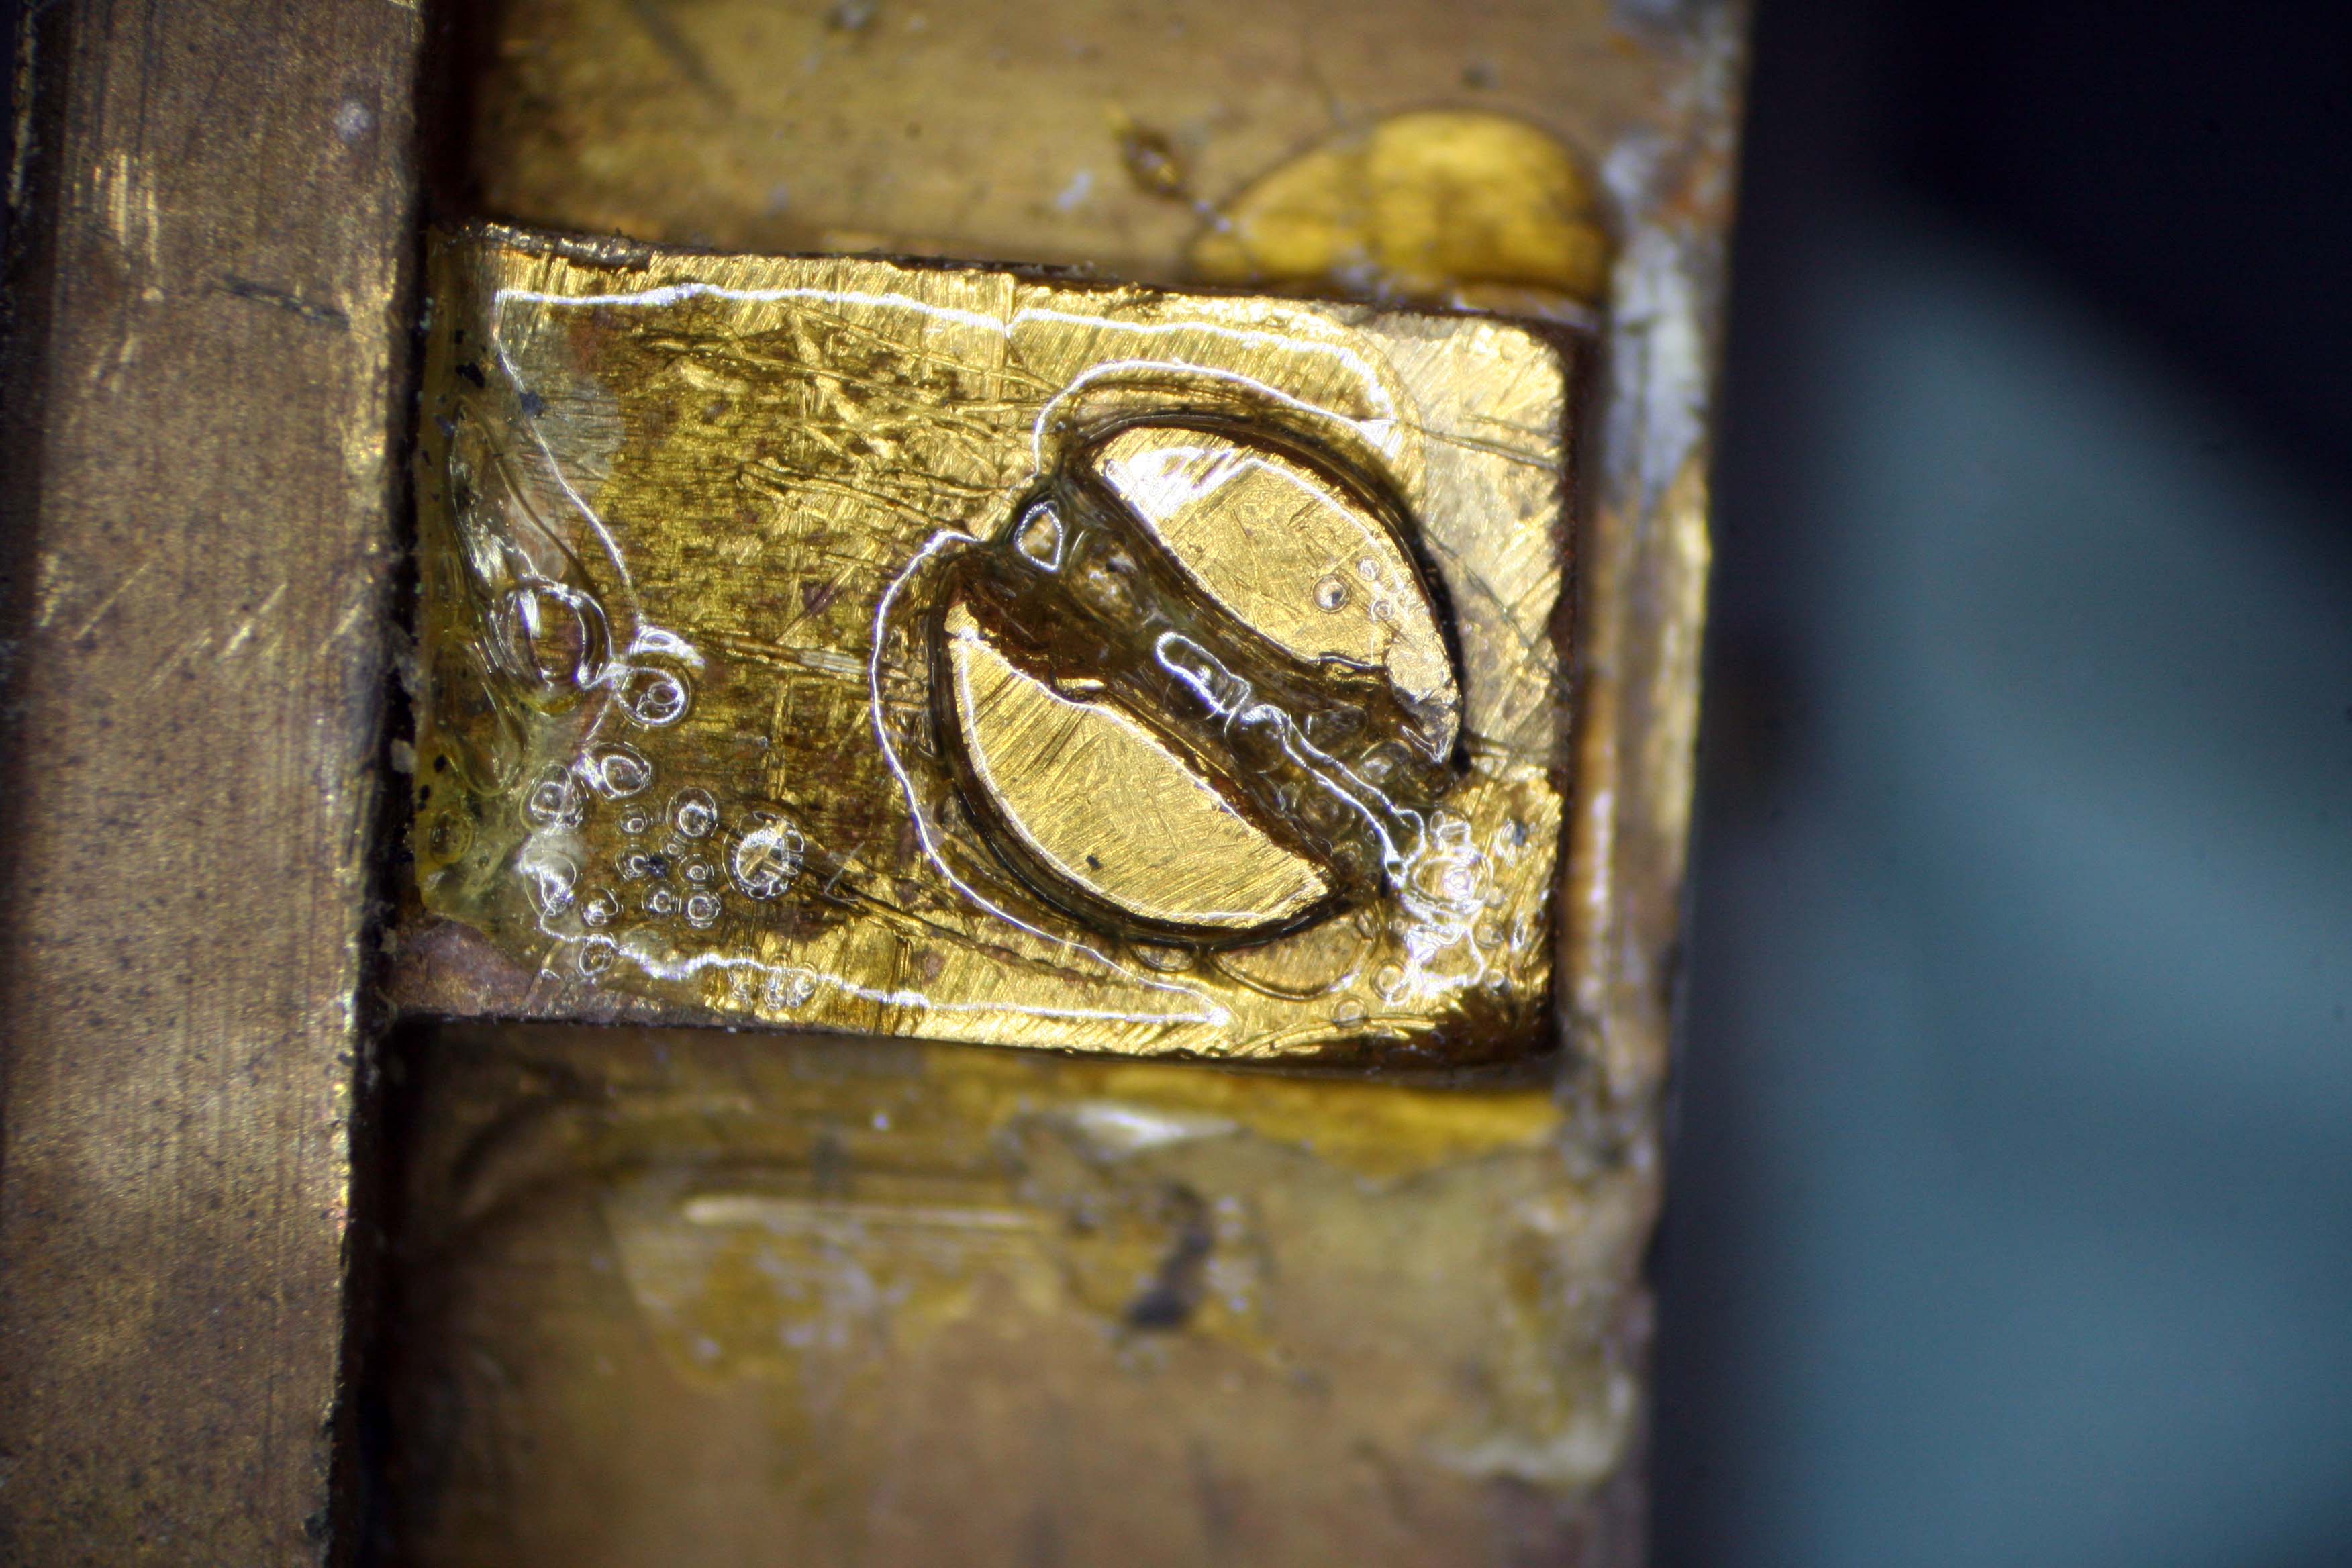
Stamped on the underside of the compass were the letters CKC which confirmed that this particular compass was manufactured by the Canadian Kodak Company under license from Francis Barker & Sons. The Broad Arrow also confirmed the compass’s military heritage. The year of manufacture is 1943.
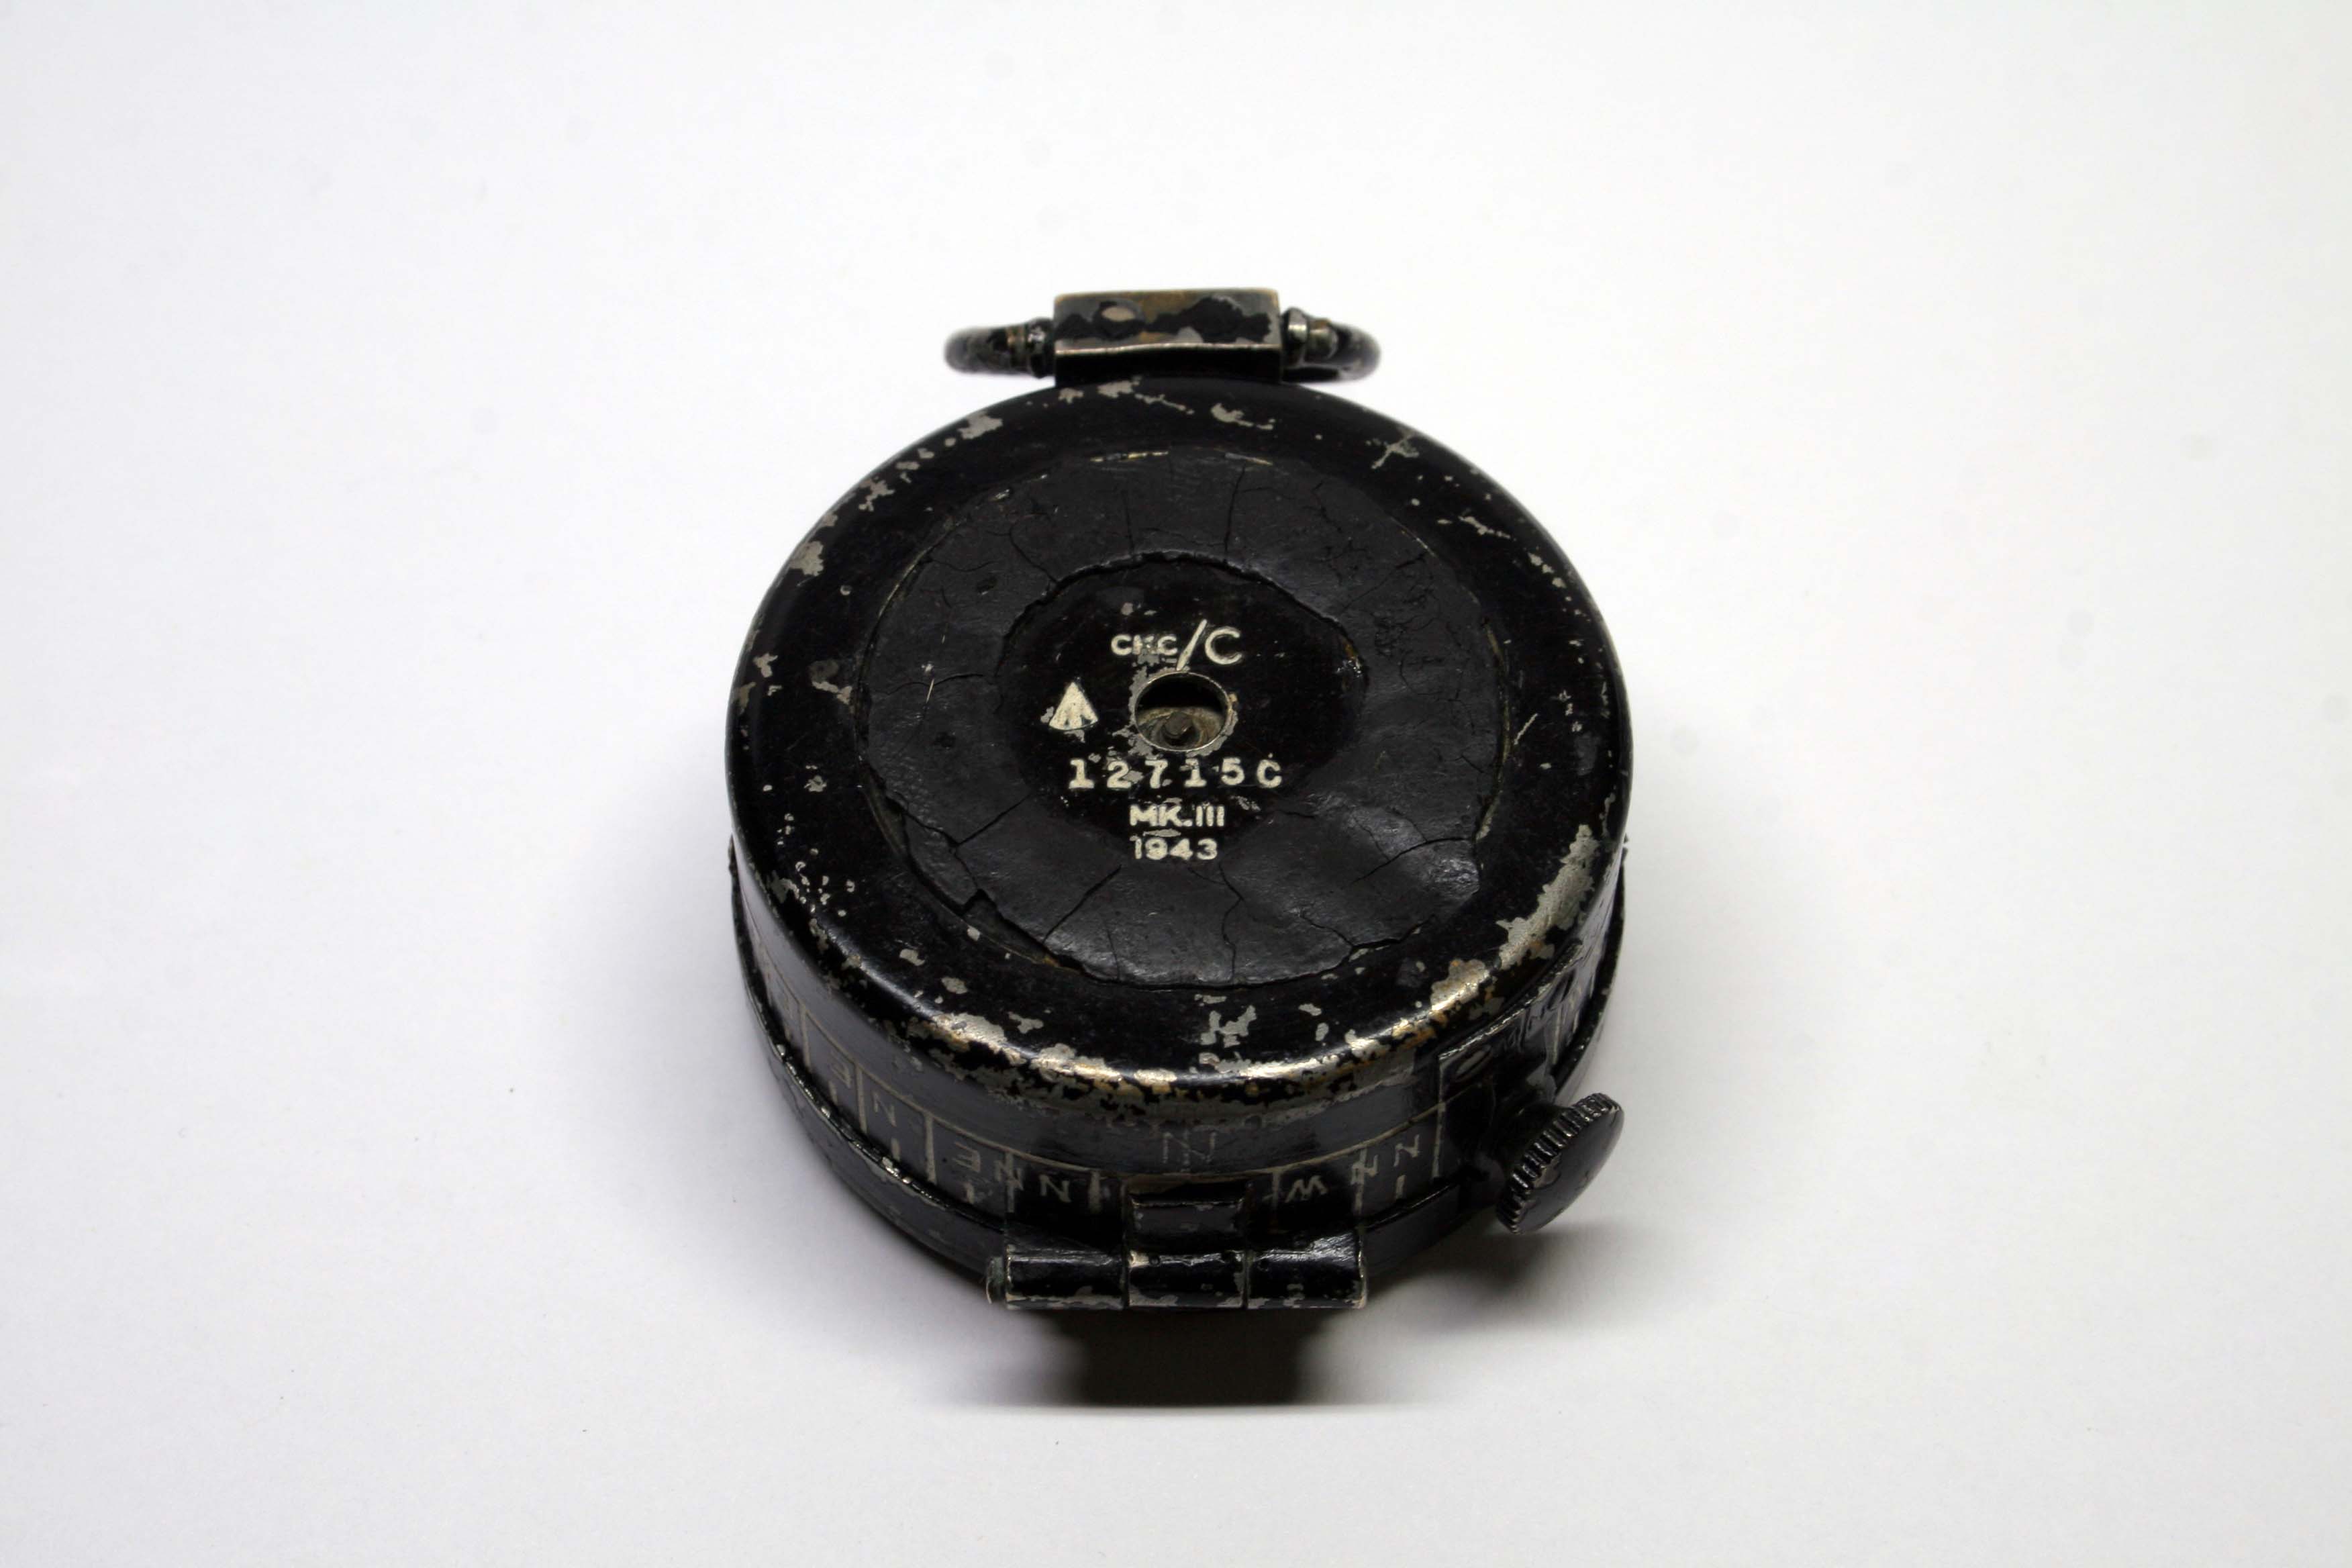
The rubber anti-skid pad on the bottom of the compass had hardened and begun to flake off, thus during restoration it was the first bit to be done away with. I then turned the compass over and removed the rotating bezel with inset crystal.

A quick test with my dosimeter confirmed residual radioactivity from the luminous paint so extra caution was utilized during disassembly and cleaning.

Eight screws aligned radially secure the lid to the bowl. With these removed I extracted the crystal and compass card.

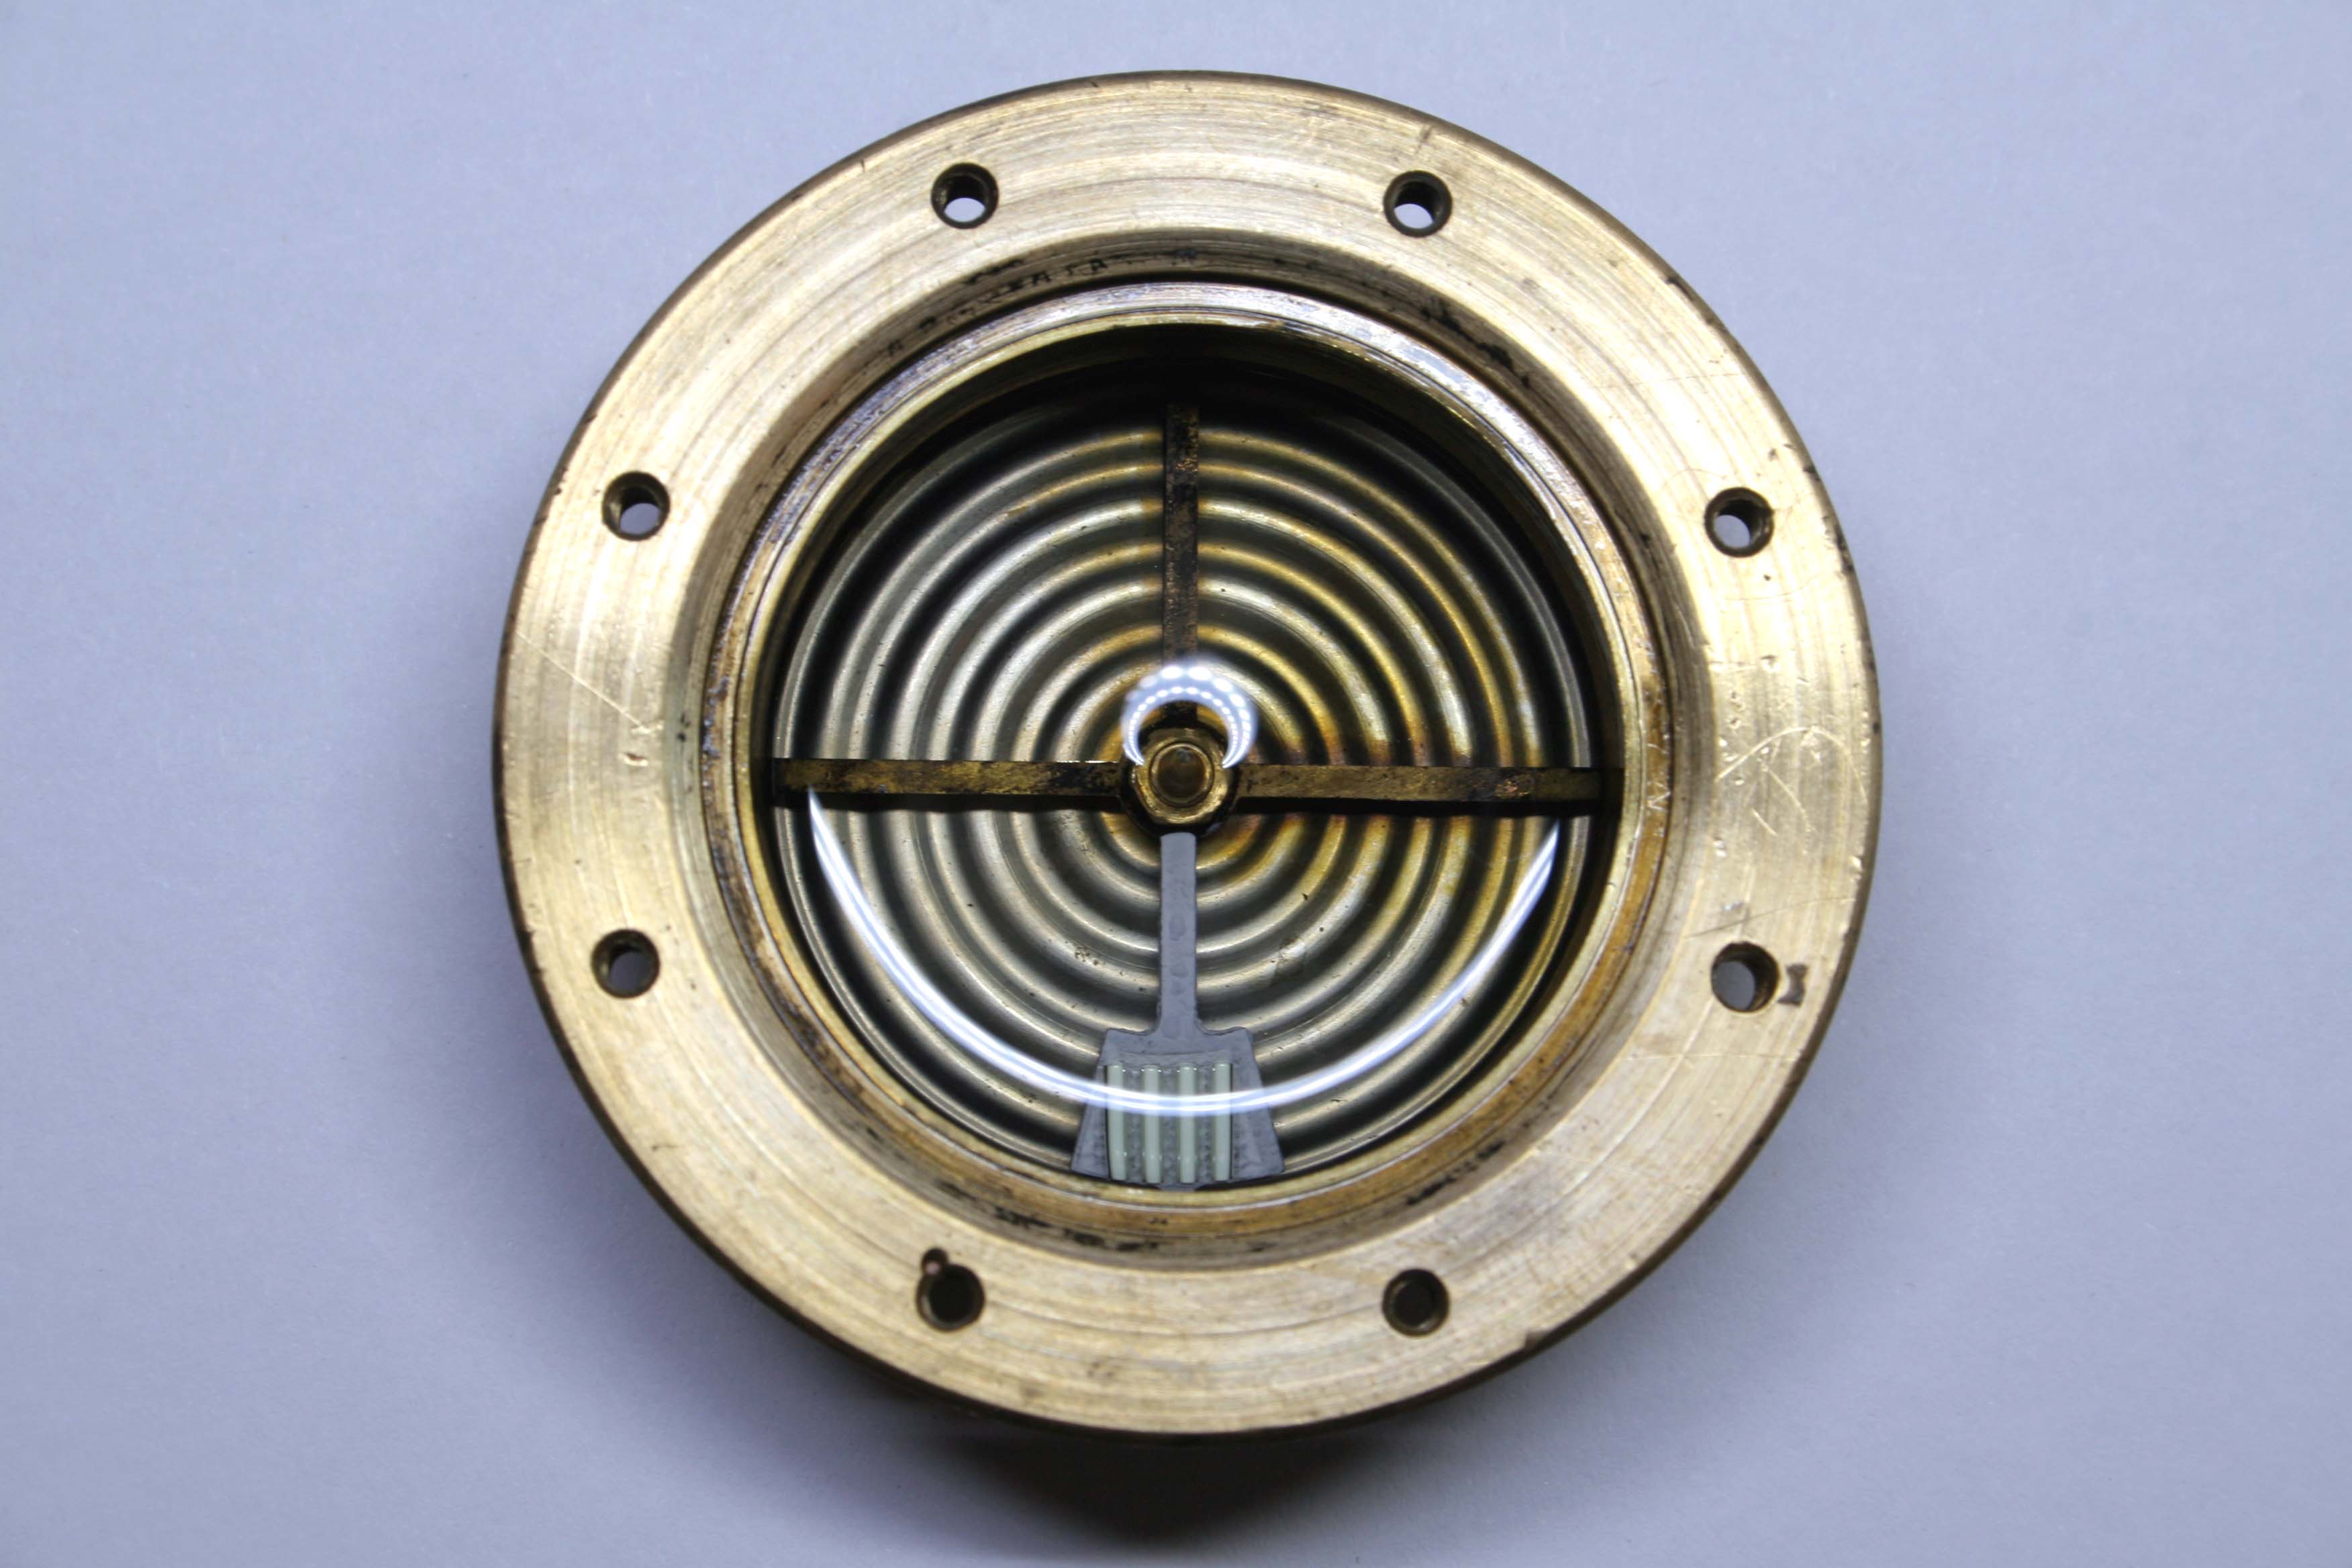
At some point water had entered the compass bowl and oxidized the iron needle beneath the card. Rust was found all throughout the interior of the bowl and had also badly stained the crystal.

The compass card is cut from mother of pearl. This material is translucent allowing the light from the luminous paint applied beneath the card to pass through and illuminate the compass rose. In 1943 this was a rather innovative solution which allowed a soldier to orient himself even when the sun was below the horizon.
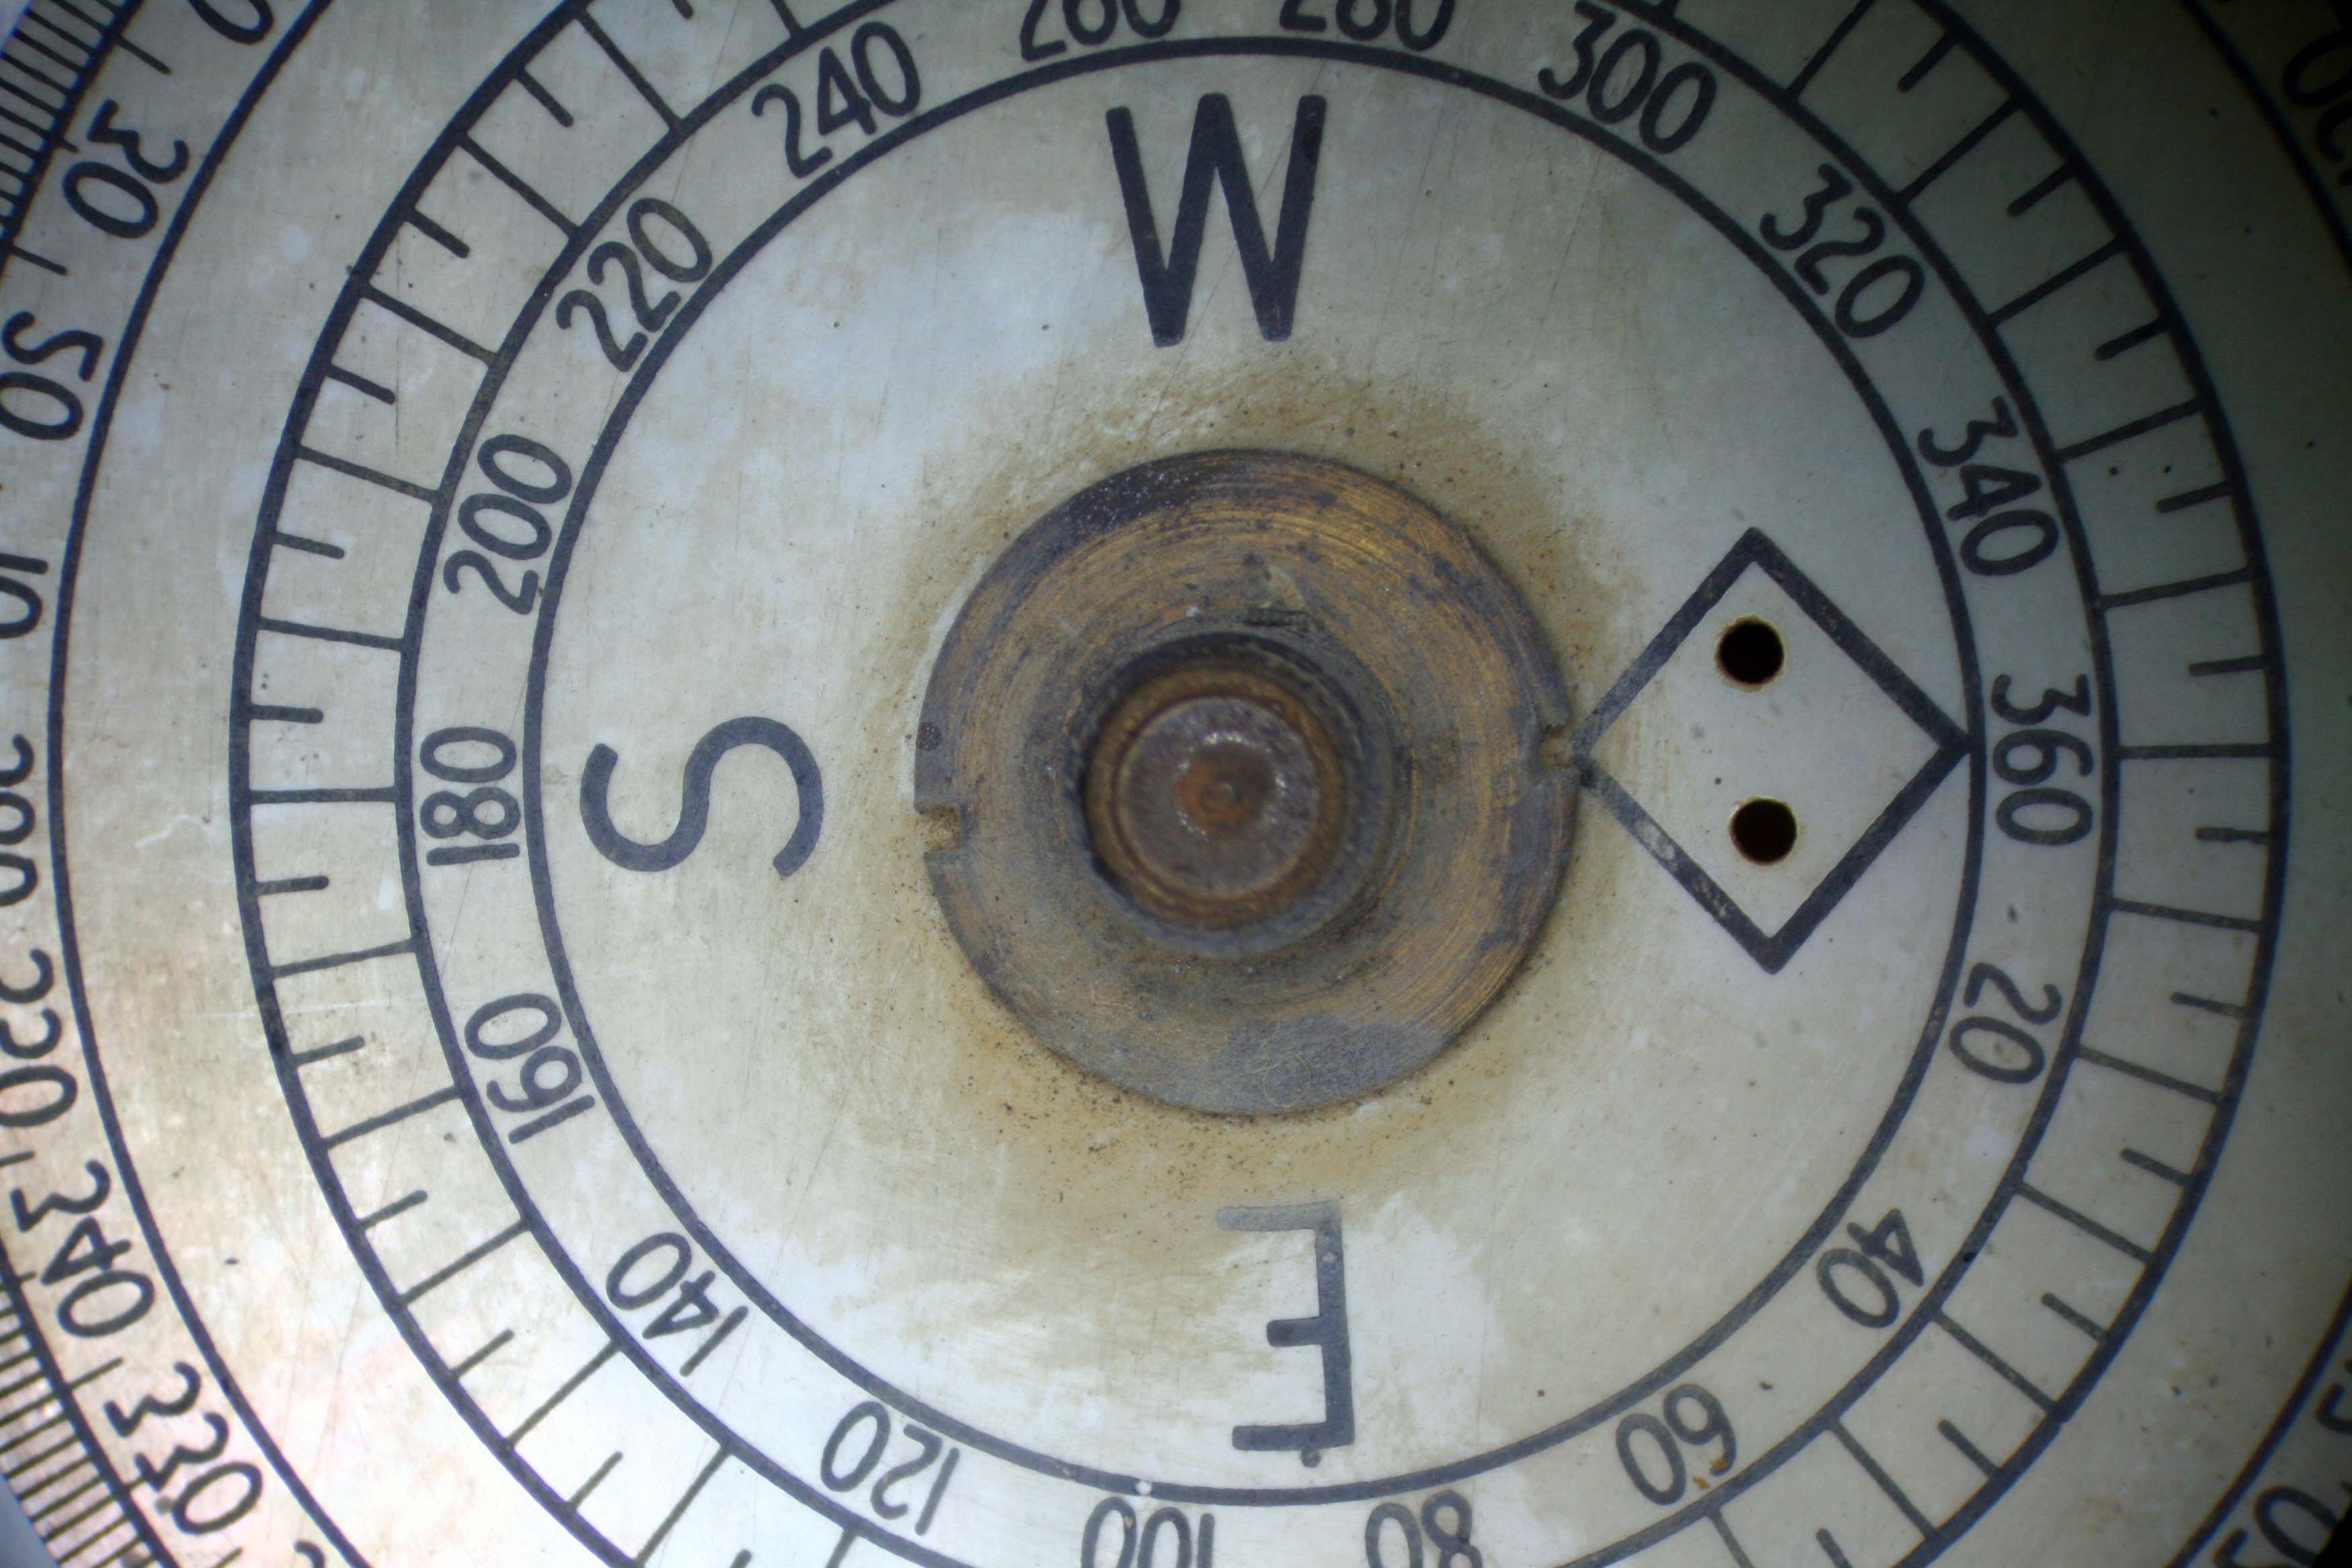
Sadly the luminous compound contained copious amounts of radium which is highly toxic. In addition to receiving an unwelcome dose of gamma radiation to the face when orienting, soldiers put themselves at risk of alpha particle ingestion if they didn’t wash their hands before eating.
Although most of the radium had been removed, oxidation had bonded radium particles to the needle resulting in a fairly hot compass card.

The bowl was removed from the compass housing which gave me my first look at the filler plug. A small fibre washer sits between the filler plug and the bowl but for good measure the plug was also sealed externally.
Deconstructed, each part was carefully cleaned. The housing was stripped of paint as well before receiving a brand new coat.
The external lettering was repainted under the microscope using some flat white paint and a thin oiler. A new black rubber anti-skid pad was applied to the base of the housing.
The bowl lid and screws were replated with silver and the compass card carefully cleaned with spirits which returned luster to the mother of pearl.

One of the screw holes in the bowl was stripped out so I re-tapped it and a replacement screw was turned on the lathe to match the dimensions of the newly tapped hole.
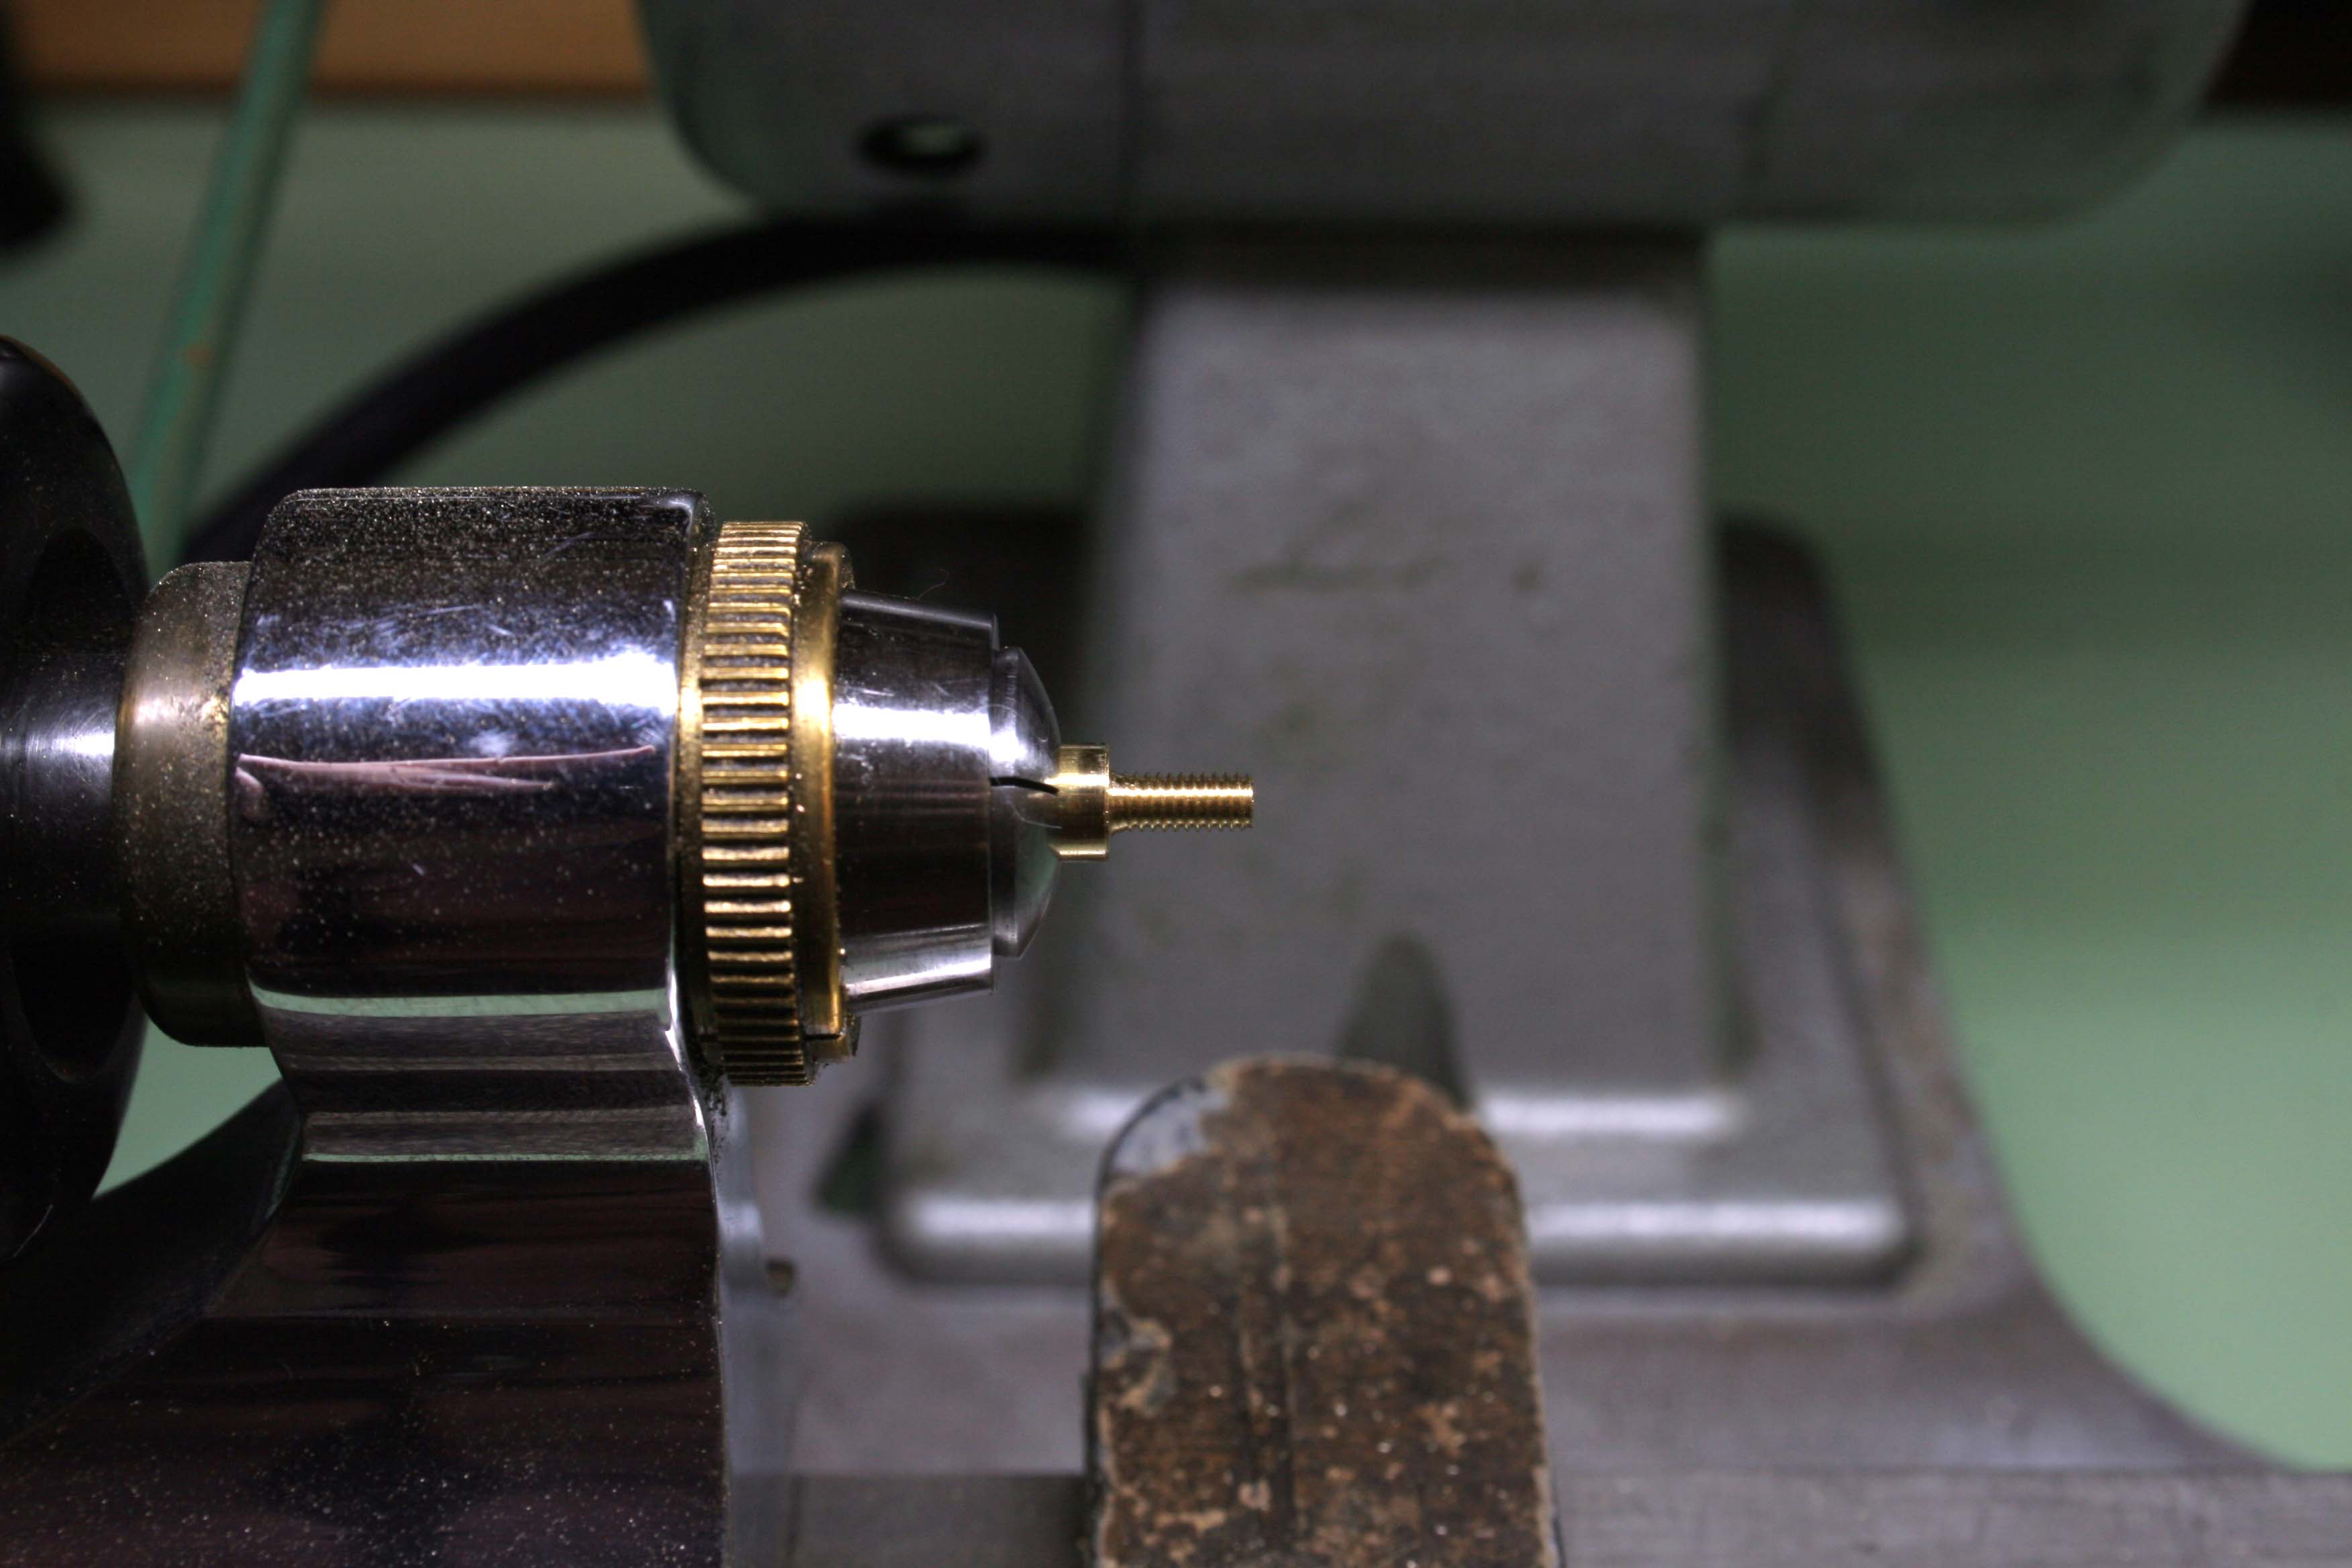
I plated the new screw in silver to match the others.

Where possible tritium tubes were installed as a replacement for the original radium based paint. The tritium will glow non-stop for up to ten years and does not require recharging under light. Where the tritium tubes would not fit or would appear ungainly, I utilized a Europium based luminous compound which glows quite bright after a short charge in natural light.

The crystals were cleaned and black enamel applied to any markers which needed it. This was followed by a thorough polishing.

I reassembled the compass bowl placing the compass card on the pivot then filling the bowl with purified kerosene. The crystal was replaced followed by a new flourosilicone o-ring. I chose flourosilicone as it does not degrade when in contact with kerosene. The lid was secured with the eight retaining screws. It is important to torque these screws in a star arrangement to ensure the lid is pressed firmly and evenly on the bowl.
Topping off the dampening fluid was done with a small syringe inserted in the filler hole.
I stripped off the worn lacquer from the coin edge bezel and polished it before applying a new coat of clear lacquer. The lacquer will ensure the brass bezel remains bright with repeated use.

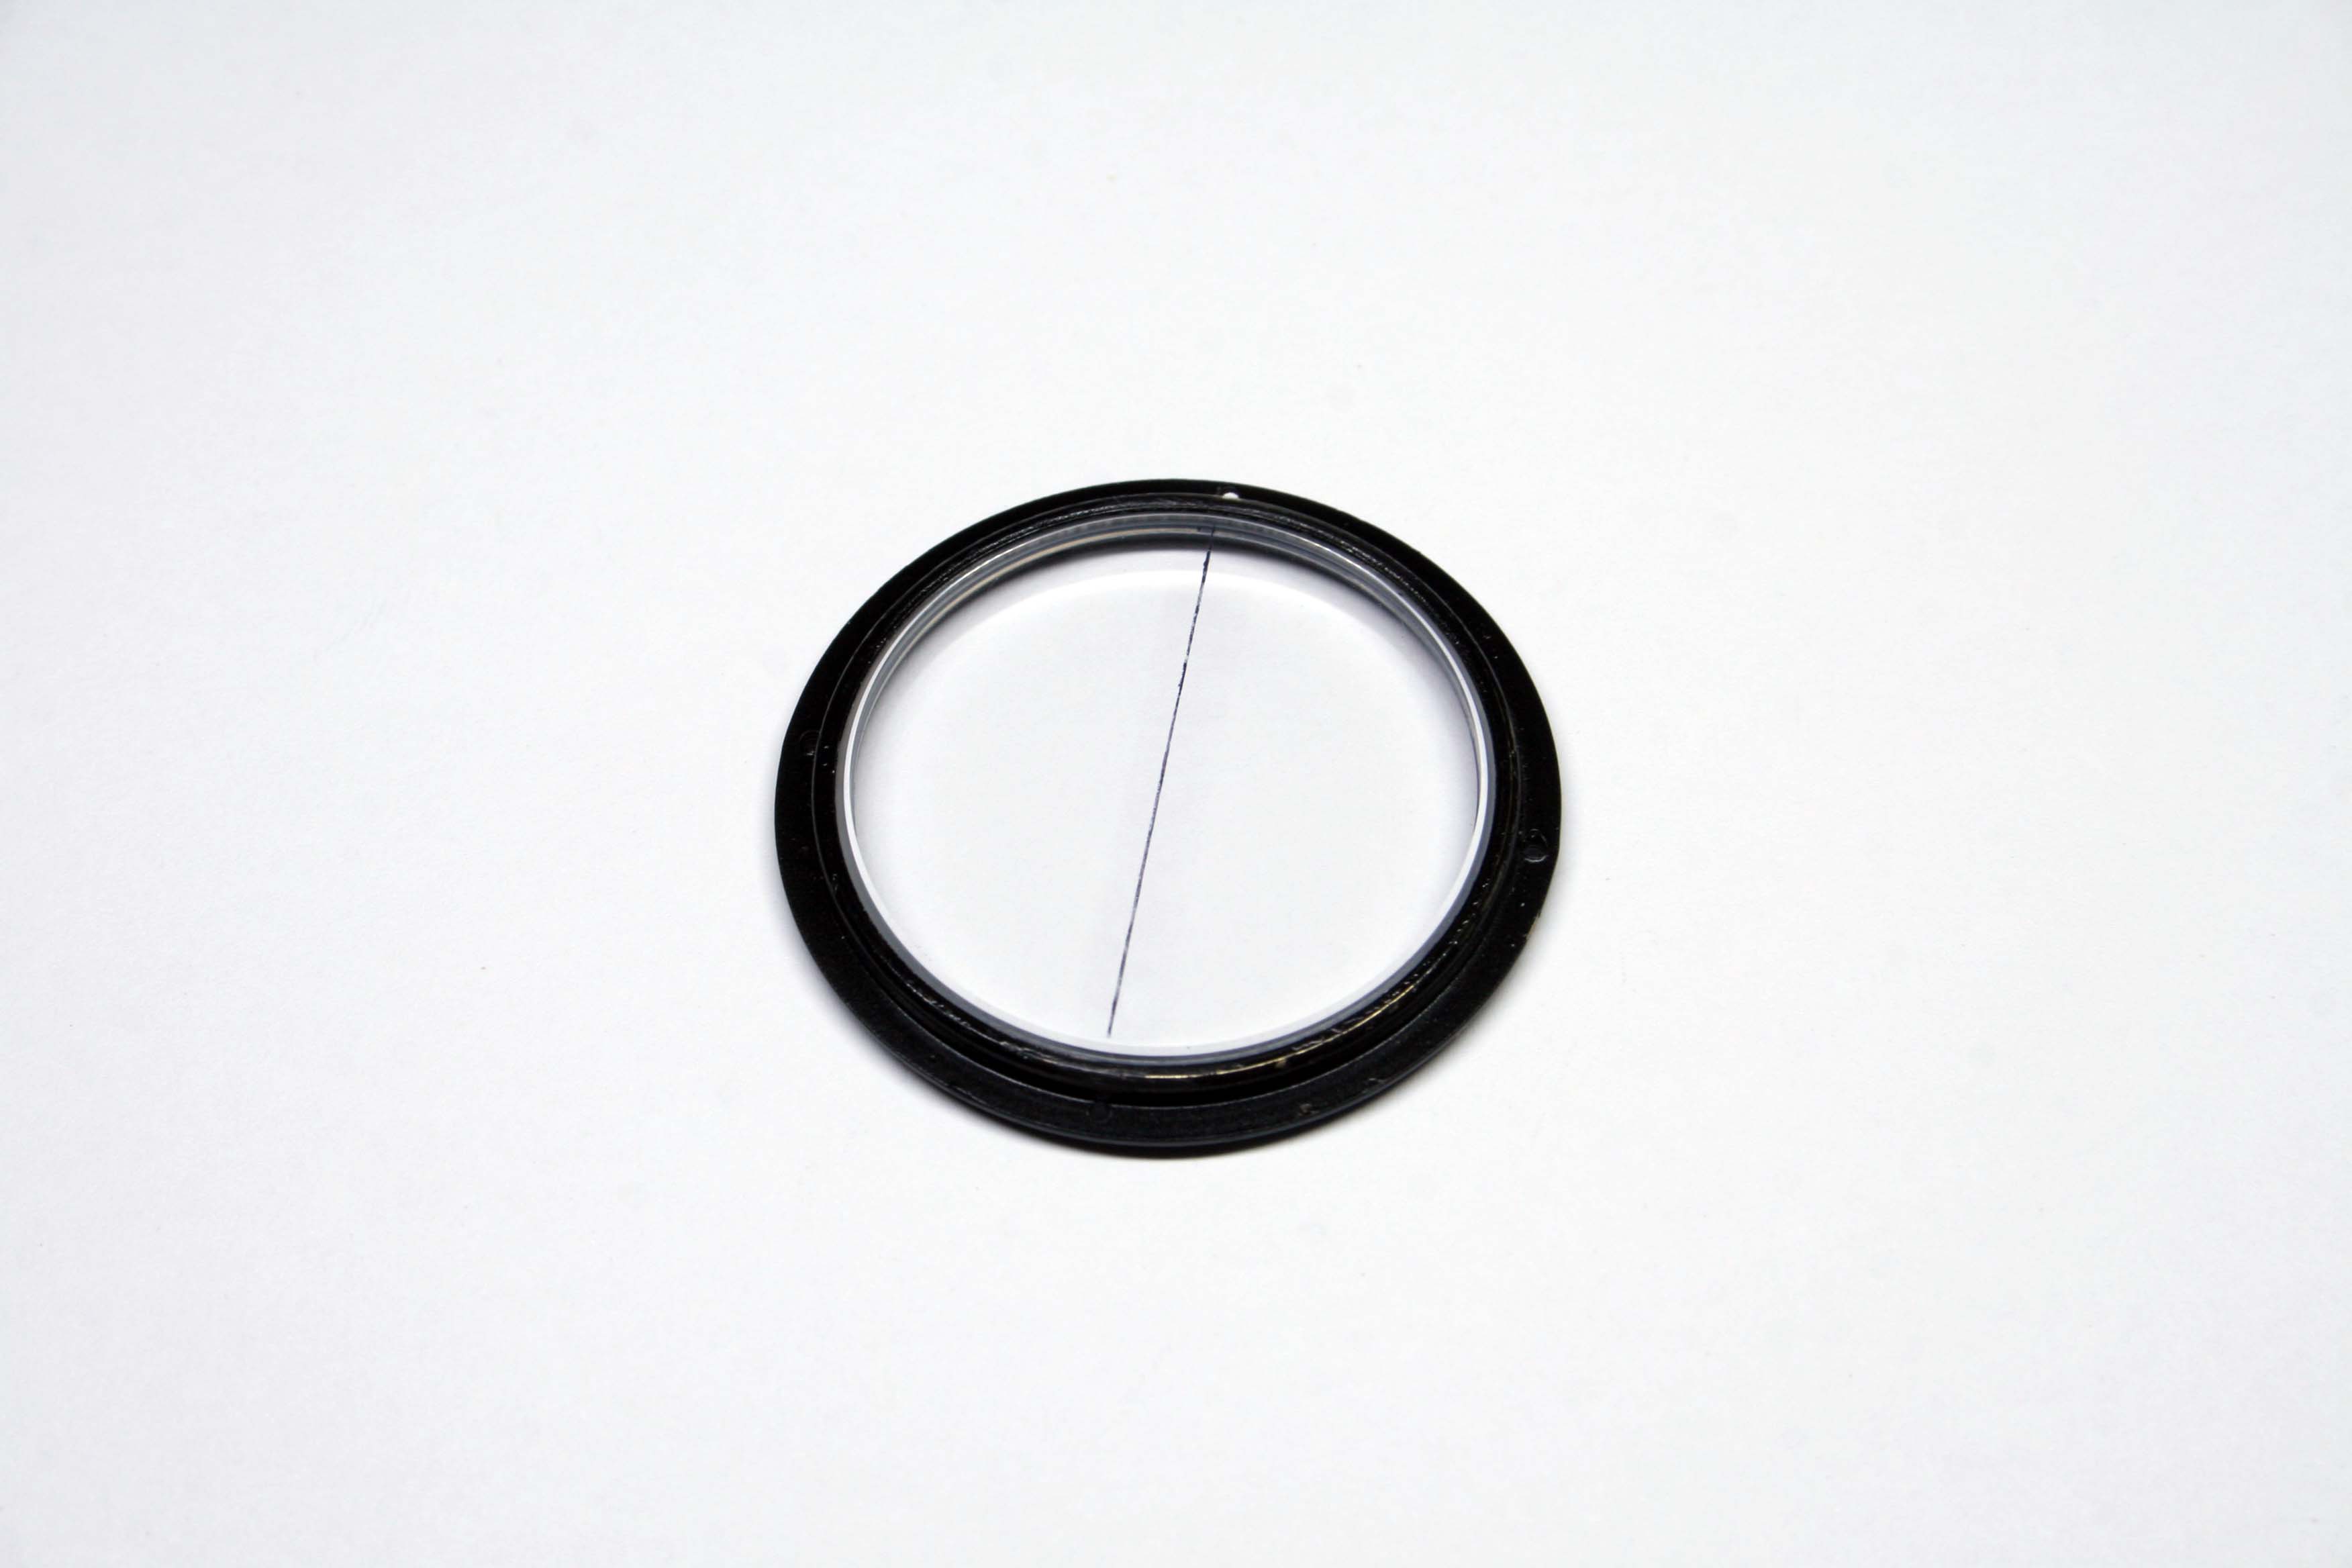
A new crystal was required for the hinged lid as the existing one was damaged (chipped). A replacement was ordered from my parts supplier and etched to add a sighting line. Etching was accomplished with a bit of etching cream and some packing tape applied as a mask.

The newly etched line was then filled with black enamel, the excess being polished away after curing.
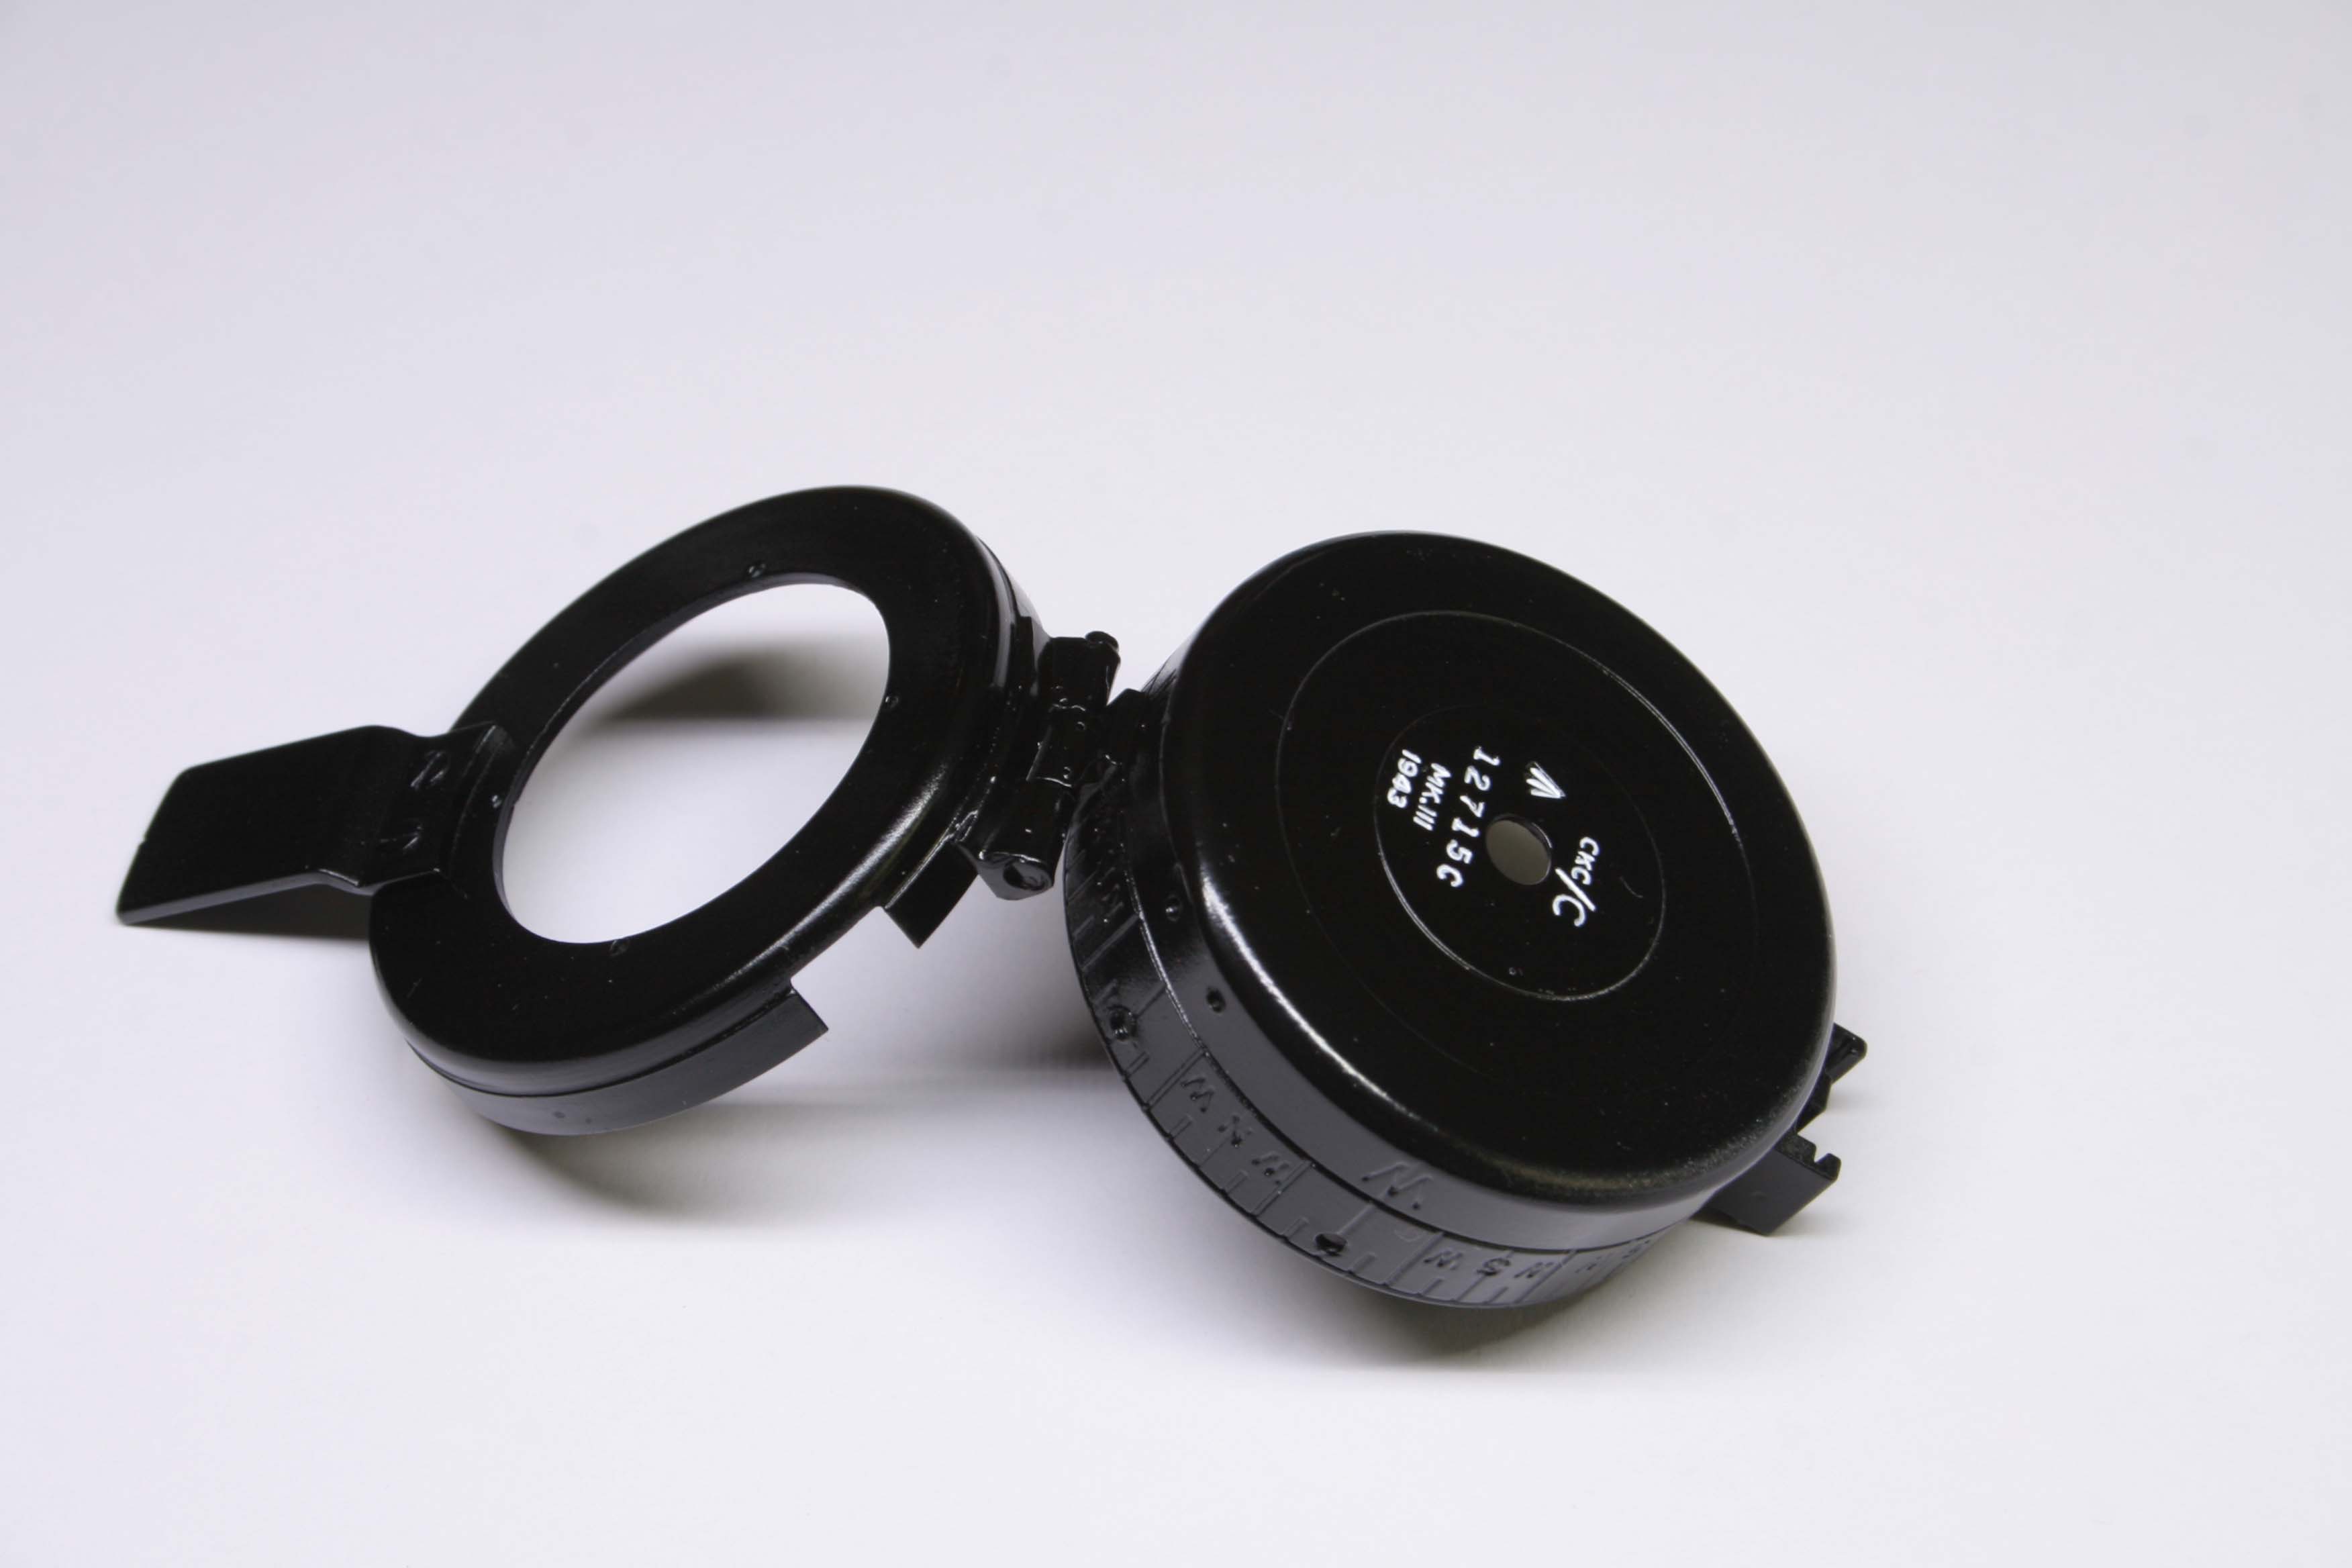
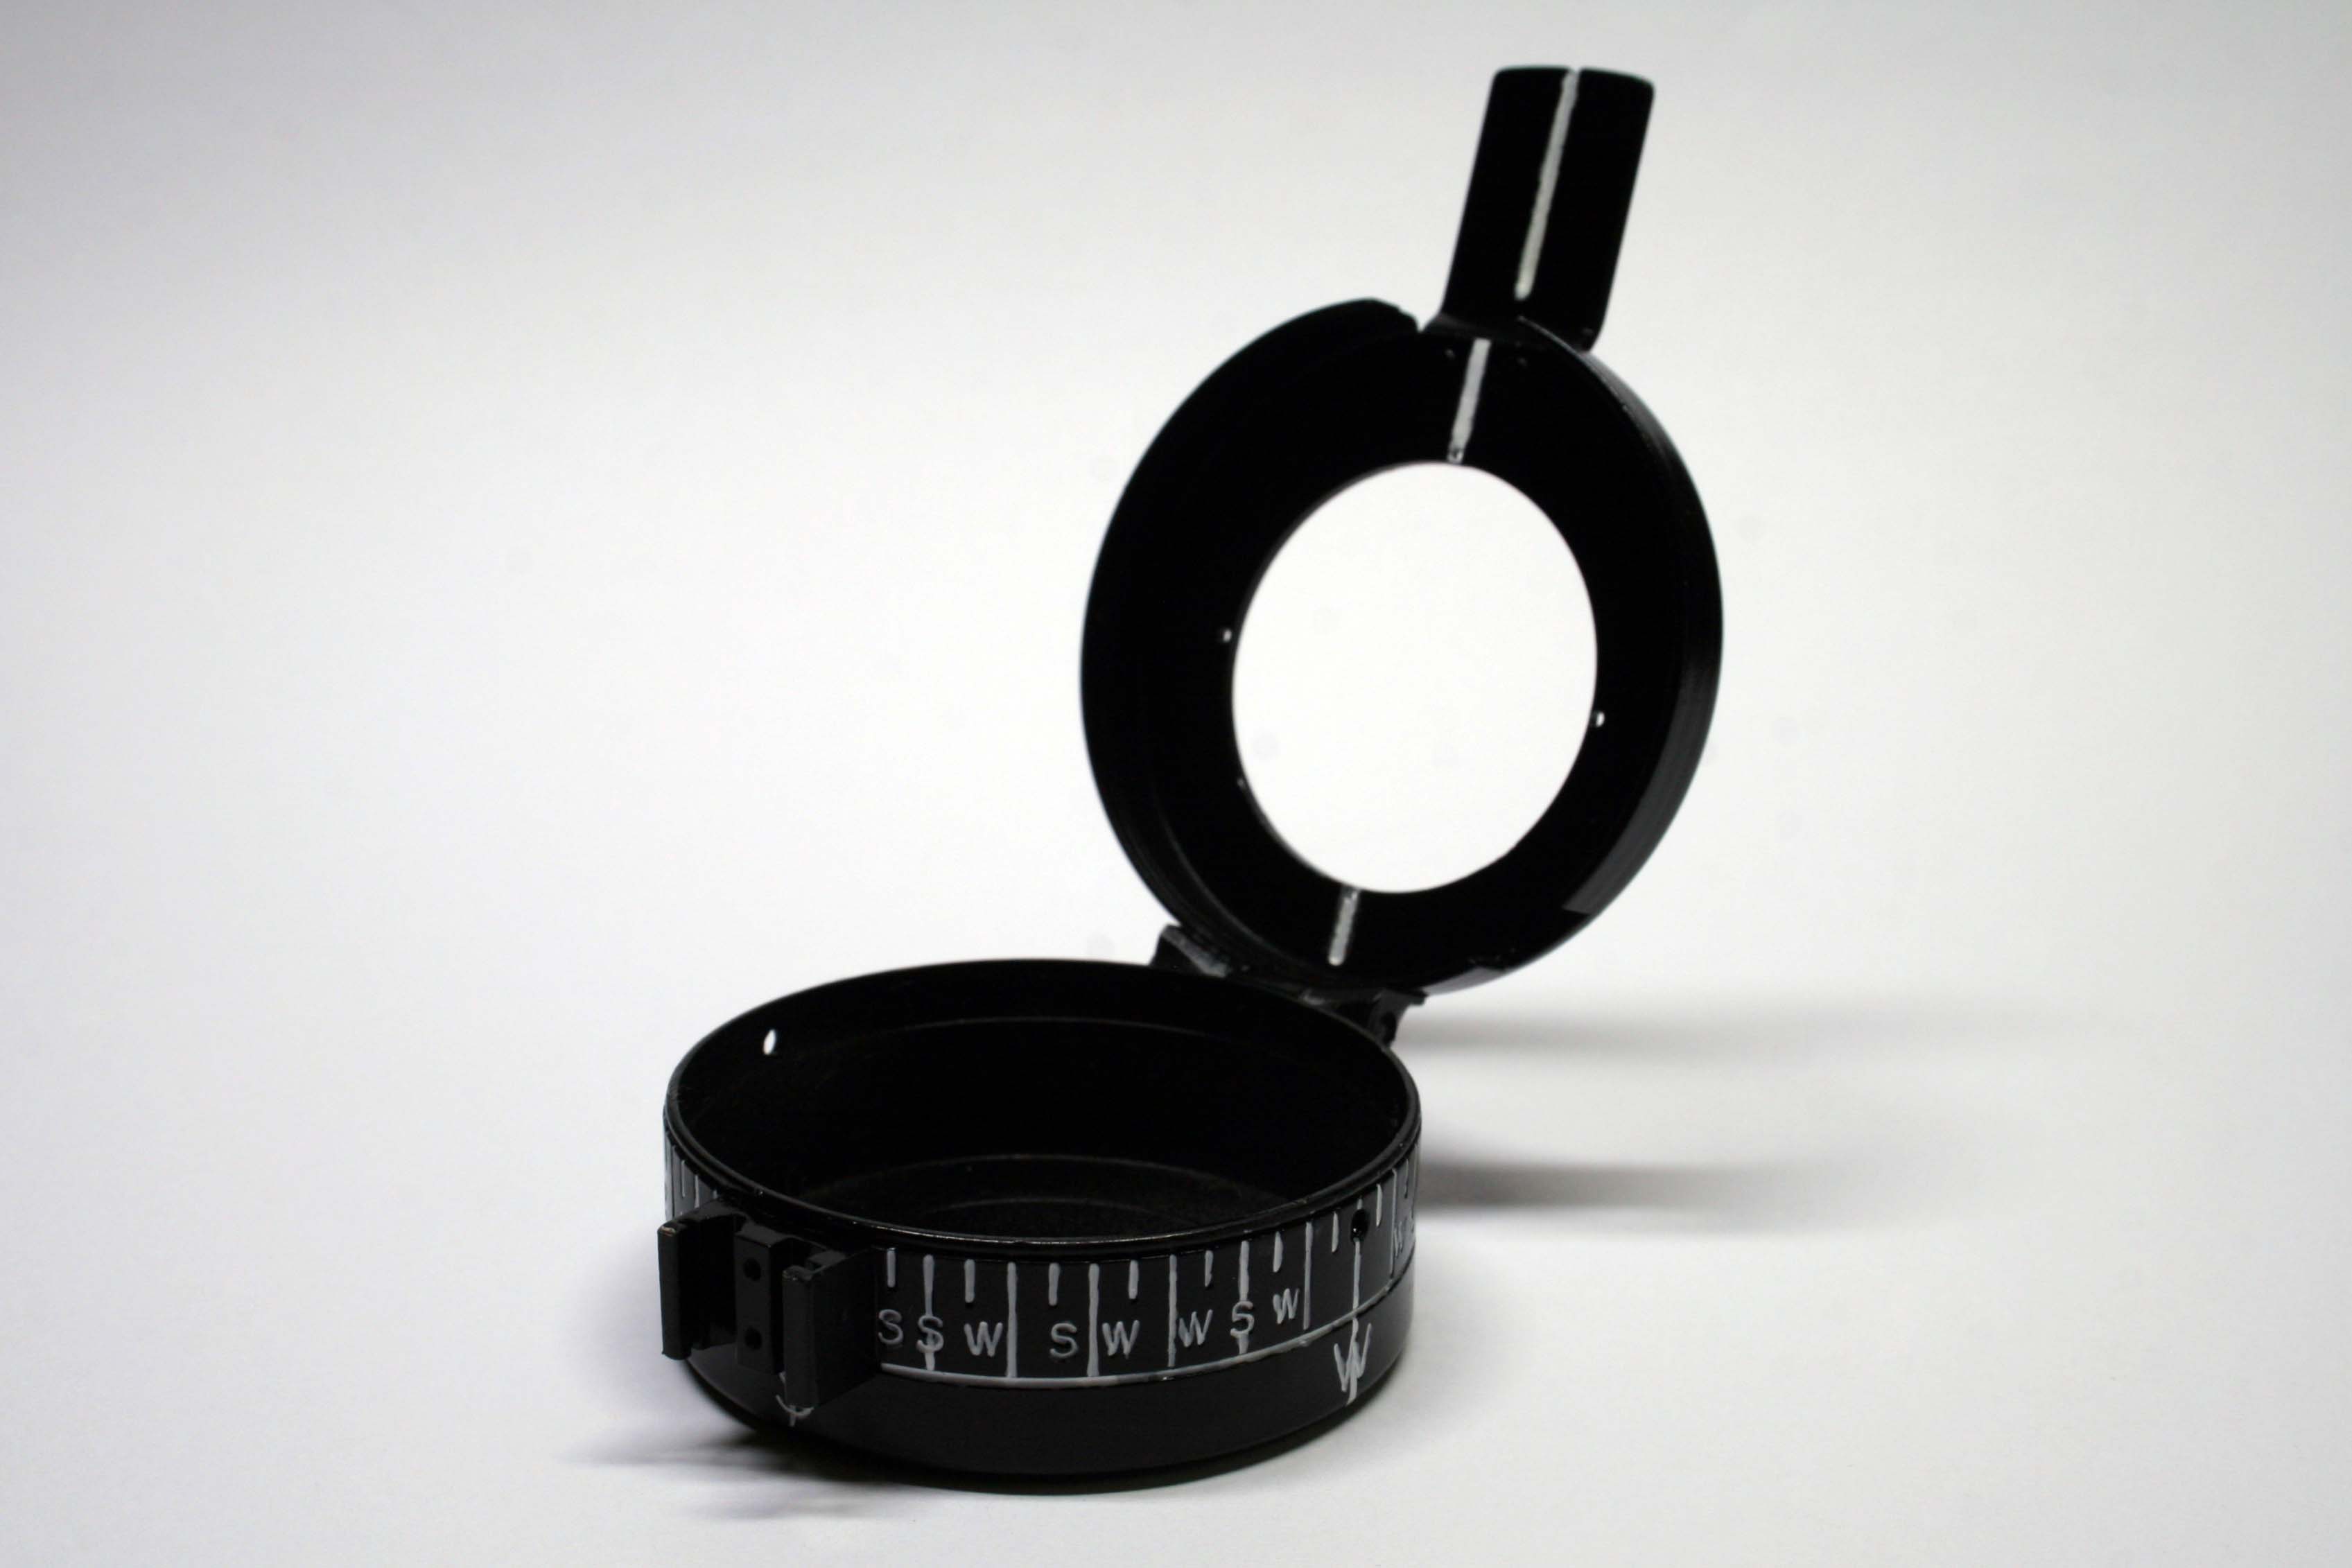
The compass was then fully reassembled.

Assembled and filled to the brim with dampening fluid, the compass is a substantial instrument. I haven’t weighed it yet but I would guess it’s about a half a pound of weight in the hand.
Although it will be used primarily to test watches for magnetism, I did want to make sure the compass performed in its original duties as well. Tested against the compass application on my mobile phone I registered a deviation of one degree (I’d add a picture of the two side by side but putting the phone near the compass results in further deviation).
I also took the compass out in the dark to see how well the tritium tubes work as a replacement for the luminous (radium) paint and I must say I am very impressed by the engineering of this instrument. The tritium illuminates the compass rose bright enough to easily get your bearings during the night. The use of a prism mounted over the card is ingenious. The user can see the illuminated card reading magnified in the prism while at the same time sighting a landmark; furthermore, the dampening fluid removes any jitter normally associated with a compass- it turns as smooth as silk.


Good day to Ya. Have u ever done a complete refit of the mk 111 for anyone else other than yourself and charged to do it! I’d certainly be very interested in you doing one for me and paying you to do it? Please let me know if this is something that would be of interest to u? Thanking u in advance. Farrell Henzel. Can email me at farrellhenzel@gmail.com
LikeLike
I desperately need spare parts for my newly aquired Mk. III Marching Compass (1932).
Wish to restore it. At least the outer parts.
Location : Malaysia
LikeLike
I have one for sale if you are interested. shahrilyusof@gmail.com
LikeLike
Are you still repairing these compasses? I have a mk111 which needs fluid,
LikeLike
No I don’t do the compass repairs anymore- too much toxic paint to deal with.
LikeLike
I have one of these that I would like to repair. How concerned should I be with the radiation side of things? Any advice on removing and disposing of the offending paint would be appreciated. If the paint removal isn’t really required, all I plan to do is remove the top, scrape out some excess goop and refill the fluid (Which I believe is Kerosene) and put the top back on. Great work on both of your Compass refurbishments.
LikeLike
Hi Rodney,
I’m not the right person to be advising you not the potential dangers of radium paint and proper handling or disposal methods. What I do know is that radium is very dangerous if inhaled or ingested and these compasses in particular have a lot of radium paint applied to them. I would suggest visiting the head of the chemistry department at your local university or high school for a high level introduction to radium and radium decay.
LikeLike
No worries. Thank you for your reply. I might donate it to them as a project. They might want to use it for a learning/teaching experience.
LikeLike
I’d like to add- thanks for the good word regarding the restoration of the two compasses I have. I’d love to do more but consider it unnecessarily risky and have thus moved back to watches. Kerosene works well as a dampening agent also but you won’t be able to use rubber gaskets if you use kerosene because it ruin them over time.
Cheers!
LikeLike
I just cleaned 3 MkIII compasses last week with various levels of radium paint. I read every article (including both here, thank you) on the hazards of these compasses and delayed the project until I was sure I knew exactly what I was doing. I read many articles on what is a “safe” level of radiation and brought each part to well below this level. (I will not try to define safe exactly-it is up to the individual). Like many others, I don’t want to encourage or discourage someone from the task. I kept Radex dosimeter (geiger) readings at every stage. Even if you don’t see paint, the components can still have residual radiation from invisible particles. You must be able to control exactly where all the old fluid and paint goes at every stage, and ensure that it cannot become a hazard to you or anyone else after the project. It can be done safely, but I won’t be doing another one.
LikeLike
I have observed that mine does not glow in the dark. So it was either manufactured that way or it could have been refurbished before I am guessing. I still have not convinced myself to refurbish it as I do not have any radioactivity testing equipment.
LikeLike
Rodney-
If I may, all radium-based paint will no longer glow after 10-20(?) years. The radium is still very active, it’s the other compounds of the paint that actually glowed. Radium paint ages to a pink-to-brown color in these compasses. If you see brown paint that’s a pretty good indication. The only way to really tell the radium content is with a geiger counter or similar instrument. The immediate hazards are the paint stripes on the underside of the lid- be careful not to disturb these areas.
LikeLike
Awesome feedback thank you.
LikeLike
One of the best refurb I have seen. Could you please advise me on what liquid you used to fill compass.
LikeLike
Hi Bill, I used kerosene as the dampening fluid in the two compasses I repaired. It works great in the compass but keep in mind it’s flammable, gives off fumes (best to fill in a well ventilated area), and does not agree with rubber so rubber gaskets are not an option.
LikeLike
Any Francis Barker compass may be returned to the manufacturer in the UK where it can be fully refurbished. The liquid damping used in the compasses nowadays is refined kerosene. I have had an M73 for just over twenty years for use in long distance bushwalking and XC skiing and in teaching map reading to new club members.
LikeLike
Do you have any contact details for the company? An email address? Possible costs?
LikeLike
Hi. The company is Pyser optics: http://www.pyseroptics.com
No idea how much it costs, I guess that would depend on the status of the compass.
I know they do not take MKIII compasses because of the radium, only the latter models with no radium on them, only tritium tubes: M-71 (with tritium paint), M-72 and M-73.
I have an M-72 in very good shape but with a bubble in the fluid. I know you don’t do MKIII compasses anymore, but what about the ones without radium?
LikeLike
Pyser@pyseroptics.com
LikeLike
… the damping oil should be degassing after refilling by keeping it in a low pressure vessel for a couple of days to remove any dissolved air before replacing the filling plug …
LikeLike