

This is the final chapter of the Breitling Navitimer Restoration Project which began in 2016. As you’ll recall I had serviced the movement and repaired the damaged case; I had also repaired the hour and minute hands which were bent and needed new luminous paint.
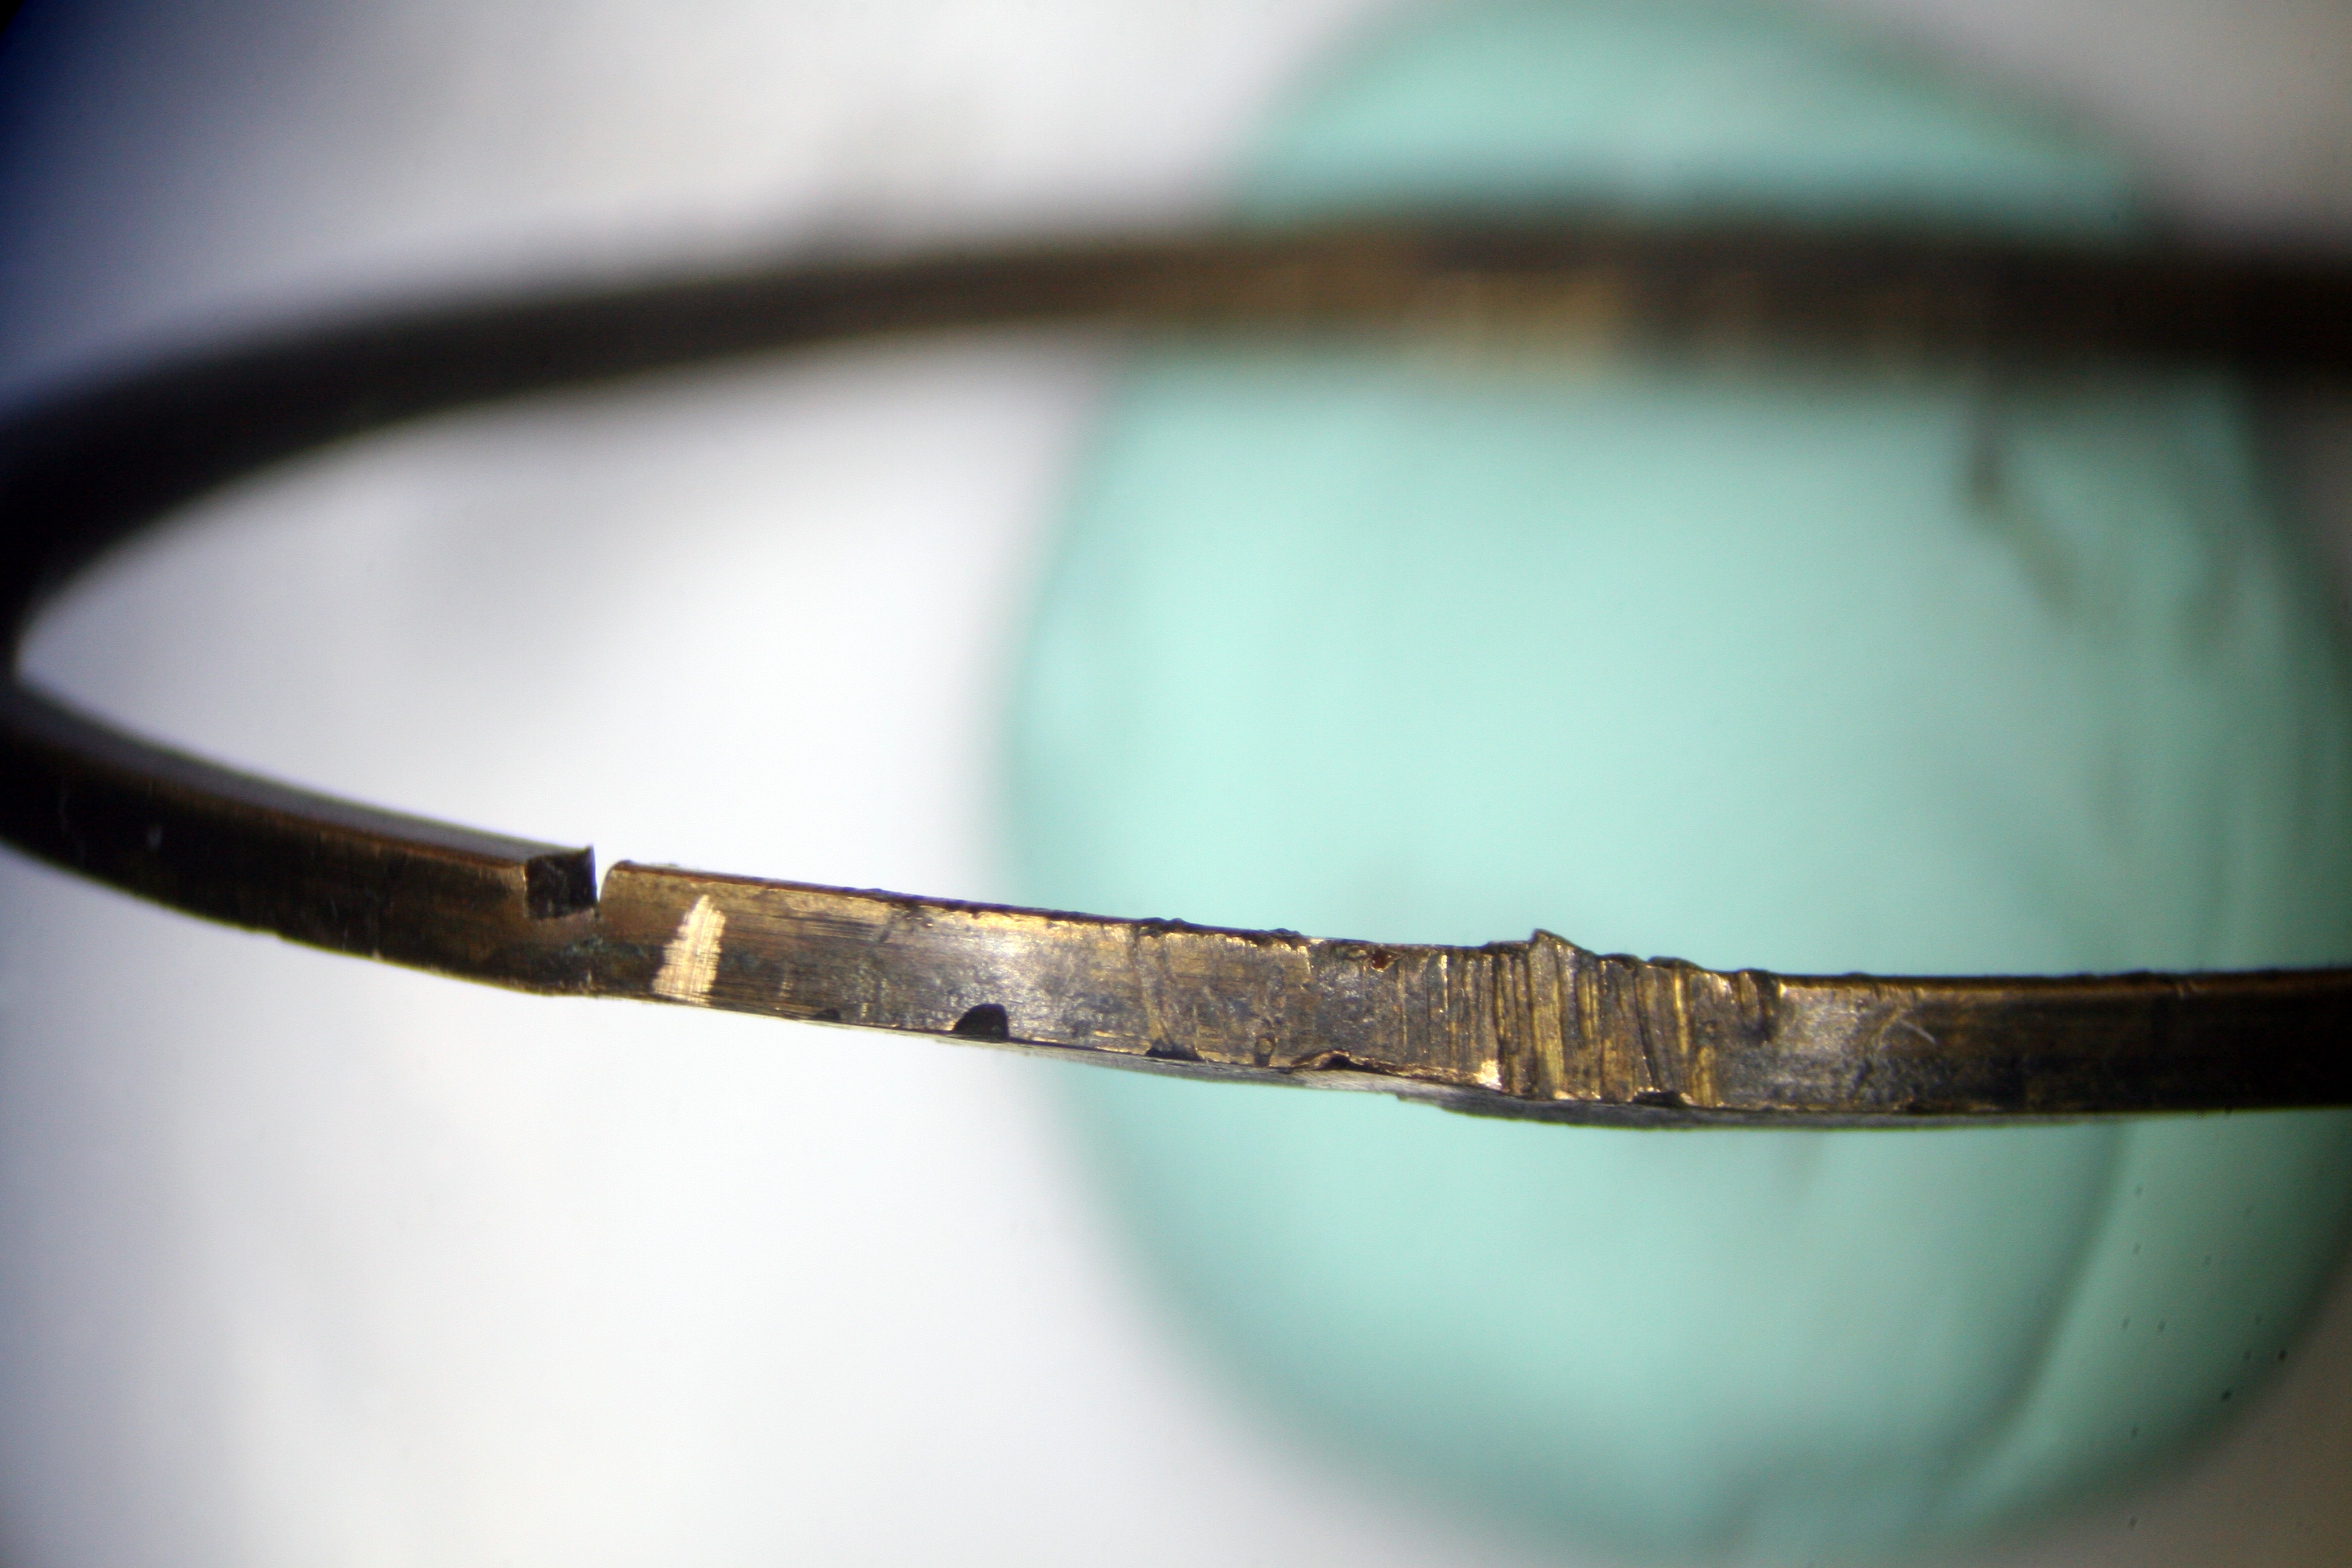
At this point the biggest need was securing a replacement bezel. These old Navitimers have a notched bezel which is friction fit to a brass ring on the case. The ring is held in place with a spring and both these parts are hidden under the slide rule running the circumference of the dial. My bezel was long gone but I still had the brass ring (damaged) and the spring.
To locate a replacement bezel I reached out to my usual vendors before moving onto other collectors then graduating in desperation to eBay. None were to be found. Apparently vintage Navitimer bezels are easy to lose and hard to find.
Once it became apparent a replacement was not going to materialize I began thinking outside the box. Since the tolerances are so fine (within 0.10mm for a proper fit) I wasn’t able to find anyone locally to fabricate a replacement. Stainless steel also turned out to be too hard for my small lathe to handle (thus I’m now eyeing more robust tool lathes for the future) but brass would prove manageable.
I purchased a set of 1 5/8″ brass washers and set to whittling one down in the lathe as a proof of concept.
I widened the interior diameter of the washer then cut the necessary recesses to create a snug fit over the retaining ring (which I had already repaired).

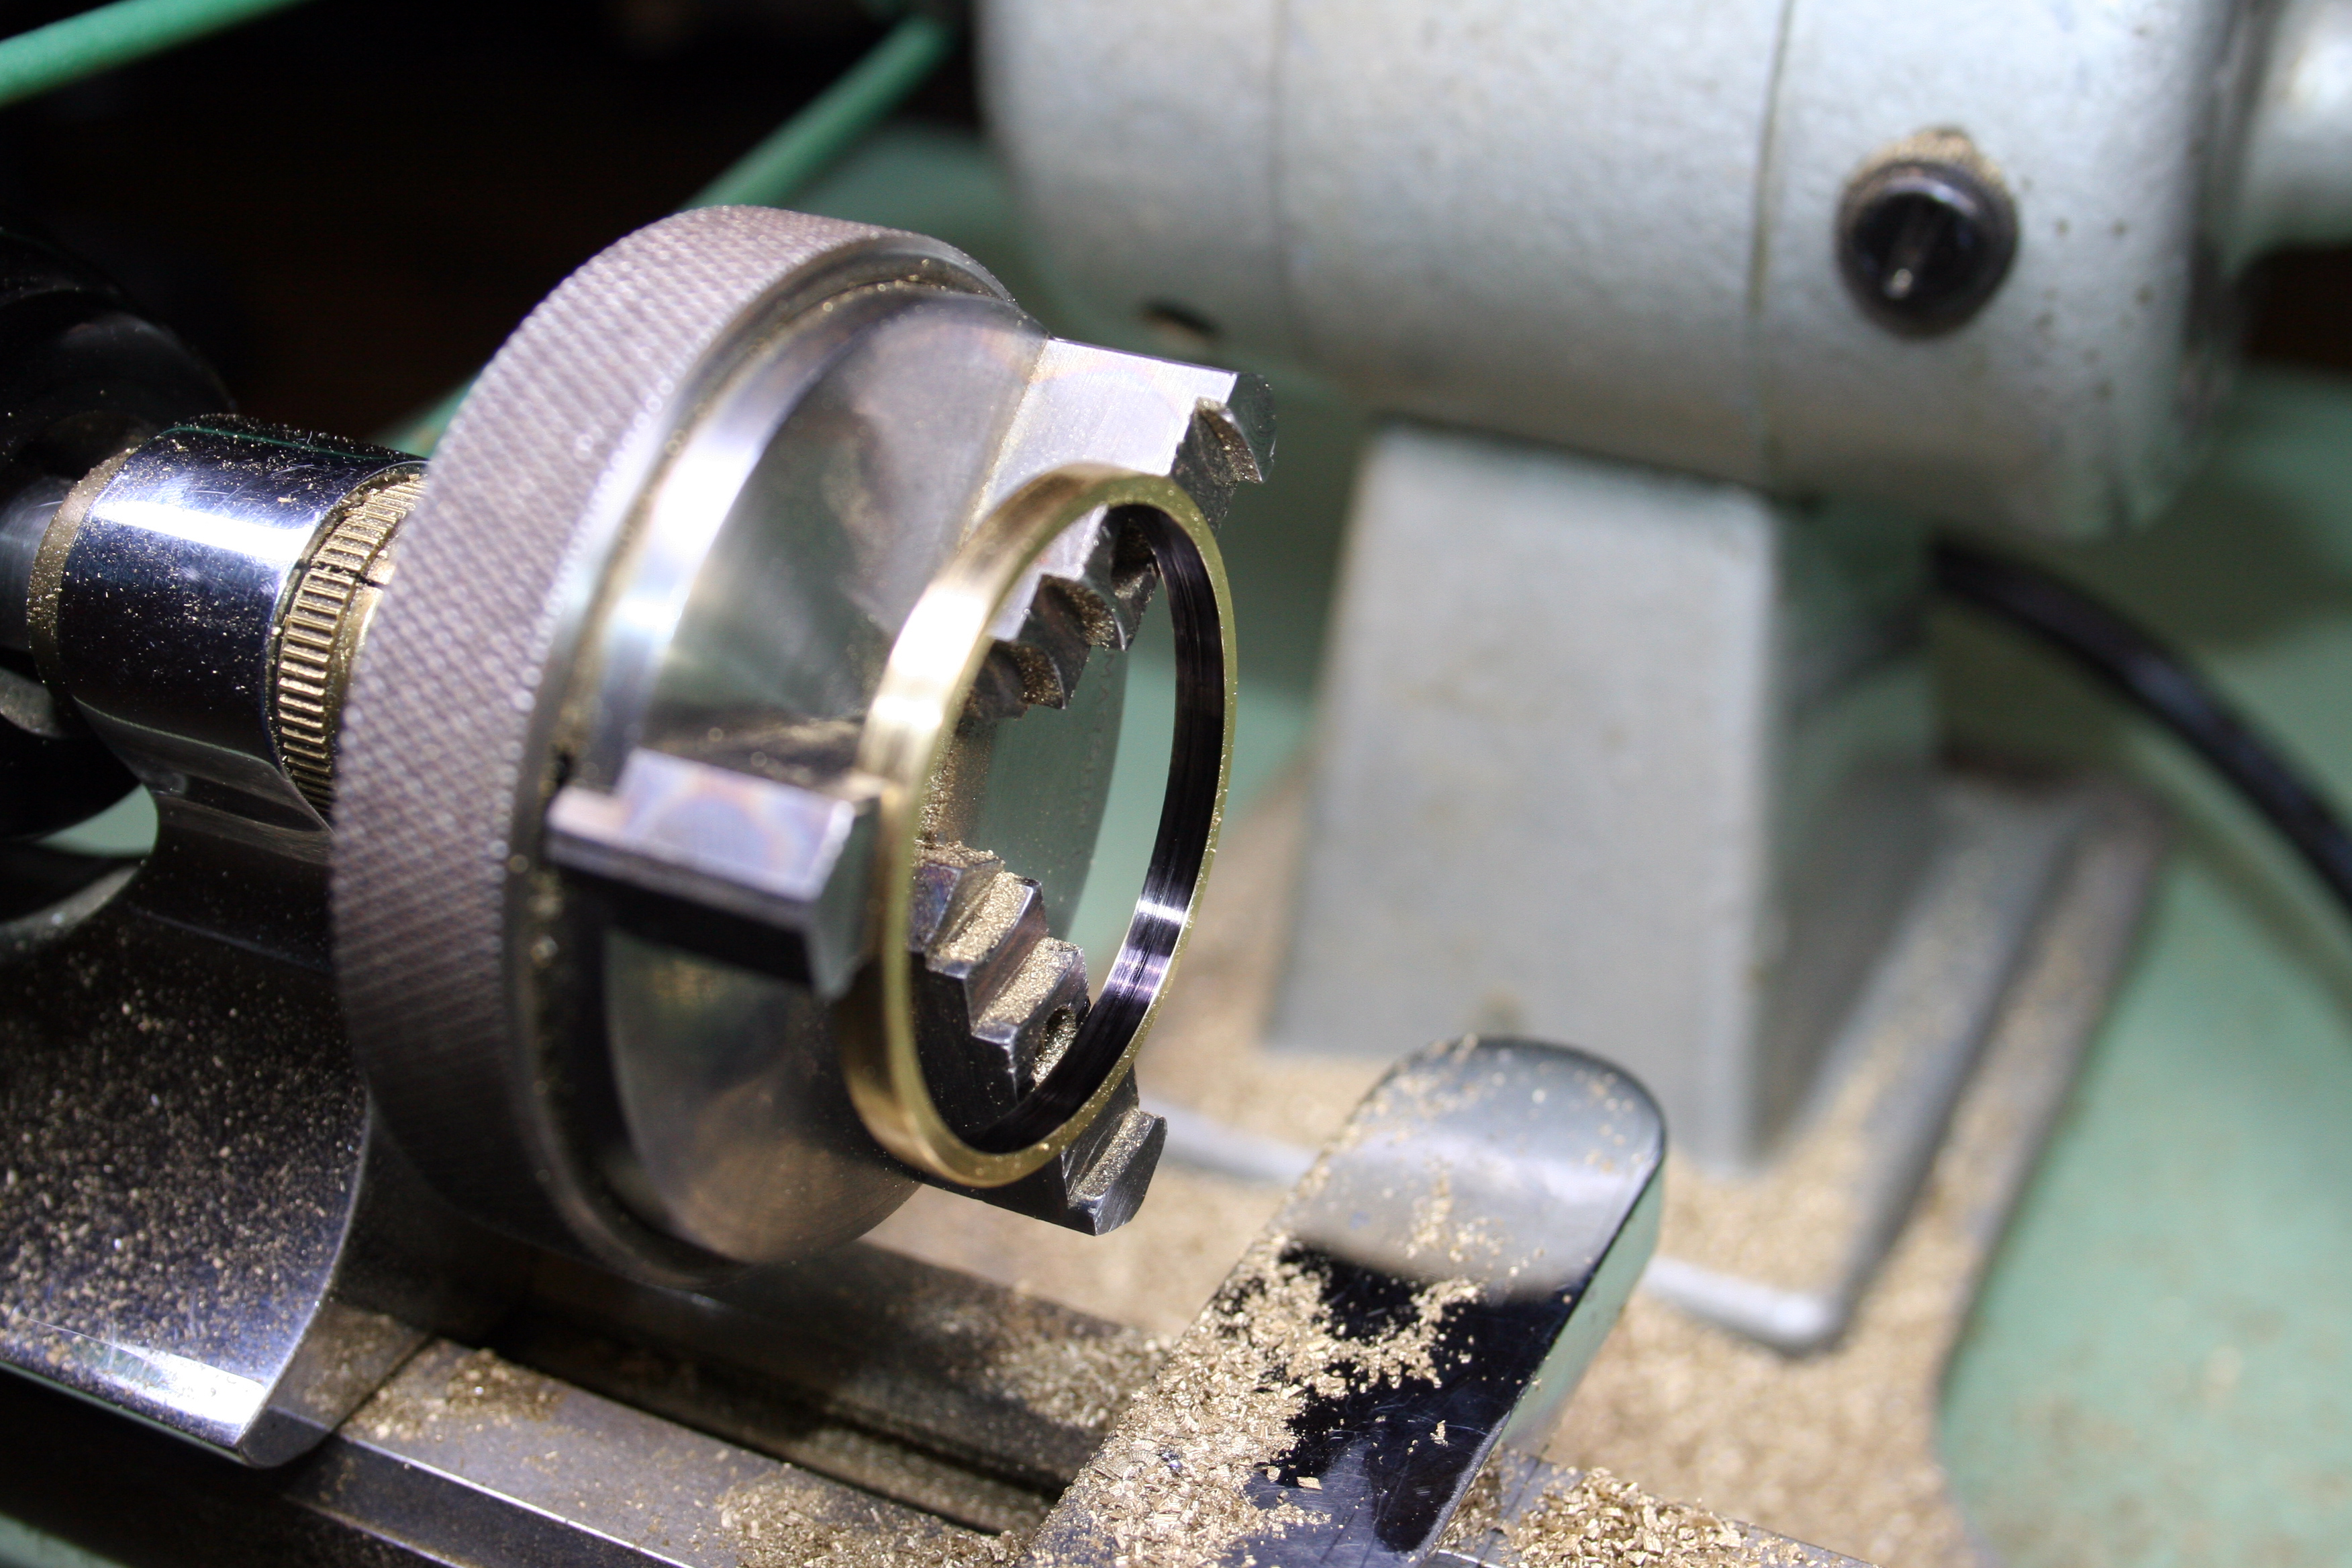

With the interior dimensions set, I cut the profile of the exterior and the recesses for the slide rule and crystal.


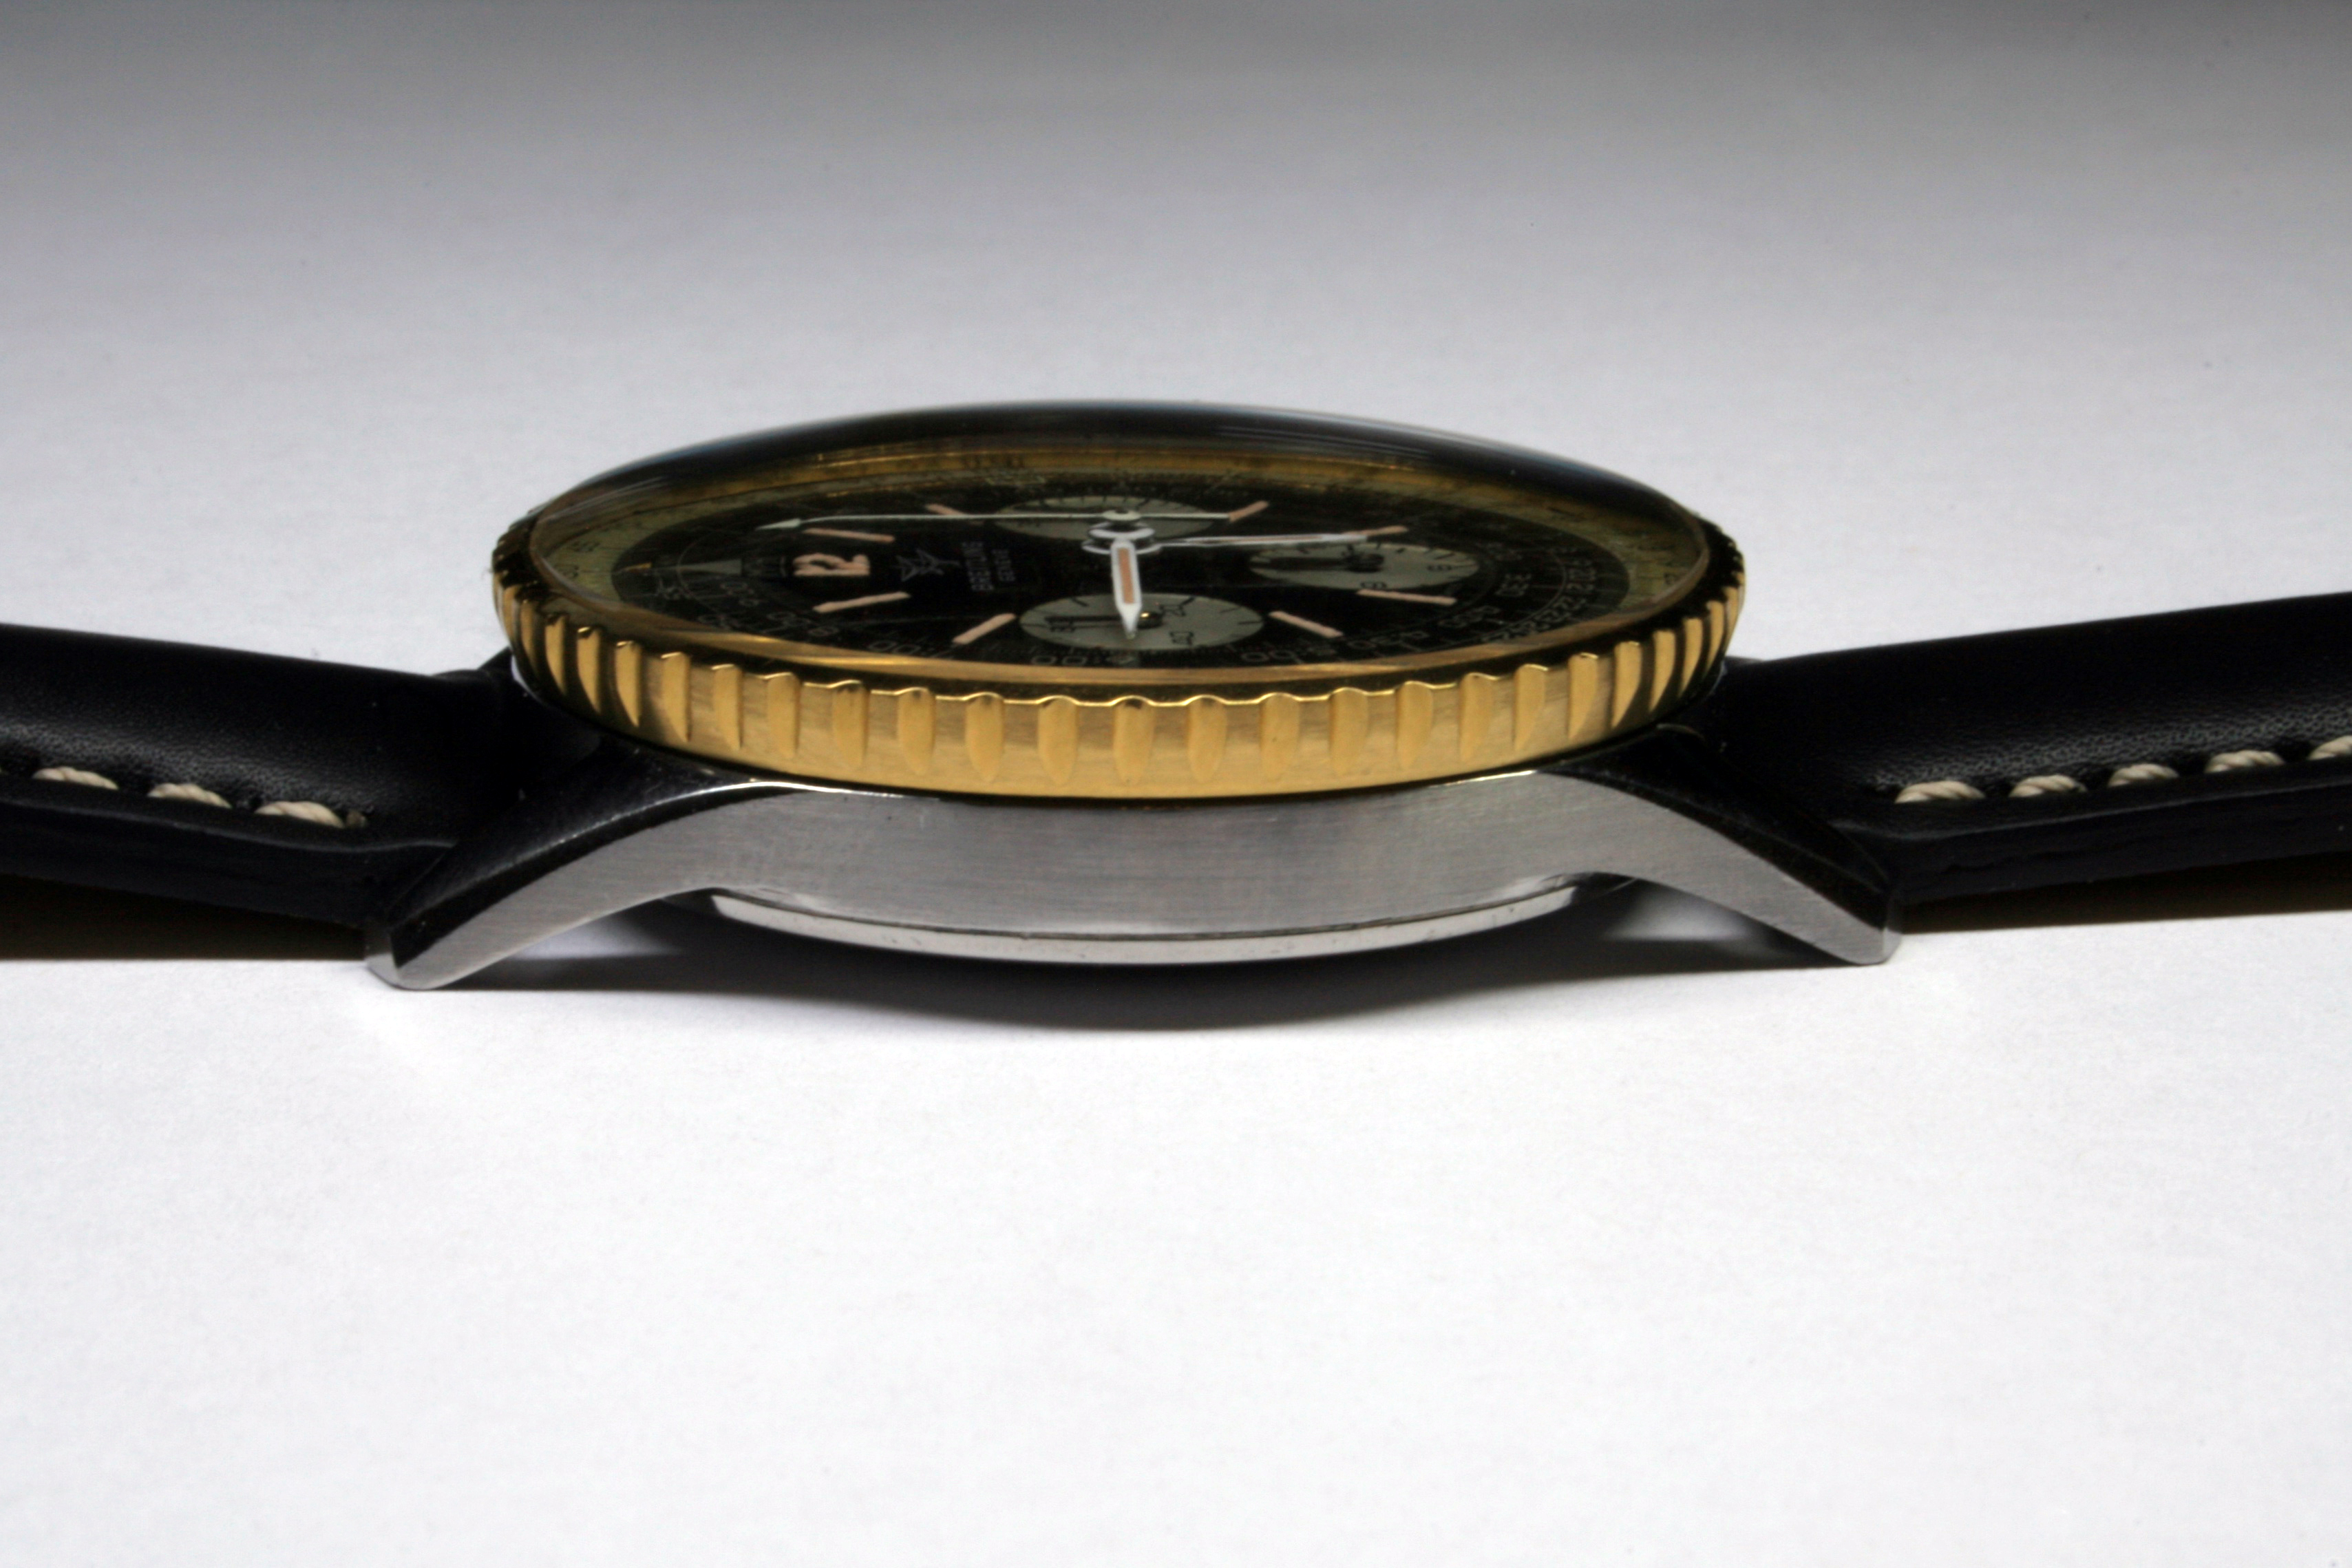
It took a bit of time (measure twice… no three times, and cut once) but happy with the fit, it was time to add the notches to the bezel.
As a template, I removed the stainless steel bezel from Navitimer I normally wear and used a bit of superglue to attach the newly cut brass bezel to it. With the new bezel glued atop of the old one a round escapement file was utilized to cut notches in the brass that lined up with those in the stainless steel. The job was tedious and took a few days but the end result was satisfactory.
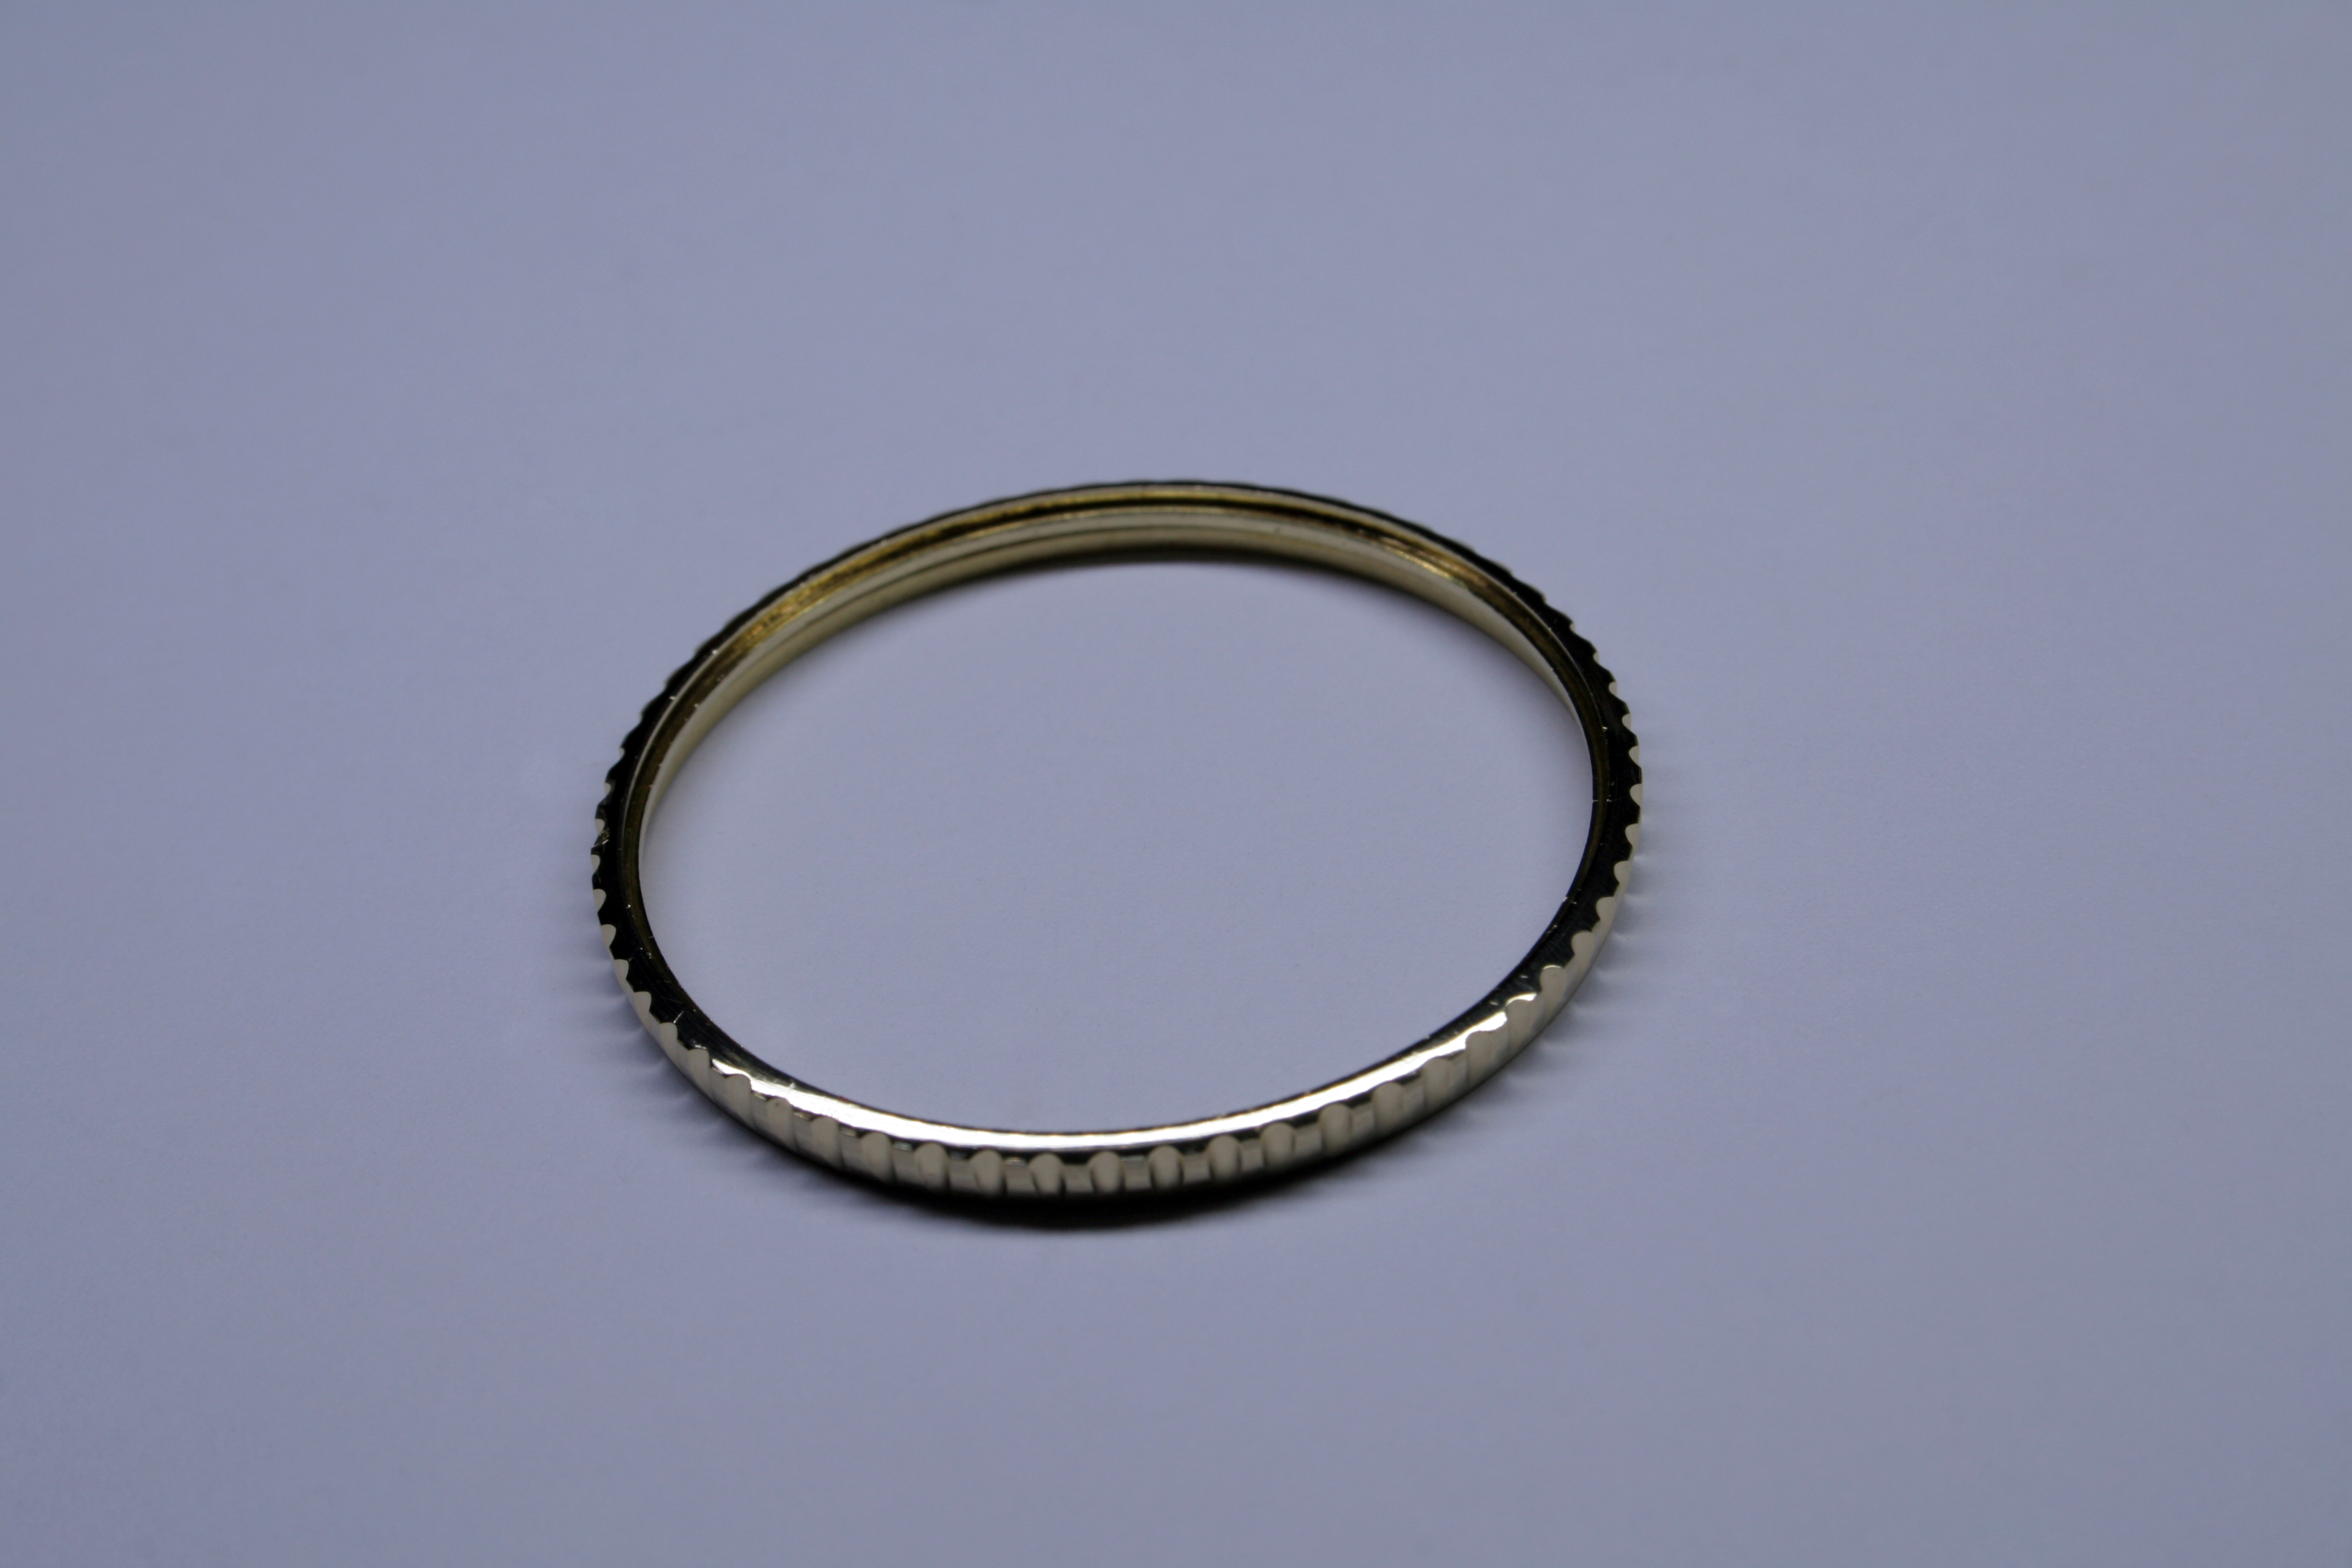
The bezel was then shipped off to RePlateIt for yellow gold electroplating (I could have opted for nickel, which would have better matched the case, but I’m still holding out hope that a proper stainless steel bezel is found for this watch and when it is I can flip the gold plated one to an needy owner with a gold plated Navitimer) along with the case which needed a bit of laser welding.
While I awaited it’s return I needed to address an issue that cropped up when I attempted to place the hands on the movement after service.
I had noticed something funny when I originally purchased the movement back in 2016 that gave me pause but ultimately seemed to be a non-issue. For some strange reason, the previous owner had affixed a rough looking hand to the running seconds sub-register. It was clearly not an original part but replacement hands not unusual. What was unusual was that the movement came with all three correct sub-register hands (you can see them in the picture below).

So why use the crude hand instead of the correct one? Well it seems the pipe on the correct hand was not a match to the extended pinion which it is to be affixed too.
The running seconds sub-register (the small white dial at the nine o’clock position) is continuously counting elapsed seconds (the larger Sweep Second Hand in the center of the dial only moves when the chronograph is running). The hand is friction fit to the extended pinion of the Fourth Wheel in the gear train; when the Fourth Wheel makes a complete revolution one minute has elapsed. Oddly, the three correct hands all had pipes which didn’t reach the extended pinion of the Fourth Wheel and had an inside diameter which was much greater than the diameter of the extended pinion. The original owner had realized this and elected to use the unsightly hand which fit properly instead. In my opinion, this was not an option.
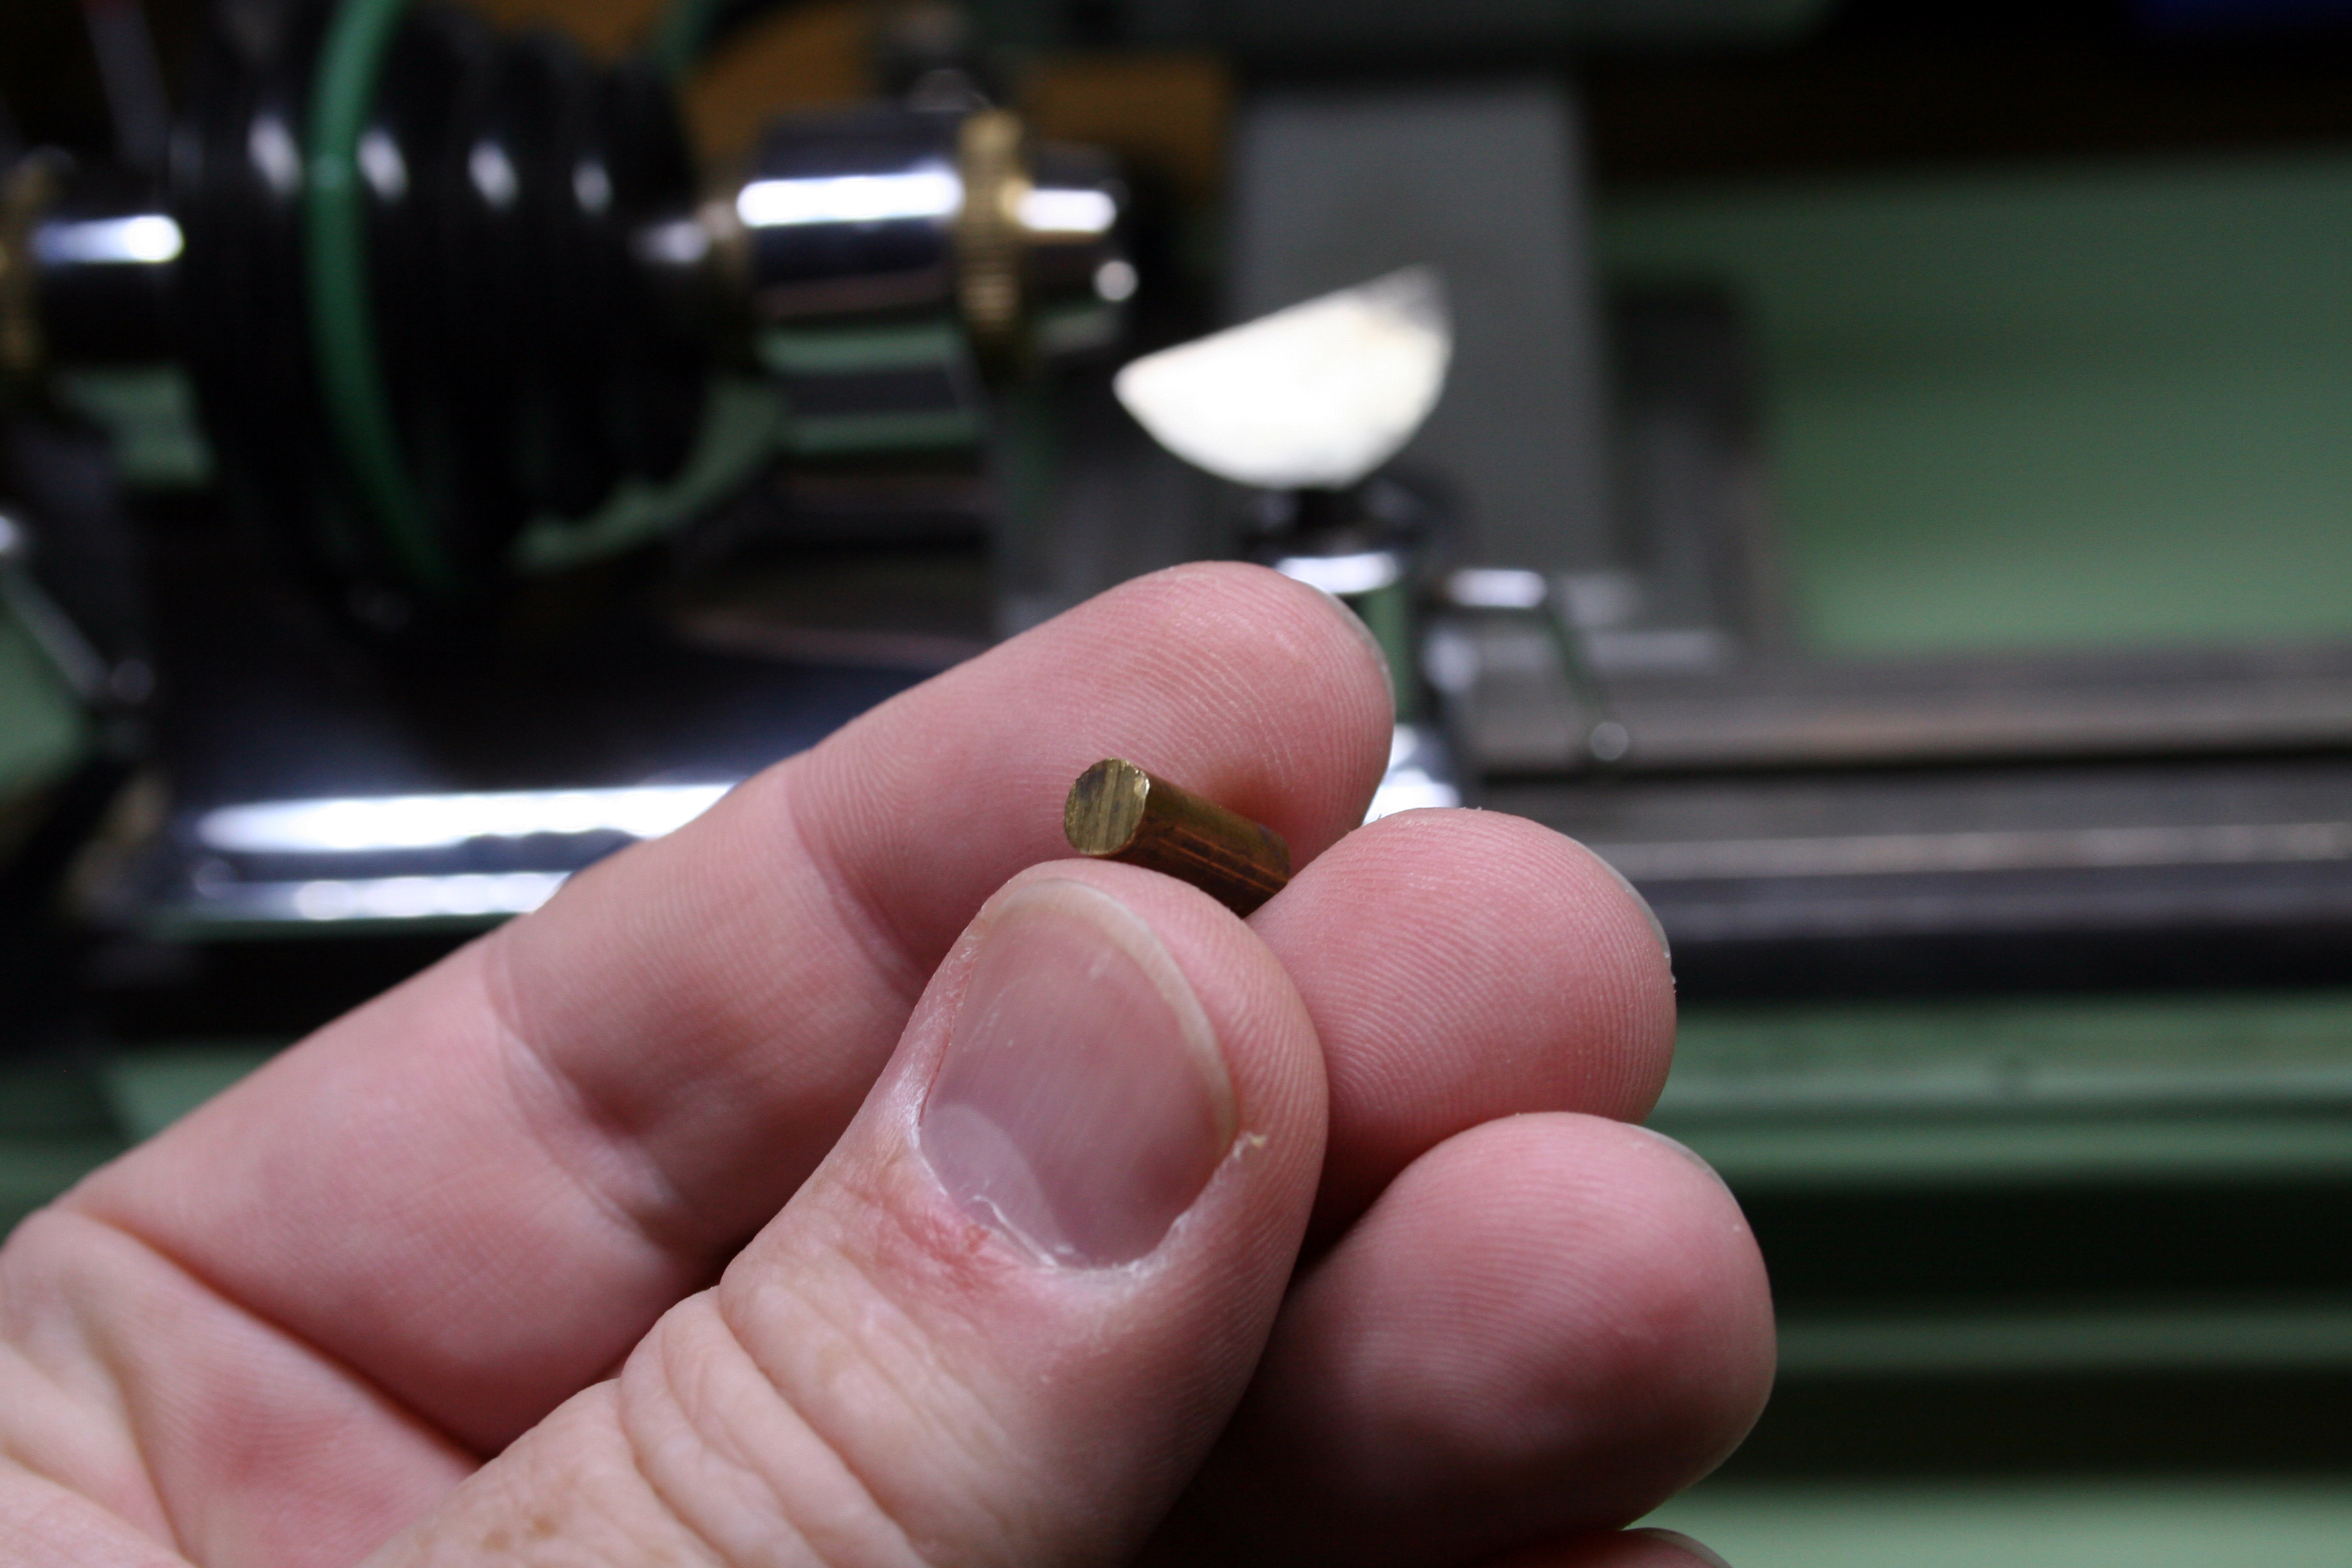
To correct this, I would need to replace the pipe on one of the hands with a longer and narrower pipe. Using Ranfft’s Pink Sheet I determined the diameter of the pinion was 0.18mm so I ordered some brass tubing with an inside diameter to match.

This tubing was cut on the lathe and tapered at the end to fit inside of the pipe already affixed to the hand. The staking set was then used to hammer the new pipe into the old one, thus reducing the inside diameter of the pipe on the hand to 0.18mm. A bit of fine tuning was done to ensure proper clearance.

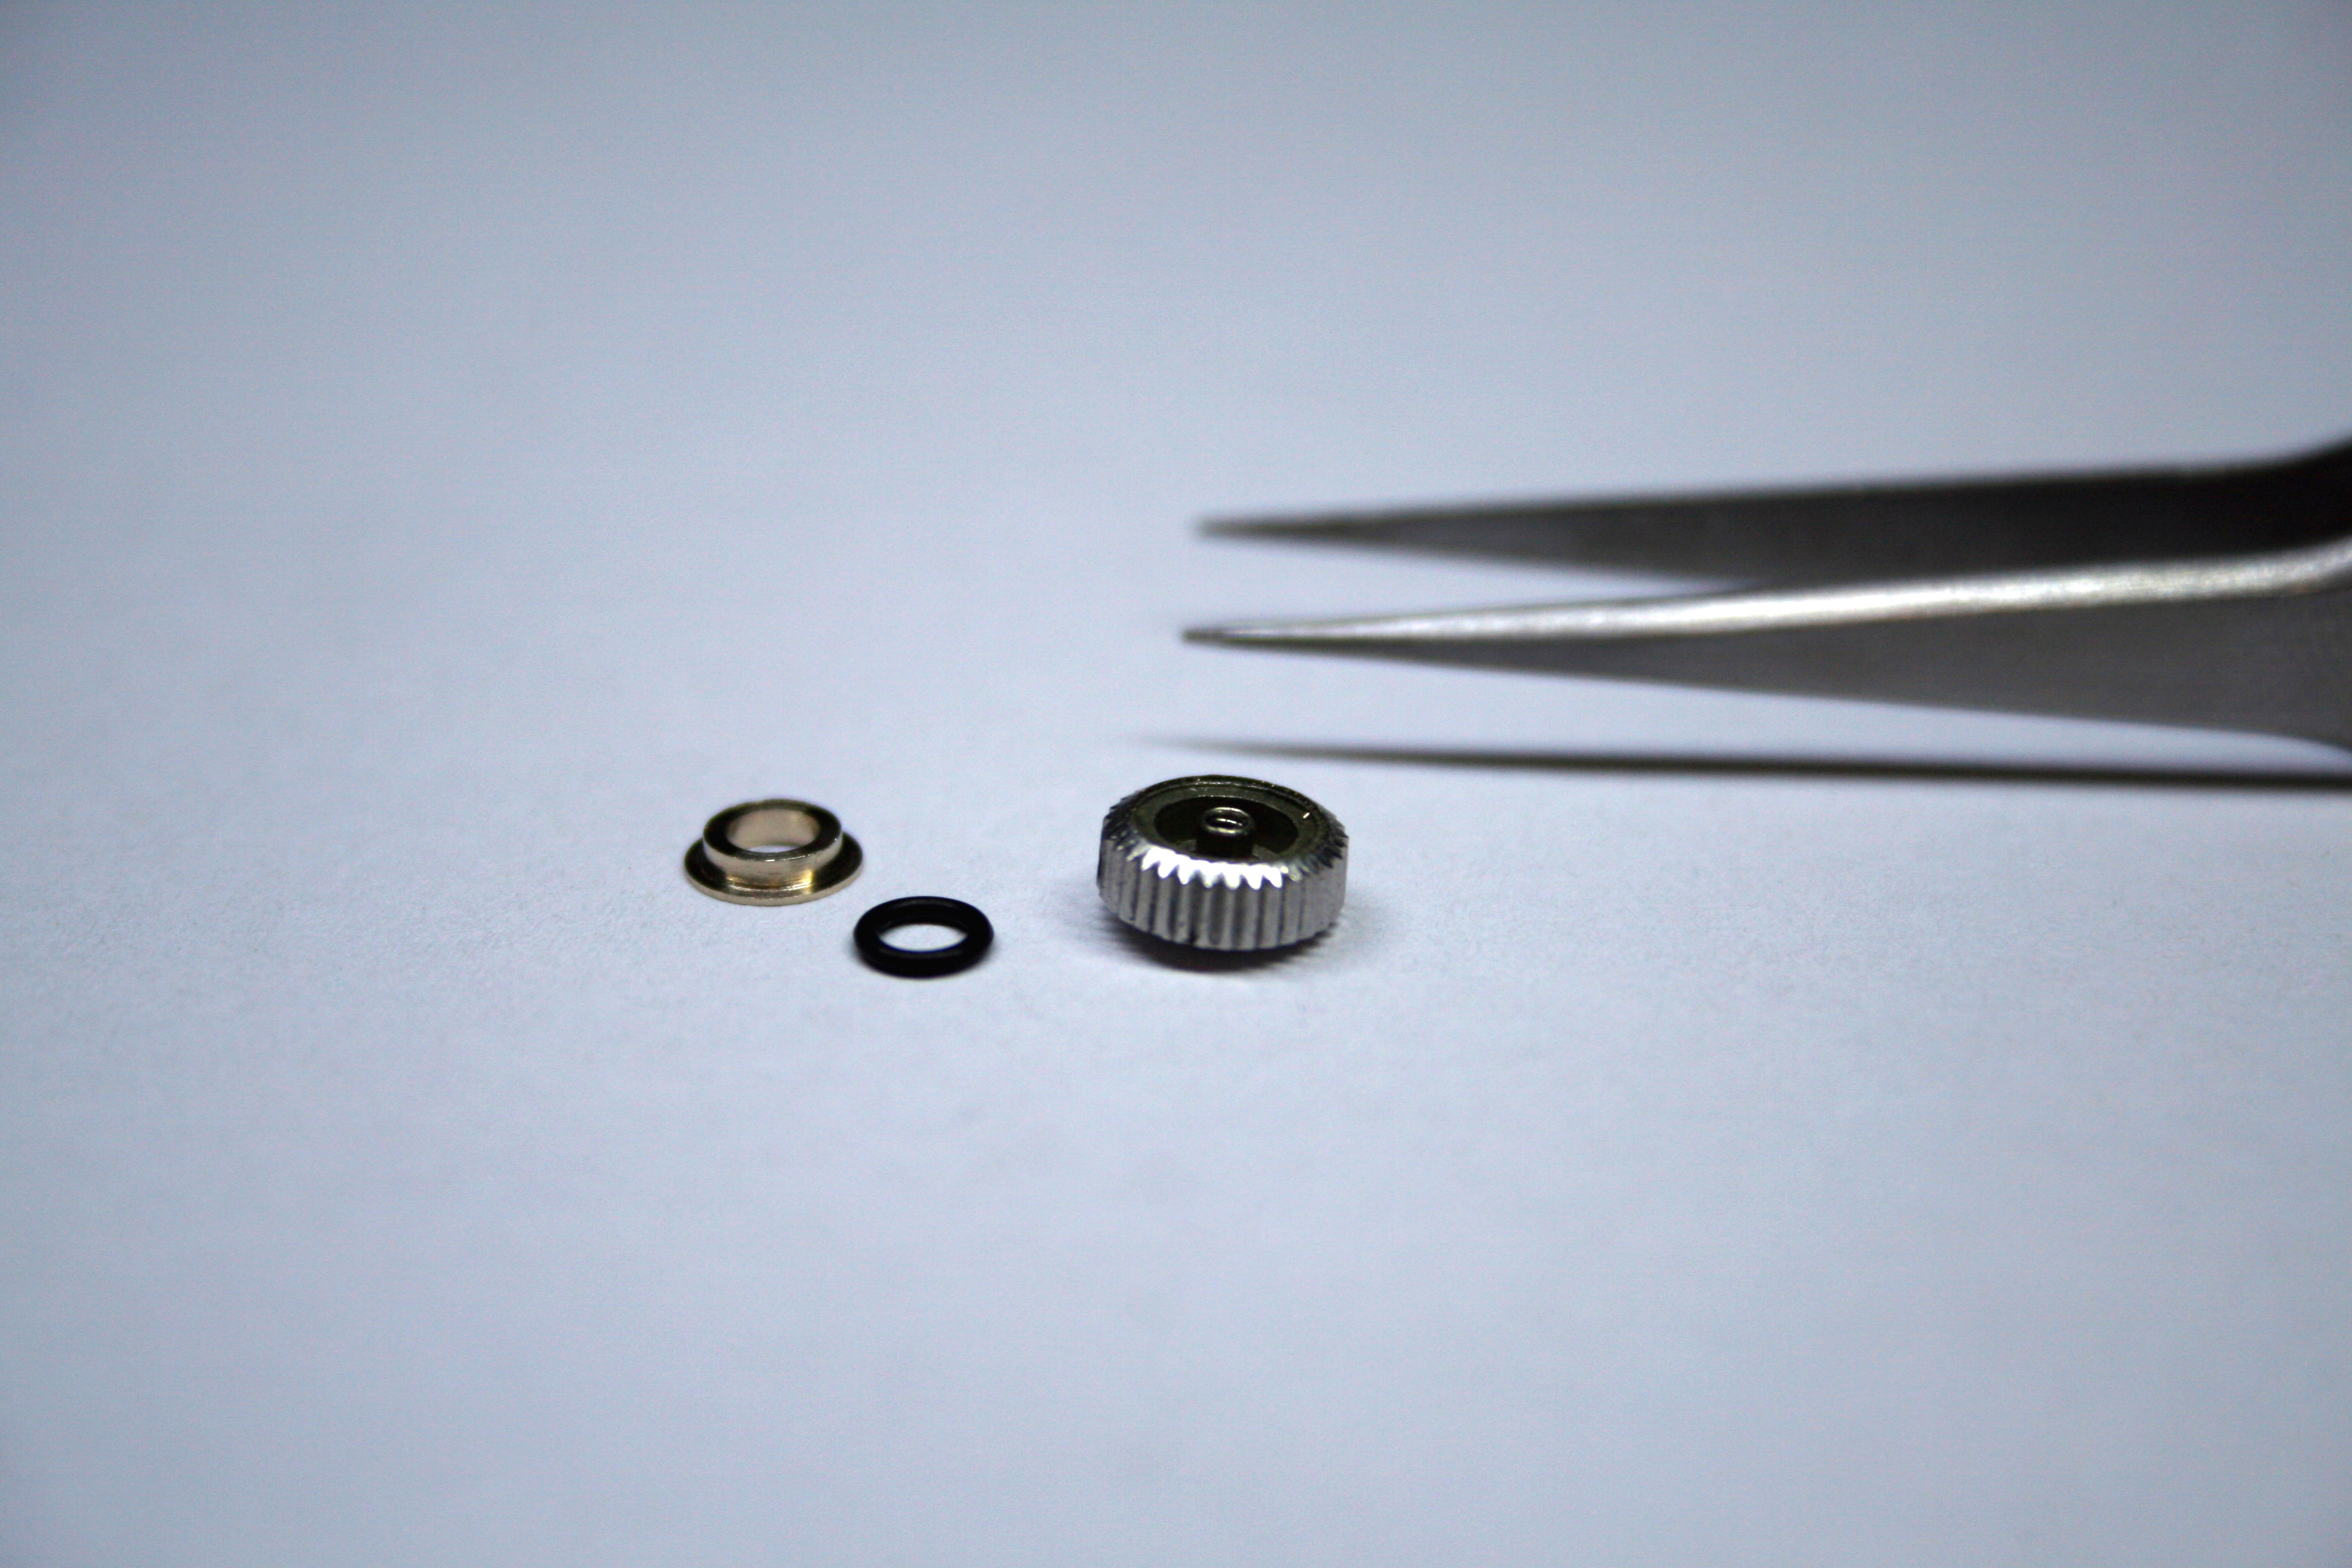
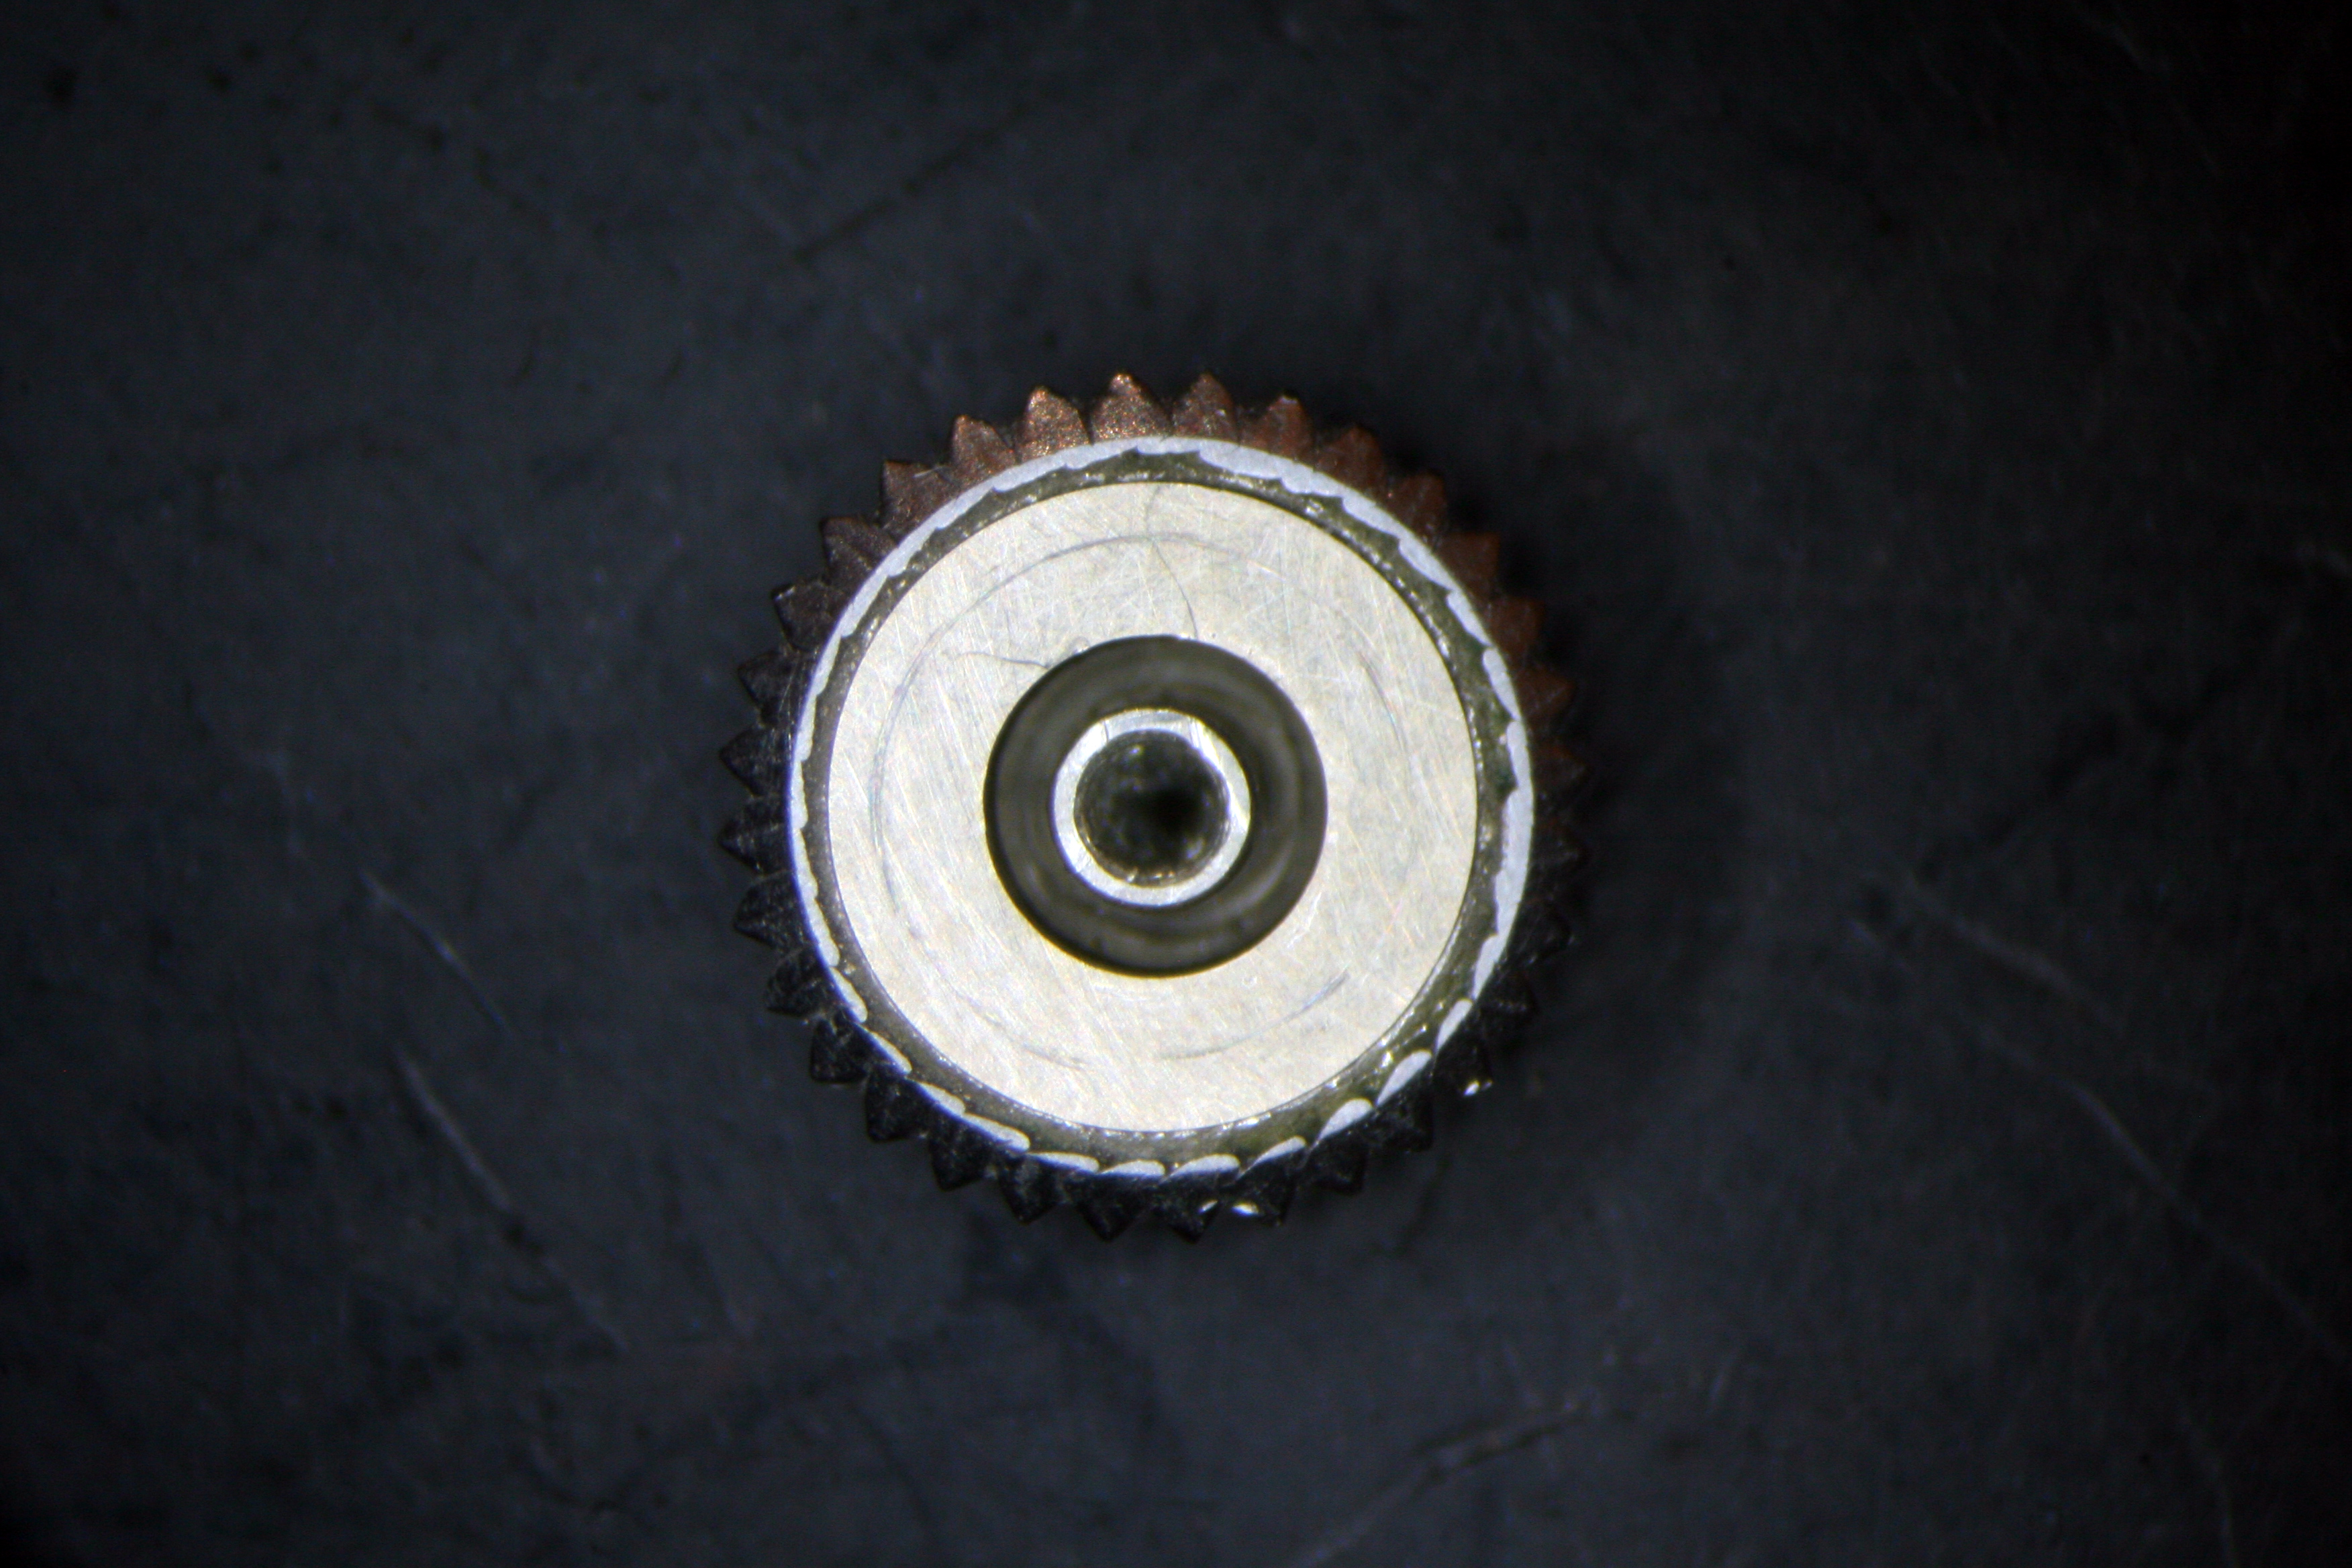
Next on the punch list was the watch crown which had lost its rubber o-ring. The o-ring is held in the watch crown by a riveted cap and it helps keep moisture from entering the watch through the pendant tube. Somewhere along the way, the cap had been removed and the o-ring fell out. I ordered a replacement from Cousins and used a bit of brass stock to cut a new cap on the lathe. This was riveted into place with a few taps with a stake.
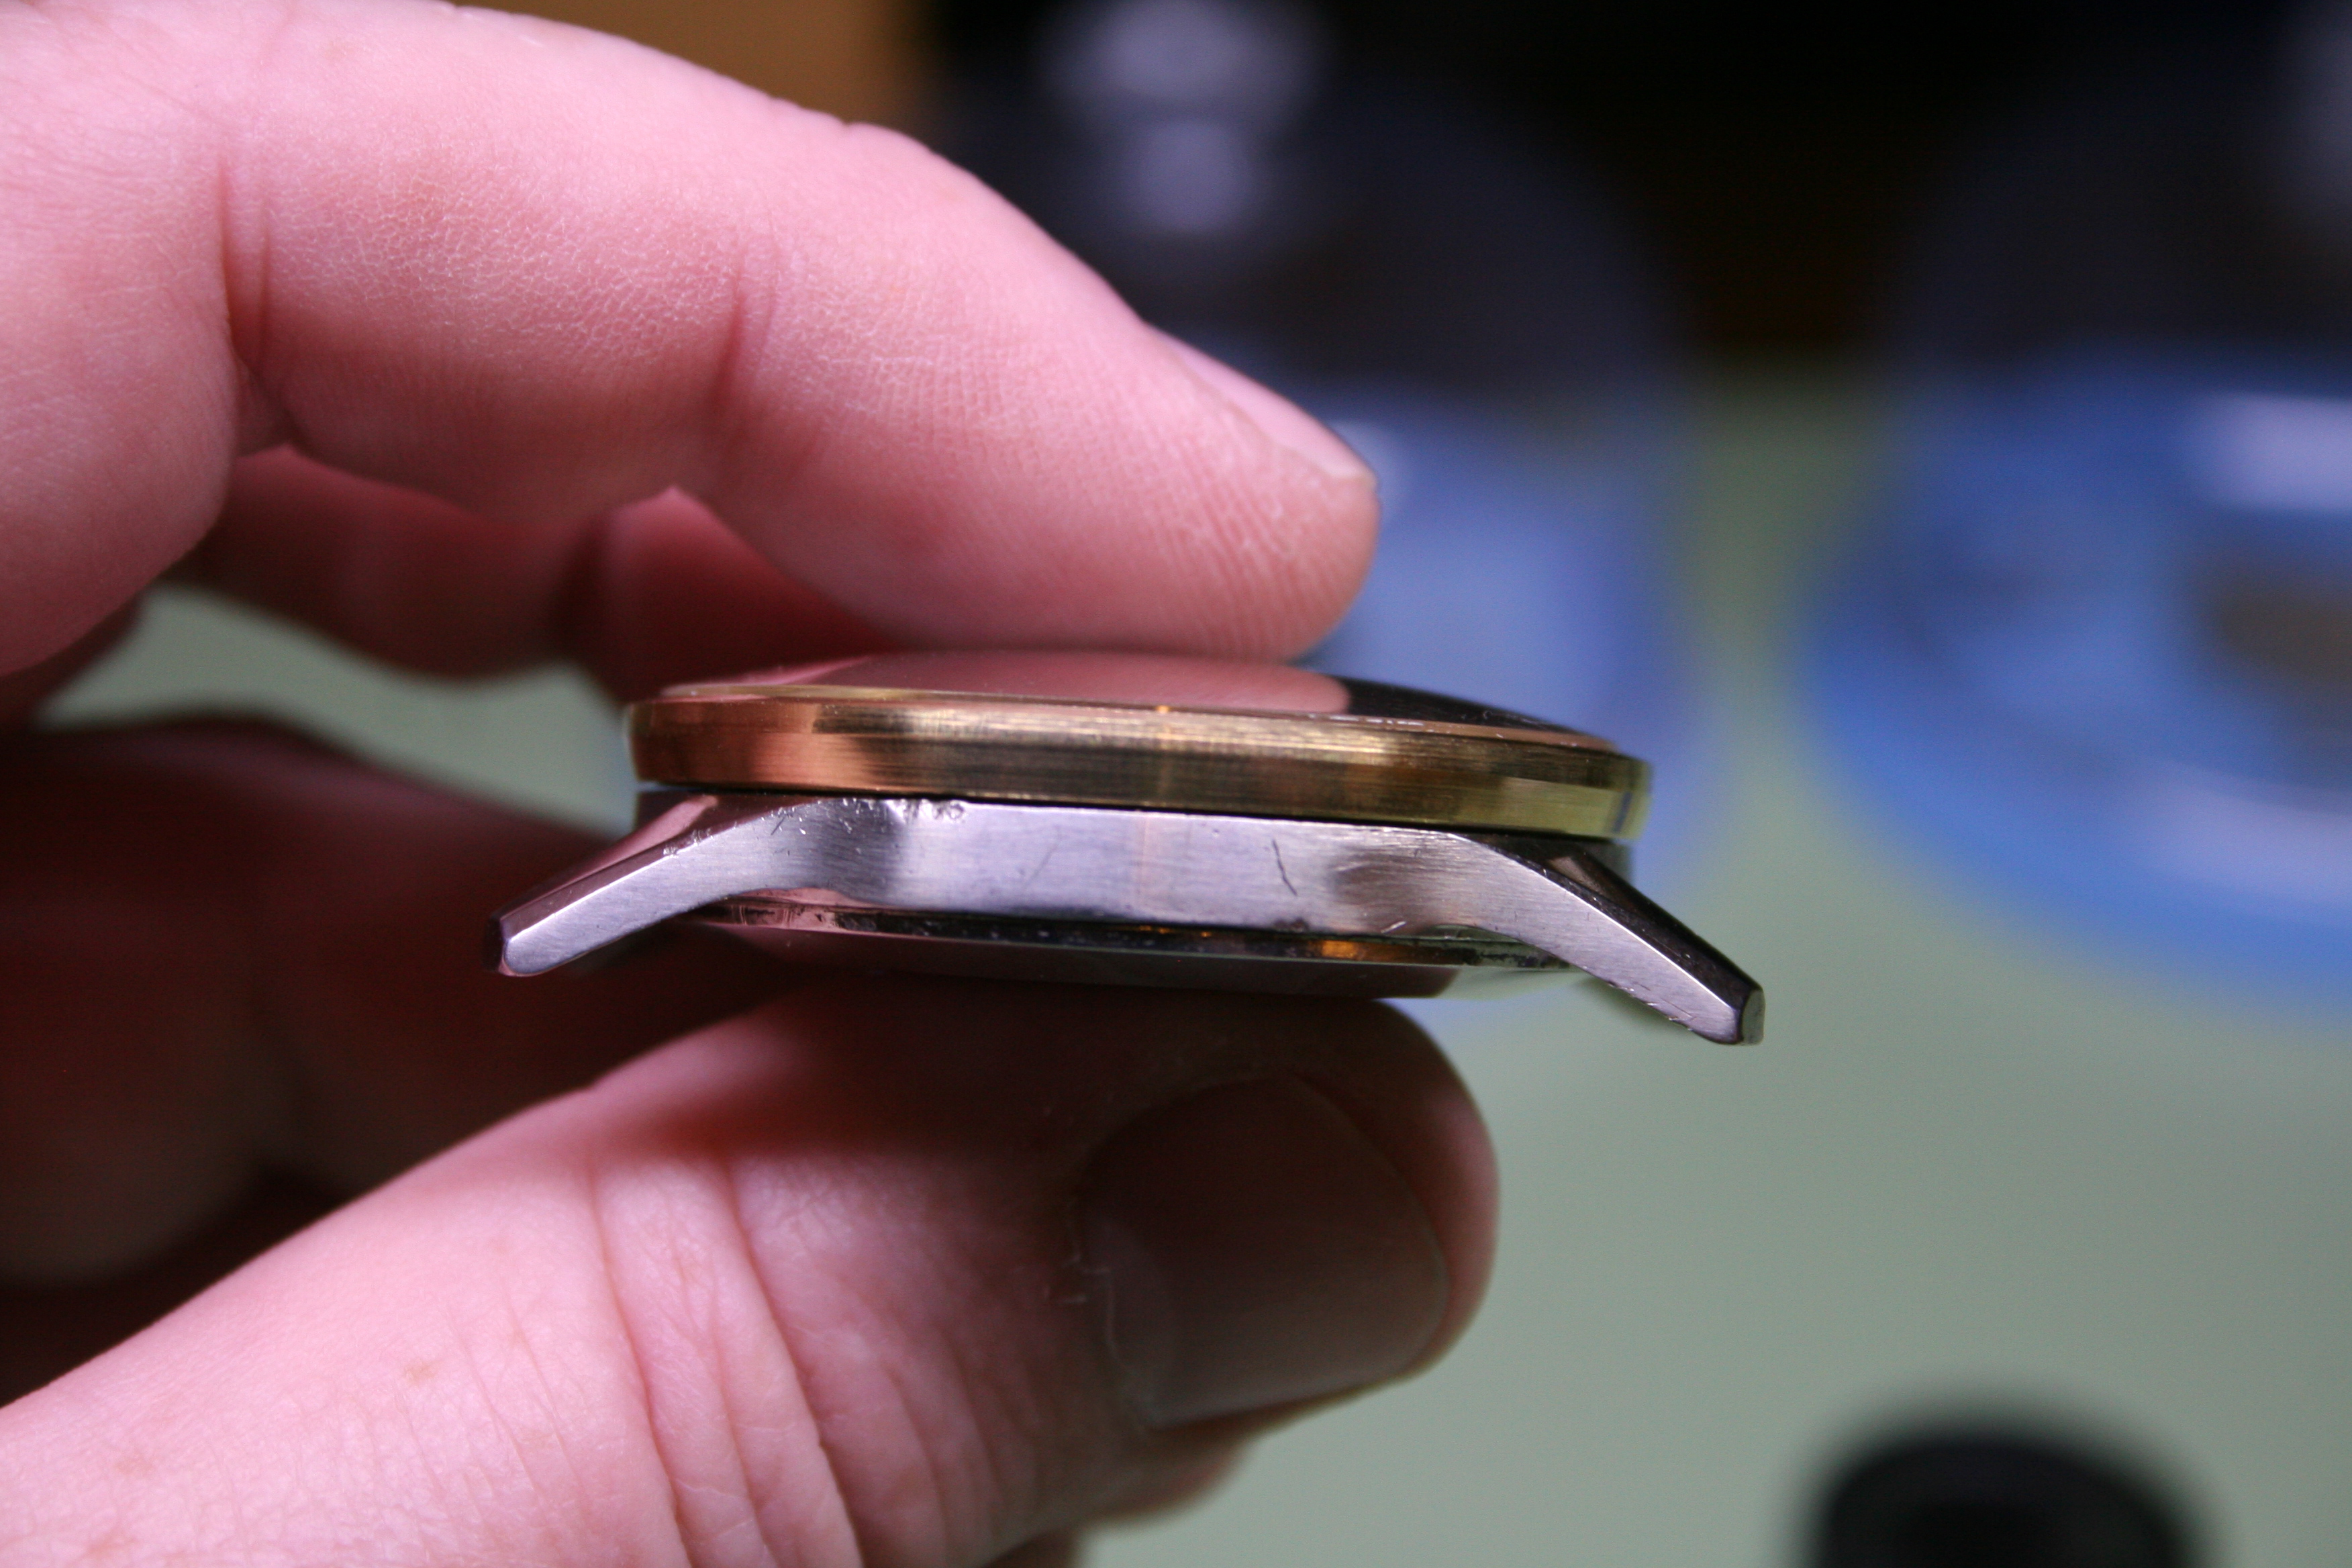
By now I had received the case and bezel back from RePlateIt and was about ready to assemble.
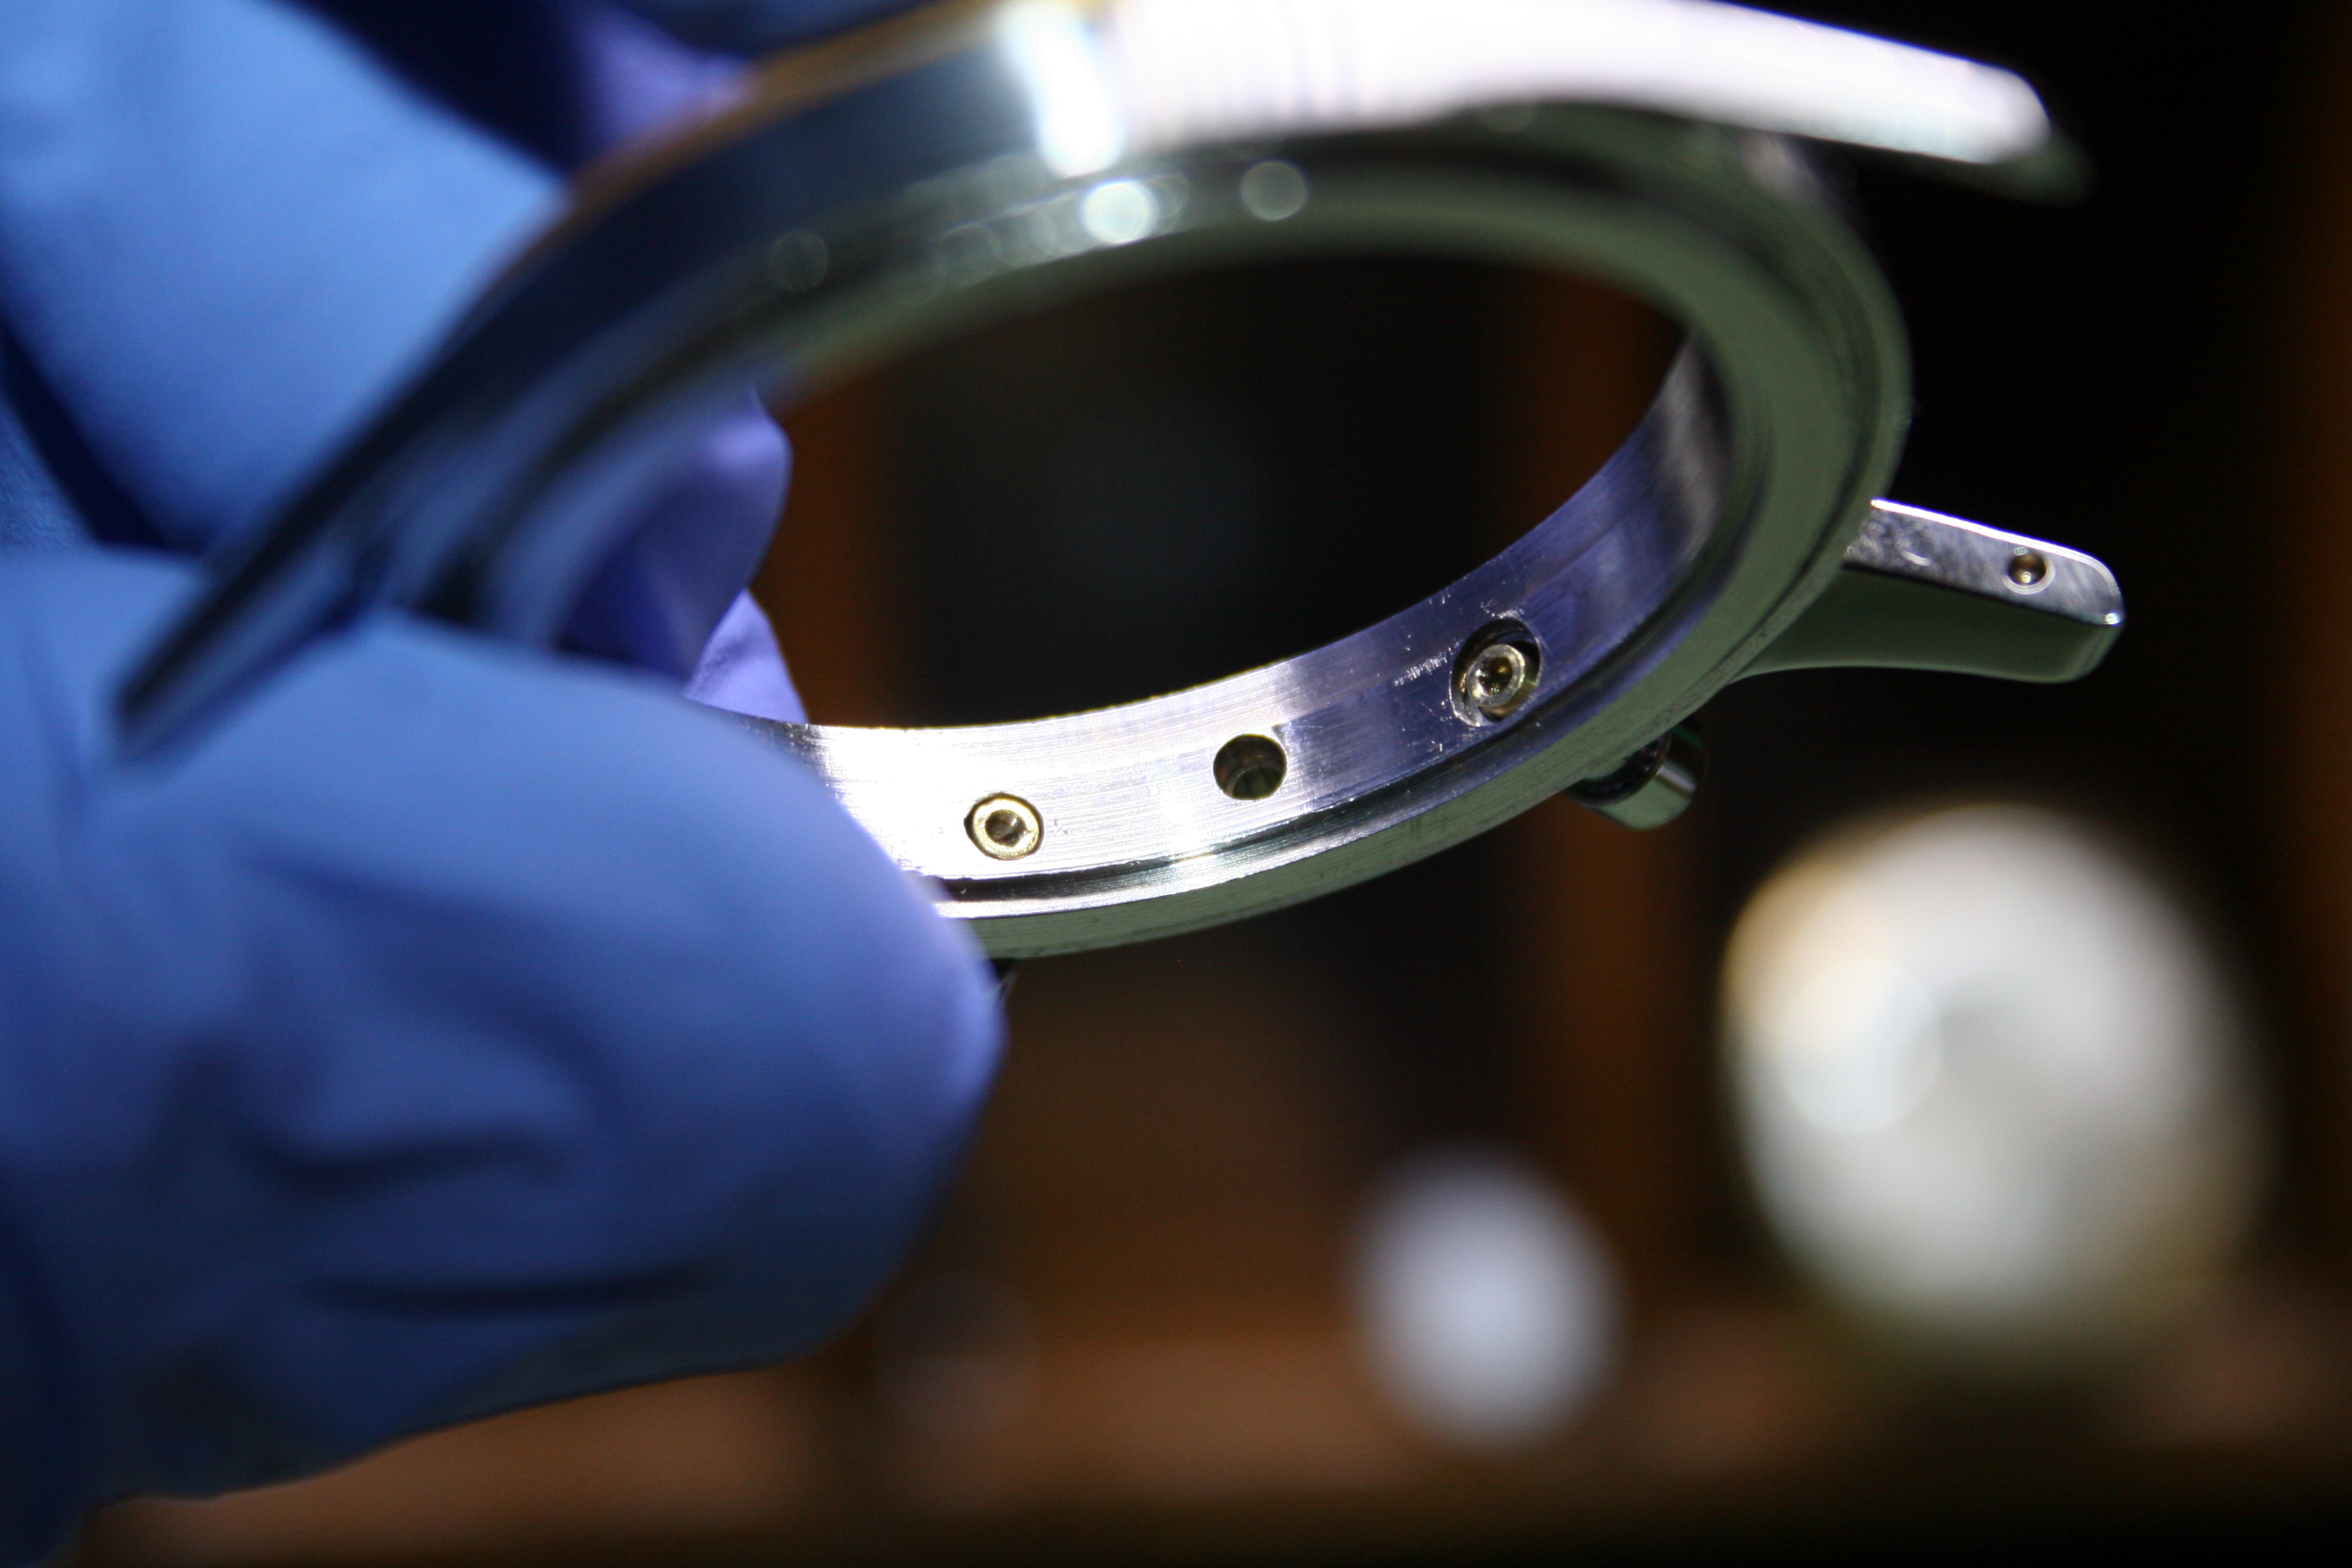
A test fitting of the movement in the case confirmed the shafts for the chronograph pushers were a tad short and required modification. Heading back to the lathe I cut a pair of “boots” to fit over the ends of each shaft in the case which would provide the length needed each to reach the Operating and Flyback Levers.
With that little hiccup out of the way I could see the light at the end of the tunnel and the rest went together without incident.


Well this was one heck of a project!
When I originally purchased this Navitimer movement two years ago I didn’t know how long it would take to assemble the completed piece- or if it was even possible. Now at the finish line and looking back I can see that I didn’t actually have the skills necessary to restore the watch then and can appreciate how much things have changed over time.
The watch runs beautifully I’m really actually surprised at how well it came out. Each repair is holding up and I am proud of the fit and finish of each fabricated part. The bezel in particular is tight as a drum and operates just as smoothly as my other Navitimer.
This watch has a special place in my collection now. It’s more than just a pretty Swiss watch as it’s a report on my progress as a watchmaker thus far and a sign of more things to come.

I’ve been following this one and awaiting the final update. Fantastic result Ryan. Correct me if I’m wrong, but this design, where the slide rule and crystal fit into the bezel doesn’t seem very water resistant. Is this why so many Navitimers seem to suffer from dial degradation?
LikeLike
Yes, you are correct- there’s really no water resistance at all. I don’t think it was until the 1980’s that Breitling came up with a design that had any true water resistance.
LikeLike
Hello Mr love your posts i have a question i purchased a 1959 navitimer and the second hand is is off is it possible for you to inform me how to remove the bezel or crystal to replace the hand Thank you
LikeLike
Well I can tell you how I removed the bezel on my Navitimer but I can’t guarantee it’s the same process for yours; you see, my Navitimer was from the mid 1960’s and Breitling may have changed the design by that time. I should also point out the the method is a bit dangerous as I needed to use a razor blade. I placed the edge of the blade in the gap between the bezel and the case and worked my way around the circumference twisting the blade just enough to slowly open the gap. Eventually the steel bezel popped off leaving the inner ring and slide rule behind. I can’t stress how delicate a procedure this is though- one slip and you’re off the the ER for stitches or you’ve run the blade across the dial and hands!
LikeLike
Hi if it helps you buy glass cleaning rasor blades from any glaisier shop which are one sided with a small piece of alliminium folded over the non sharp side they disposable and about £5 a 100
LikeLike