

It’s been a long while since I’ve worked on an Omega but fortune smiled upon me late last year when I found this 1979 Omega Speedmaster Automatic in need of aid. The seller stated the watch was non-operative on account of parts missing- specifically the Balance, Pallet, and Balance Cock.
 Now, I’ve been trying to ween myself off of “project watches” since they can soak up months (sometimes years) of my time, but in this case the seller was delivering with the watch a brand new Balance and had leads on the other two missing pieces. This, along with a solid price, made me the the proud owner of another Speedmaster project.
This was another purchase made over the internet and with those you never really know what you’ve got until the piece is in hand. Naturally this results in anxiety but there were a few things about this watch which alleviated that. Firstly, the watch appeared to have only had one owner. I could have confirmed this with the seller (if he’s honest) but the condition of this Speedmaster suggested it hadn’t been spiffed up for sale before. Second, the original strap and crystal were still installed. Anytime a watch changes hands the crystal is replaced and original bracelets often don’t survive multiple transactions. Lastly the caseback gasket was original. I’m certain of this because Omega gaskets turn into a sticky tar-like substance if they aren’t changed in a few decades!
Once in hand I knew would need to order a few replacement parts to get it running but still I was content.


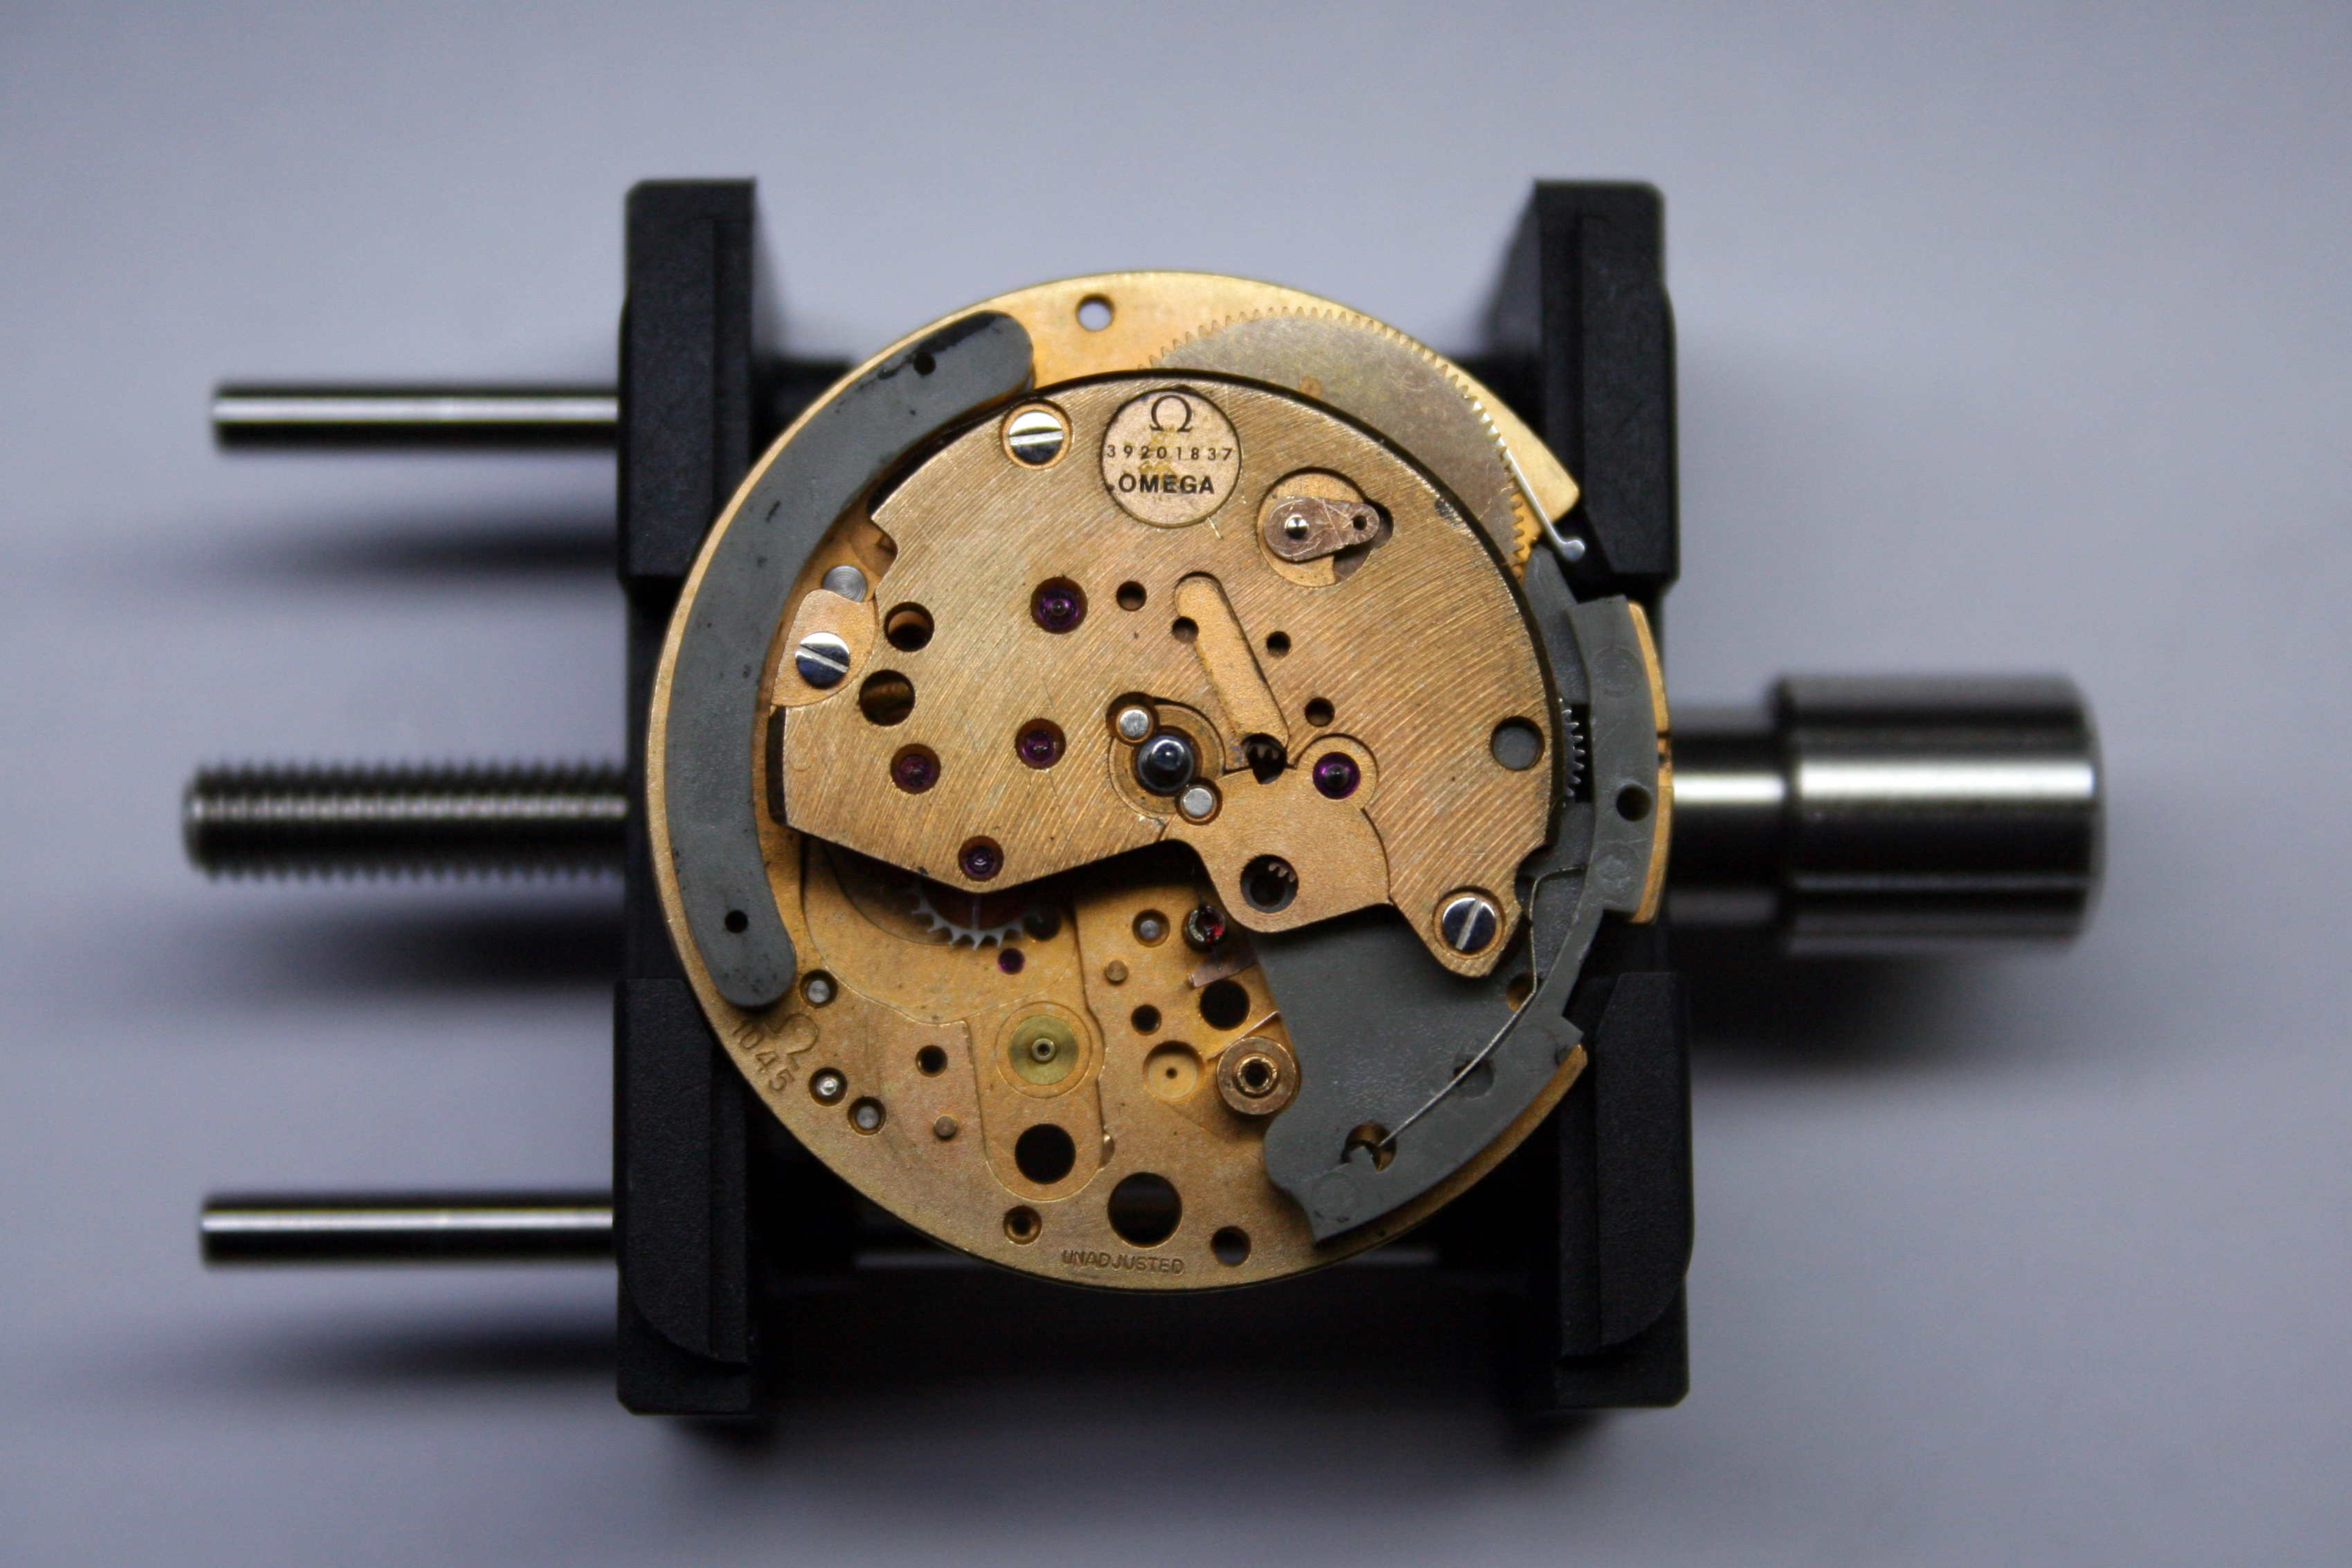
As the seller stated, it was clearly apparent that the Balance, Pallet, and Balance Cock were missing when I cracked the case open.
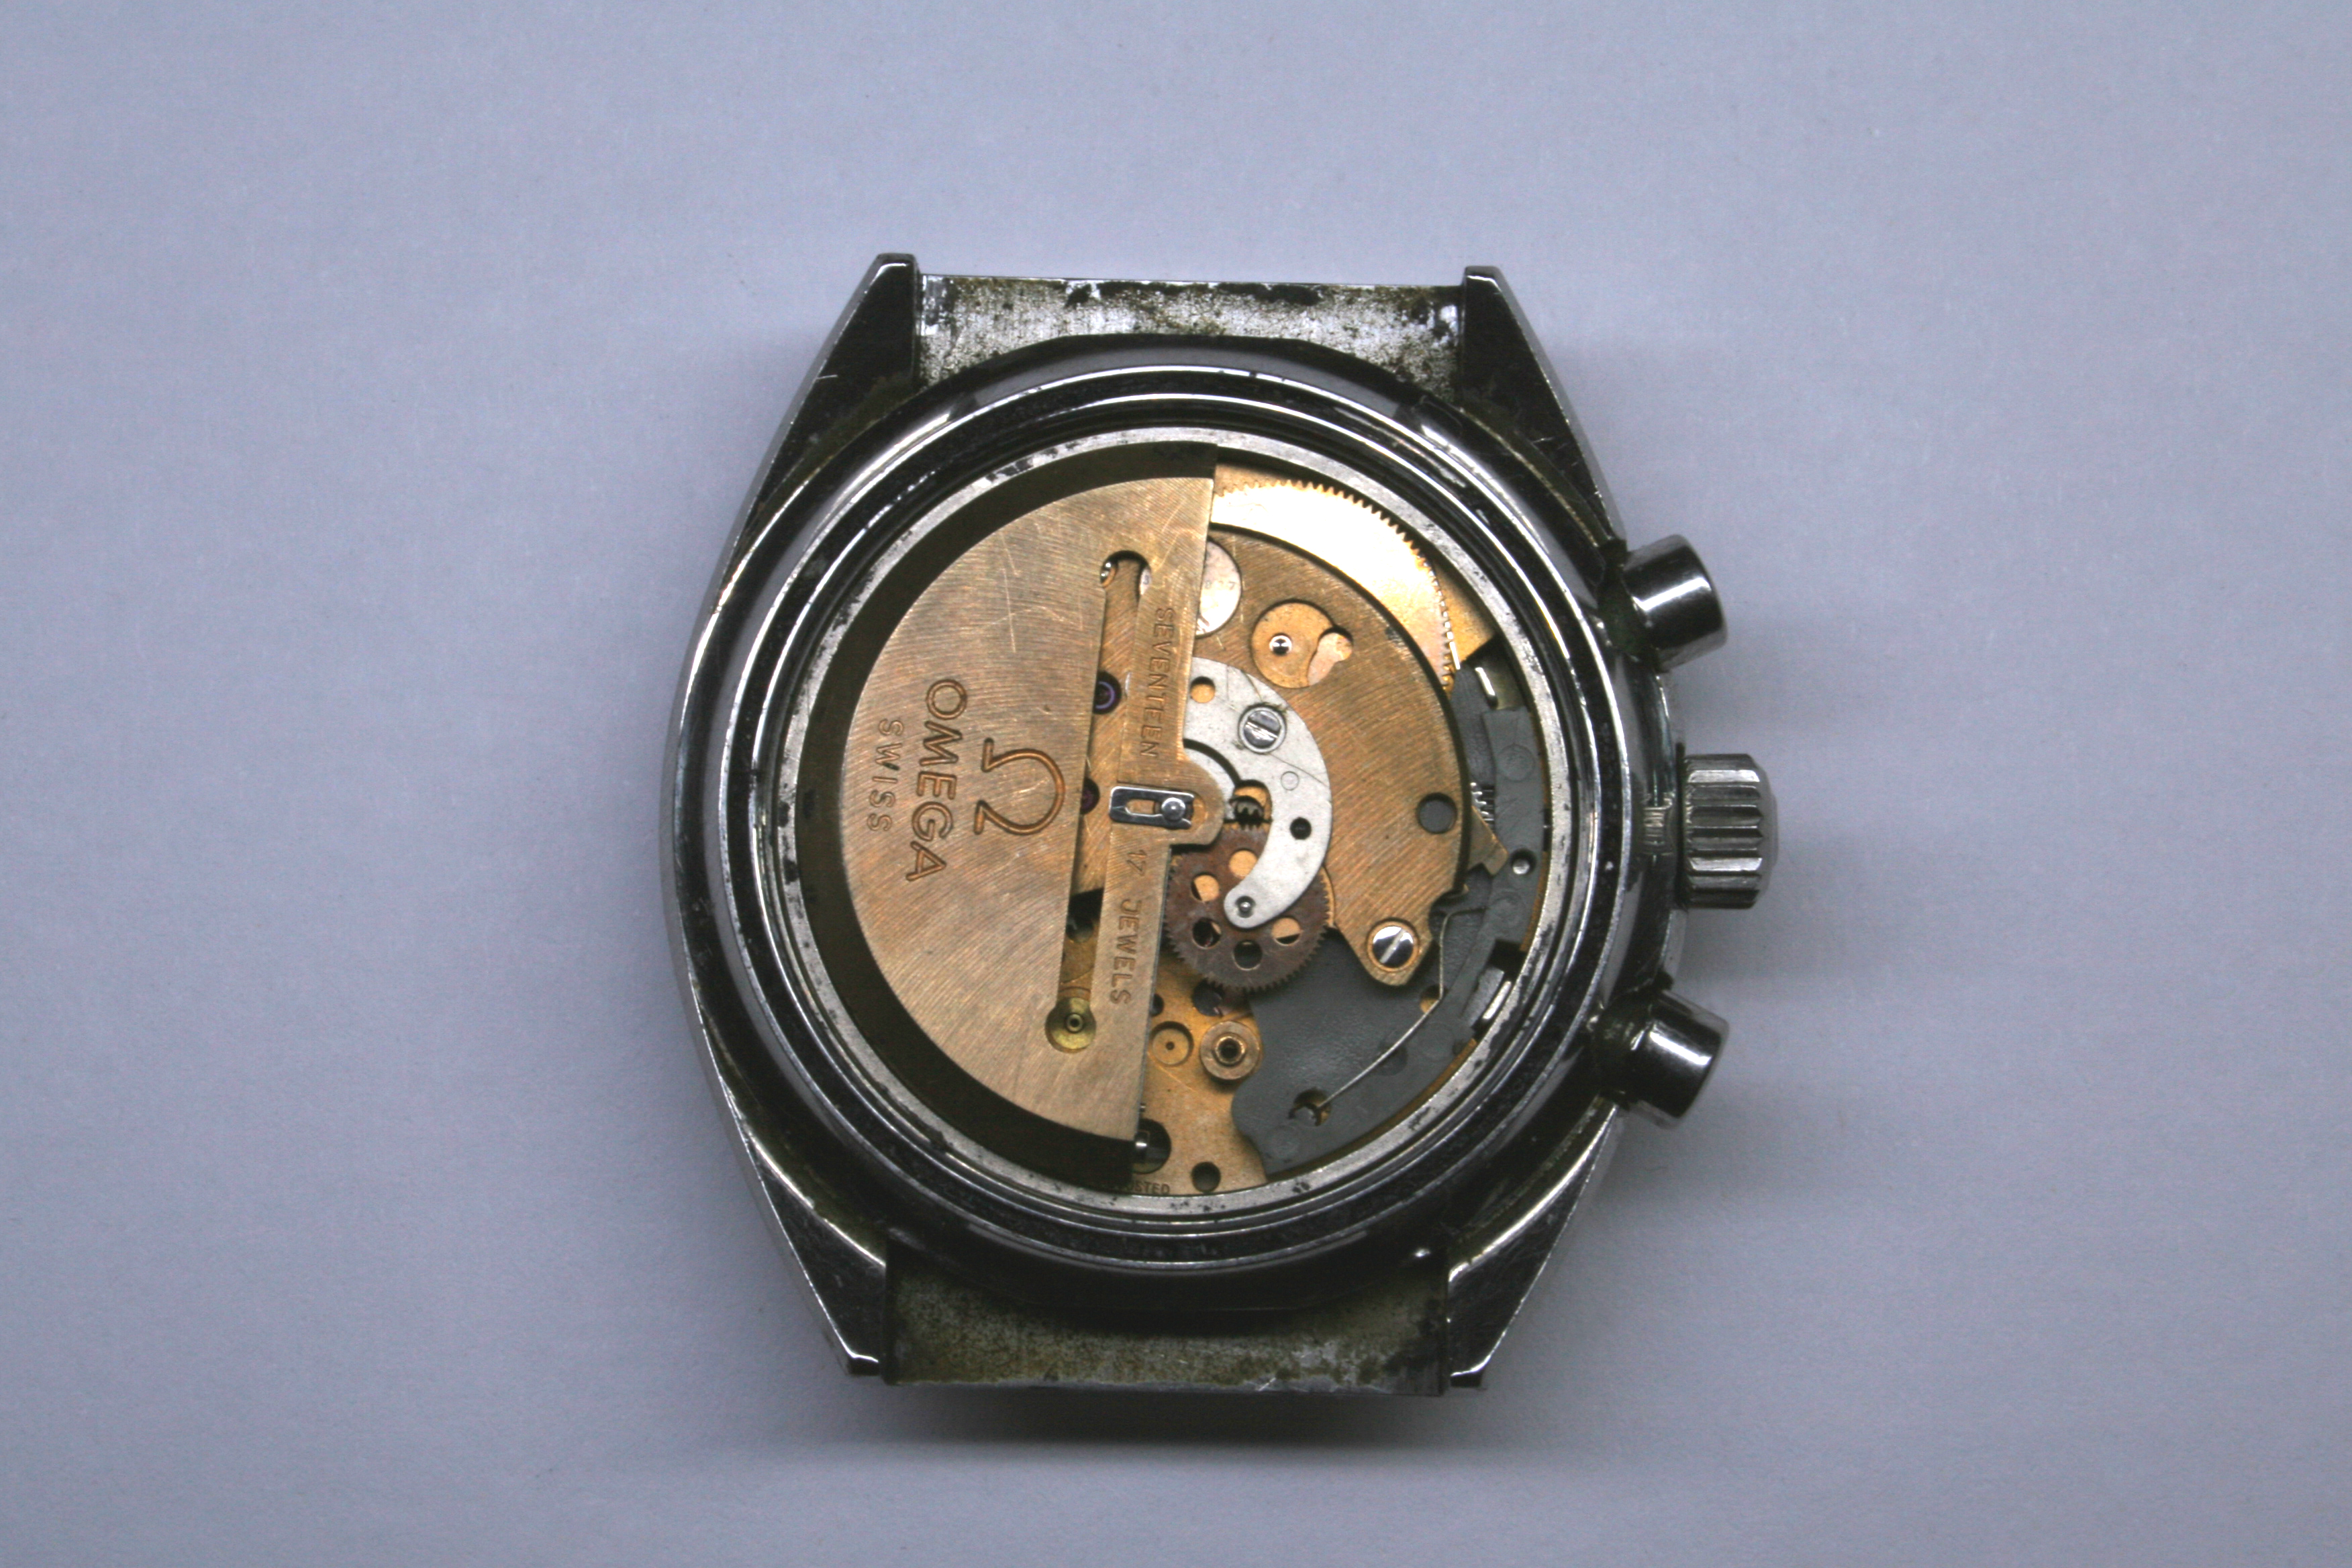

I took a quick inventory of missing parts and began breaking down the watch for cleaning. I would order more parts if I found them wanting. There were scratches visible on the movement plates and this was an ominous sign of things to come.
This model of Speedmaster Automatic is commonly referred to as the Speedmaster Mark 4.5. It’s an unofficial designation as Omega simply referred to it as Speedmaster Automatic. However, the development and release fell somewhere between that of the Speedmaster Mark III and Speedmaster Mark V.
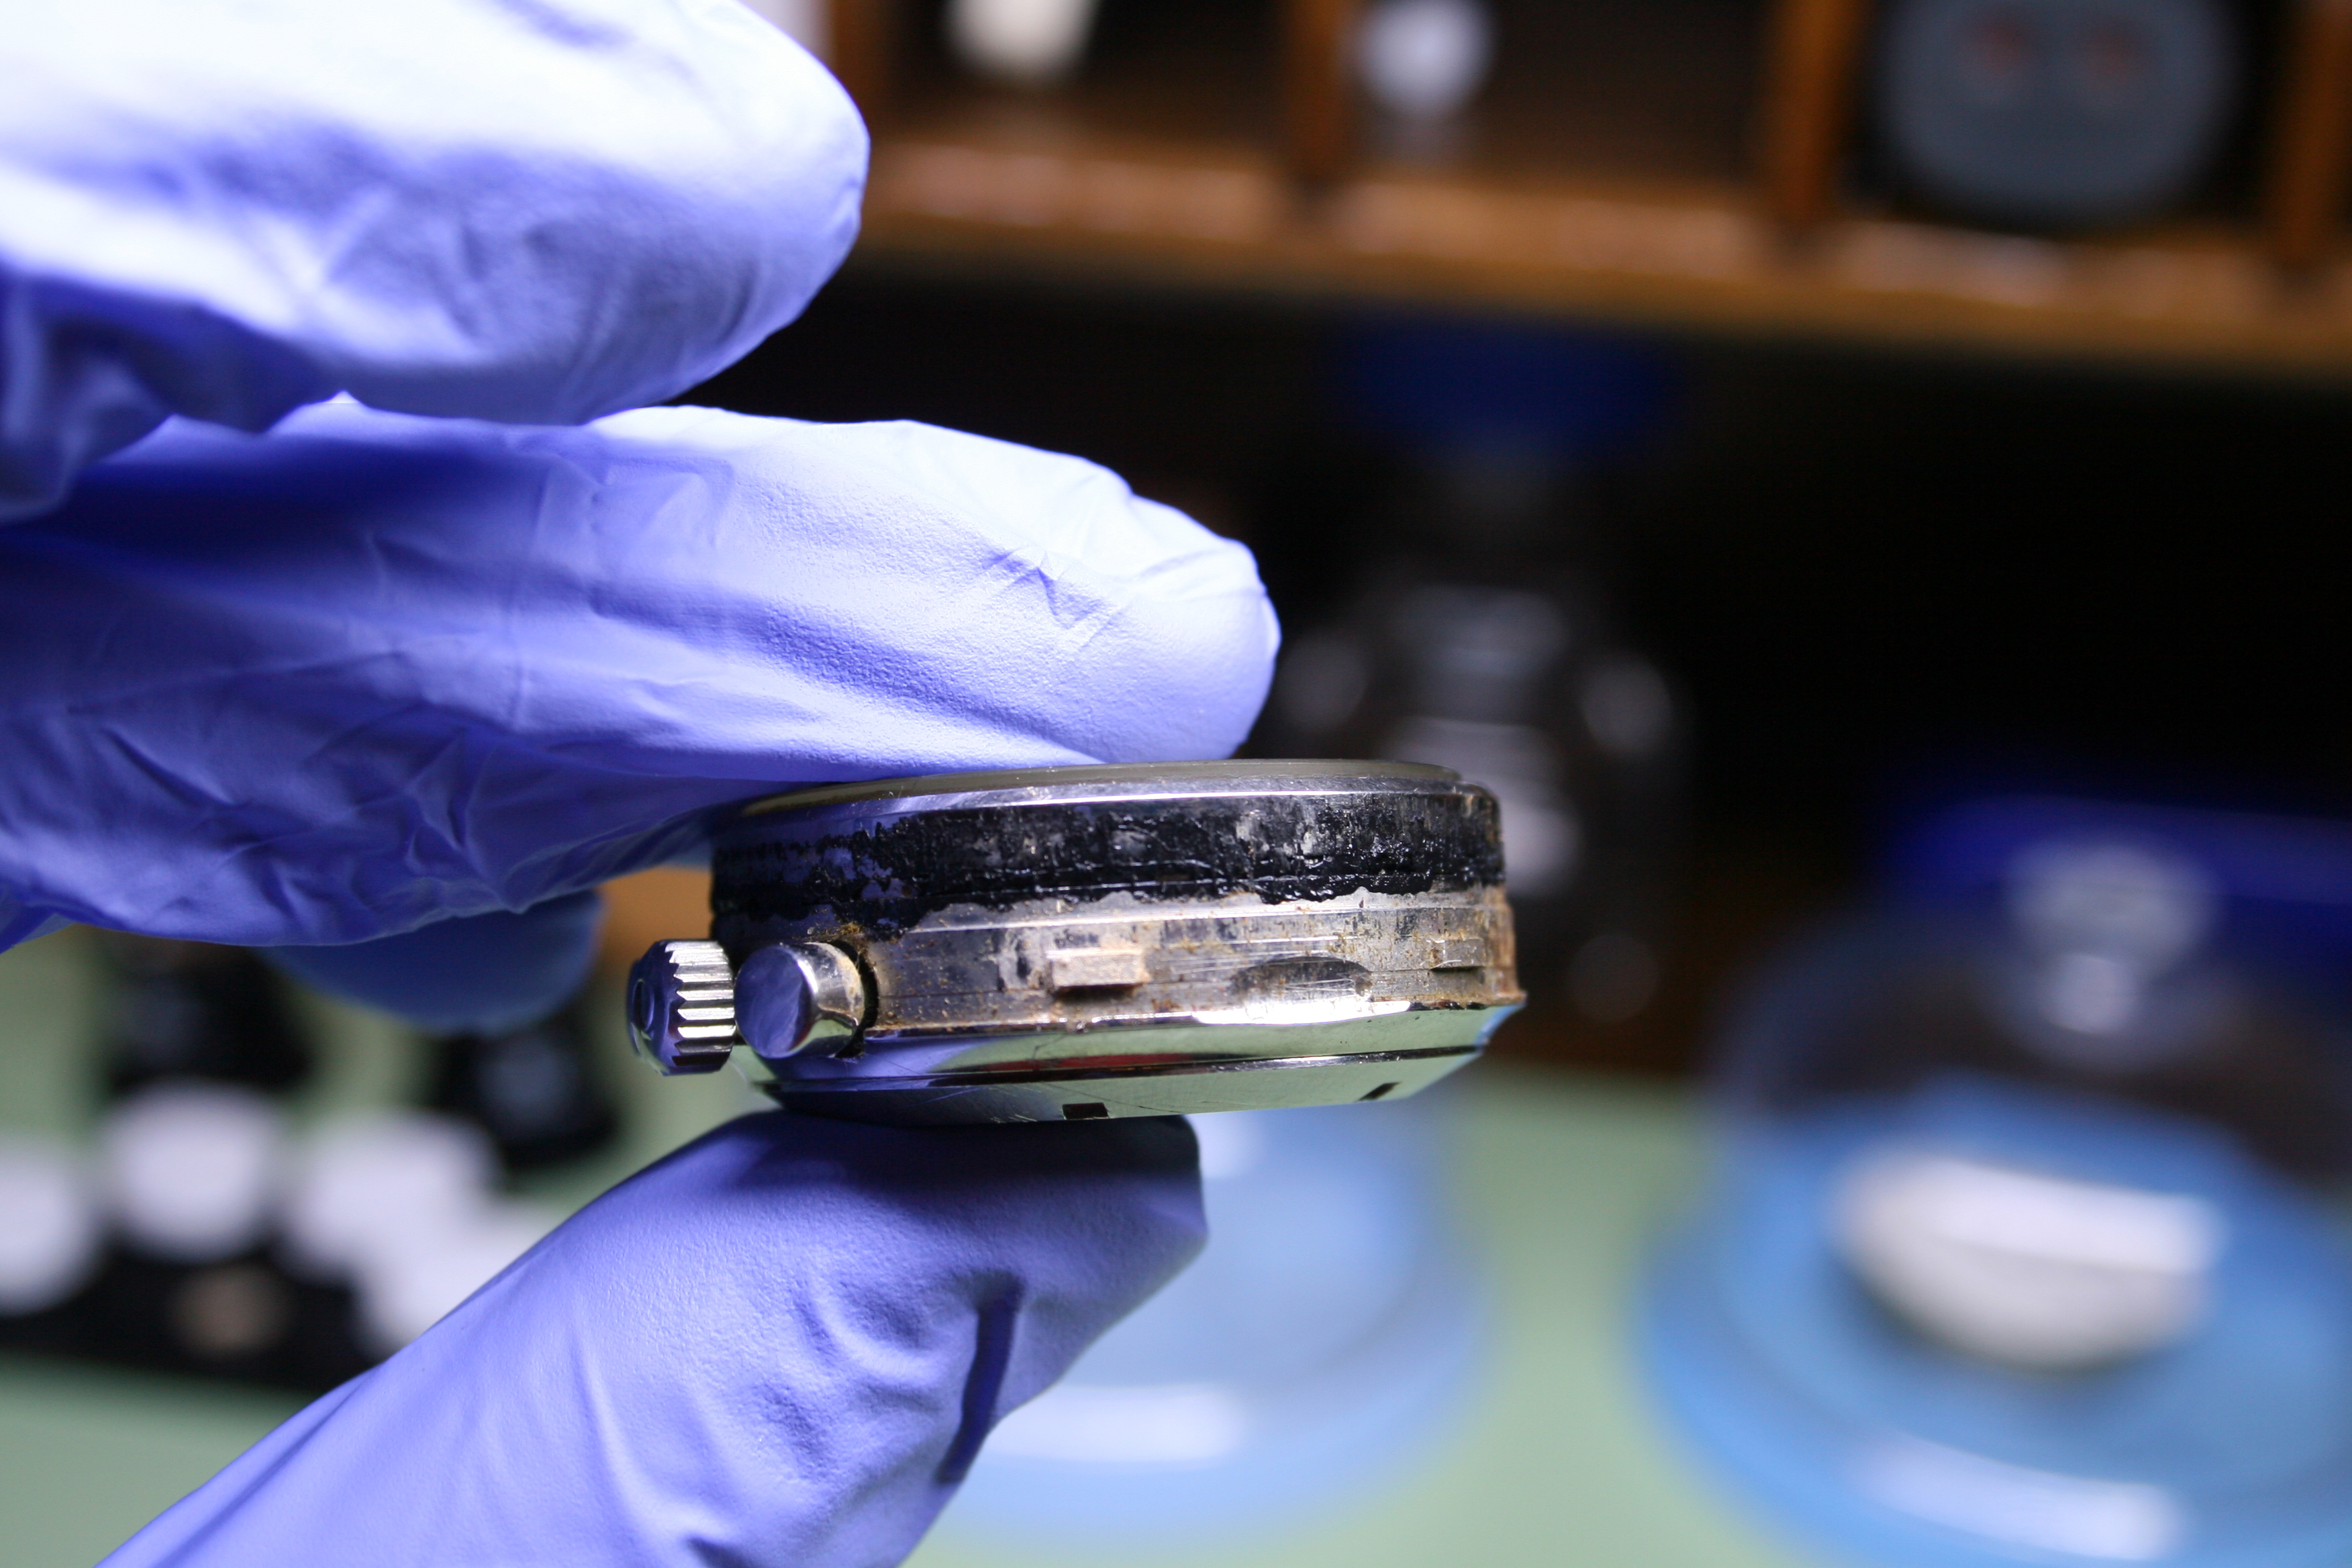
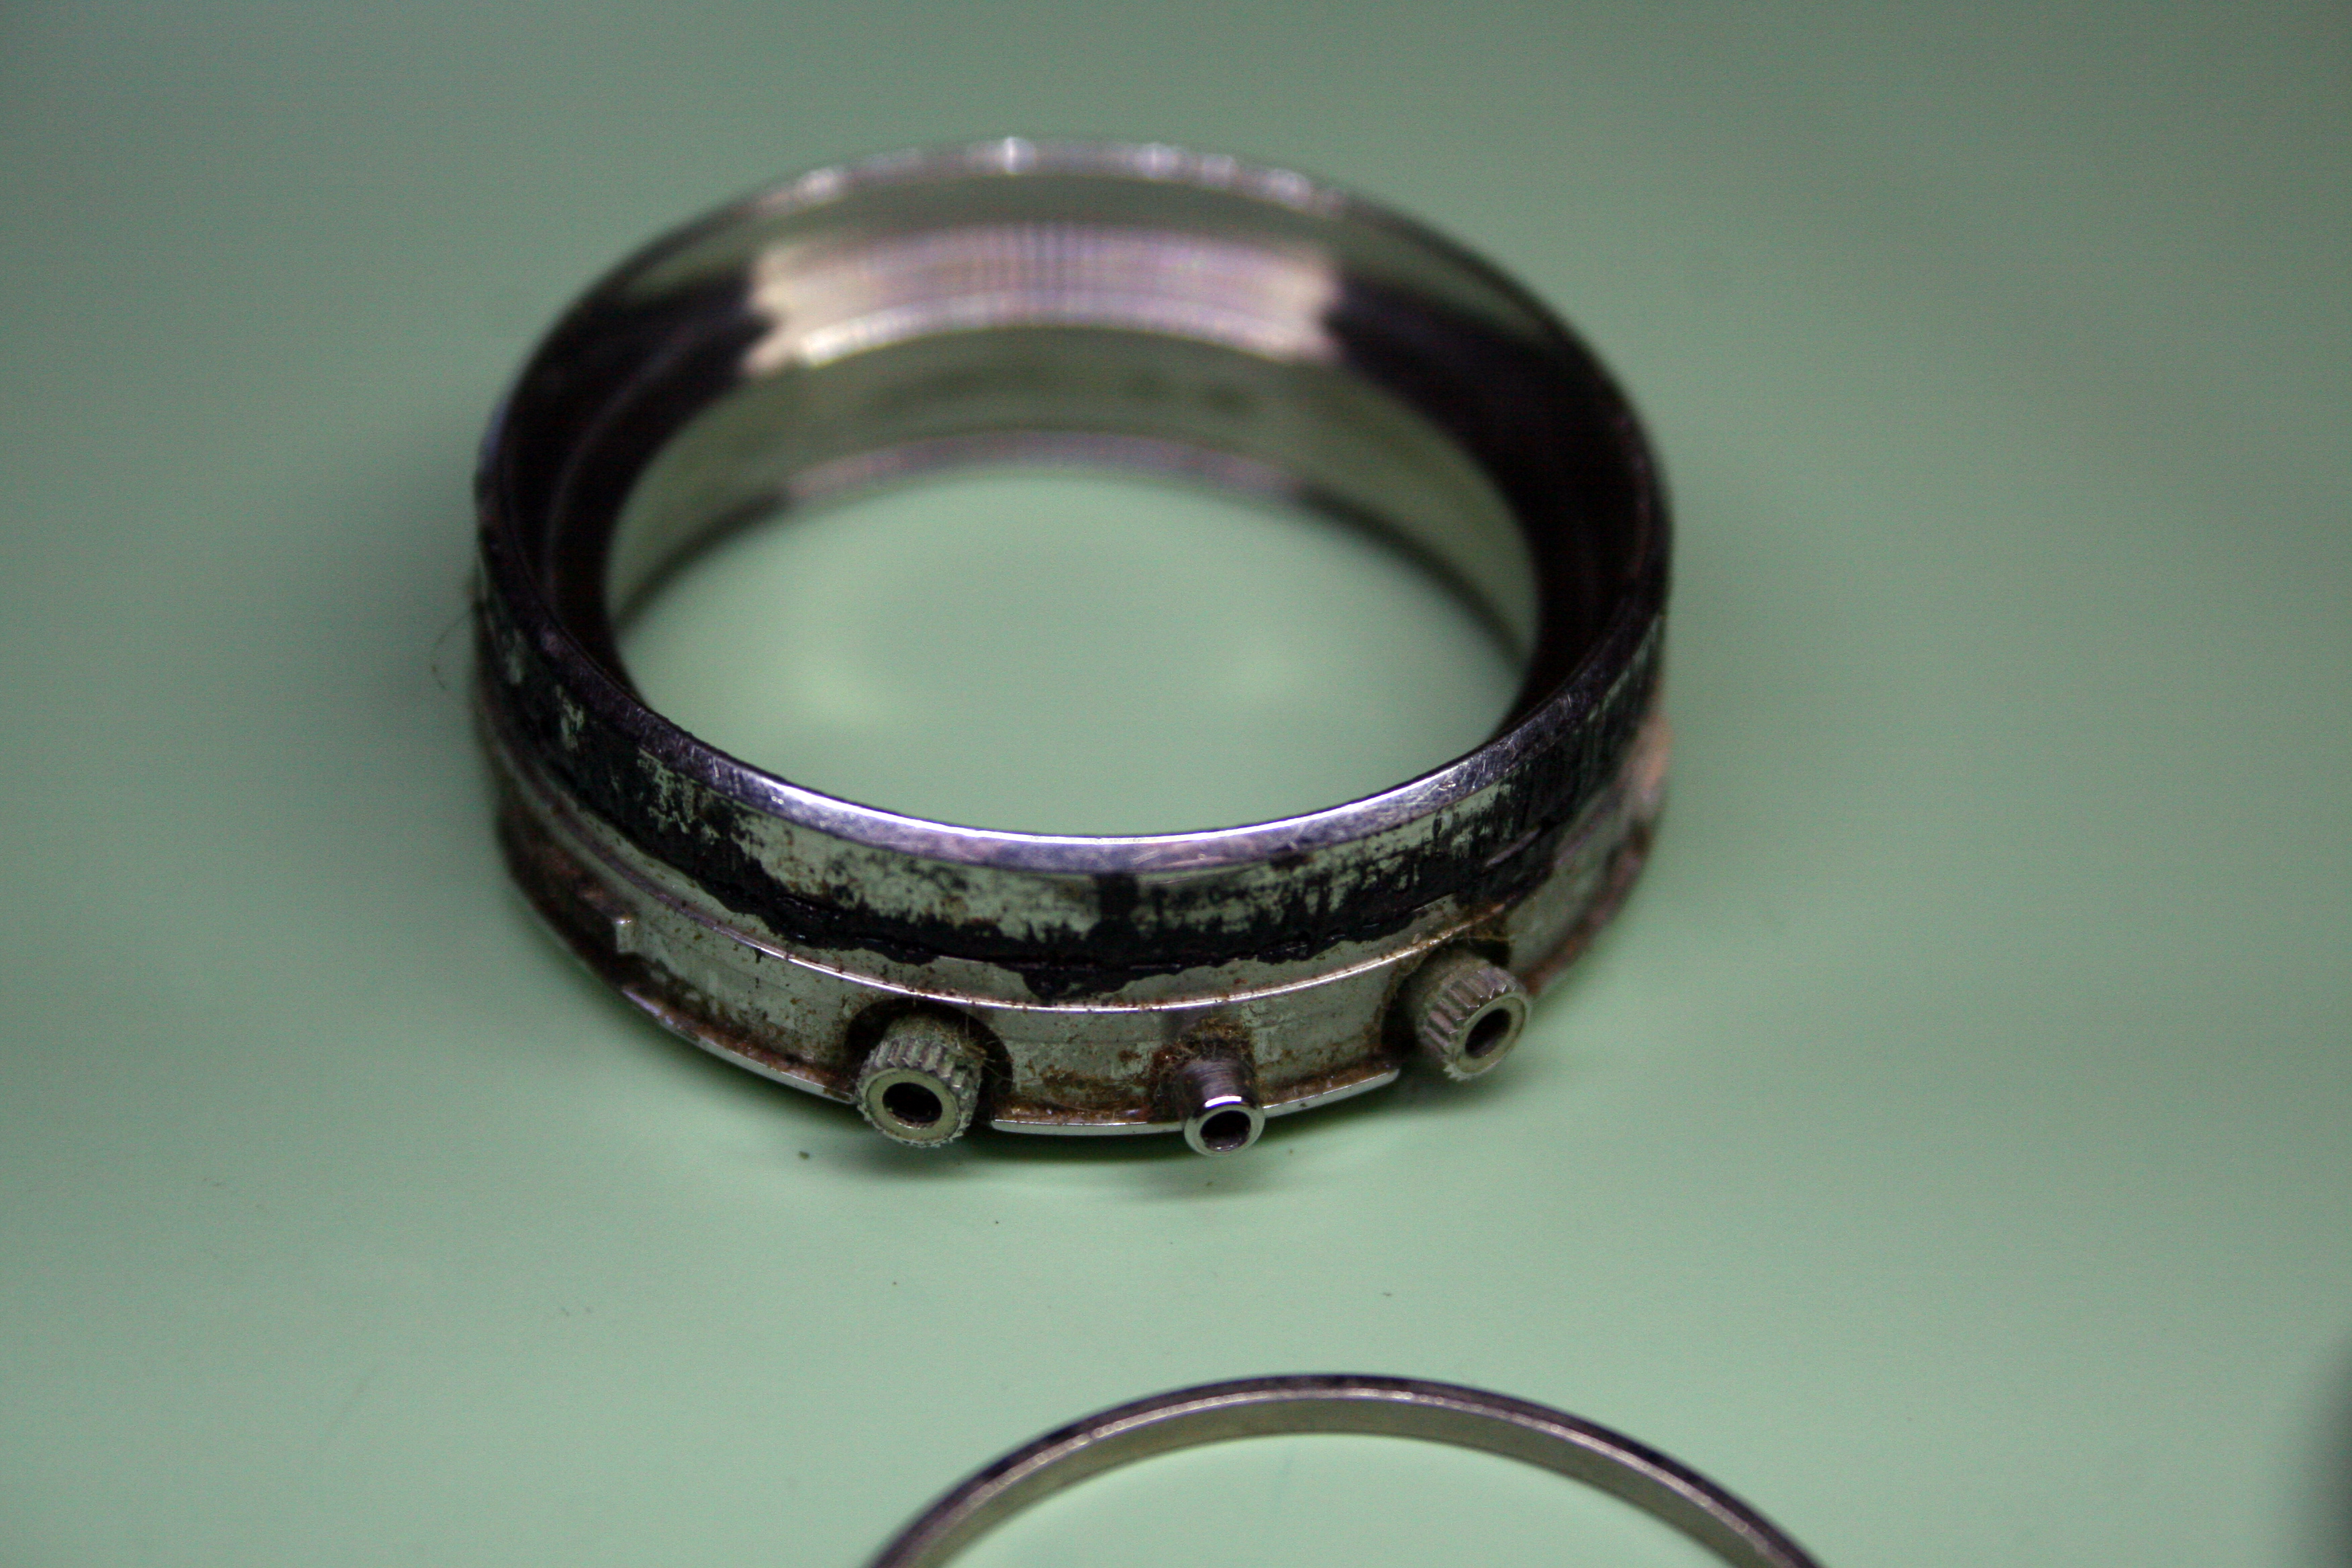
The case is a two piece construction and can be split apart in a way that allows one to use the watch as a hand held timer. There is an o-ring running the circumference of the inner case; if it’s not replaced periodically it will degrade and after several years turn into a sticky goo.

It was clear the case would require quite a bit of work to clean up due to the deteriorating gaskets. I turned the movement out of the case for disassembly. The dial side (bottom) of the movement told a completely different story from the topside. I gathered the person responsible for losing the Balance, Pallet, and Balance Cock must have kept the movement in the case when attempting his or her repair job.

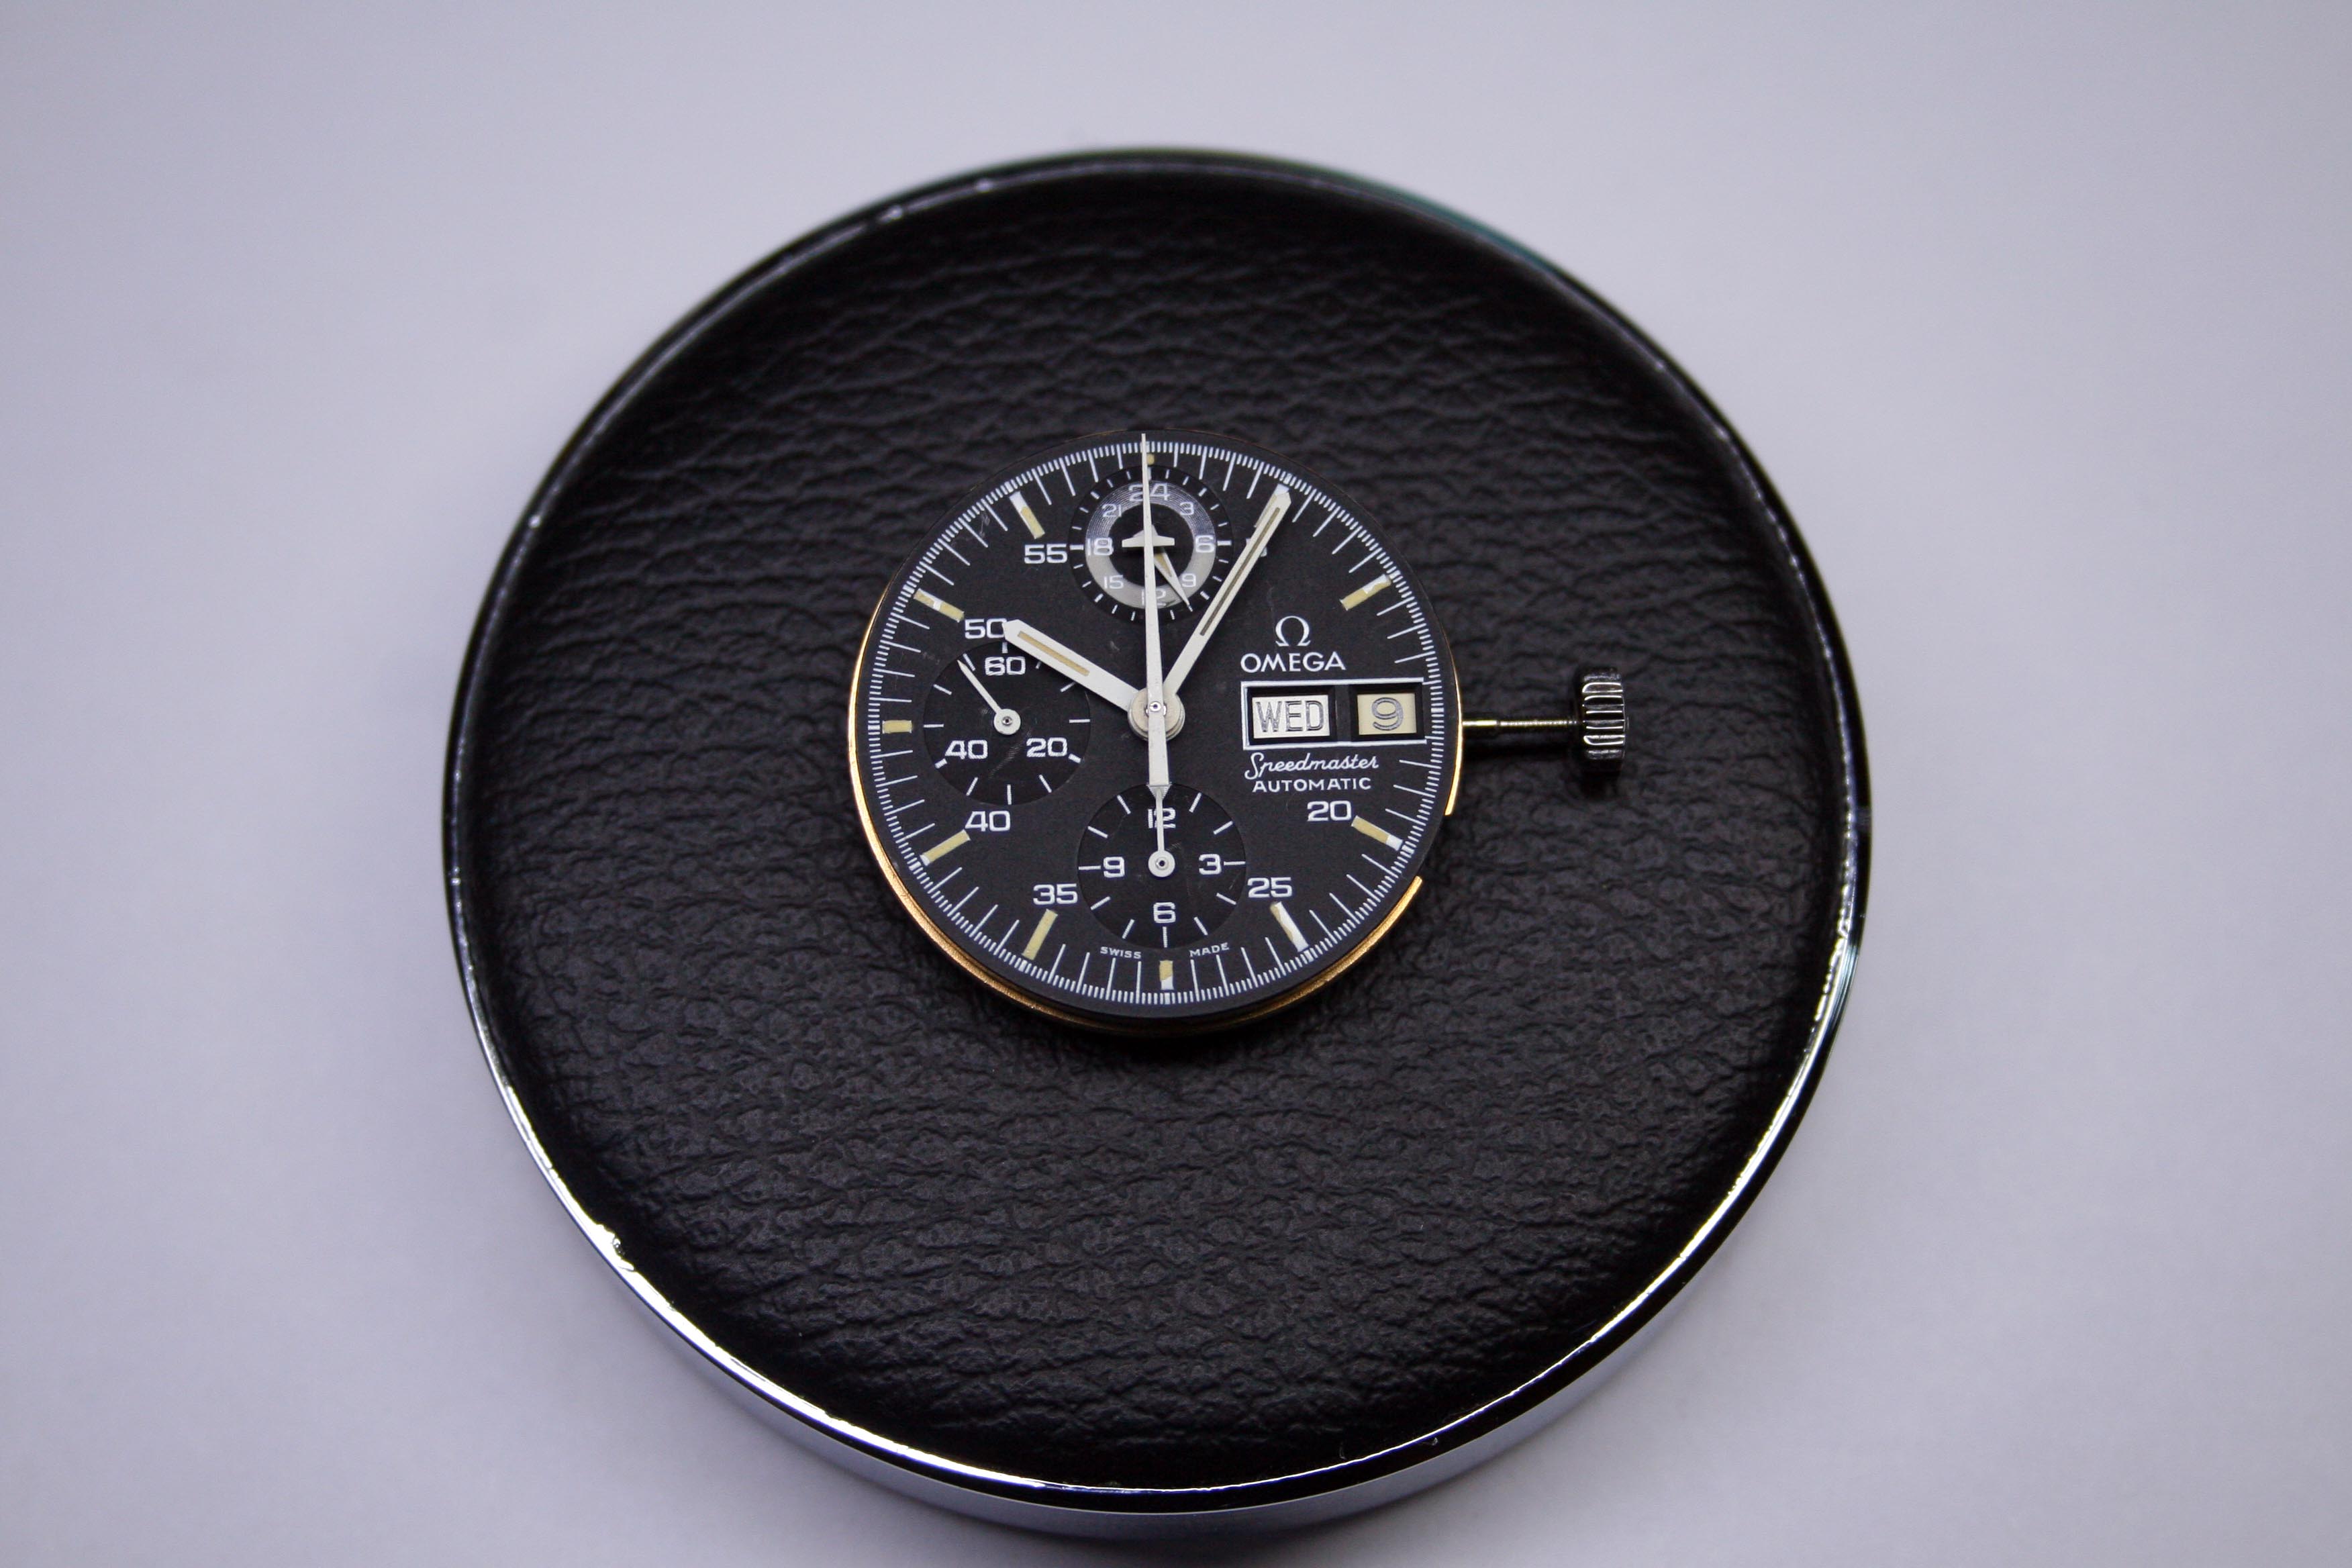
Historically Omega has utilized movements from Lemania for their chronographs and this is no exception. The movement inside this Speedmaster is the Lemania 5100, rebadged as the Omega 1045. It’s an automatic chronograph with a day/date calendar and a running 24 hour clock to boot.


Their are diehard fans of the Lemania 5100 movement and for good reason. The movement is quite robust thanks to it’s exceptional design and the shock absorbing plastic utilized in its construction. Some consider the dial layout superior to other chronographs as well. Elapsed minutes are recorded on a large hand mounted in the same group as the standard Hour, Minute, and Sweep Second Hands- this makes it much easier to read elapsed minutes than on most other chronographs (which instead utilize a small sub dial).
In the 1970’s, when Lemania engineered this movement, the Swiss watch industry was in upheaval. It was a period now referred to as the Quartz Crisis; when inexpensive quartz watches flooded the market and pushed into bankruptcy many of the Swiss watch manufacturers. The designers of chronograph movements had only just solved the challenge of designing an automatic chronograph movement when quartz technology made them obsolete.
Omega, Lemania, and many others struggled during this time and the 5100 movement never gained widespread use as a result. Today parts are difficult to come by and expensive when found. The plastic bits can become brittle and fail over time making those parts particularly costly to replace. I counted myself as a lucky upon seeing the condition of the plastic in this piece.
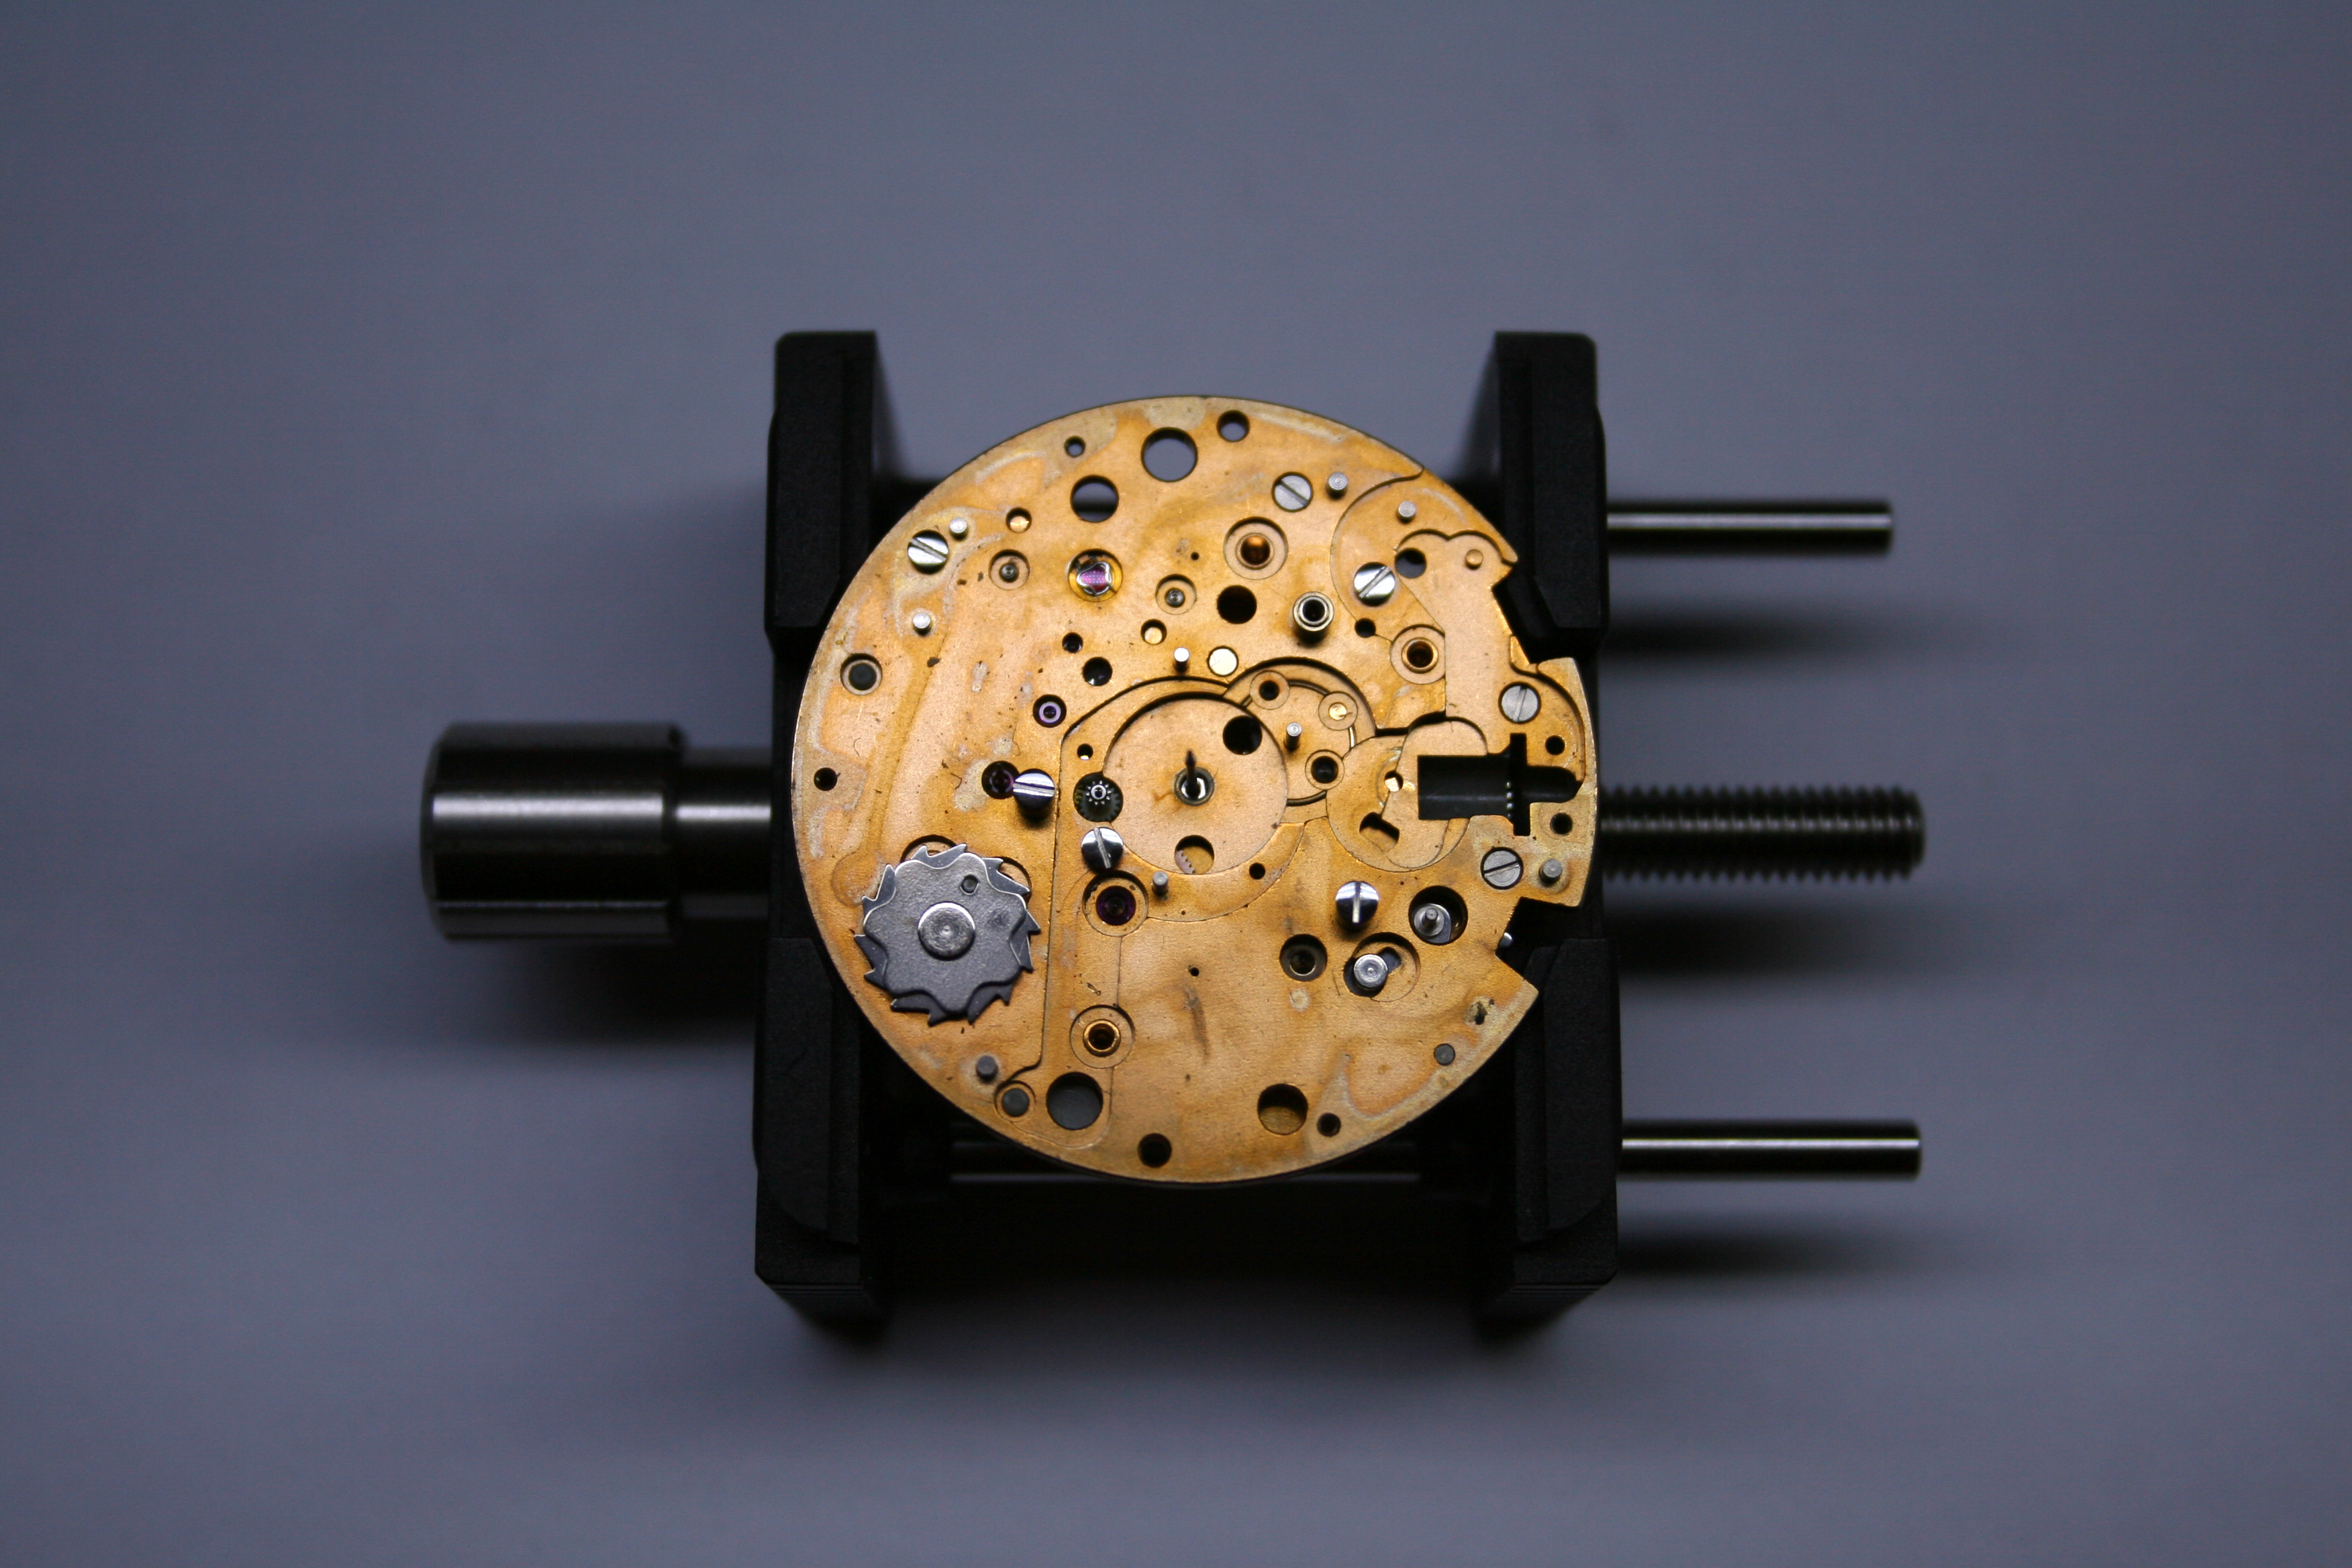
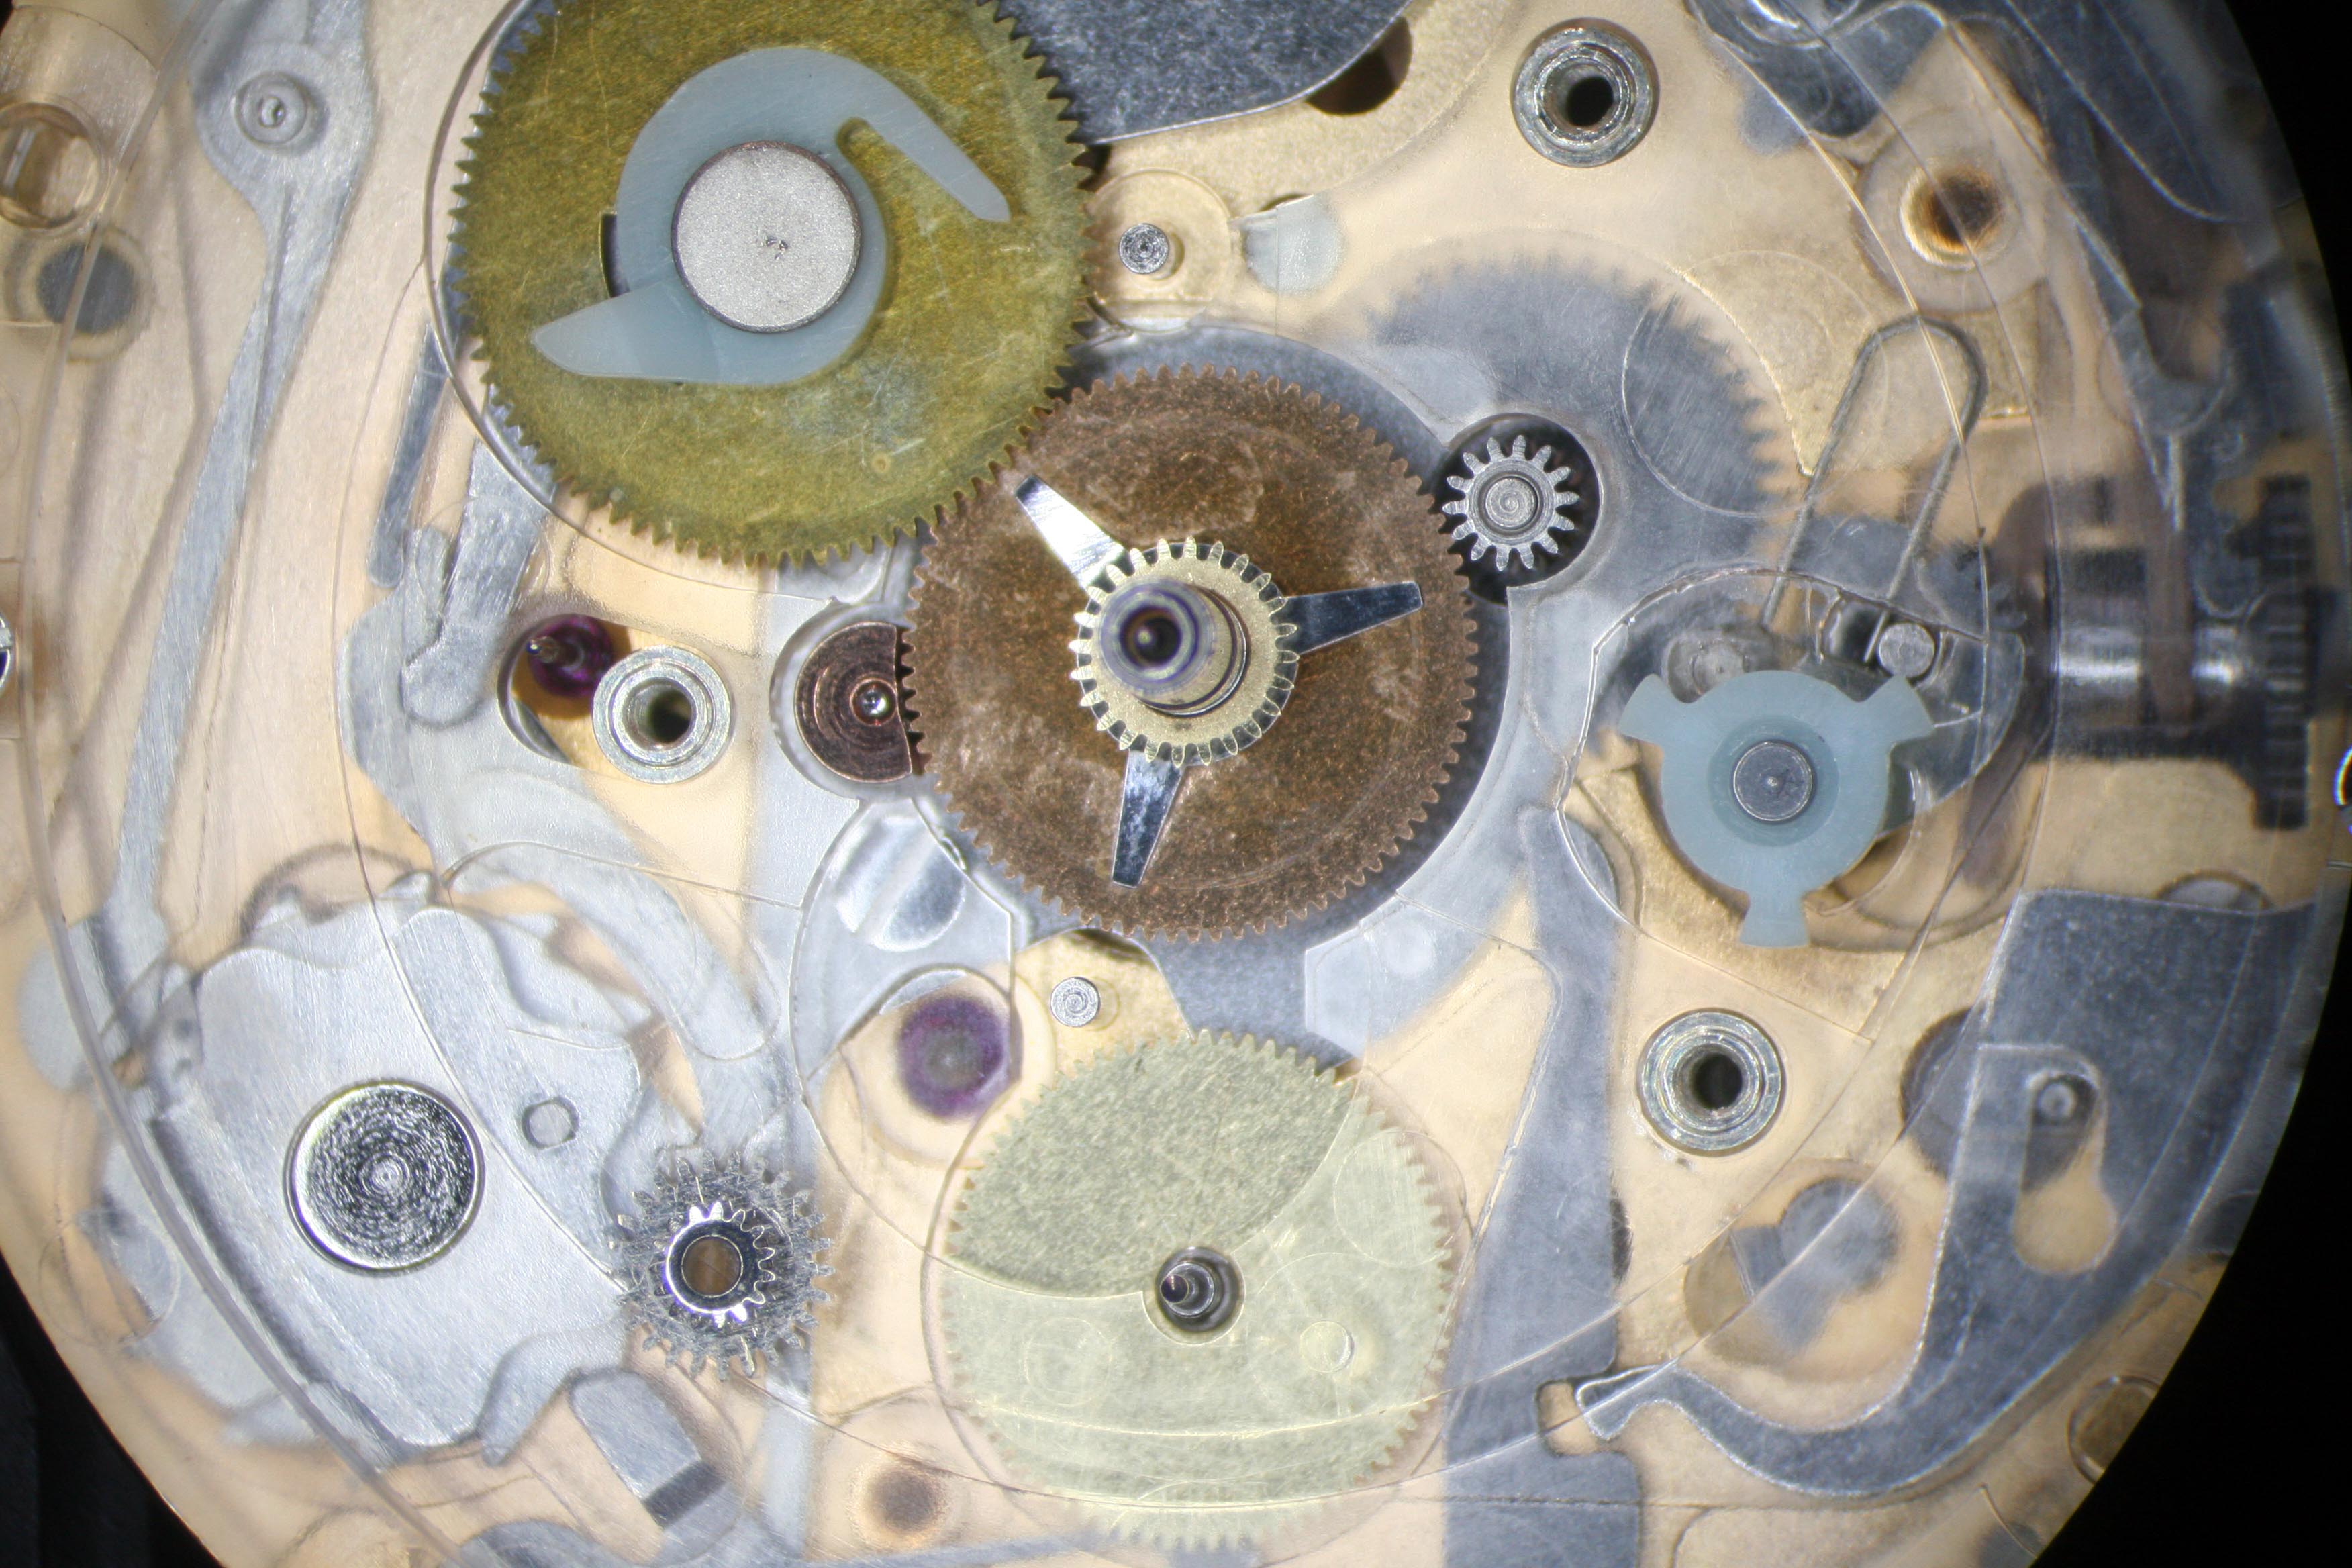
In a departure from standard design, the chronograph works are found between the dial and bottom plate in the 5100 movement. They’re secured with an clear acrylic plate upon which is set the calendar mechansim.

The chronograph works come apart (and go together) easily with the acrylic plate removed. The stains on the bottom plate and copious bits of debris furthered my suspicion that this watch has not been properly serviced in many years.
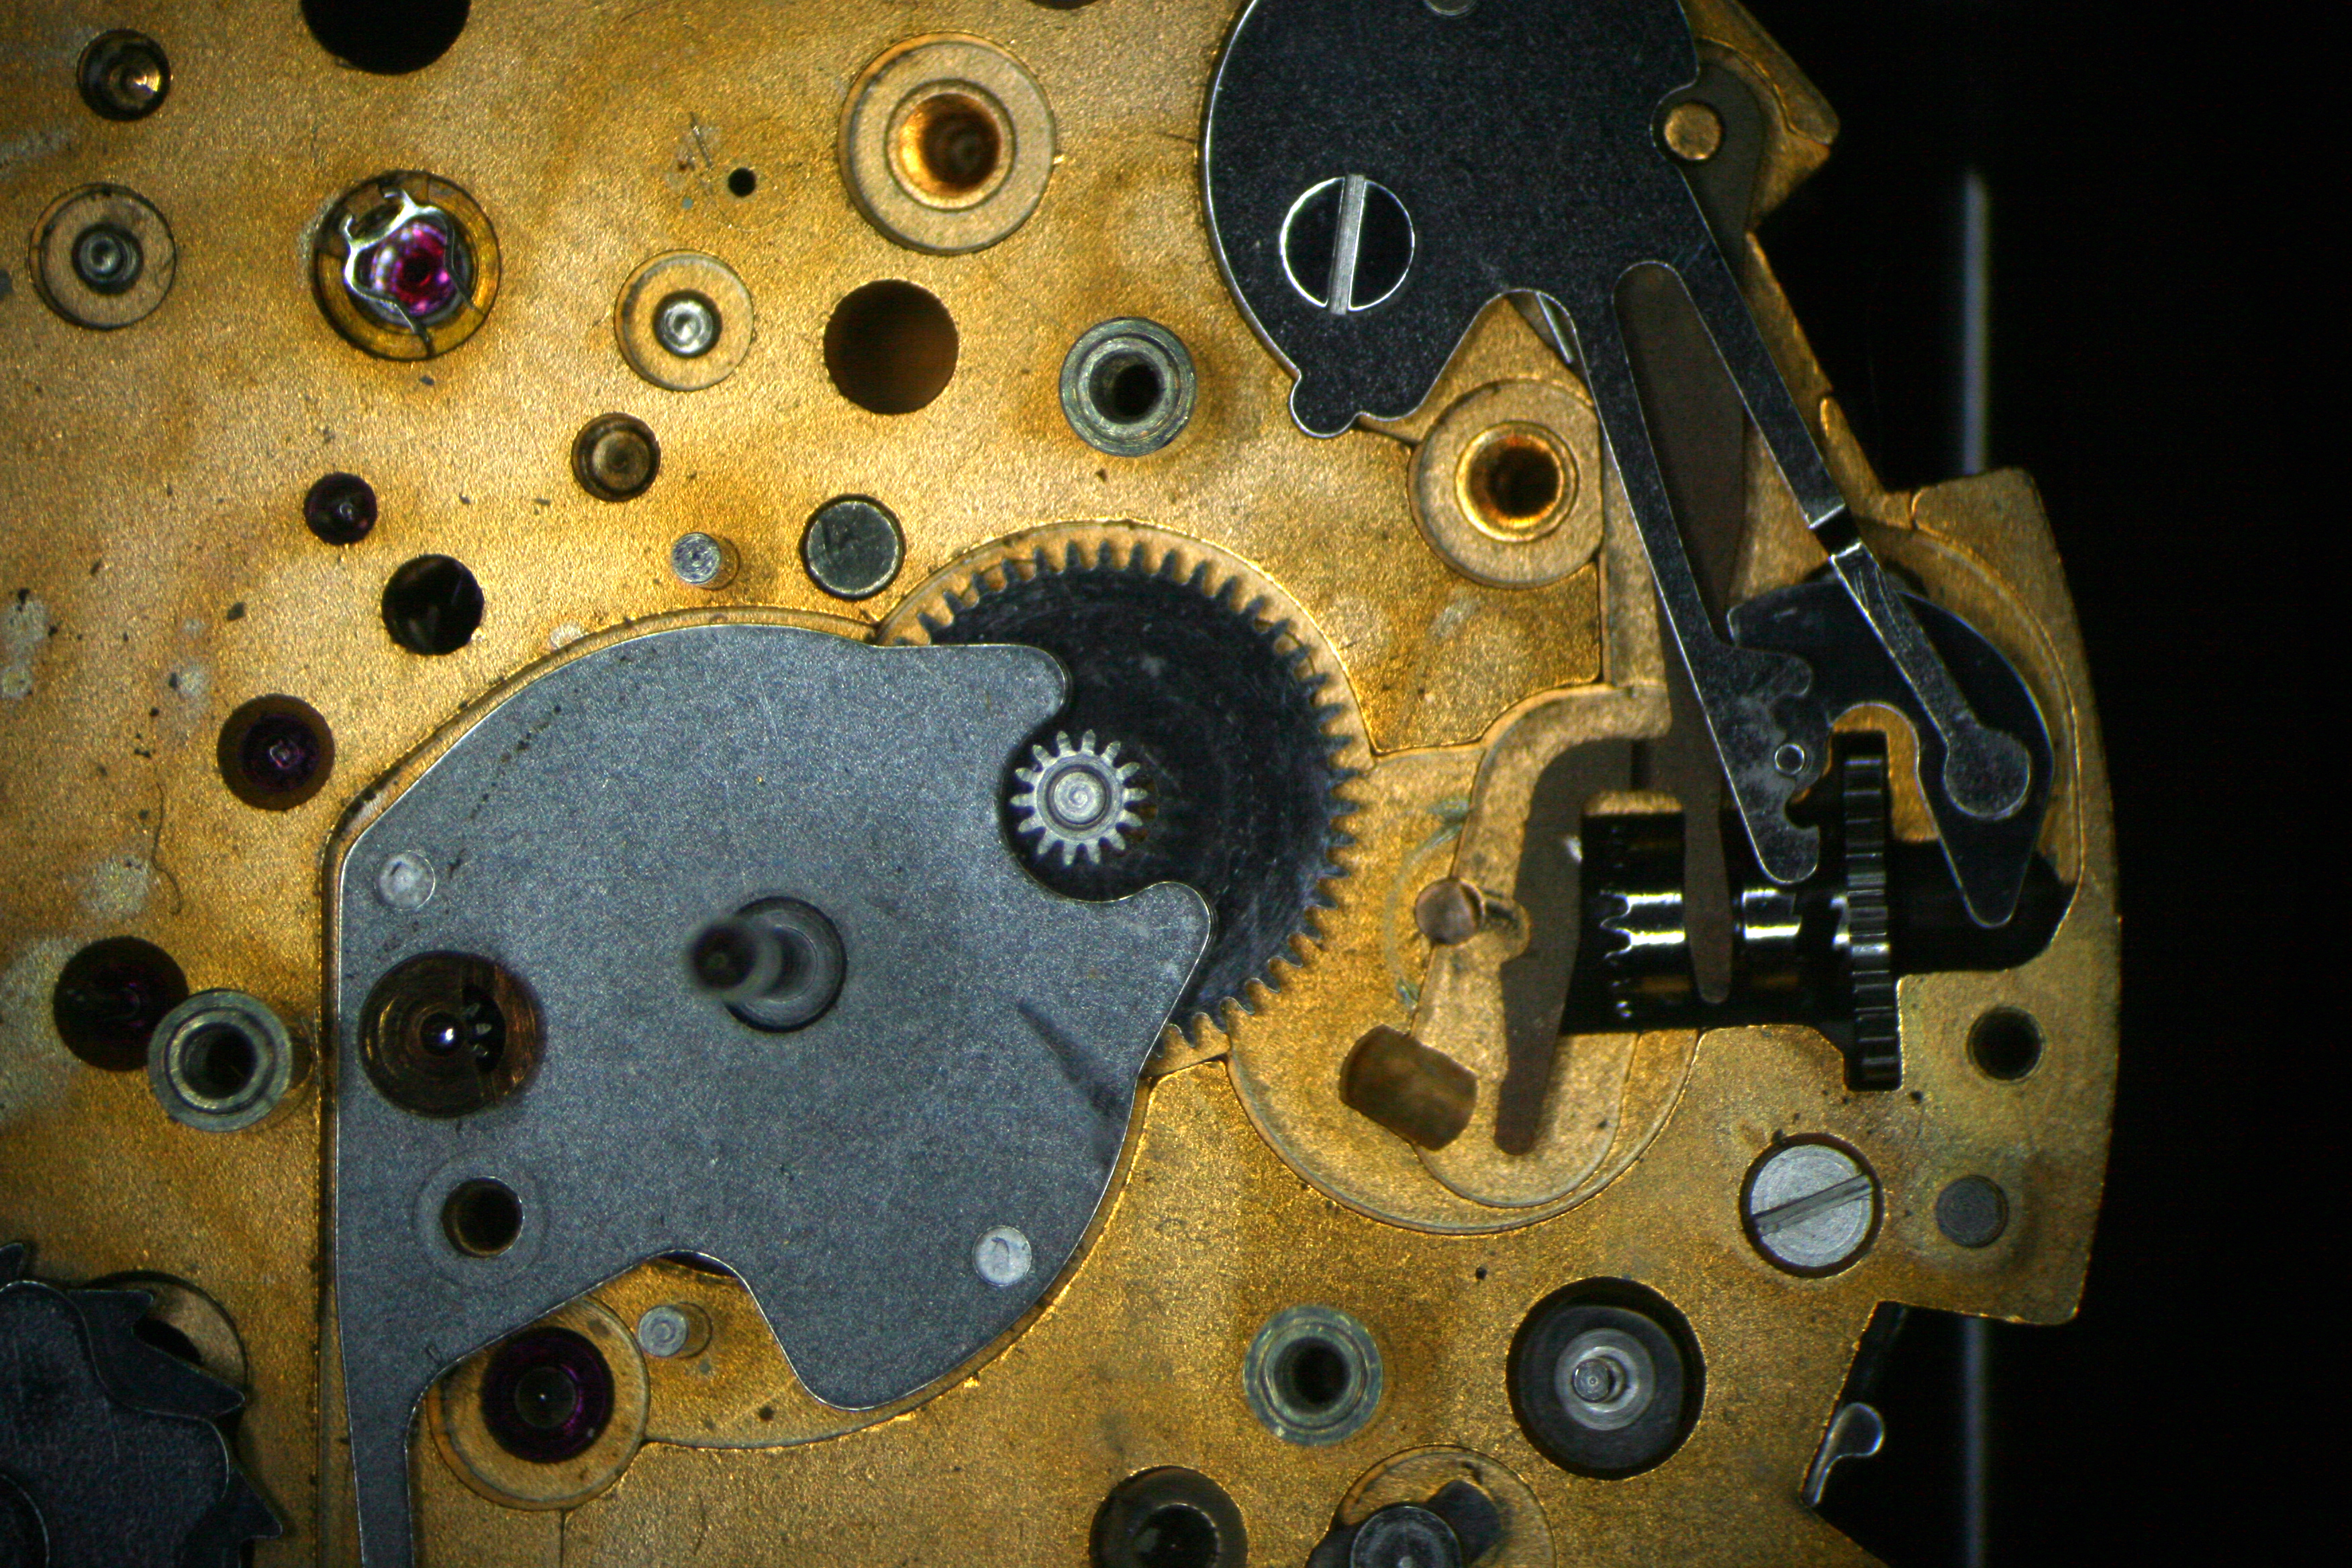
It was clear the bottom side of the movement had not been fiddled with and probably not disassembled in many years. Topside was quite a different story. Straight away I noticed lots of scratches on the plates which suggests someone lacking skill had a go at it.
Removal of the Barrel Bridge revealed a damaged Click and Friction Spring, both being been bent wildly out of position.
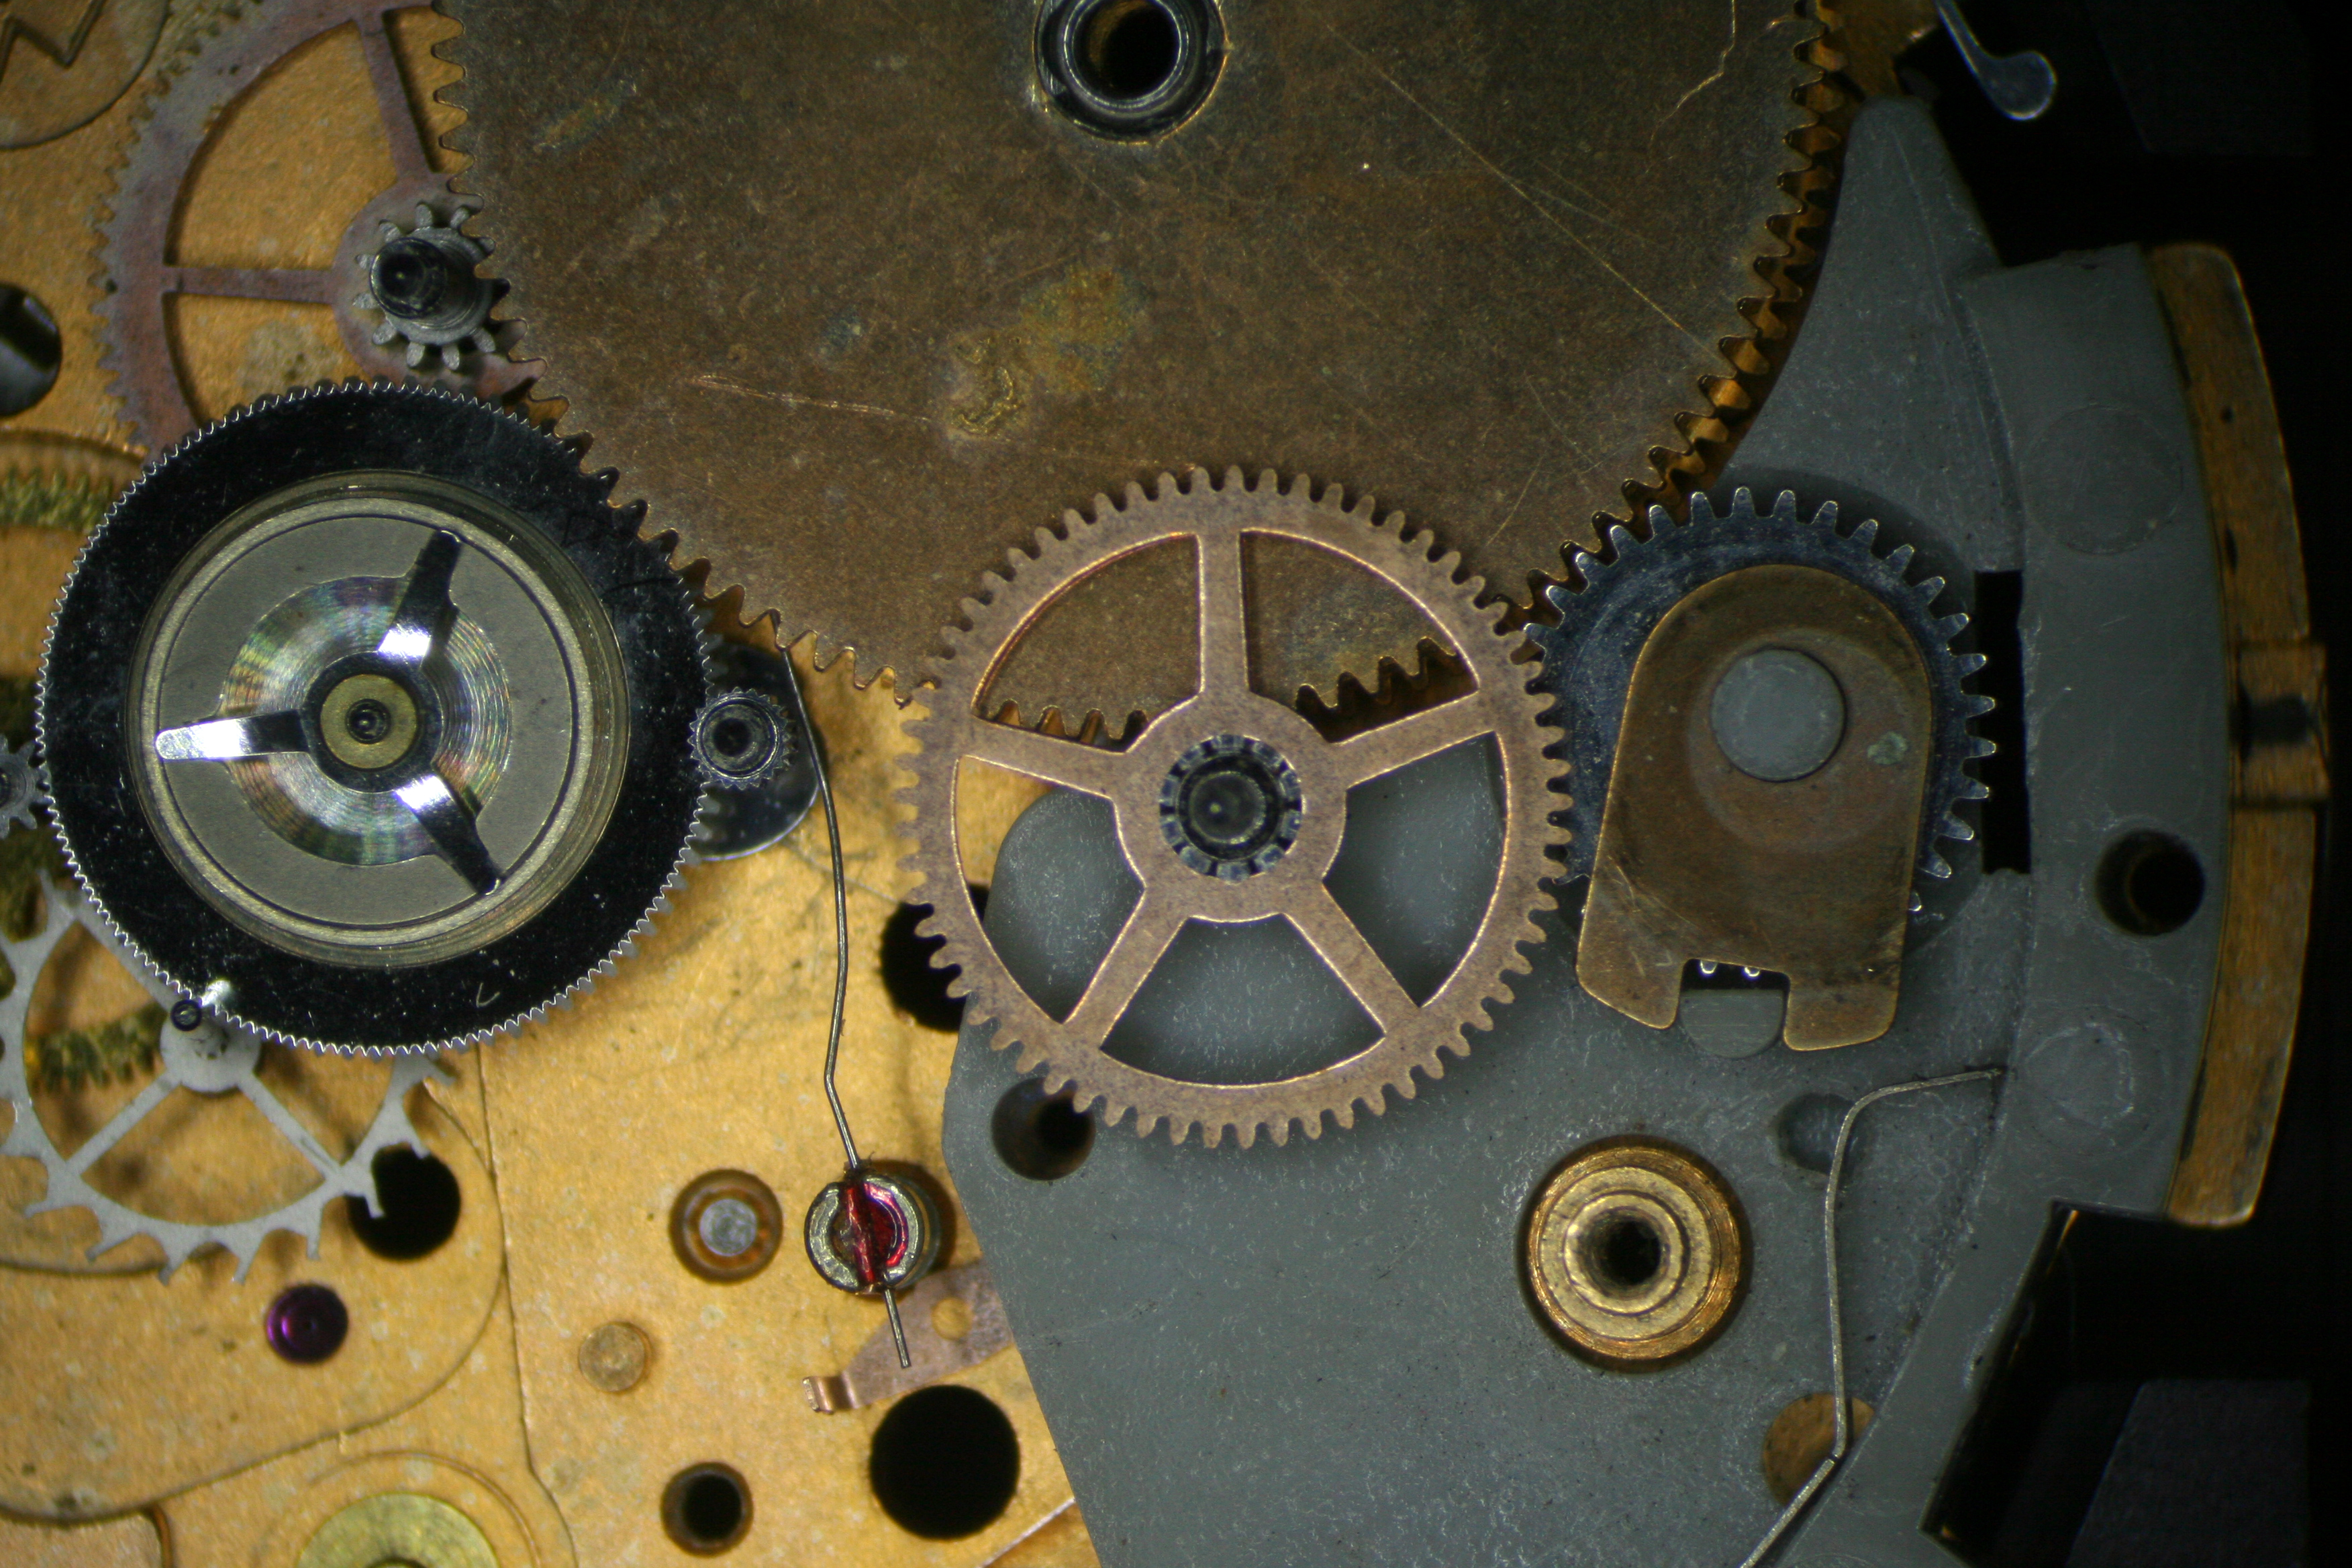

At first sight the Going Train appeared okay but when I inspected each wheel individually I noticed the Coupling Runner was damaged. The Delrin (nylon) gear teeth were deformed all around the circumference of the wheel. The runner transmits power from the Going Train to the chronograph second and minute hands so unless the teeth could be repaired the chronograph function would never work. I set about straightening them one-by-one with my smallest screwdriver until they looked about right. I wouldn’t know until I finished cleaning and reassembling the movement if the repair worked so I just crossed my fingers and hoped.
Opening the Mainspring Barrel revealed a broken spring. Thankfully replacing that isn’t a chore.

Breaking down the 5100 for cleaning involves separating all of the plastic from the plates. The plastic bit cannot be run through the cleaner with the other parts as the solvent will damage the plastic. Each plastic piece had to be cleaned separately. I used Simple Green as it’s my go to cleaner for anything that won’t rust.
I unearthed a Hacking Lever when I removed the plastic bridge for the keyless works. Up to that point I didn’t even know the 5100 had a hack. This movement has a bit of everything!

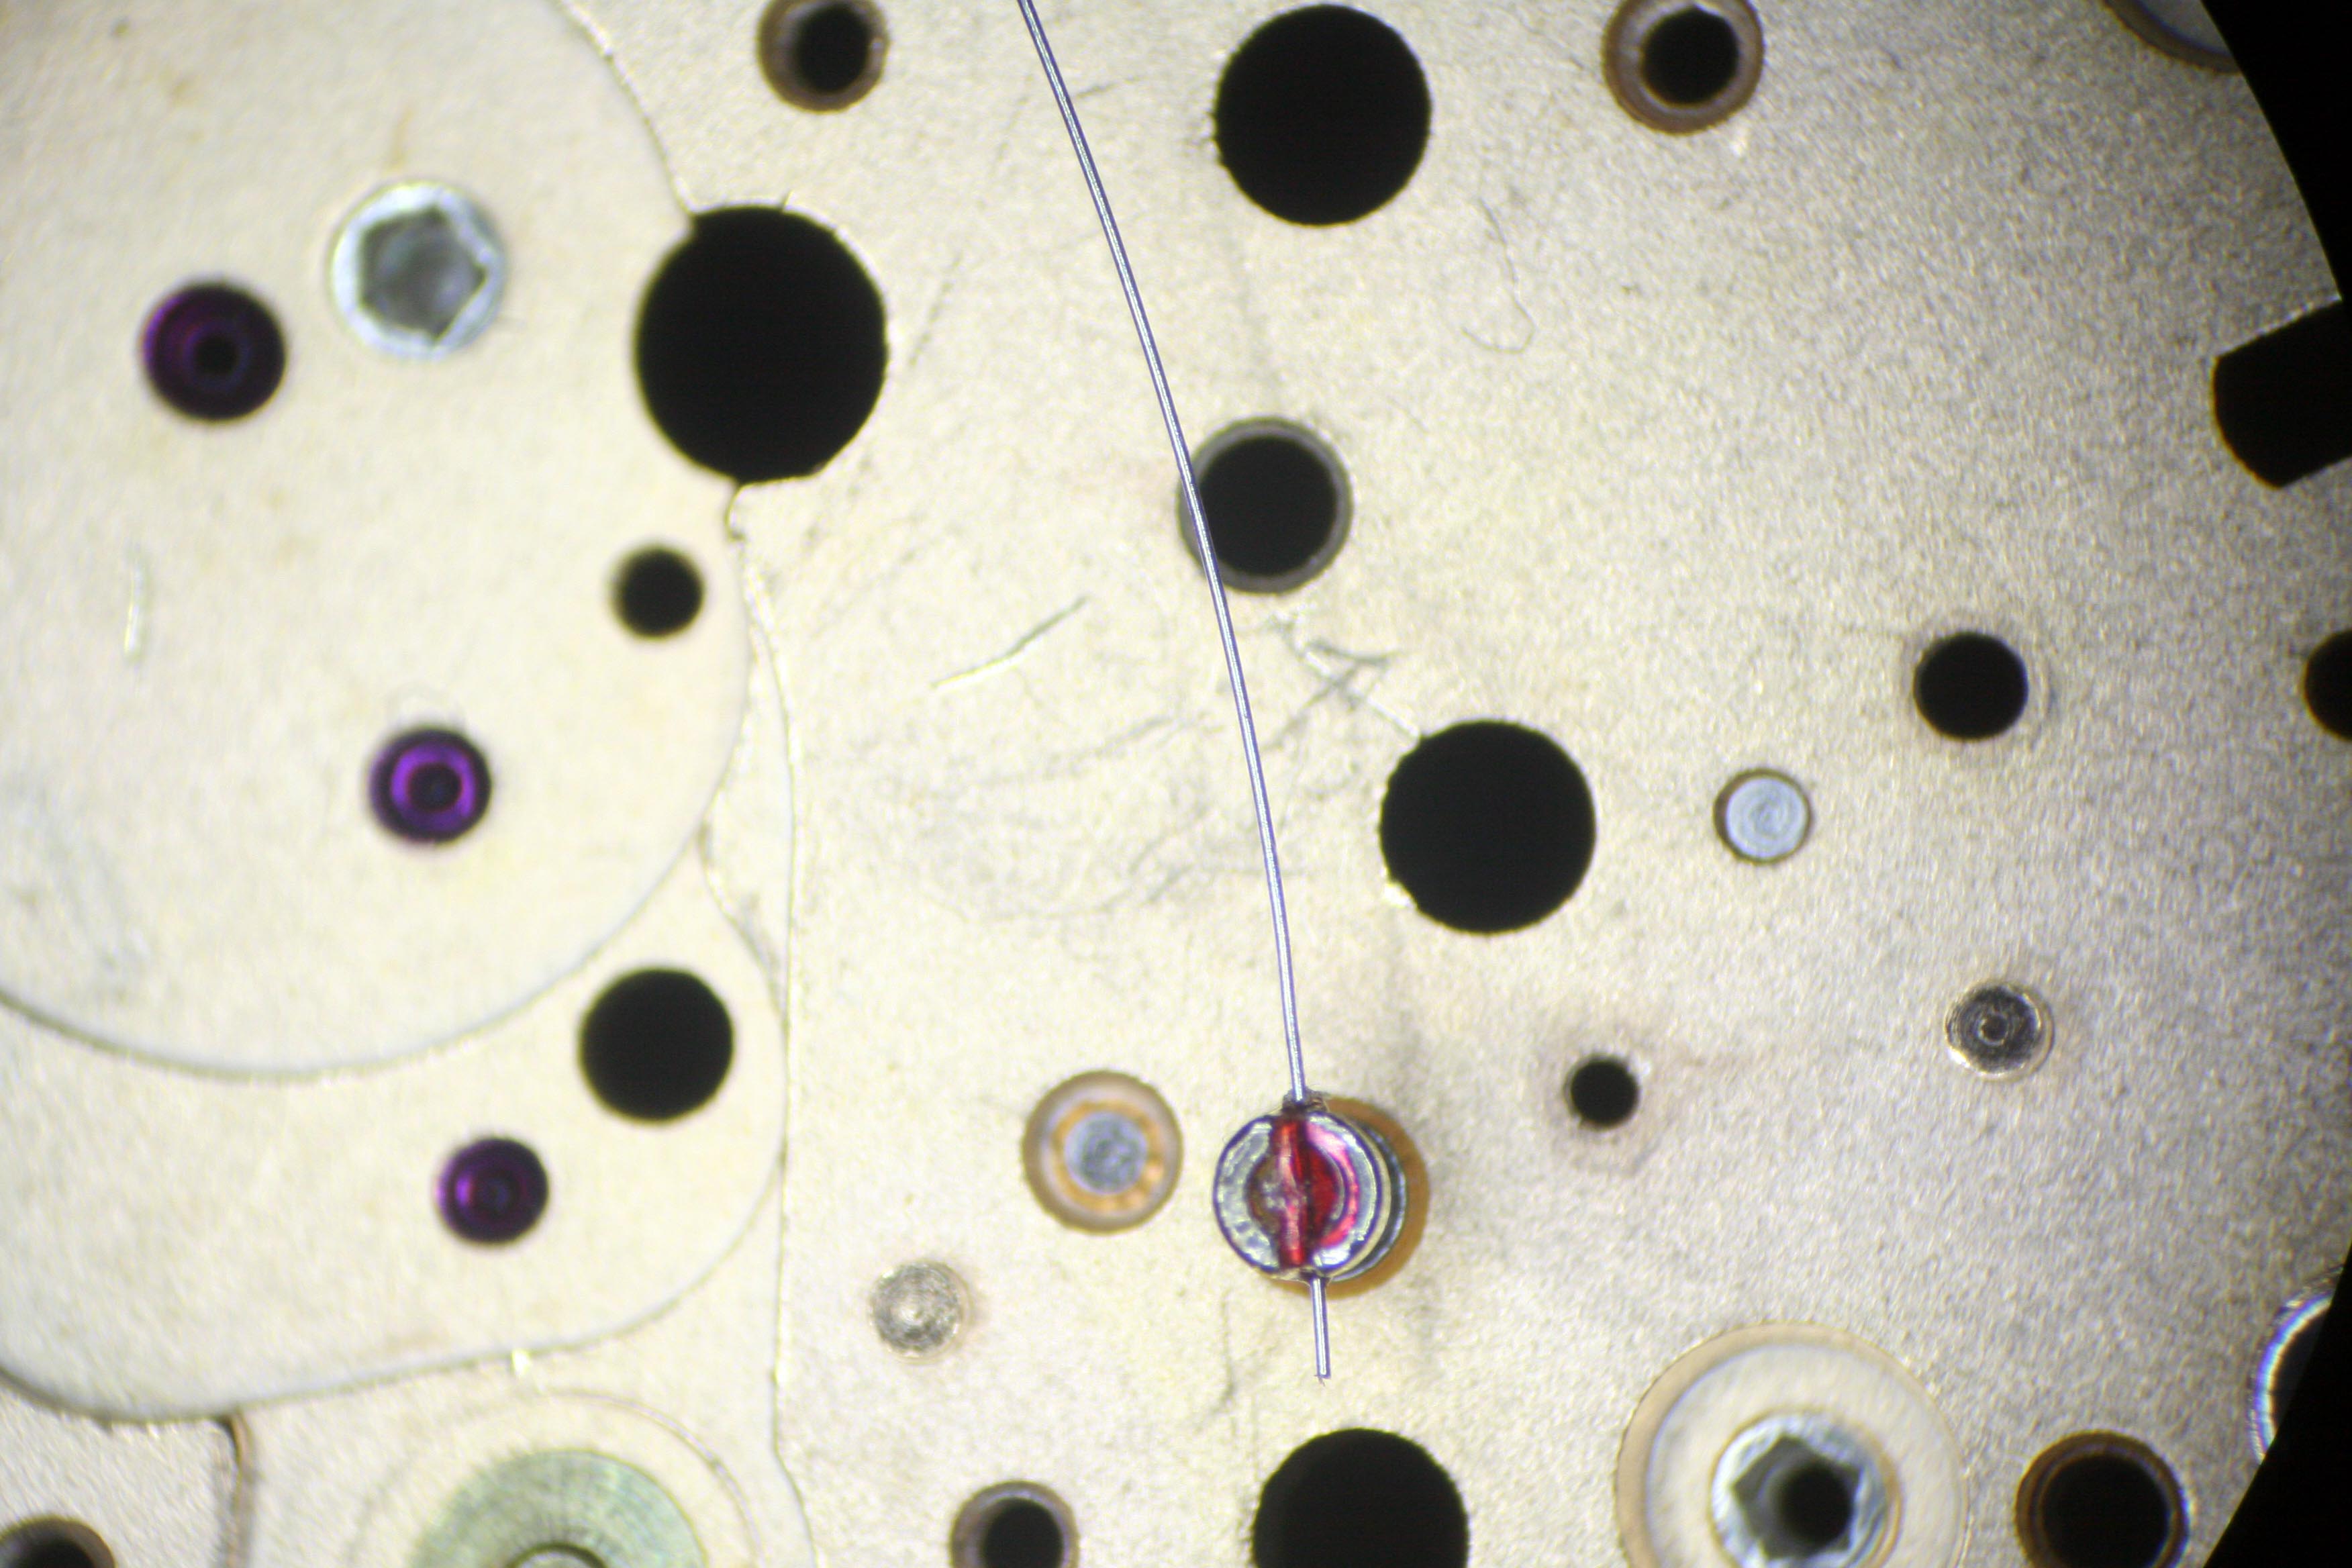
Once everything was sufficiently clean I commenced reassembly. I realized the Friction Spring was more than just bent- it was also lose, so I replaced it using a newly cut piece of spring wire. A bit of heat from a soldering iron softened the epoxy which which secures the spring.
The Click was bent back into position without any ill effect. I noted the Coupling Yoke and Coupling Yoke Spring were also missing and ordered replacements.

Although laborious (like most chronograph repairs) the movement went together easily and required no adjustments. I’ve heard working on this particular movement can be a real headache but other than installing the Balance, everything went smoothly. It certainly helps that Omega publishes a step-by-step guide though.


Throughout assembly I found bits absent here and there which I hadn’t noticed missing initially. I think without the Omega guide I probably would have been left scratching my head. When it was all said and done I had replaced the Pallet, Pallet Cock, Balance, Balance Cock, Mainspring, Coupling Yoke, Coupling Yoke Spring, Stop Click, Rotor Pinion, and Day Indicator Guard. The Day Indicator Guard was about the last piece in the assembly and as such I didn’t notice it missing until everything else was back on the movement. It’s also the only piece that was missing from under the dial.

I was pleased when the timegrapher indicated the movement was operating properly. Projects like these sometimes never work right!

Before I could case the movement I needed to get the case and bracelet cleaned up. All of the rubber gaskets in the case had turned to a sticky tar-like substance which had to be removed. I used an oiler to scoop the goo from the gasket recesses. It took quite a bit of time. I used Q-Tips and alcohol to clean up whatever remained. The whole kaboodle was then tossed into the ultrasonic bath.
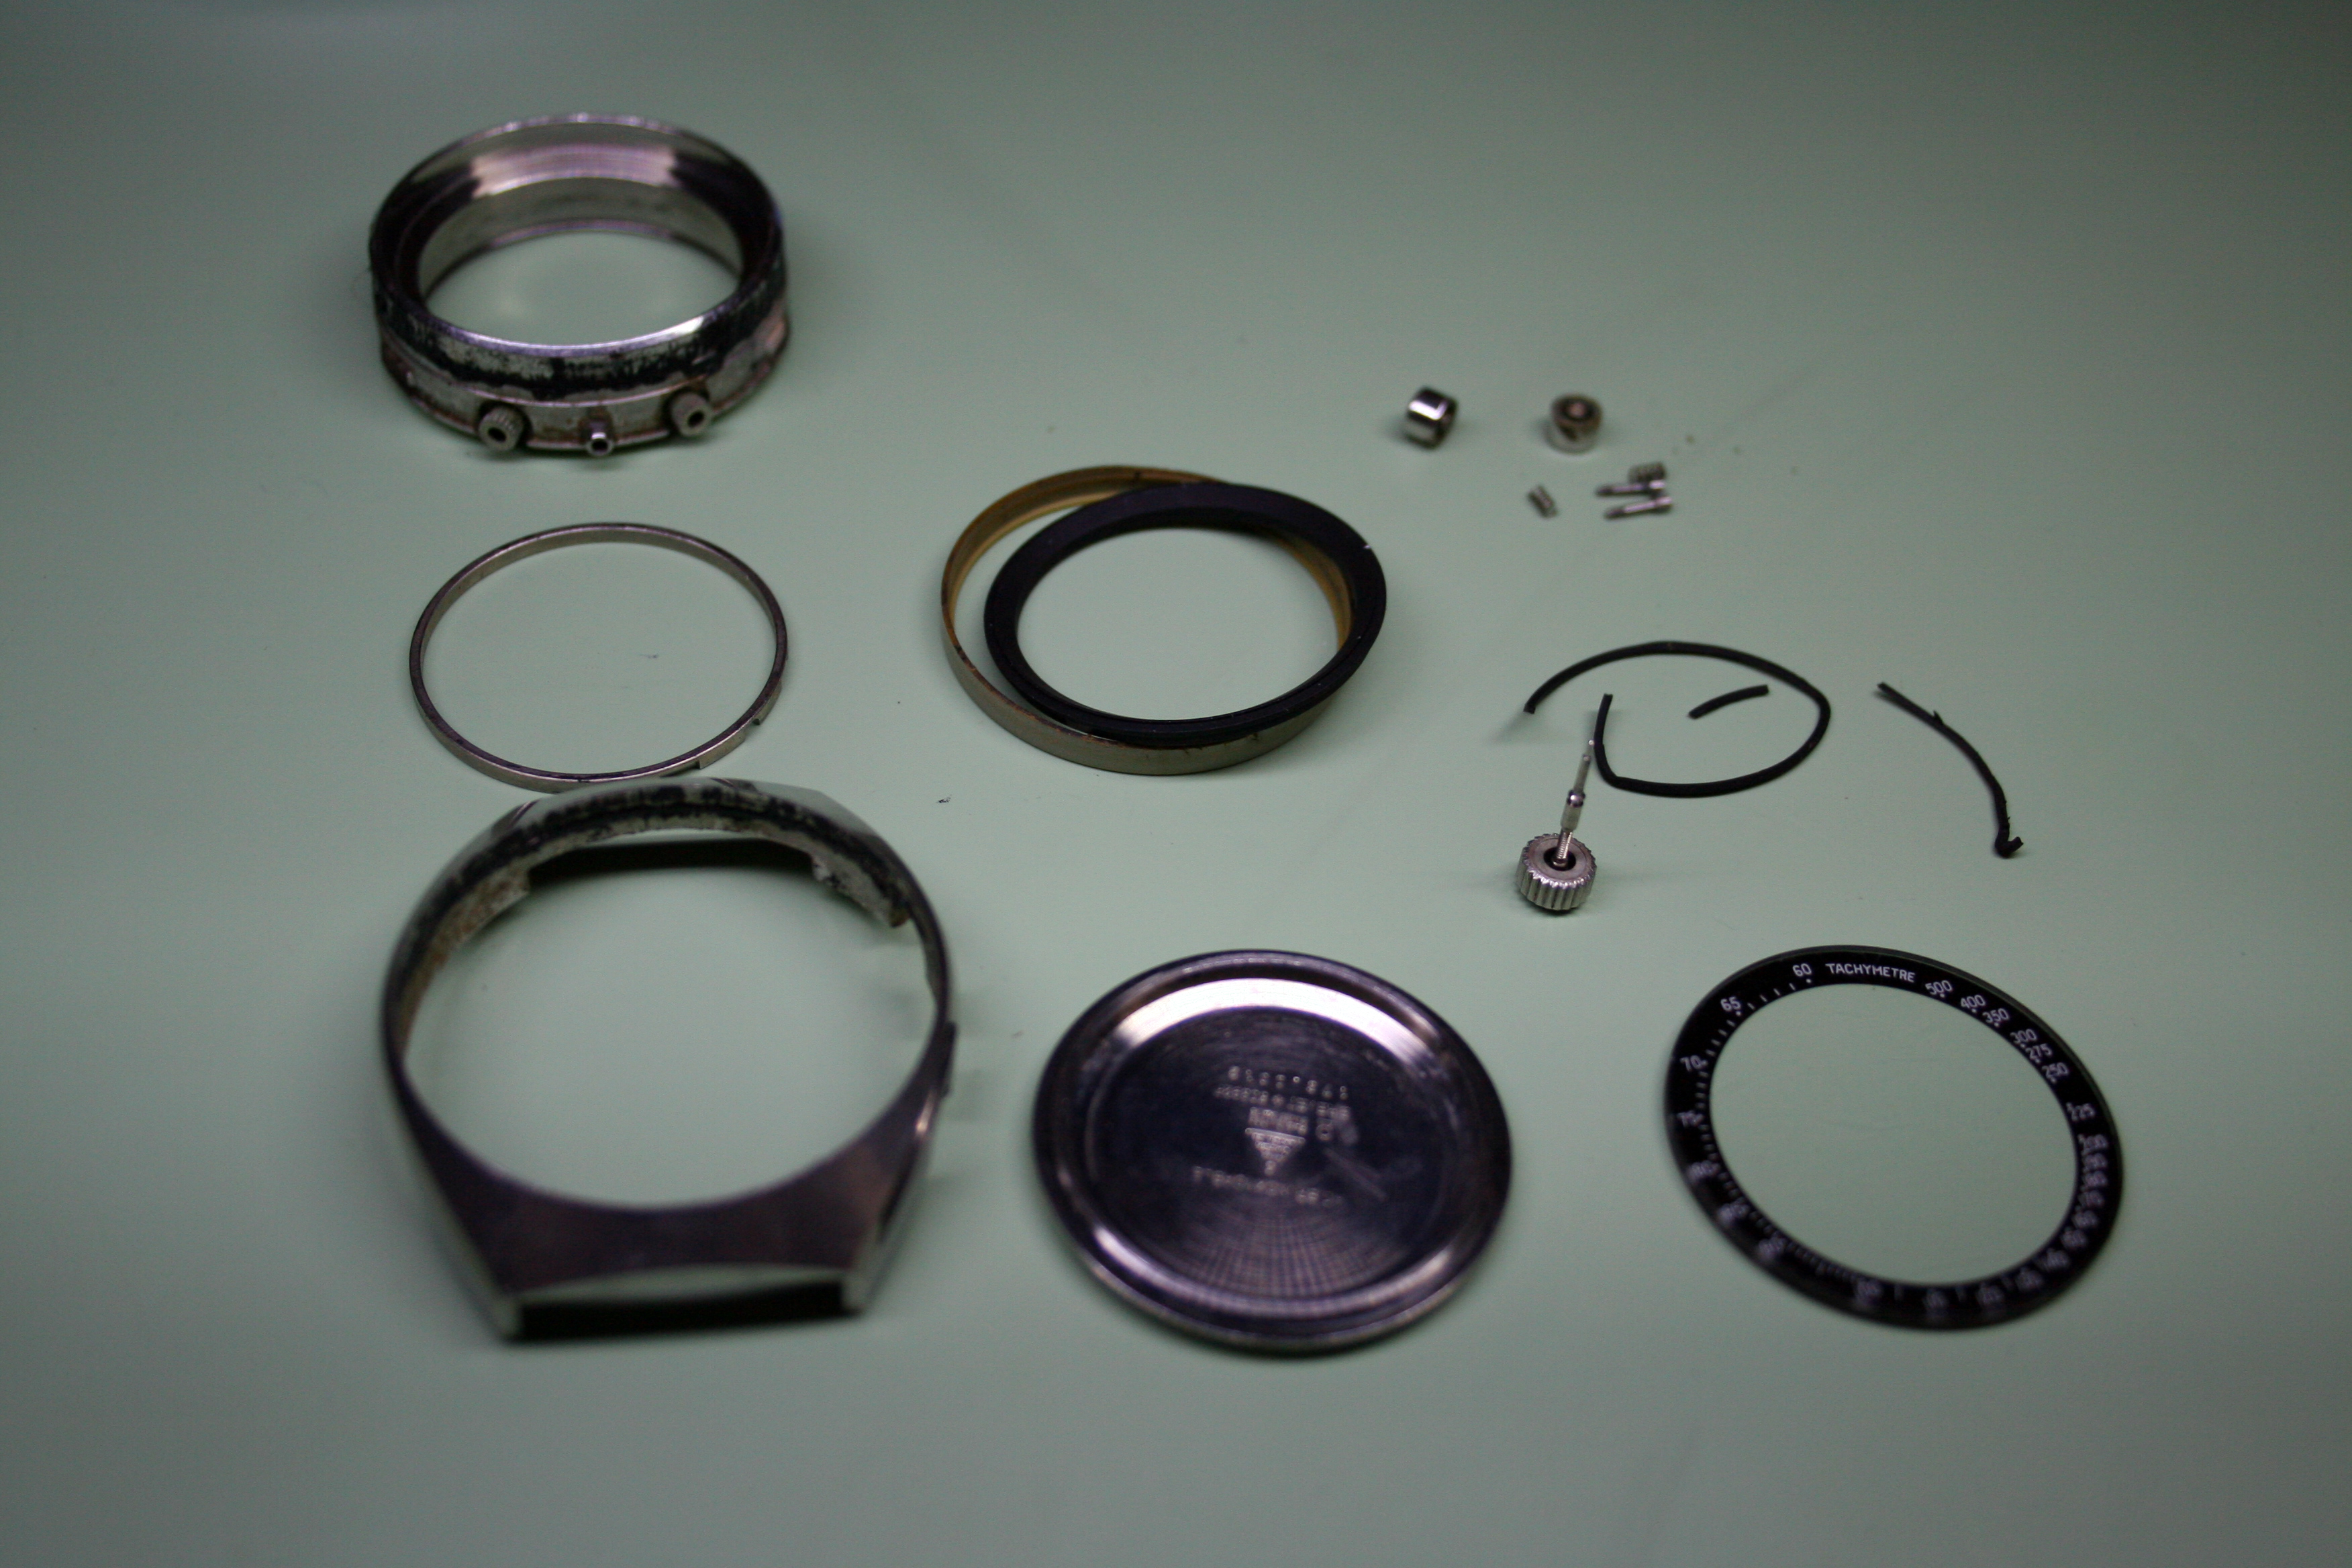

Before putting the case together I ordered a replacement Crown, Crystal, and full set of gaskets. The Movement Spring, which holds the movement tight in the case, was missing and needed replacement too.


Normally the story would end here (although with watches the story never really ends) but once I had the thing back together a very interesting problem cropped up.
The morning after I reassembled the Speedmaster I picked up the watch and found the time was off by about forty minutes. This was unexpected because when I placed it on the timegrapher the reading suggested the watch was running only about ten seconds per day fast.
I reset the time, rewound the watch, and locked it in my workbench. When I returned that afternoon it was wildly off again but still running. Like before, it was running quite fast but the timegrapher again reported otherwise.
I wasn’t sure if the watch was running consistently quick and the timegrapher was failing to read it or if perhaps the watch was running fine when tested only to go off the rails while unobserved. As a experiment, I started the chronograph while simultaneously starting the stopwatch on my iPhone. As soon as the iPhone read sixty seconds elapsed I stopped the chronograph- the Speedmaster read only fifty-eight seconds elapsed. I ran the test again with the same result. The watch was always running fast and the timegrapher couldn’t see it; luckily I had seen something like this once before.
If you follow my blog you probably also follow Watchguy’s blog. Watchguy is a professional based in England and a much better technician than I- I’ve learned quite a bit from his writings. This particular issue is one which he has stumbled upon as well and reading of his experience helped me immensely.
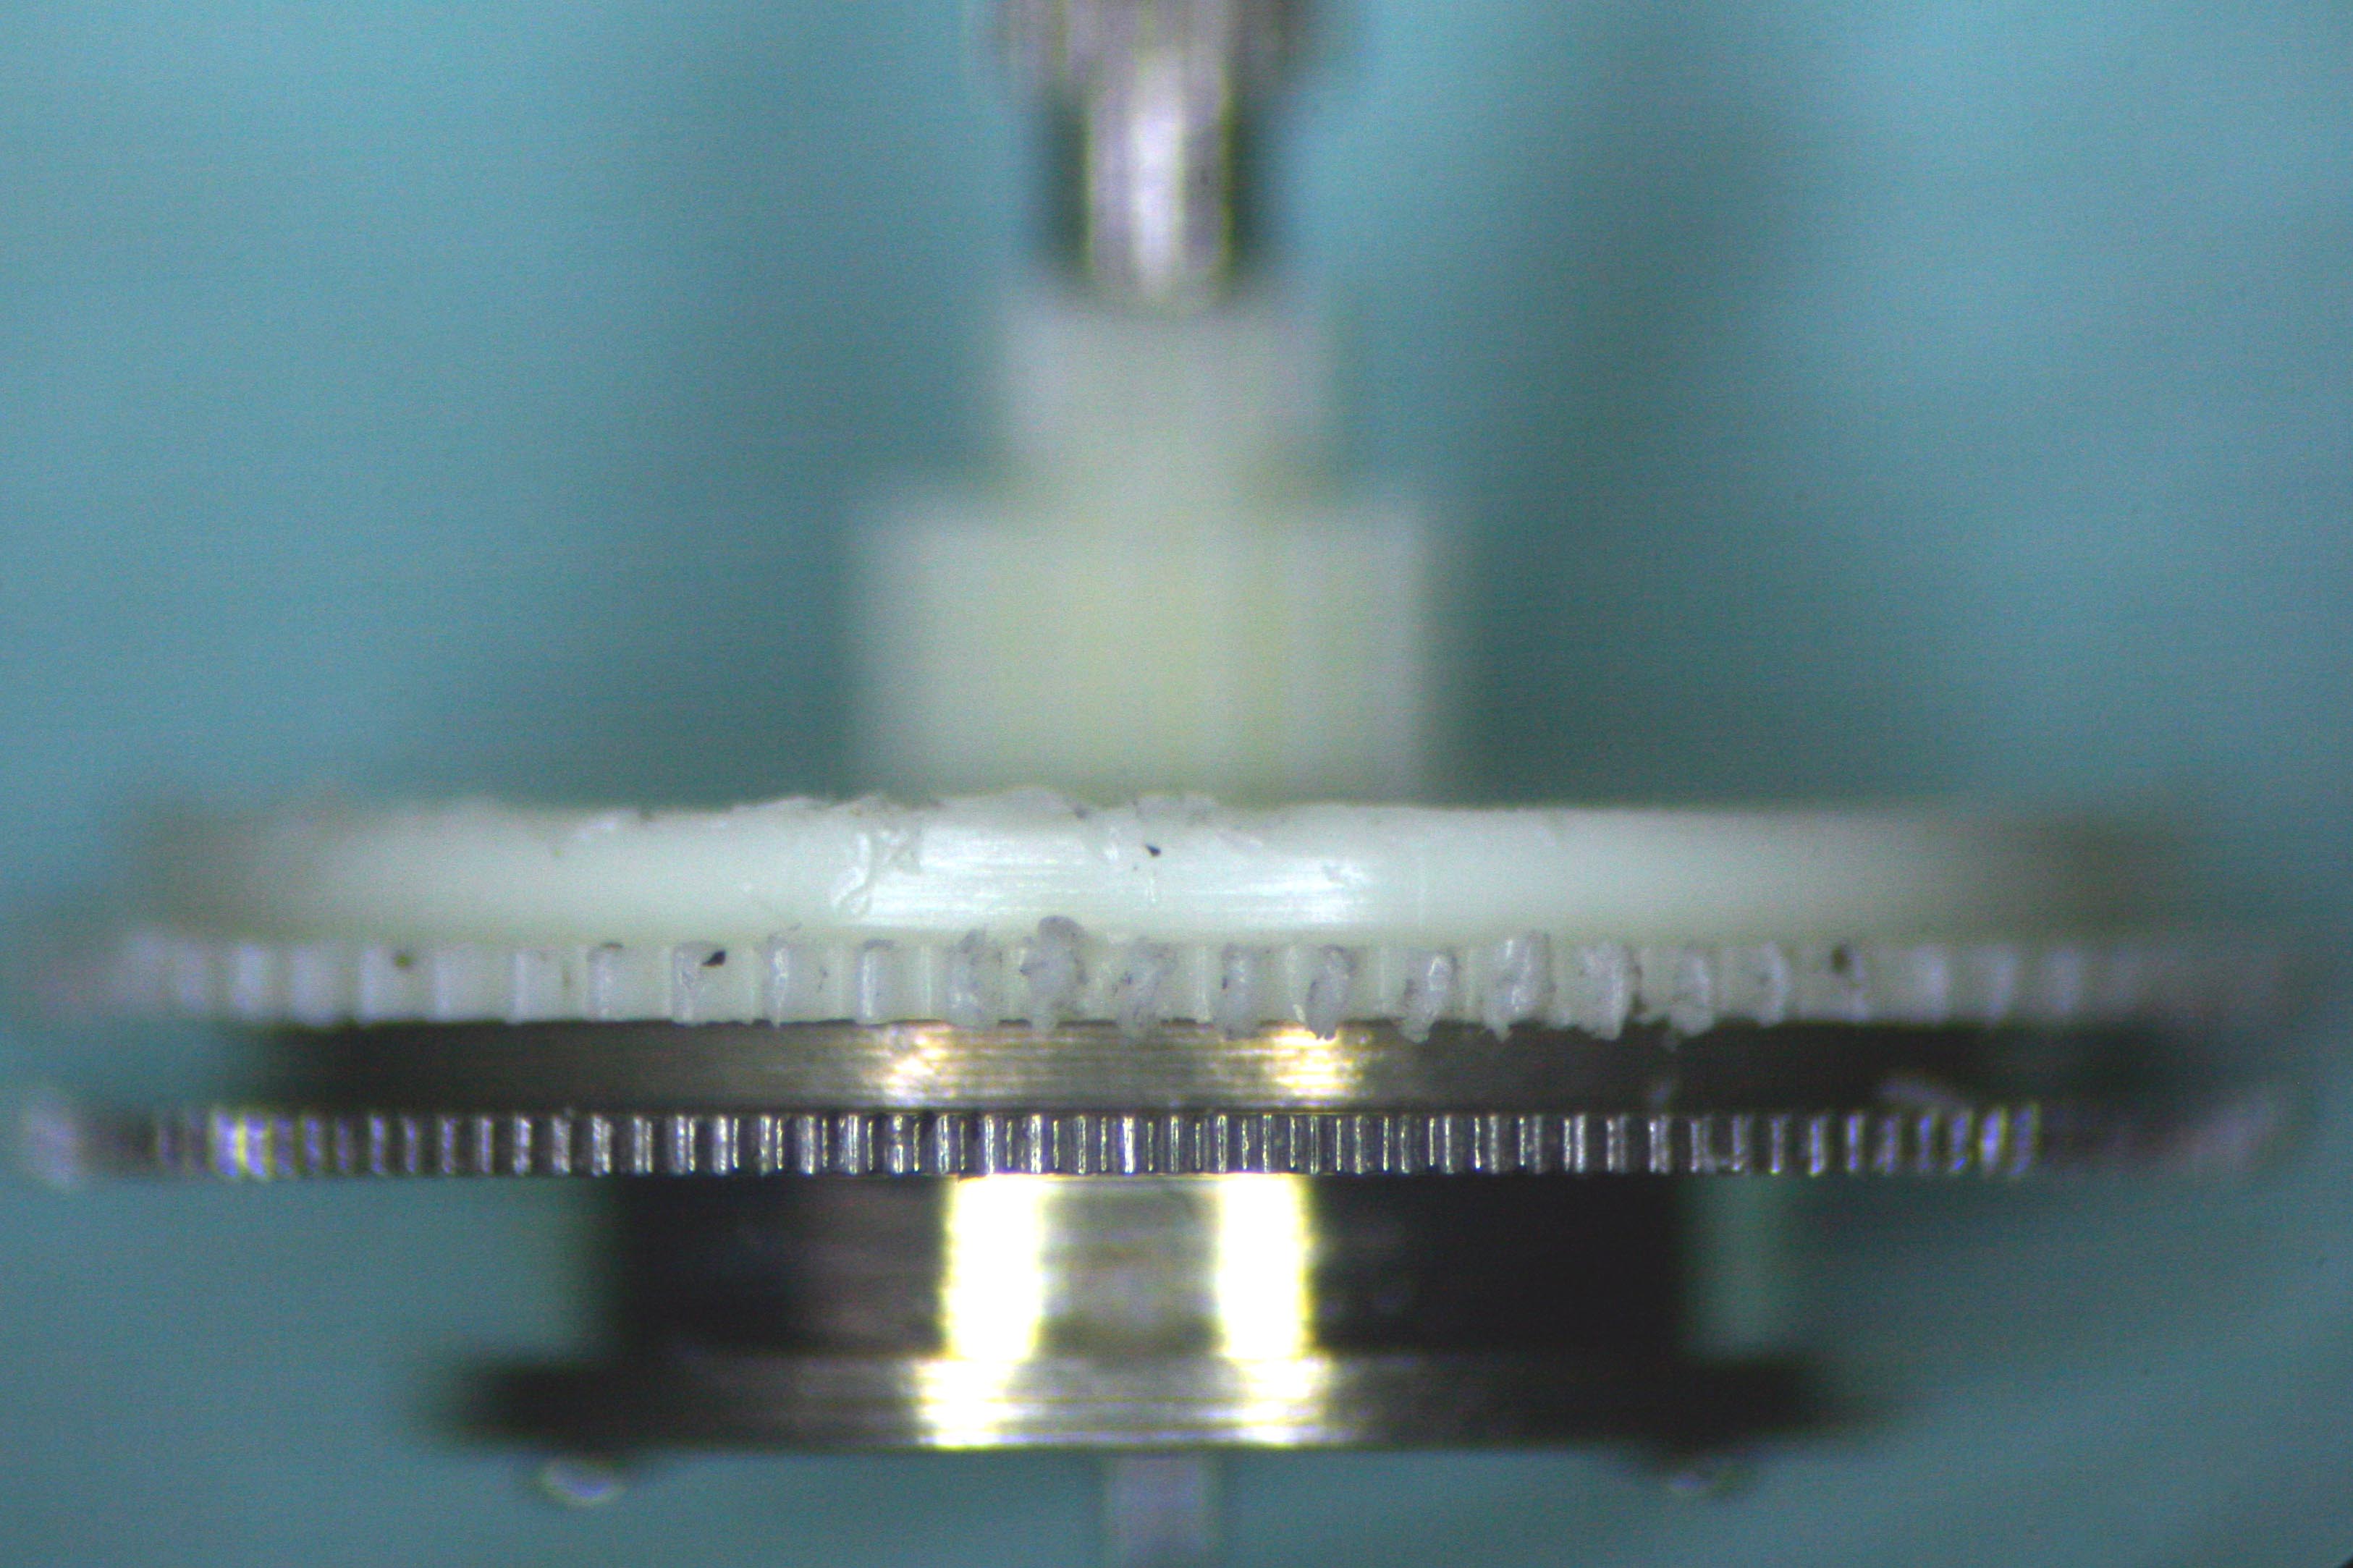
Going straight to the point- someone had replaced one of the wheels in the Going Train of this watch with the wrong part resulting in an improper ratio of gear teeth to pinion teeth. Since the watch clearly couldn’t count to sixty properly I assumed the Fourth Wheel, which drives the running seconds hand, to be the problem. I pulled the Fourth Wheel from the movement and ordered a New Old Stock replacement. When the new part arrived I counted the teeth on the wheel- 84. I counted the teeth on the Fourth Wheel I pulled from the watch too- 83. Clearly the Fourth Wheel that was in the watch was incorrect. I replaced the wheel and reassembled the the movement- problem solved.

I purchased this watch because it was an opportunity to work on an automatic chronograph movement that I’ve never had my hands on before. I got a great deal on it because it had problems- many more than the seller was willing to admit to. Thankfully the initial cost was low and even after securing so many replacement parts I’d still be in the black if I let it go today.
The watch is a bit chunky for my wrist though. I’ve worn it a bit just to make sure the autowind was functioning properly but it’s a beast. The dial is very busy too but if you know what you’re looking for it’s easy to read. The best part about this watch is the movement though. Installing the Balance was a real headache because of the way the Balance Cock needs to slide underneath the Barrel Bridge; other than that, this watch came together so easily I was astounded. I’m used to making many fine adjustments to get the chronograph to work just right, to get the hands to reset perfectly, and to ensure the watch doesn’t lose too much amplitude when engaging the chronograph. None of these challenges existed here. Everything just fell into place.
Maybe it was all just luck but as the saying goes, “you never get a second chance to make a first impression” and based on the first go around, I love this movement.

The next automatic chronograph I’ll be working on will probably be either the Seiko 6138 or 7018. I love the look of Seiko’s “Panda” chronographs but have a couple of vintage manual wind chronos to fix first. They look like real “Projects” though… Hopefully they’ll be on the blog shortly- we’ll see how it goes!

Great work! I don’t think there are too many people that would even start on a project like this!
LikeLike
Yes, those people might be a bit wiser than I but these projects are usually quite a good ride.
LikeLike
Great Post, thank you! Which set of gaskets did you order for this watch?
LikeLike
I don’t recall- I looked through my orders and didn’t find any for the gasket purchases that were specifically tagged for this project. I may have pulled the proper sized caseback gasket and o-ring set from my already available stock.
LikeLike
hi: i am having my Omega Speedmadter Mark 4.5 repaired. Purchased a crystal. But need the inner bezel gasket. Do you happen to knkw where I can get one?
I live in Califirnia, USA
behnam
LikeLike