

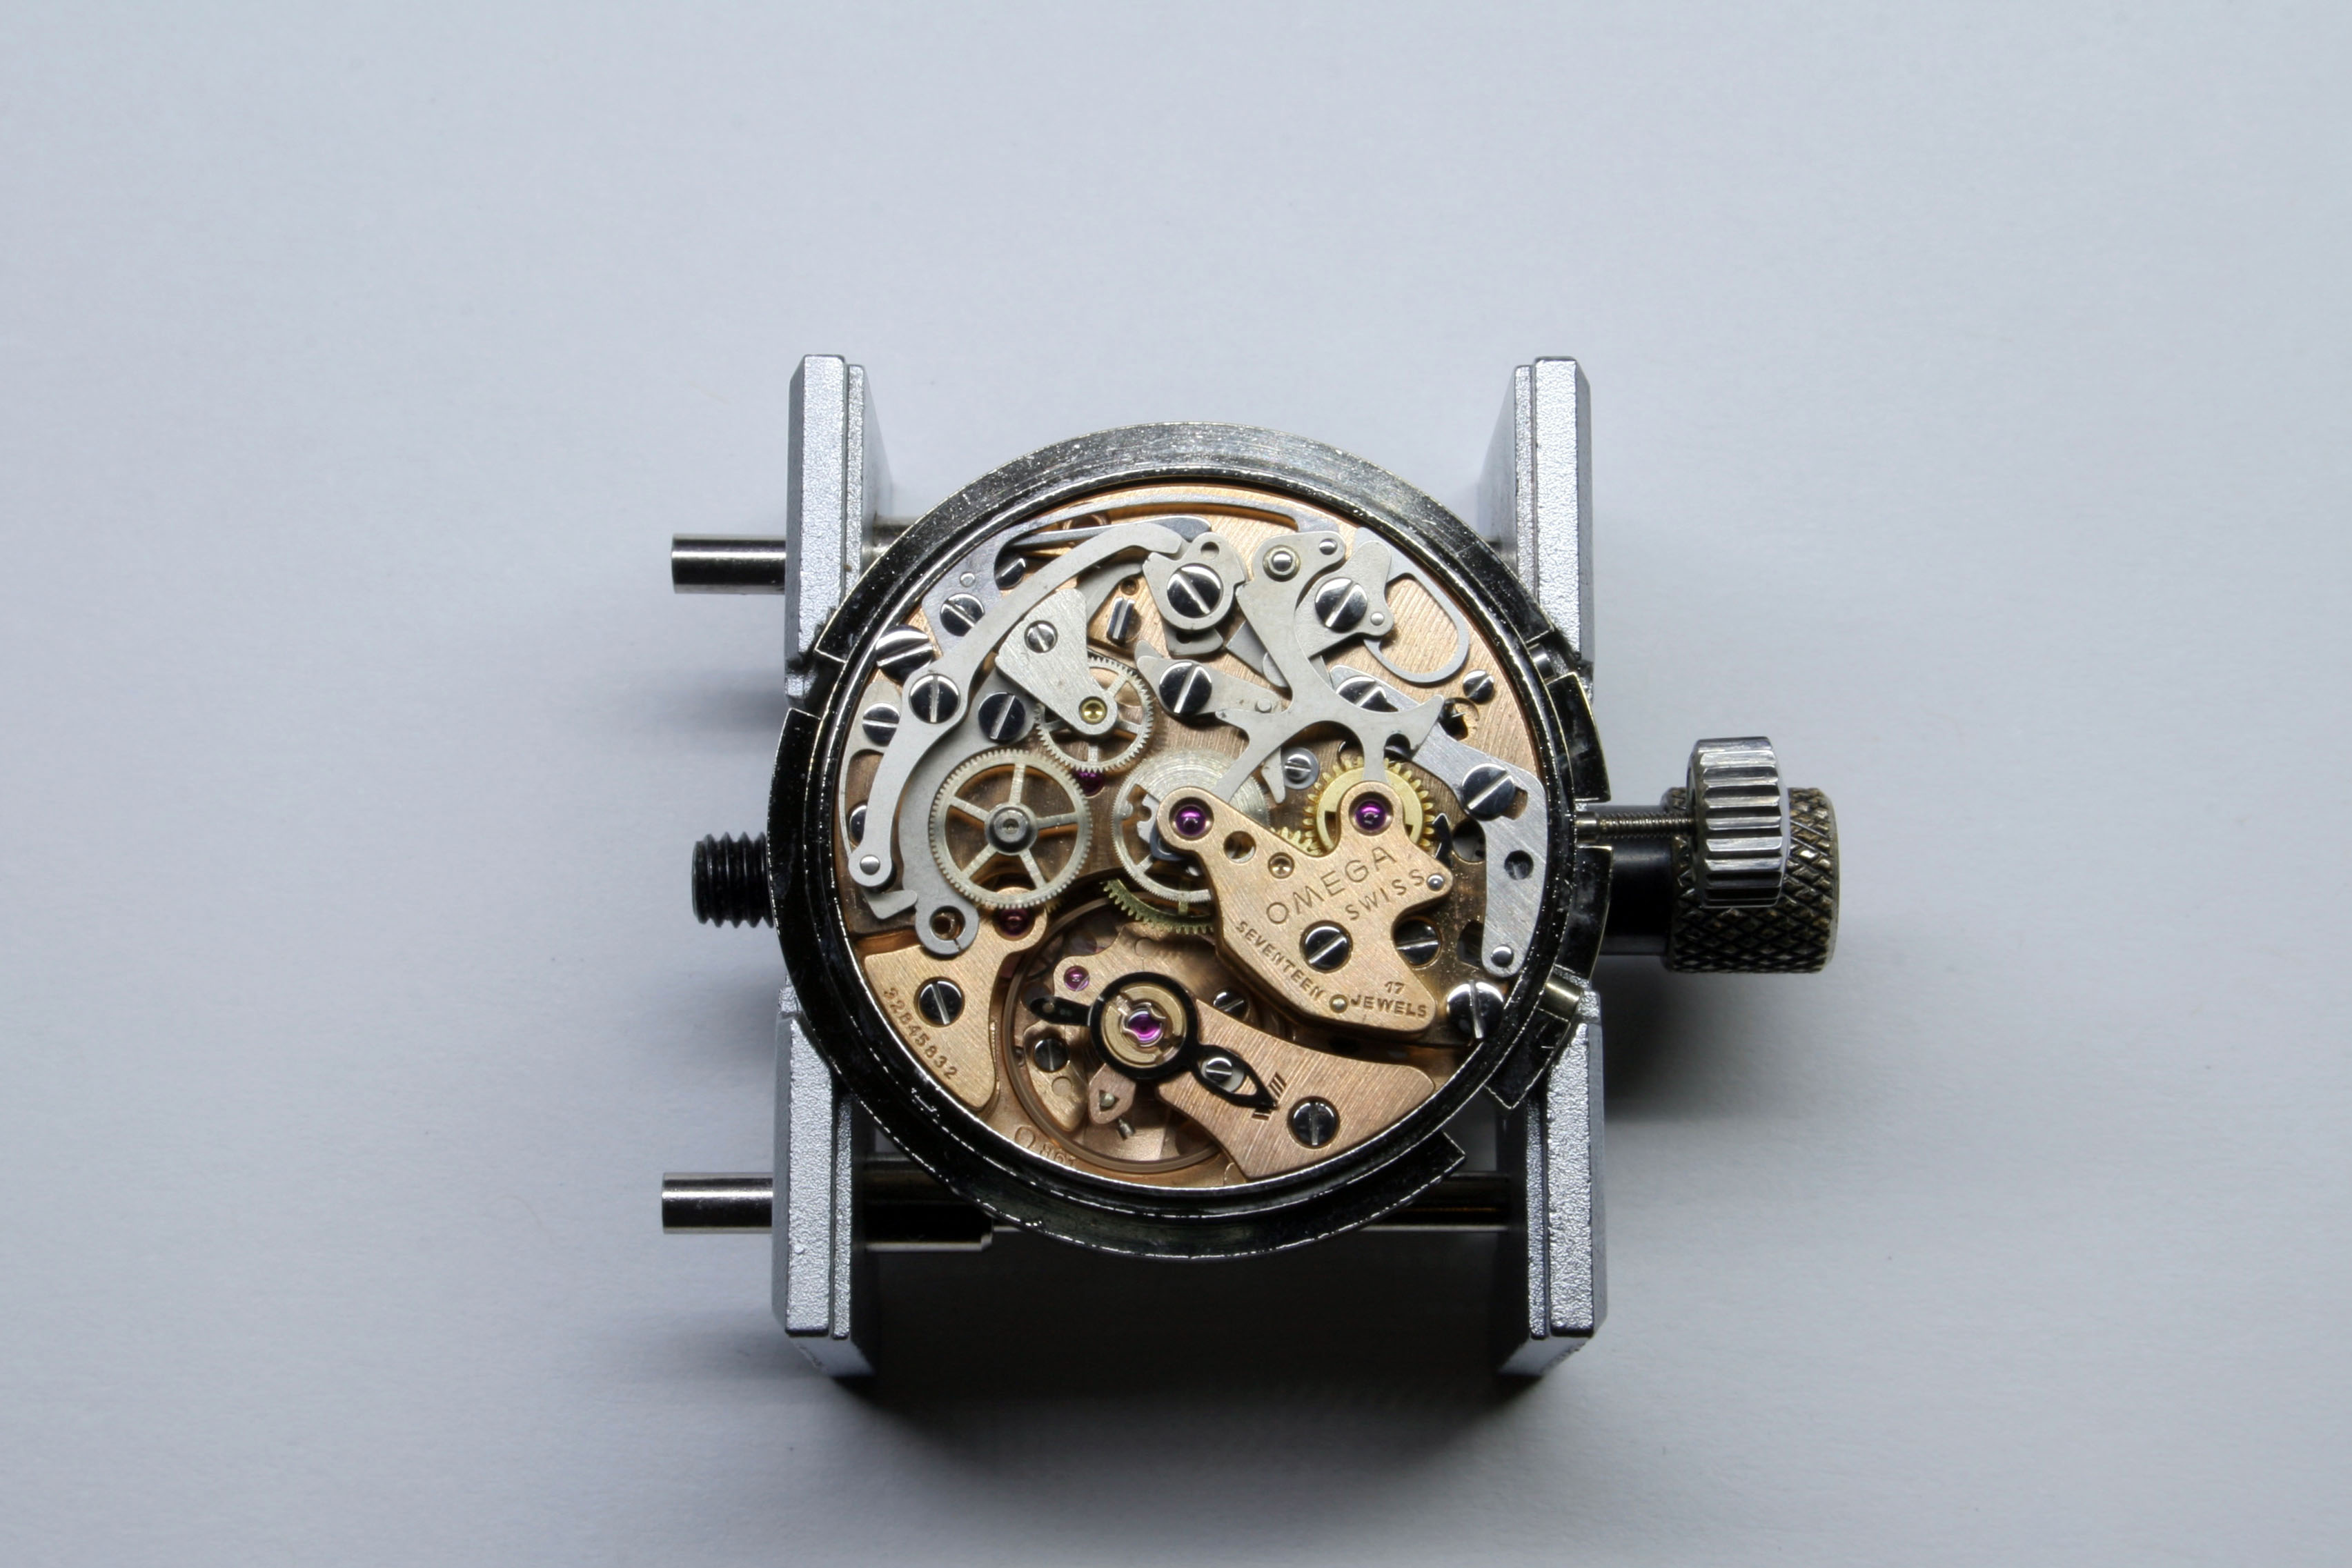
Although this is another Omega Speedmaster chronograph, it’s a little bit different from Moonwatch I did back in 2016 and the Speedmaster Automatic from earlier this year. This is the modern version of the Speedmaster Professional which is powered by the Omega calibre 861 chronograph movement. In outward appearance it is no different from earlier Moonwatches, but inside you’ll find Lemania’s most up to date hand wound chronograph movement.
 This origin of this project came about when I picked up a used Omega Speedmaster Professional case which I dated to the late 1970’s or early 1980’s. Sometimes you stumble across this stuff and the price is right and you buy it thinking, “this may come in handy down the road”. Well that moment for me was in January of this year. Fast forward six months and I had a dial and hand set and soon an Omega 861 (albeit water-damaged) watch movement. Now what do you do with all that? Well, you assemble it of course!
So the first step in the process is to clean the parts… Well okay, maybe the first step is to see what you have, but usually there are so many parts to account for (screws!) that you don’t realize what’s missing until you’re miles down the road. Also, if you look at the picture above, you’ll see that my seller has “salted” the package with some extra bits that don’t belong- five chronograph pushers and two barrel arbors? This makes it a little difficult to discern what is flotsum and what isn’t.
So okay, the first thing to do is see what you have, and what you have that is workable. In this case I had a complete case with the bezel, dial, and hand set, and a dis-articulated water-damaged movement which was missing parts- but also came with some extras.

The movement arrived in what I would estimate was about eighty-five percent complete. It would need replacement parts in the keyless works such as the Winding Pinion, Sliding Pinion, and Setting Lever Spring. Also, the Operating Lever for the chronograph was missing as were many screws.
It appeared the vile water had entered beneath the chronograph pushers or crown and there was quite a bit of rust left behind. I noted the Fourth Wheel was gone as was the Hour Recording Runner. From the staining on the plate and bridges I concluded both had suffered catastrophic water damage.

Some rusty parts were salvageable while others were not. I cleaned what was useful and discarded what was not. I refinished the oxidized steel parts using a technique I just learned to apply a matte finish – it’s a work in progress but the end result is certainly better than the starting point.


As the months passed by I slowly accumulated the replacement parts necessary to re-build the movement. I would revisit the project sporadically as each piece arrived.


The entire Balance Assembly had been disassembled and that is never a good sign. The Regulator and Stud Holder were missing from the Balance Cock and the Hairspring was not seated on the Balance Wheel. I had little confidence that the movement would keep time without replacing much of the Escapement; however, I was pleasantly surprised to find the movement functioned just fine once properly cleaned and lubricated.


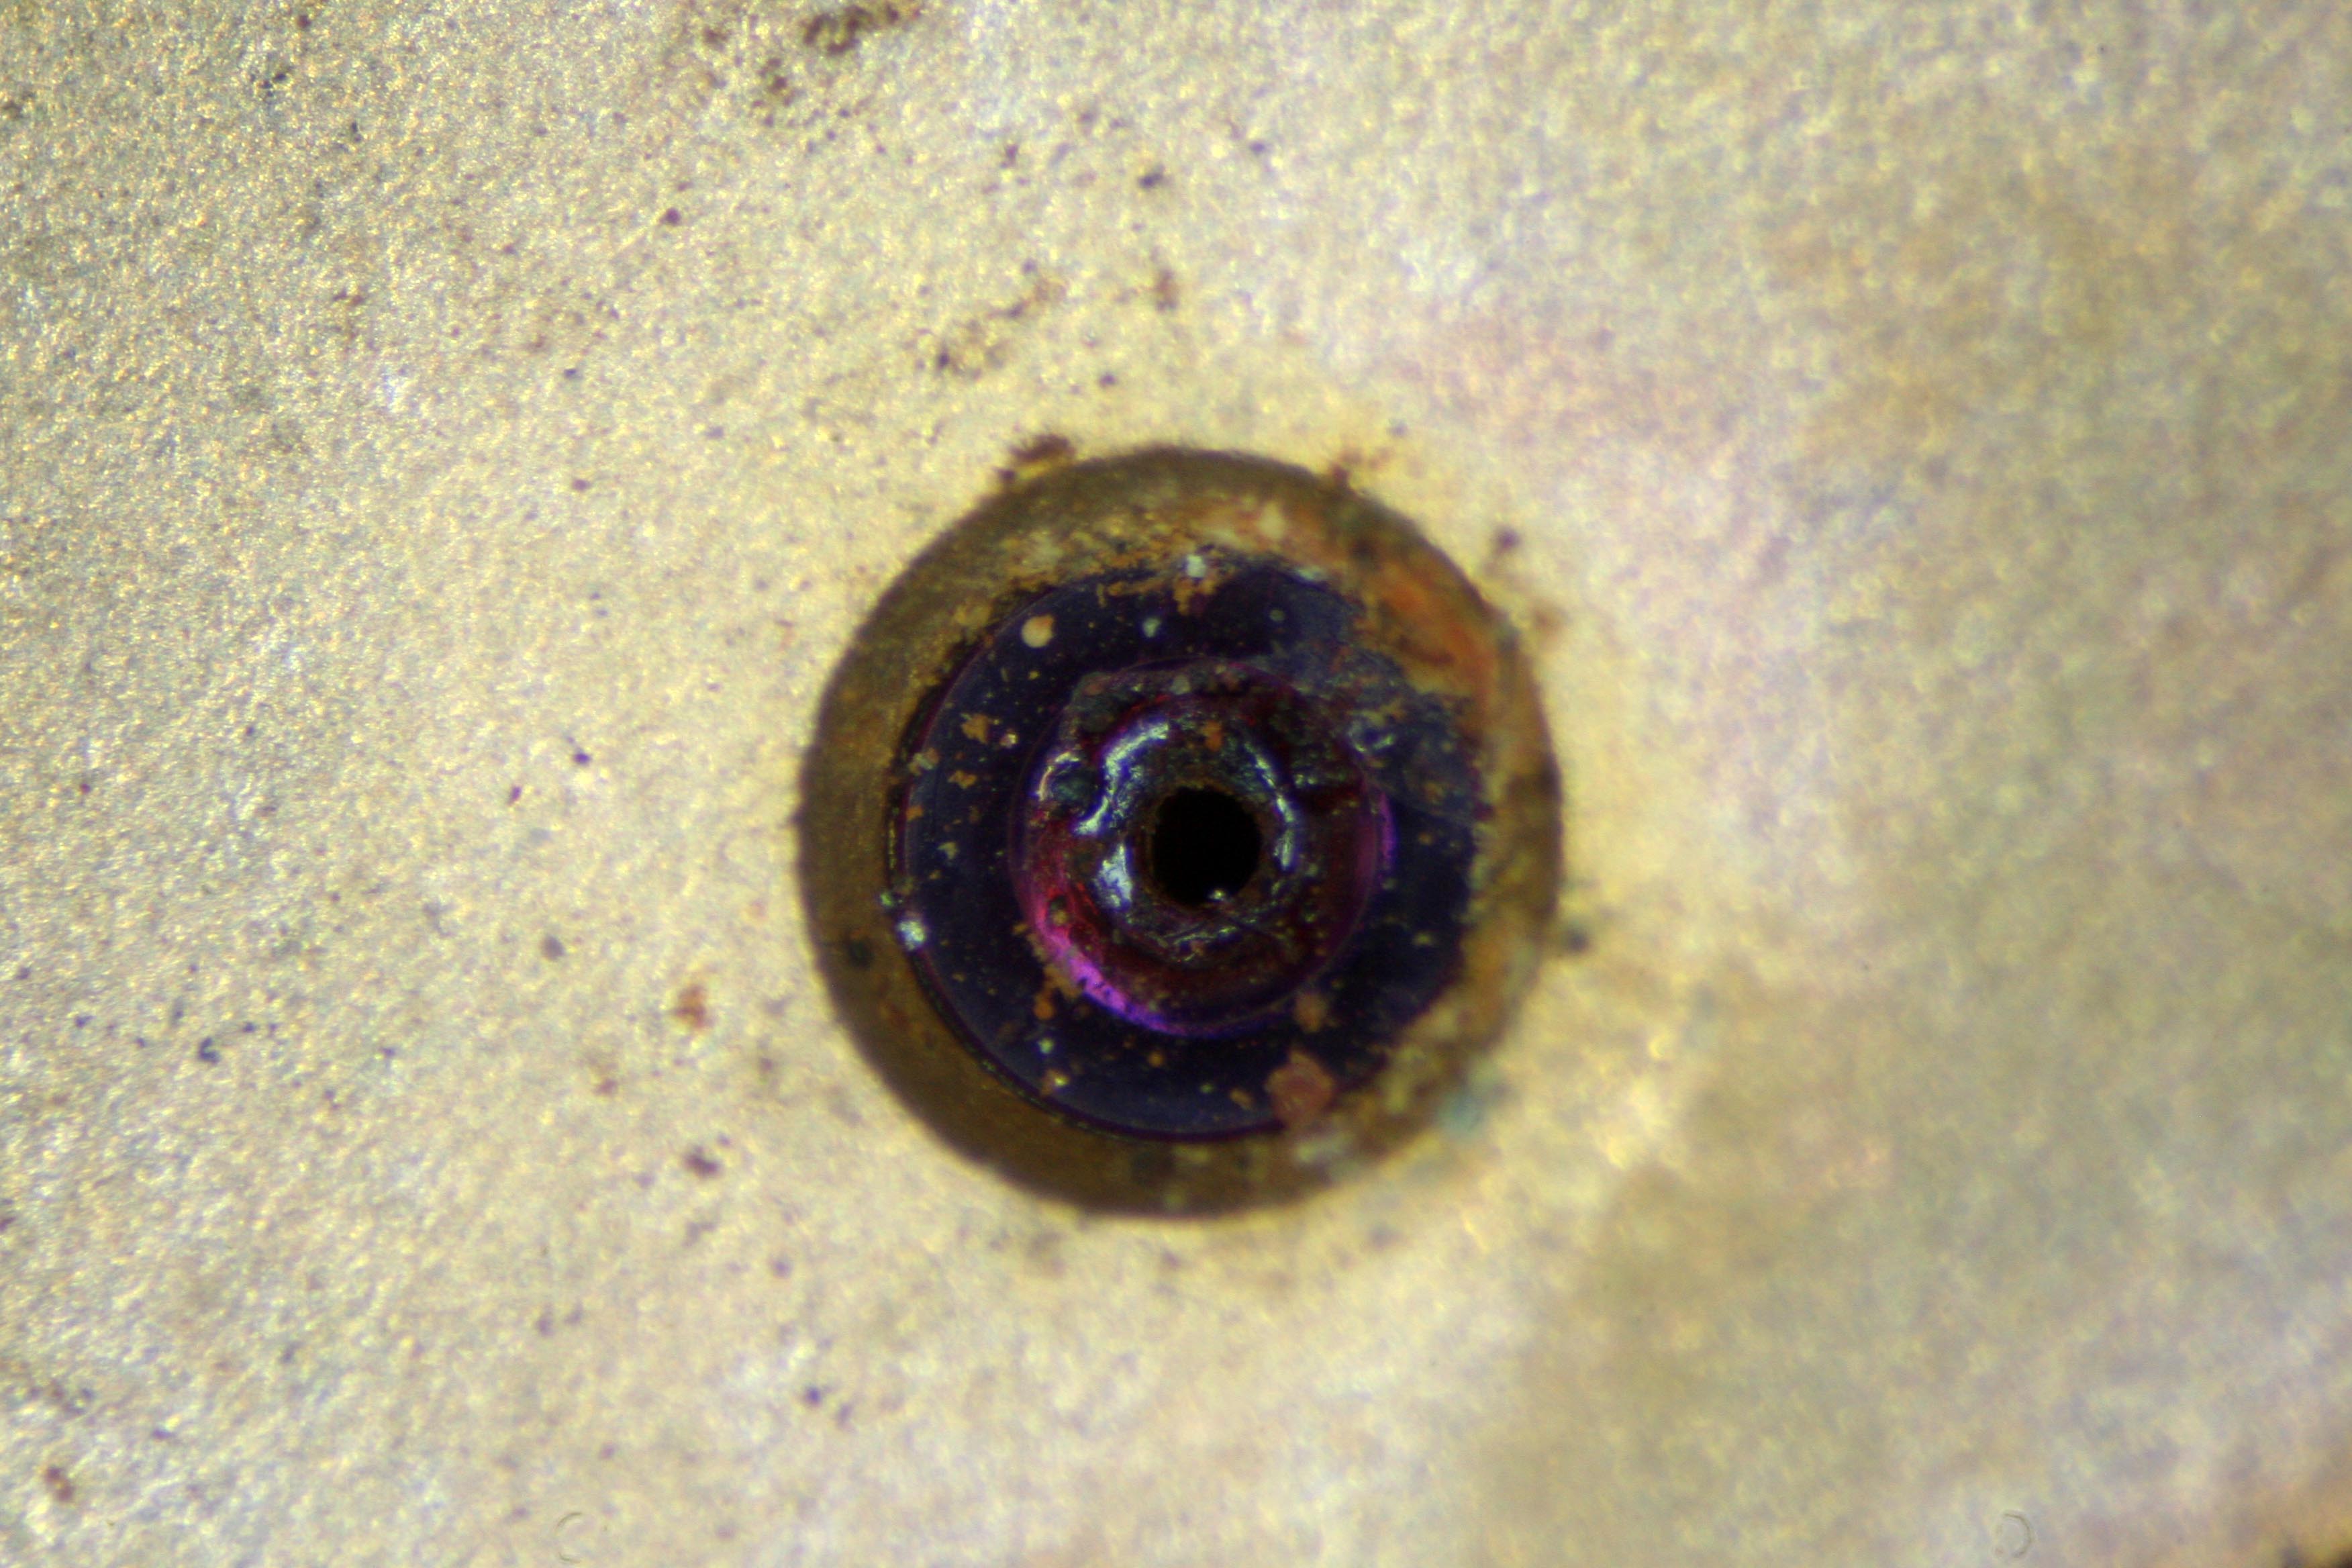
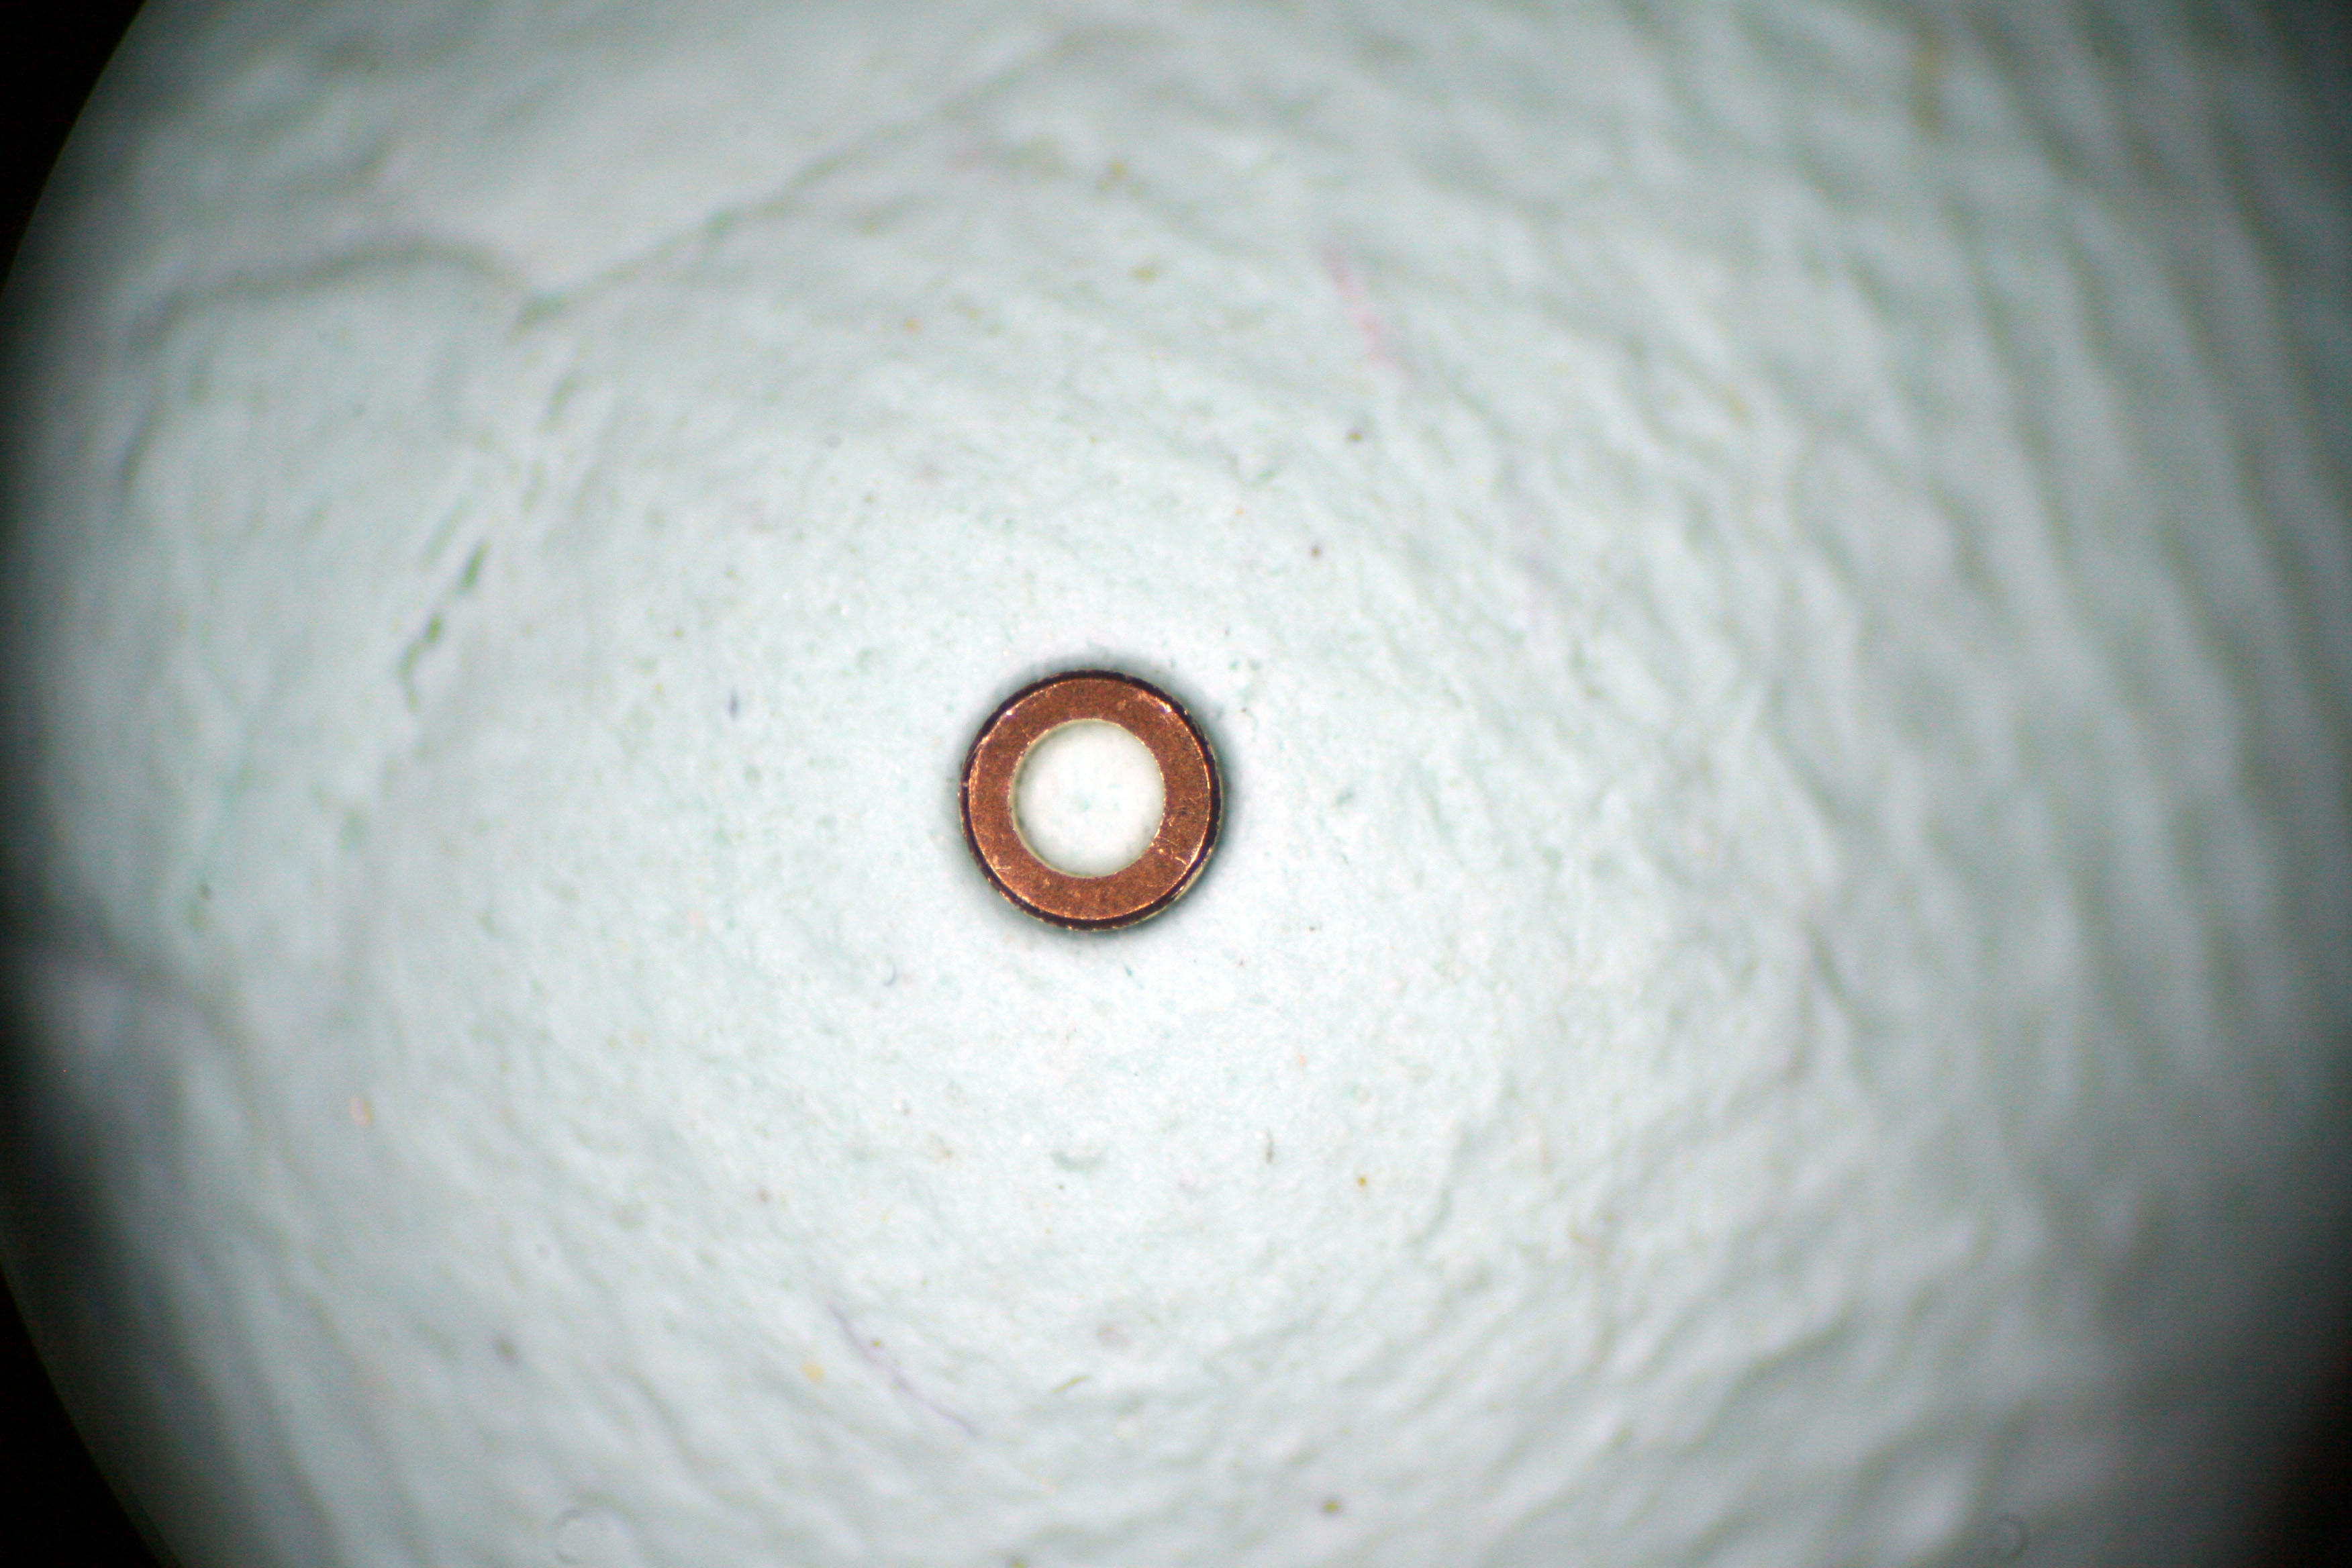
Of course there were gremlins to be found even after cleaning up the water damage. For example, the hole accepting the bottom pivot of the Barrel Arbor had worn to an oblong shape and needed to be re-bushed. I turned a replacement bushing on the lathe and pressed it into the bridge with my jeweling kit.


It took a while to get the chronograph back together on account of so many screws missing. Sourcing the originals can cost an arm and a leg and they can be difficult to find too. In cases such as this I sometimes need to turn replacements on the lathe but I was able to avoid this fate as all the proper sized screws were eventually procured.
The case had arrived in good condition except for some scratches on the caseback which I was able to clean up. I gave the case a run through the ultrasonic cleaner and replaced the crystal with an genuine Omega Hesalite (plastic) crystal I had left over from the first Speedmaster project back in 2016.
The dial is also vintage original and dates from the 1980’s but the hand set is a little newer. The sub register hands are aftermarket replacements but they look just fine to my eye.


As usual it took a bit of time getting everything adjusted just right to minimize any drag in the chronograph mechanism and ensure the hands always reset properly.
The Omega calibre 861 replaced the venerable Omega 321 in end of the 1960’s. Both calibres were produced by Lemania, who supplied chronographs almost exclusively to Omega and Tissot. The 861 is an updated version of the 321 and runs at a higher beat rate- 21,600 beats per hour to the 321’s 18,000 bph. Lemania also did away with the Pillar Wheel switching mechanism found in older chronograph movements. Other than that, the two movements are pretty much the same.


Wow!
That last picture, with the 321 and 861 side by side… I will have that framed… and I am not kidding!
Thank you!
Bogdan
LikeLike
Thanks- I couldn’t help myself. I really wanted that picture too!
LikeLike