

With everything going on in the world today it’s probably not much of a surprise that I haven’t had the time I normally would to engage in my favored hobby. My family moved to a new home in April of this year which was a challenge due to the local pandemic response. I lost my workshop and have been relocated to the garage which gets pretty warm in the summer months. It’s also been the hottest year on record (again). Consequently I’ve avoided working on watches and clocks until it cools down a bit.
Earlier this year my father called me after disassembling the dashboard of his ’64 El Camino. He wanted to know if I could take a look at the clock which was not working. I agreed and and picked it up from him the following weekend.
Now since this was in the middle of packing things up for our move I took a lot of pictures but not many notes as I didn’t think I’d be blogging about this one. Today I have a little time on my hands and I came across the pictures so I thought I would toss them up.
The clock is a simple little thing (on the outside) as it’s just two hands and a painted dial. The back of the housing is stamped Borg Instruments Delavan Wis and has a single 12 volt electrical connection.


The housing comes away by straightening the lip bent over the three tabs on the plate attached to the rear of the dial.

I really had no idea what to expect once I got this thing open but I still ended up surprised. Inside is an electrically actuated mechanical movement, the mechanical part much like that of a watch movement.
The movement is built up in layers like a cake. The top layer (that closest to the rear of the housing) has two contact points and a solenoid. The middle layer is the Going Train which is more or less identical to a watch movement. The bottom layer is the Dial Train or Motion Work which you’ll also find under the dial of a typical mechanical watch.


A coil spring acts as the Mainspring for the movement although it only has about two minutes of energy stored in it. The spring is pulled taught by the solenoid when energized. As the seconds tick away the spring collapses bringing the contact points closer together, when they touch the solenoid is energized again and the cycle repeats.
Based on some preliminary research (thanks YouTube!) I expected the contact points or coil would be the failure point but discovered this was not the case.

The contacts were dirty but they would clean up fine with a bit of isopropyl alcohol- the real problem resided in the movement.

The movement is a pin lever design with just two jewels; one for the top and another for the bottom pivots of the Balance Assembly. The lack of jewels in the movement coupled with the fact that the clock ran continuously and without service for so many years resulted in multiple bearings failing.
Unlike a watch movement, which changes position constantly, the gear train in a clock movement is perpendicular to the force of gravity. If not serviced regularly, gravity and friction will turn every round bearing into a teardrop shape, eventually causing the movement to fail. The solution is to ream out the old bearings and install new ones.
This would prove to be a fun project as it had a bit of lathe work; I commenced to breaking down the movement for cleaning.


The upper and lower bearings for the Mainspring Assembly seemed to get the worst of it but the Center Wheel and Third Wheel bearings were out of round as well. I believe I replaced five bearings in all.

There was excessive wear to the pivots of the Mainspring Assembly too. The pivots are made of steel and the bearings of brass but both suffered here.

The dial of the clock is connected to the watch movement by way of a intermediary steel plate. There are no dial screws like one would see in a Swiss watch; the dial secured to the plate by three tabs which are bent over.

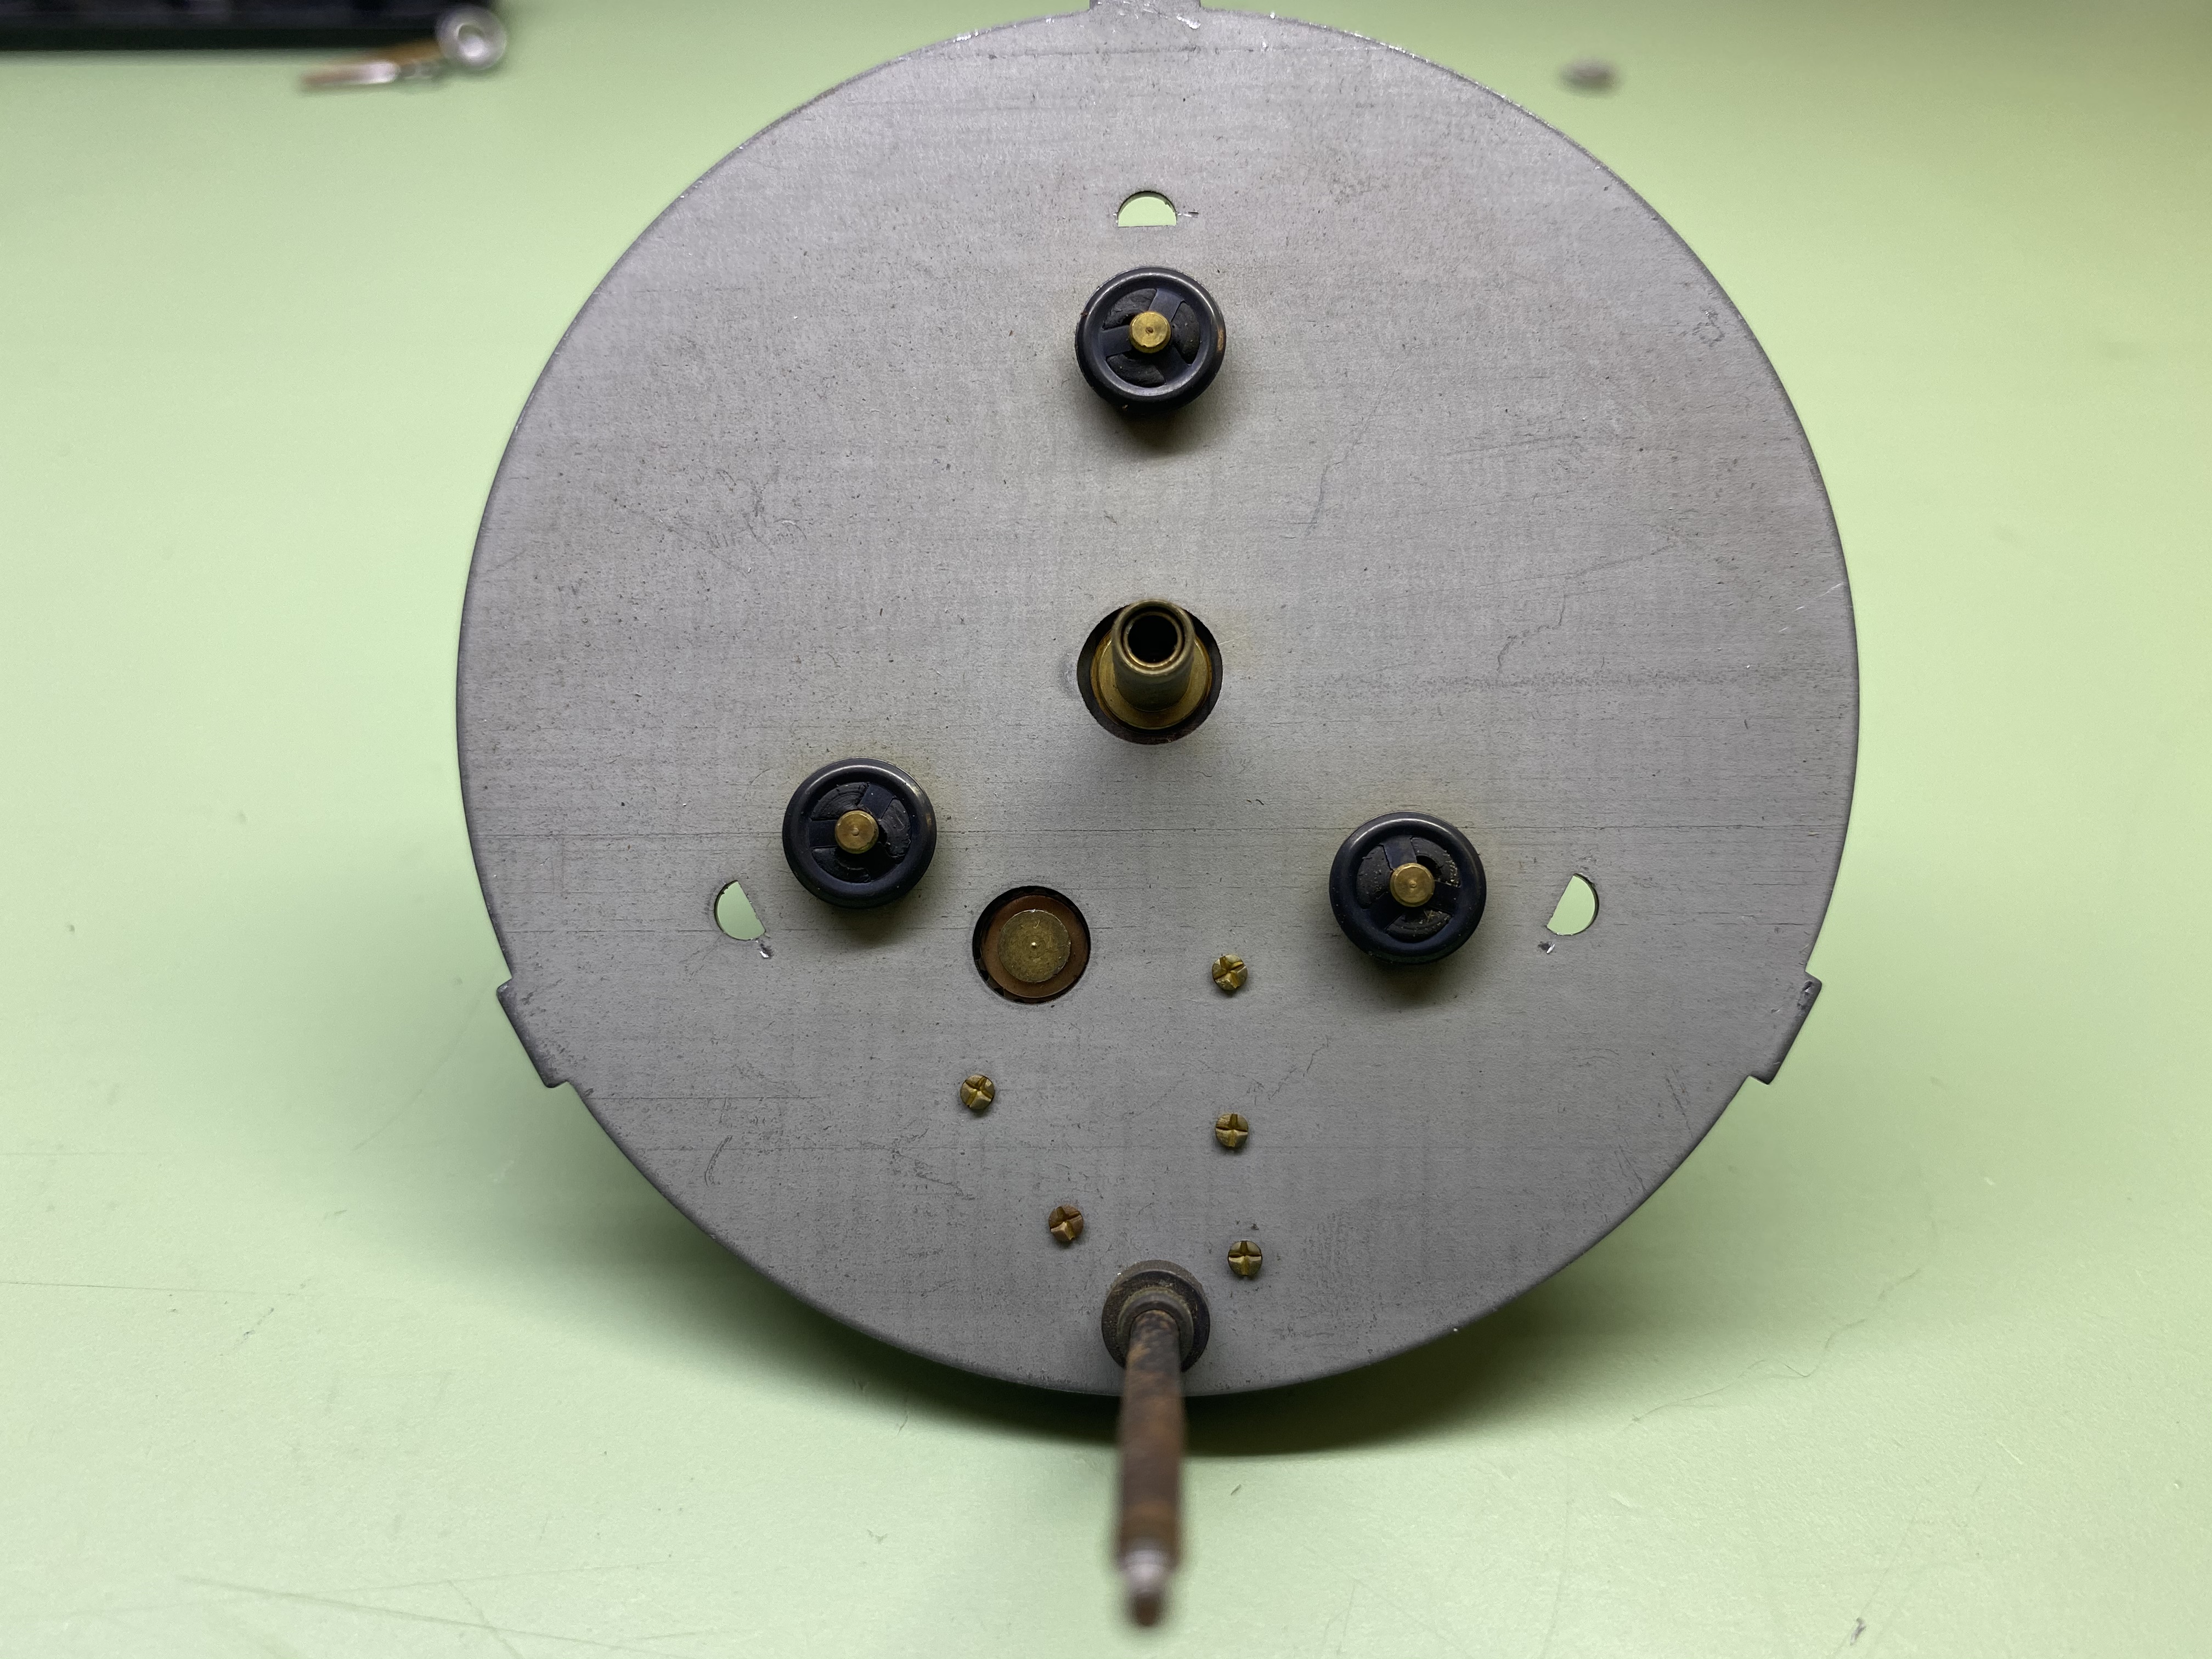
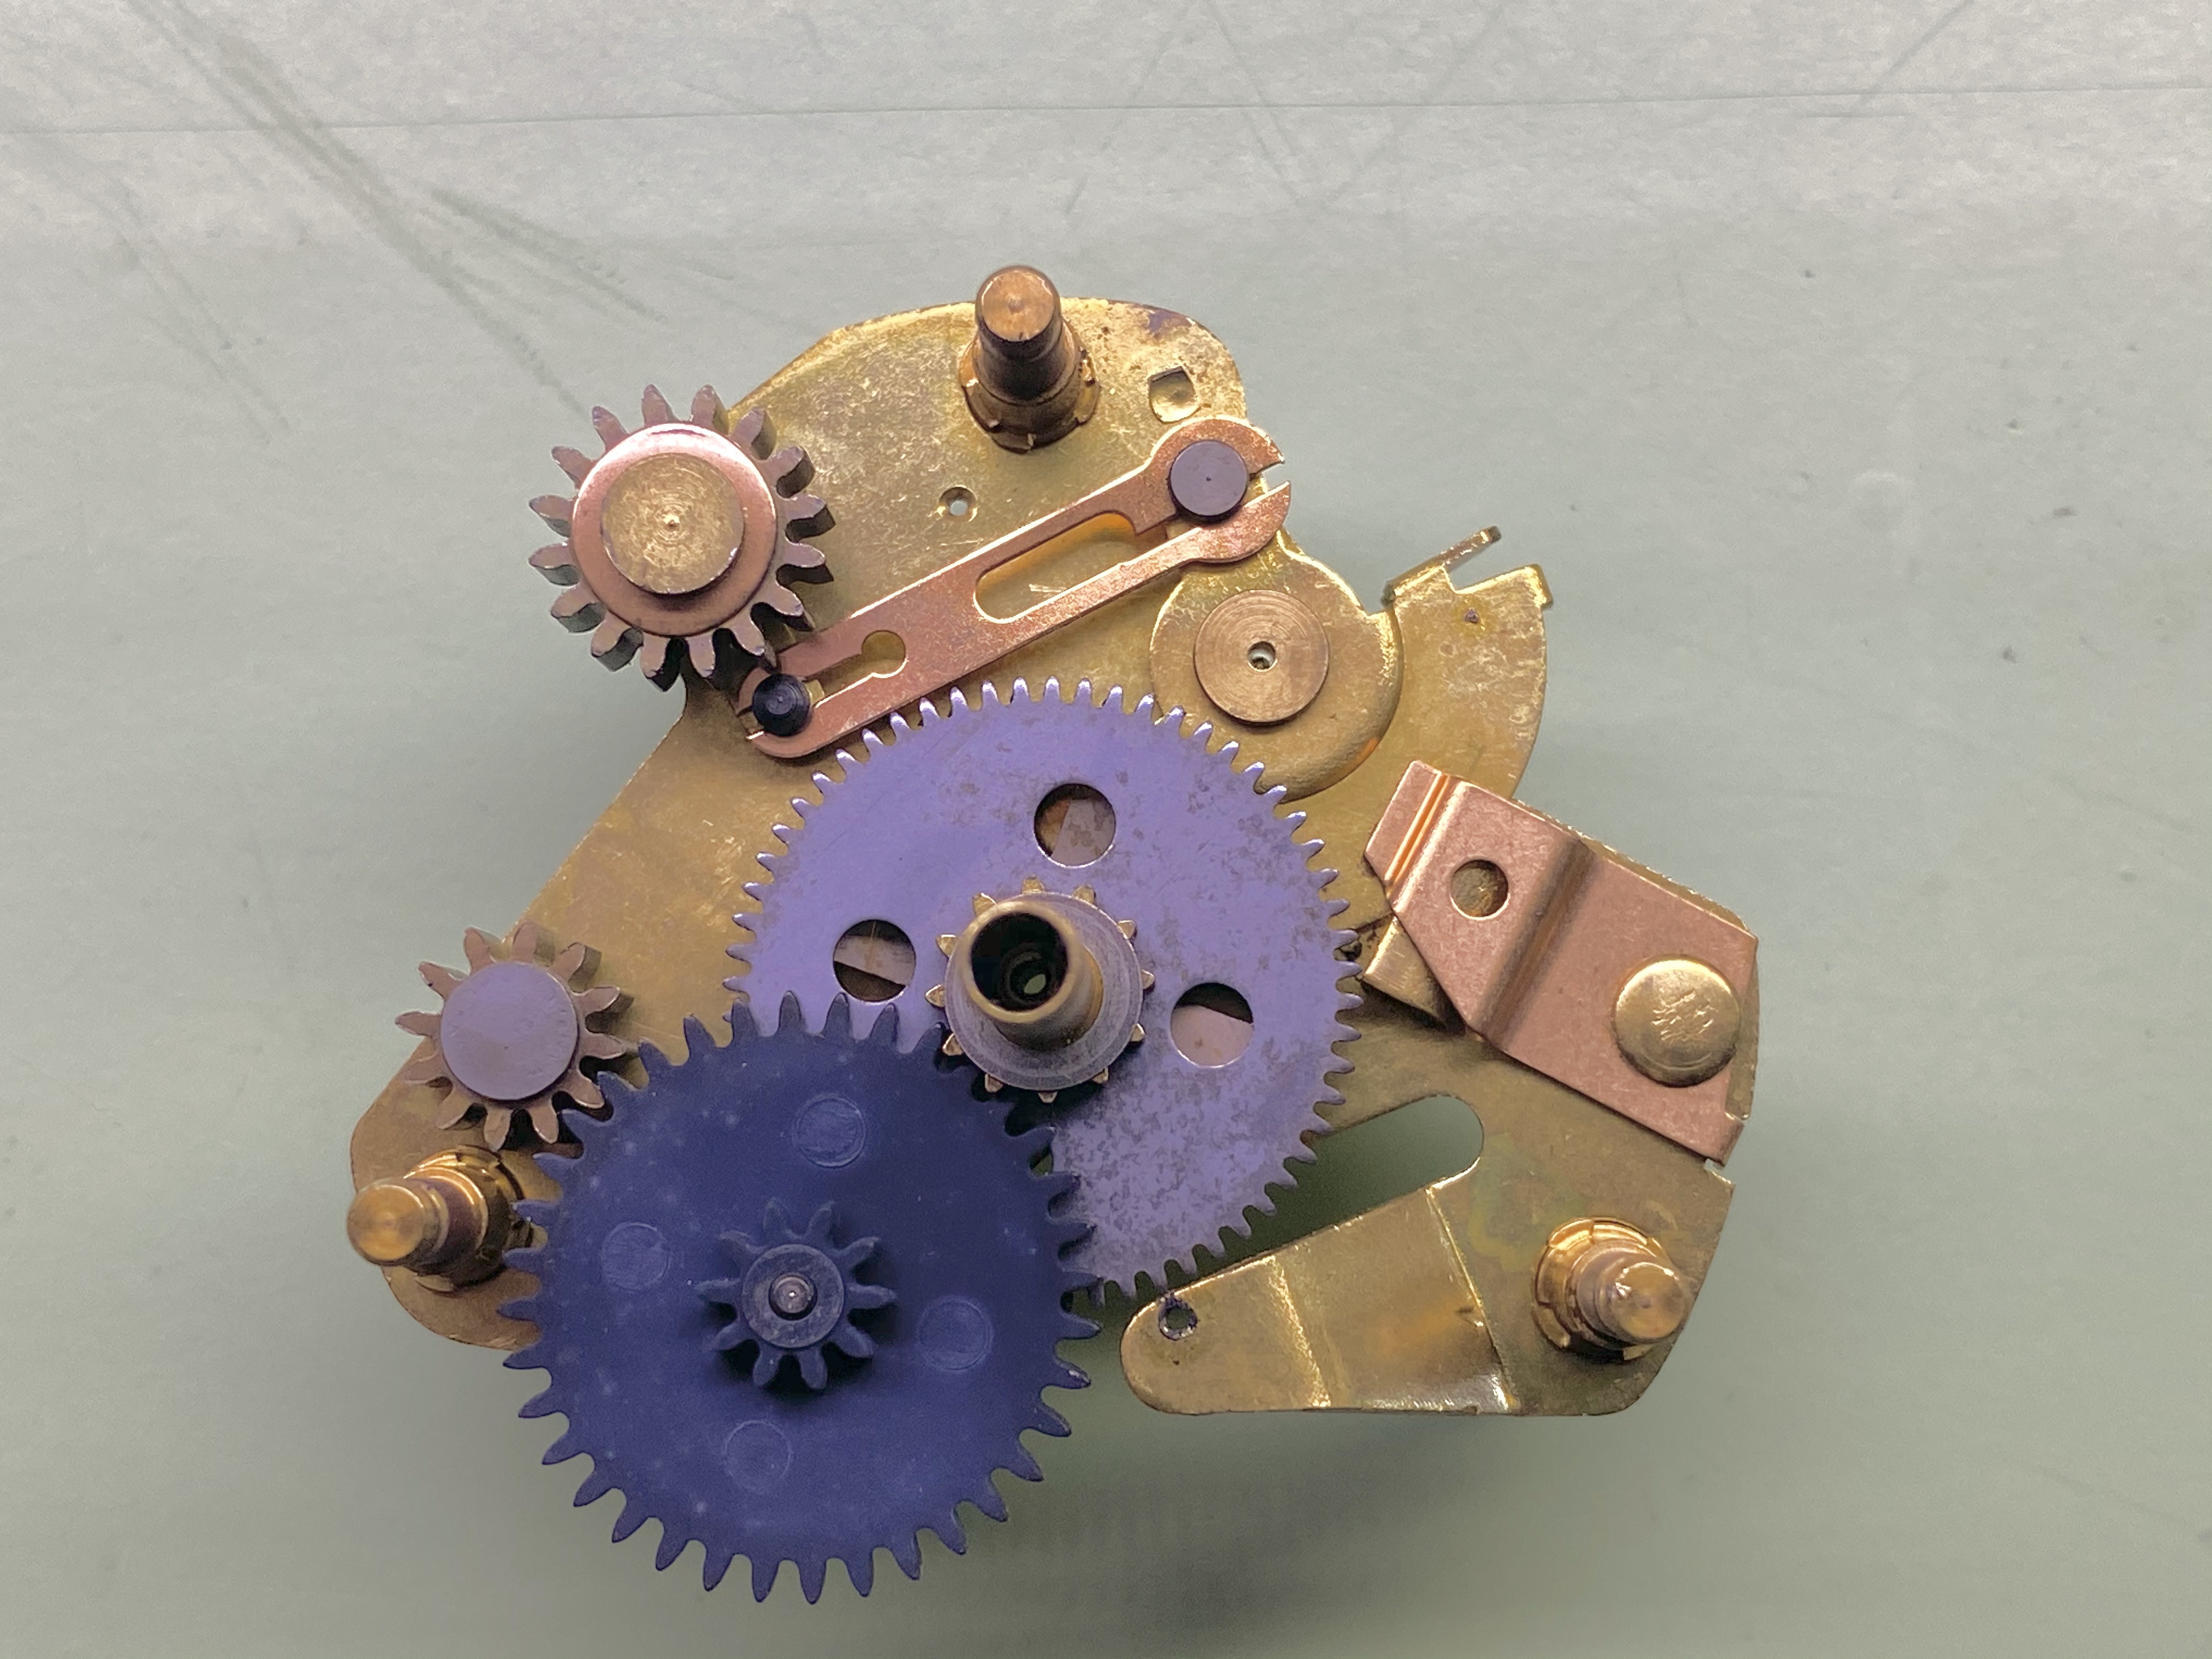
The Dial Train is a bit interesting. The gearing for setting the time is riveted to the plate underneath the dial as are gears which lead to the Regulator. In a way the clock is self regulating and here’s how it works: when the clock is running slow, you’ll need to adjust the time adding hours or minutes. Whenever you adjust the time the regulator is moved ever so slightly. If you consistently add minutes to the clock, the regulator is consistently adjusted to slow the movement. The theory is that the need to adjust the time will cease once the movement is properly regulated. Of course if your car battery is always going dead then the theory won’t pan out.


This movement was a little too large for the L&R Watch Cleaning Machine and so the parts were scrubbed by hand and dipped in the ultrasonic bath instead. I needed to re-bush several pivot holes in the plates so I turned new bearings on the lathe.

The movement has a pretty simple Balance Assembly. The Hairspring is secured to the bottom plate by a bit of shellac. Melting the shellac was little nerve-wracking. I found a soldering iron worked well to control the heat and flow of the shellac.

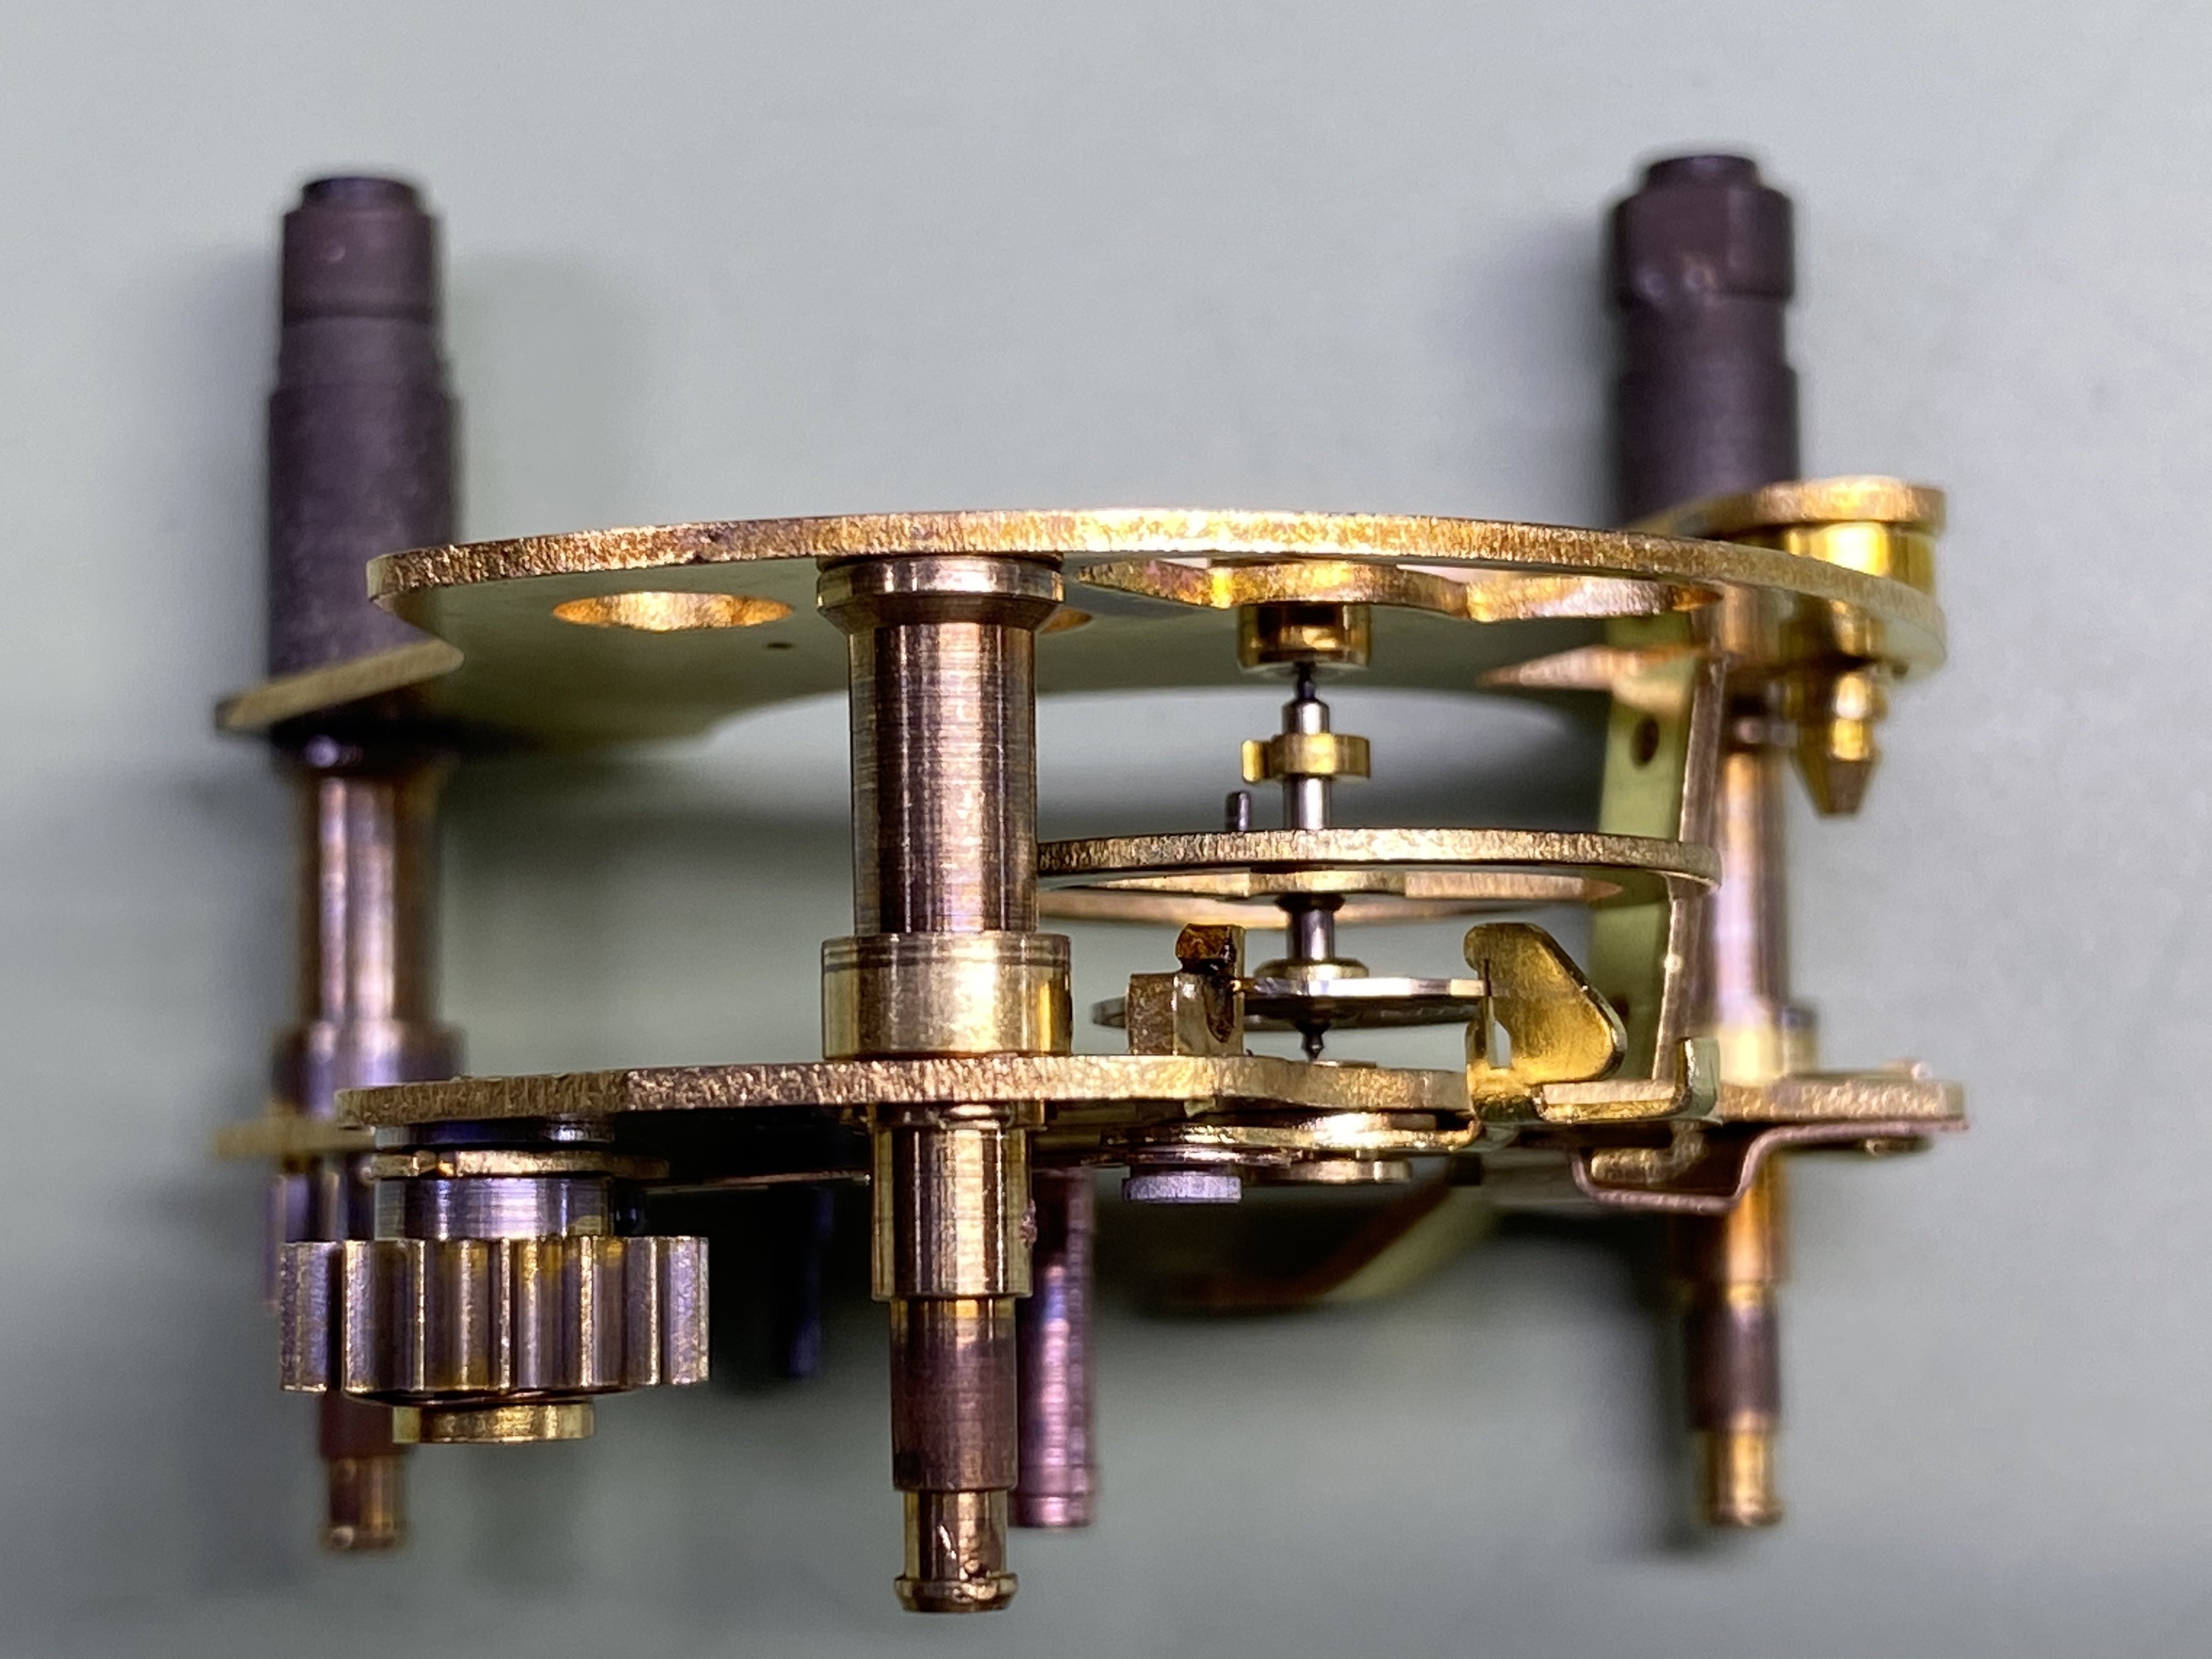
The entire Going Train is sandwiched between two plates. Thus lining up all the pivots can be a chore. The pillar construction of the movement made things a bit easier though as there was a lot of room to maneuver with my tweezers.


I assembled the movement and connected it to the car battery for testing. Twenty-four hours later the movement was running a couple minutes slow so I turned the regulator to speed it up. I couldn’t test this movement on my timegrapher so it’s going to take a bit of trial and error to dial it in just right but the fact that it’s ticking again is promising.

As far as my father is concerned it was a job well done. He’s had a rough year (haven’t we all) and hasn’t had a chance to stretch the legs of the El Camino. Once he’s accumulated some miles on it I’ll know whether the job was well and good or just another learning experience. Regardless, I did enjoy working on something a bit different and something engineered in the USA.

Never followed all the work, this thankful dad/car geek will honor and show it proudly!
LikeLiked by 1 person
Dad, I never responded to your comment because I’m a bad son! I’m also very happy to see the clock going back into the car this past weekend- I’ll try and get a pic and add it to the story. Hopefully it continues to keep time after all the trouble getting it back into the car!
LikeLiked by 1 person