
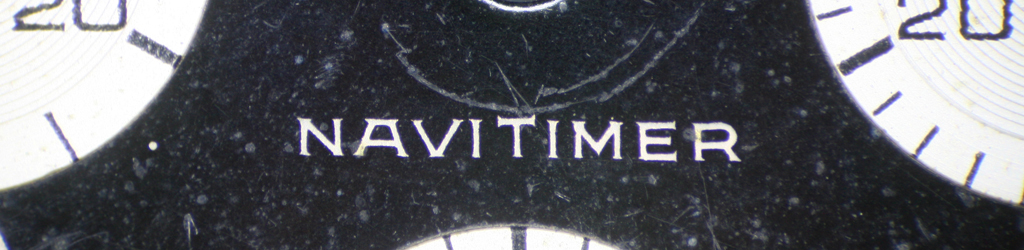
Having finished the service of the Navitimer movement I needed to find a stainless steel case to house it, so I began scouring the internet for one of the right vintage. I deduced that the movement was from the late 1960’s from the flat hairspring, beat corrector, and general finishing so I was on the lookout for a case with a serial number in the 1130000 – 1350000 range (which would place production between 1967 and 1970). As luck would have it the first one available happened to fall right within range.
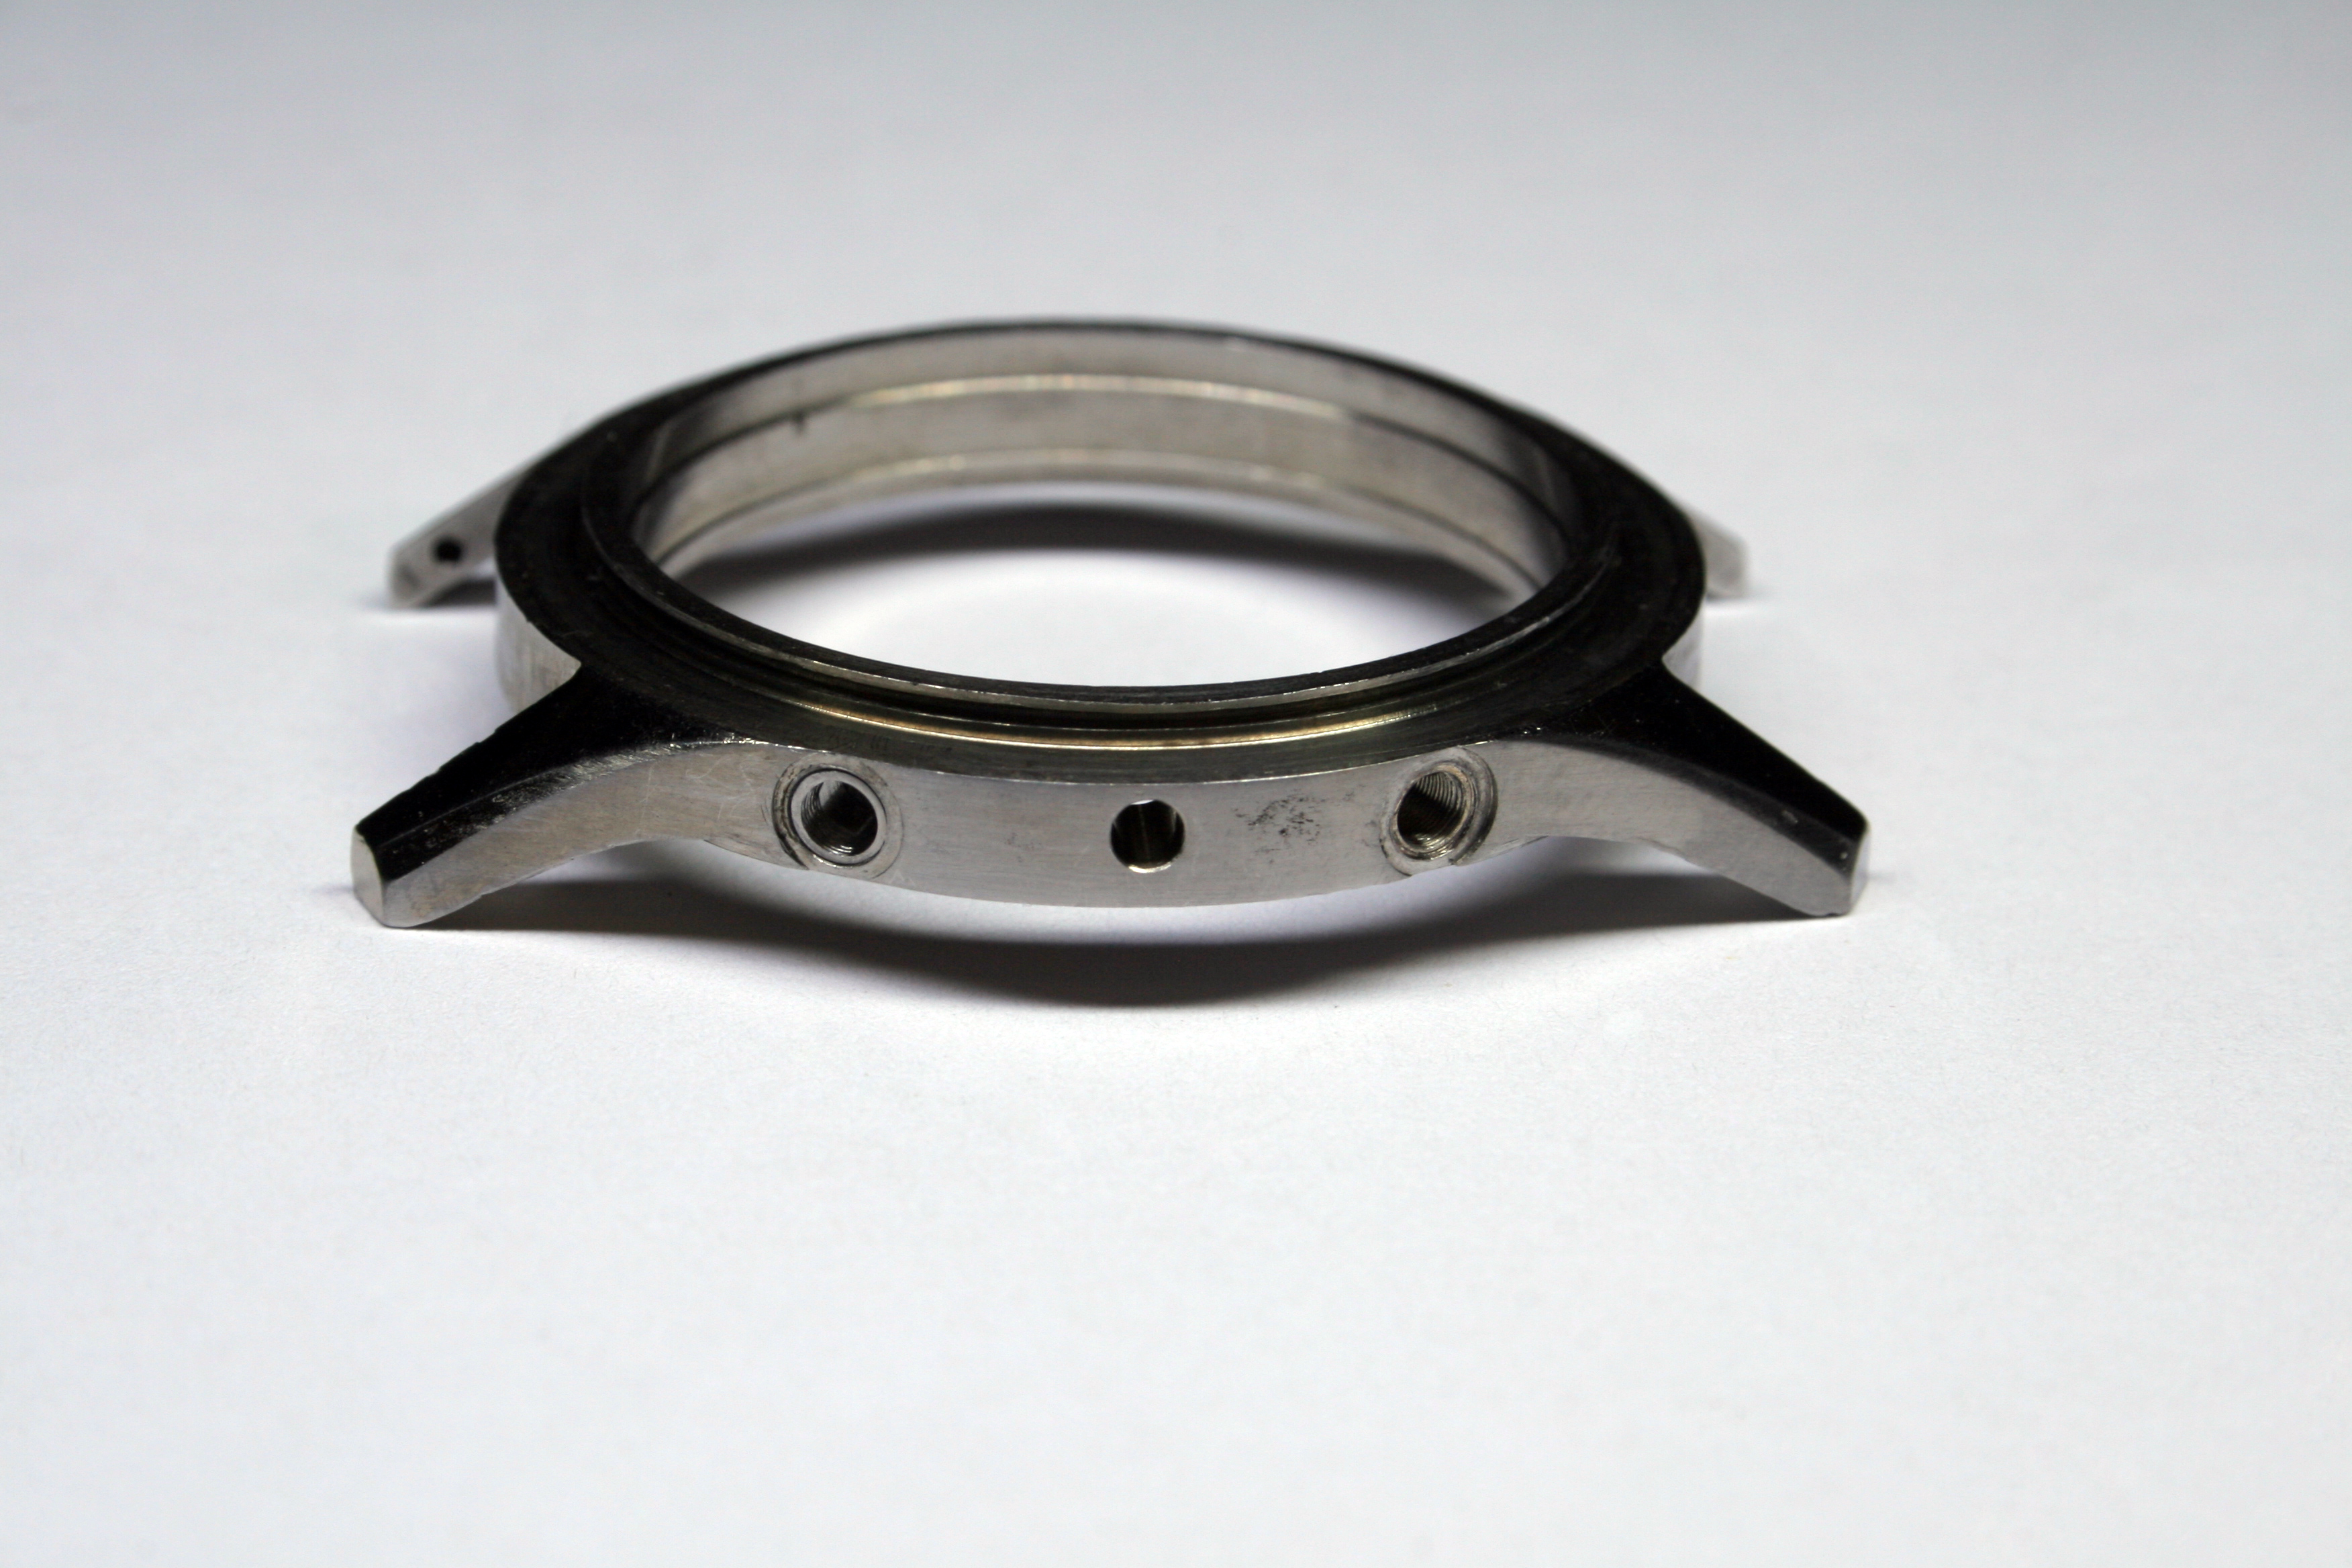
As you might expect, there were issues with this case. First and foremost, the rotating bezel was missing. At the time I didn’t realize how big of a deal this would be but it turns out these bezels are impossible to find. The watch case was also in quite rough shape with several scratches and some deep gouges where an unskilled individual had used the wrong tool to remove the bezel. The lip on the case which accepted the rotating bezel was bent in all sorts of directions too.


Another problem was that the chronograph reset pusher was glued into the case. The pushers (chronograph start/stop and reset buttons) are each seated on a tube that this threaded into the case, one above the crown and one just below. It’s not unusual to screw the tubes in with a bit of Locktite, in fact this is a generally accepted practice, but here the glue wasn’t added to ensure a tight thread. No, someone had destroyed the threads in the case and drilled them out resulting in a hole too large to accept the pusher. Glue had been used to “secure” it.
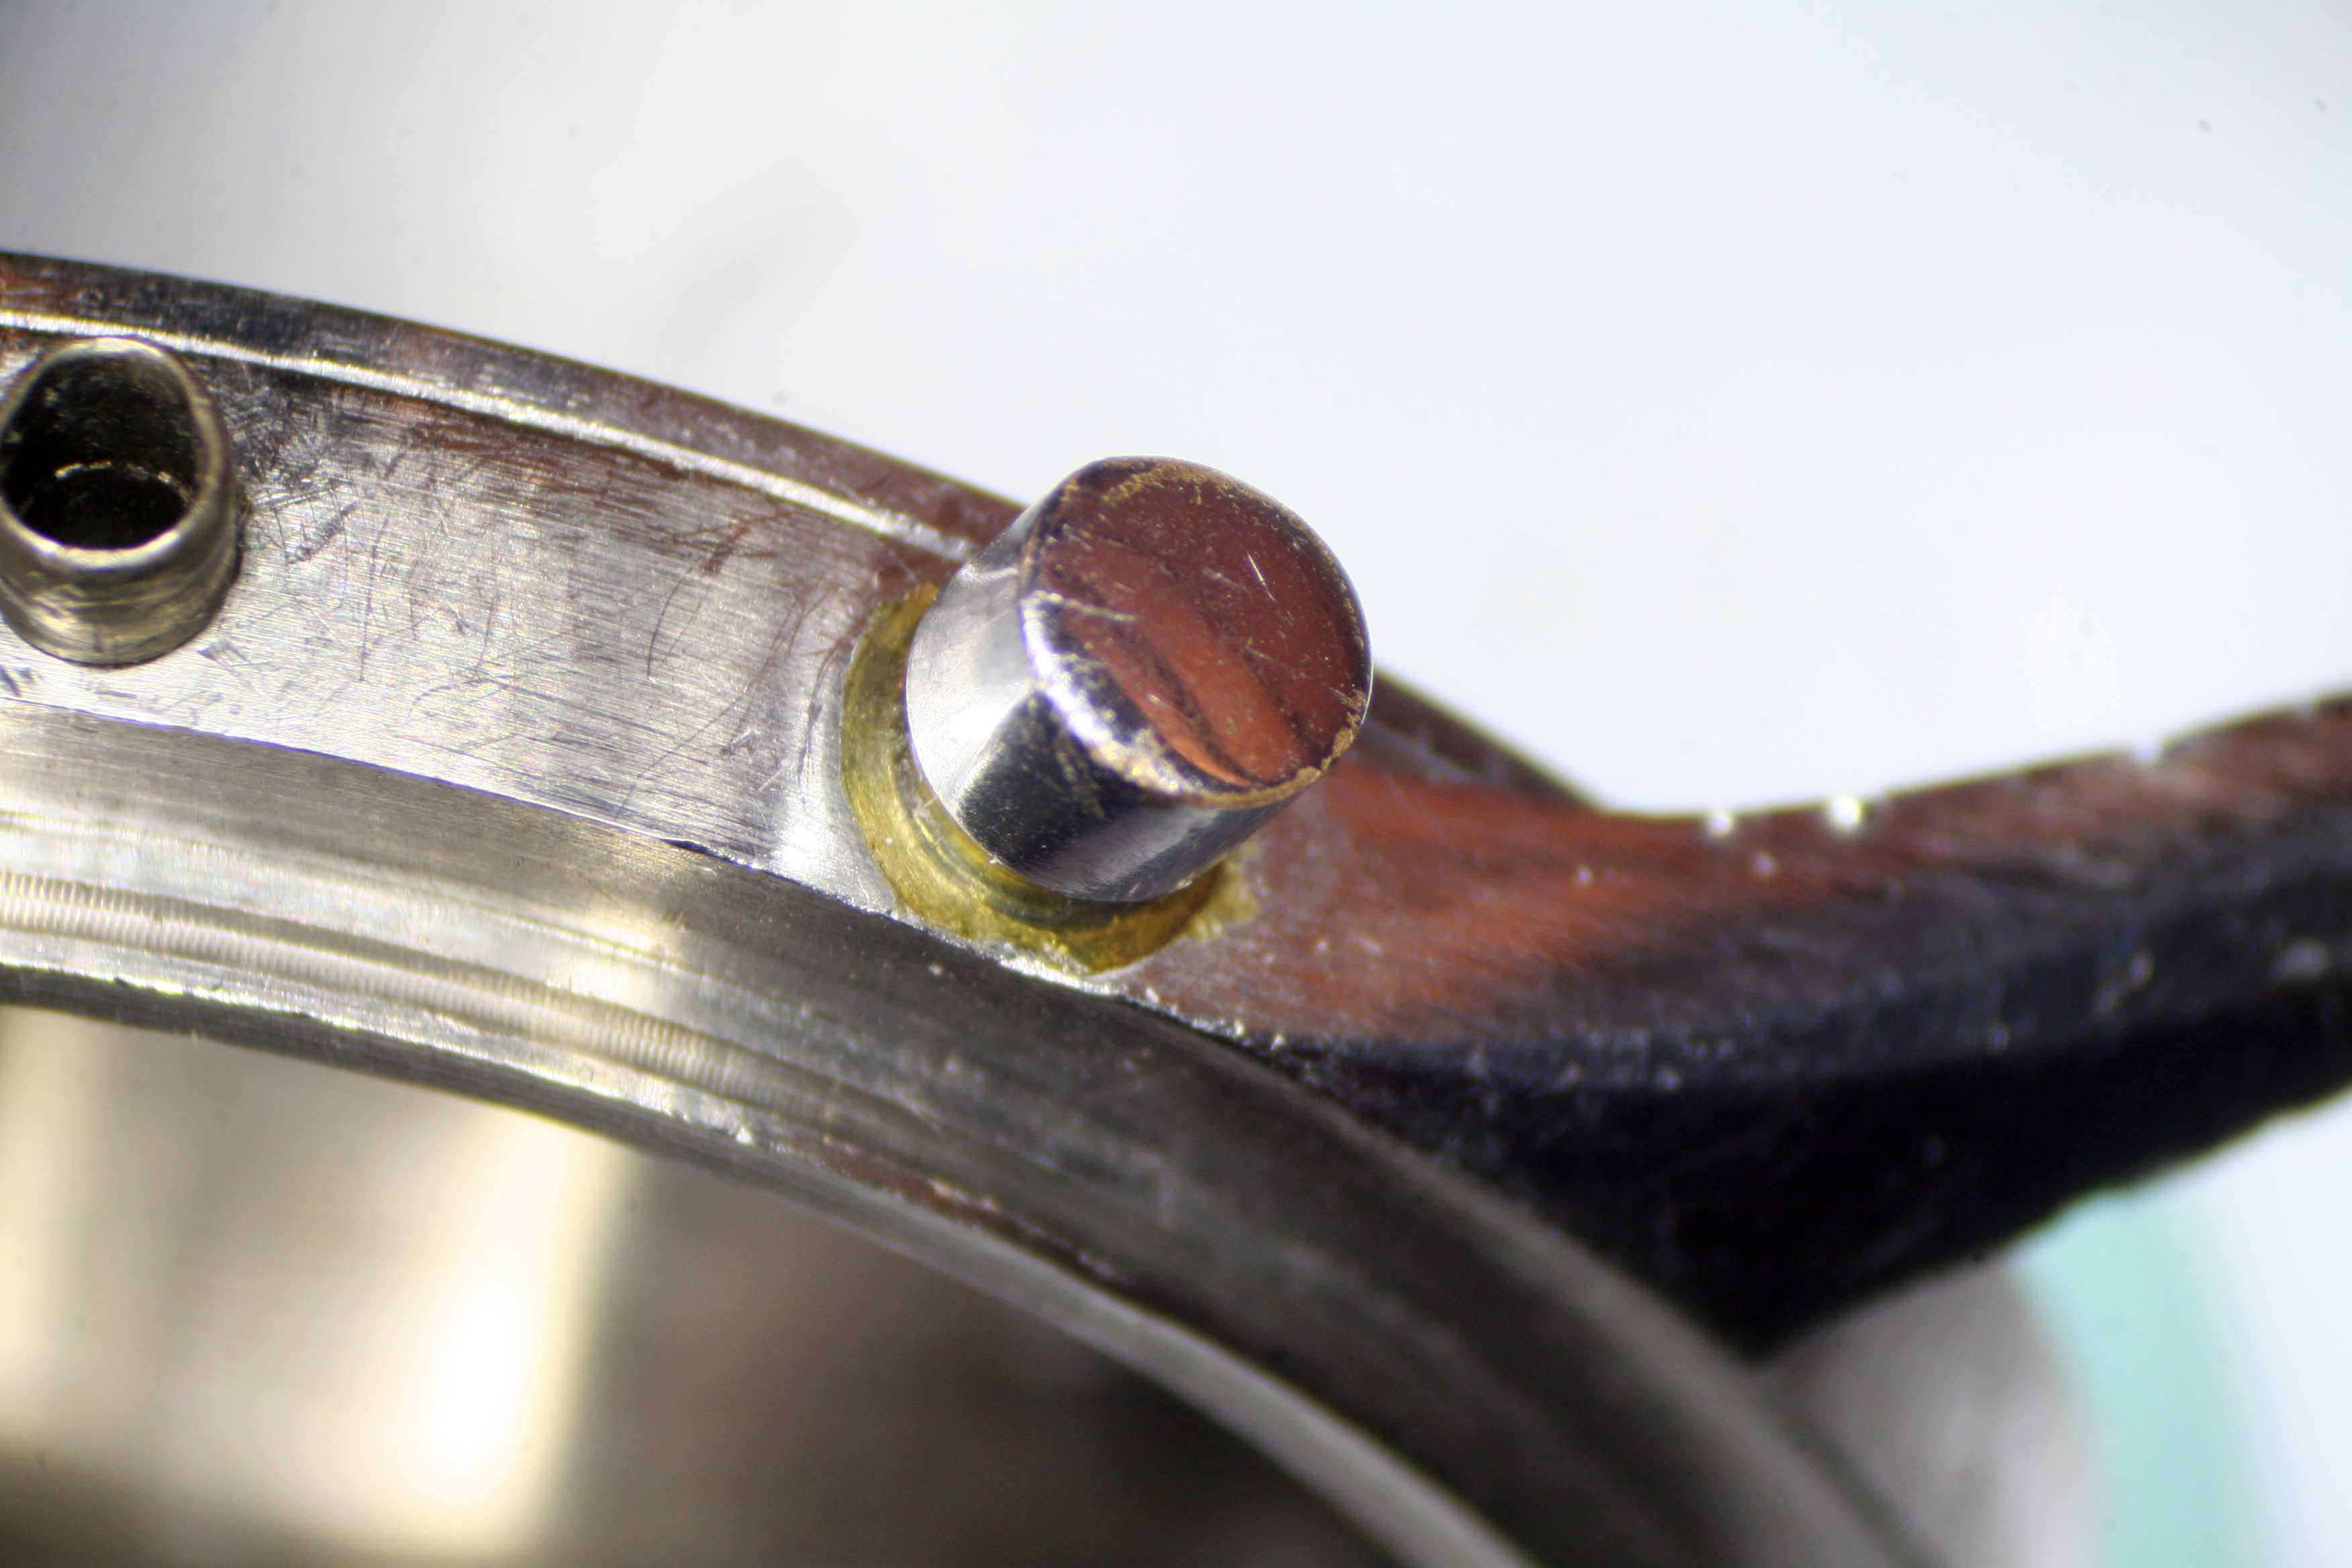
One option to resolve this problem would be to purchase a drive-in pusher. These pushers are driven in to the case instead of threaded. This option was nixed when the largest tube diameter for a drive-in pusher was found to be just under the diameter of the hole. I would have to go straight to Plan B and drill out the hole and drive in a properly threaded sleeve.
I purchased some ⌀3.0mm stainless steel tubing which was then turned on the lathe to ⌀2.91mm (slightly tapered) and cut off.

Next I drilled the damaged hole out to ⌀2.90mm to accept the sleeve.

The sleeve was then driven into the case.

Once secured, the sleeve was then drilled out to ⌀2.40mm and tapped to accept the correct pusher (2.50mm 0.2mm thread pitch).
Having corrected the biggest issue with the case I set to fixing the damaged hour and minute hands. While the hour hand was bent terribly, the minute hand was simply missing some of the white paint. Both needed new luminous compound.
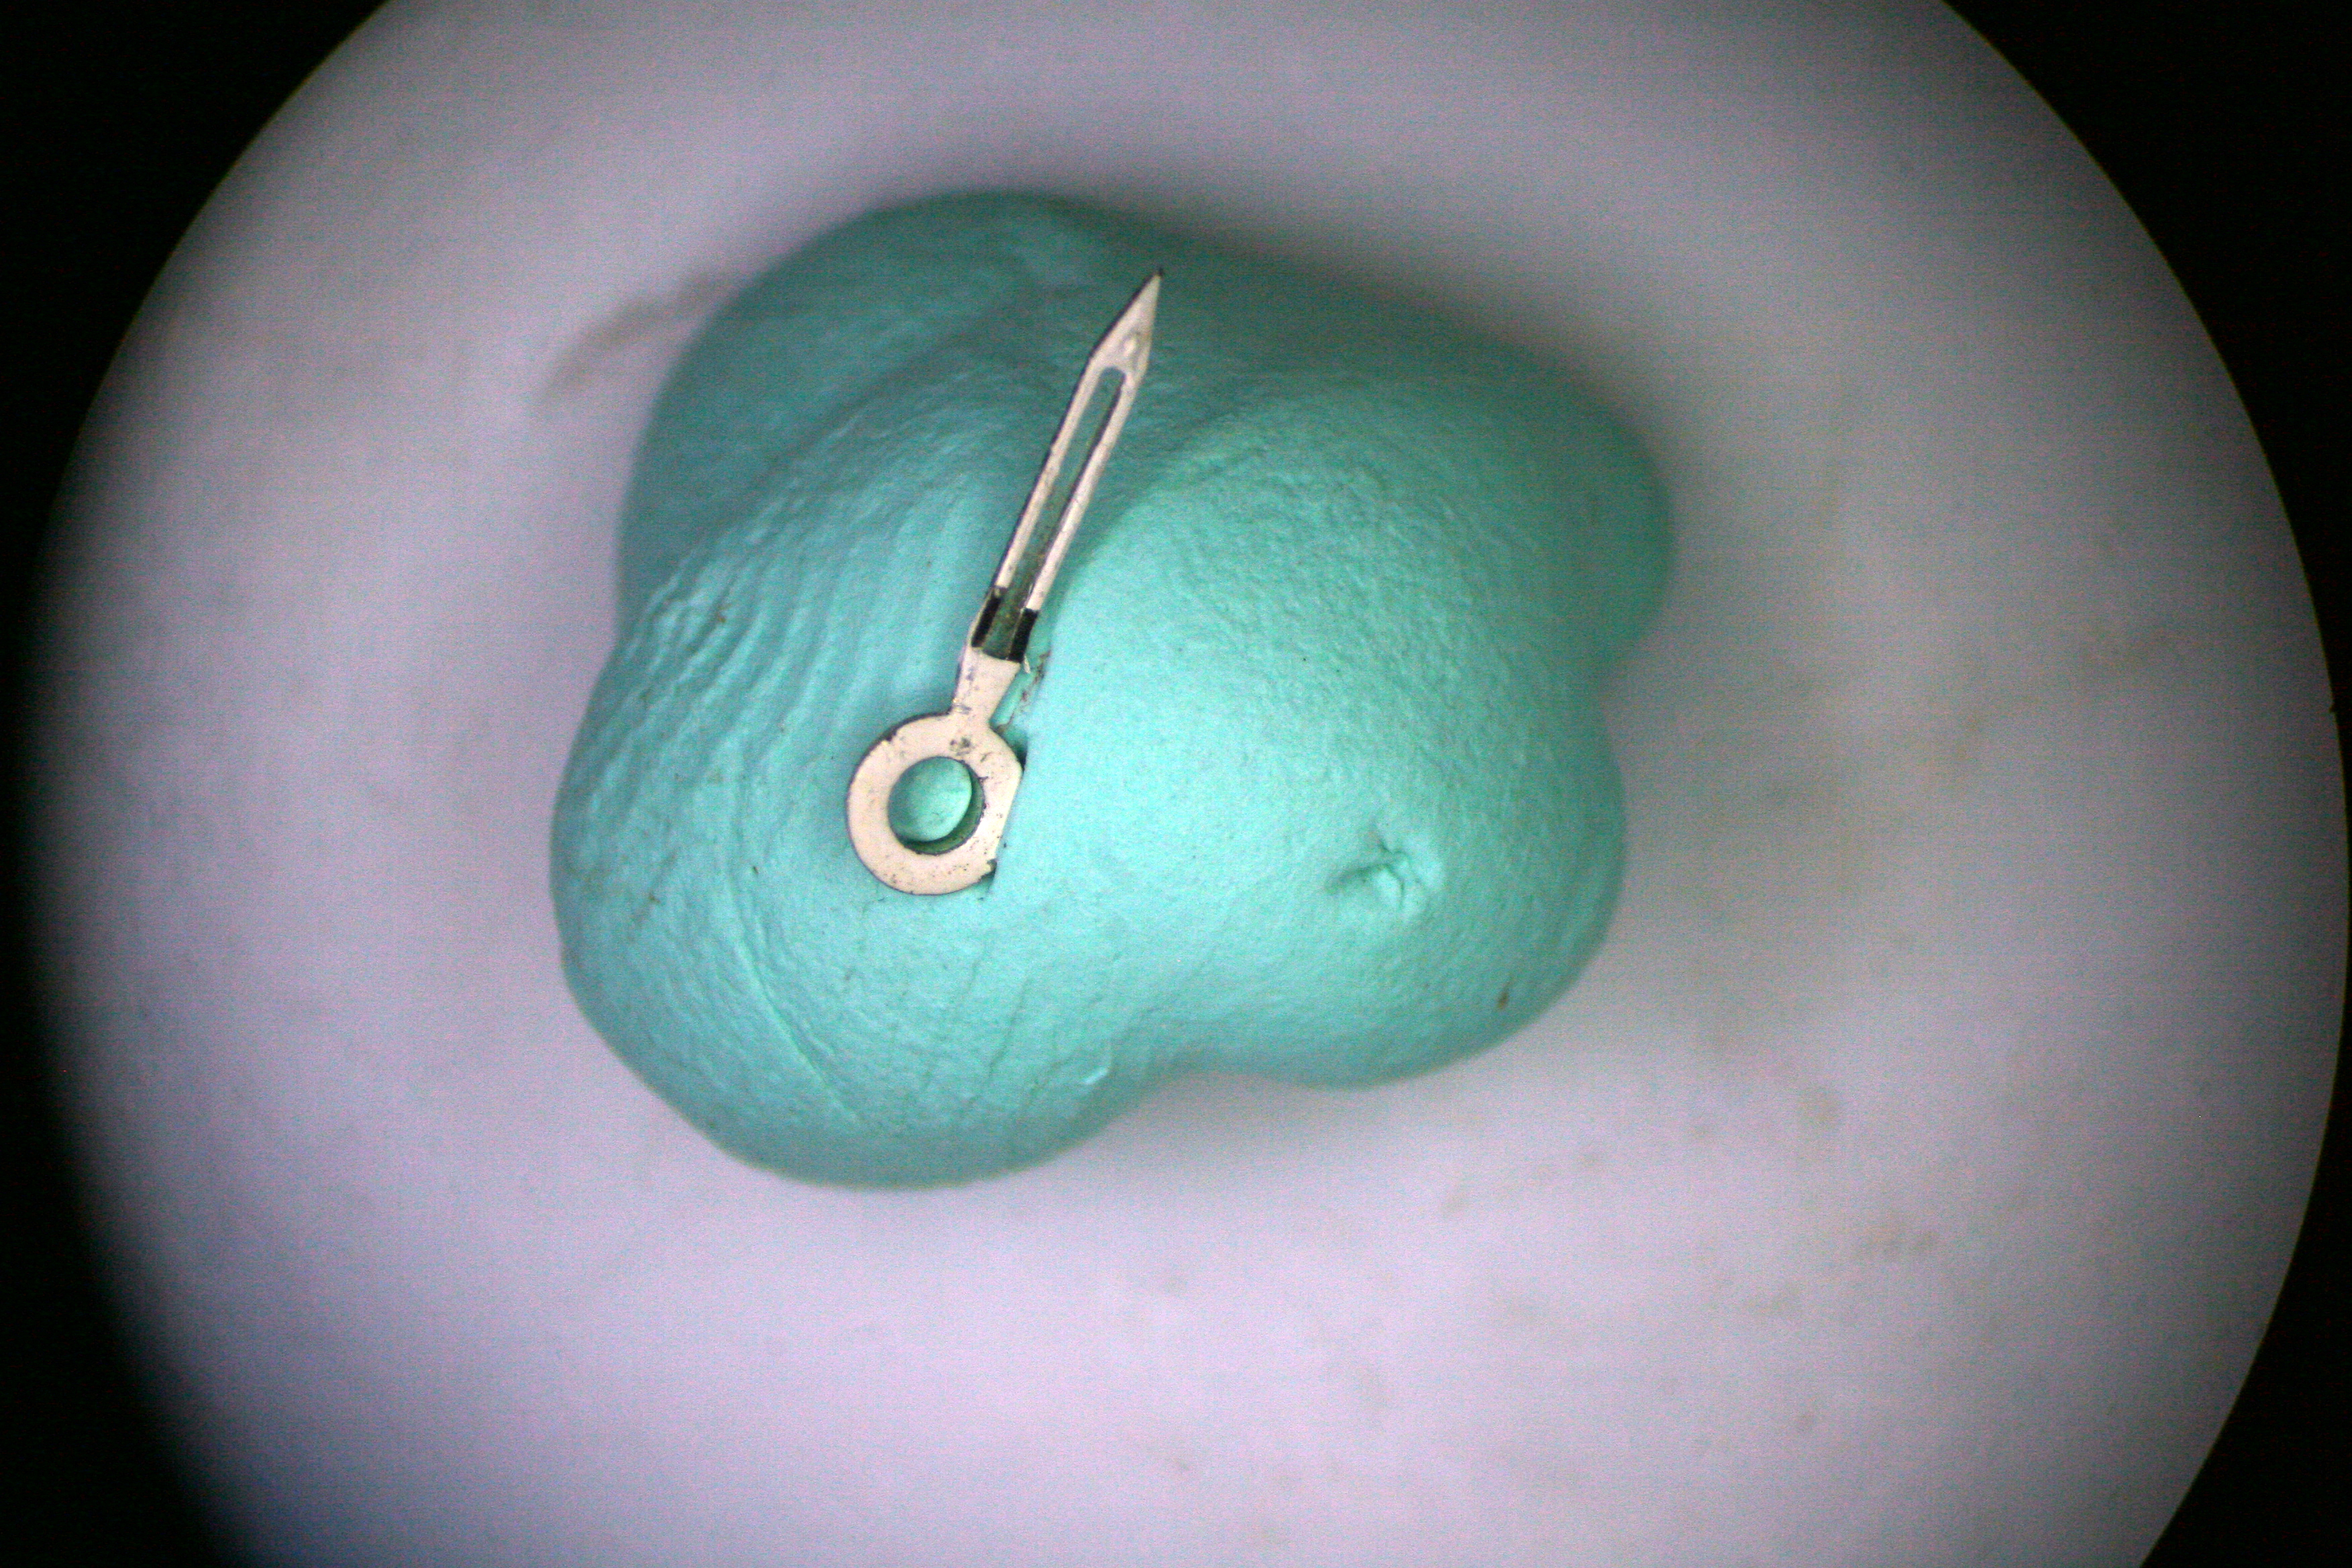
The bend in the hour hand occurred quite close to the Boss making it difficult to straighten (it would have been easier had it been bent at a the tip) but by running a small oiler repeatedly over the length of the hand I was able to true it up. I was concerned of work hardening the metal and causing a split and for that reason I stopped work as soon as I felt the job was satisfactory although not perfect.

The hands were soaked in stripper and a new coat of paint applied. I tinted the high gloss white enamel with a bit of off-white to match the Sweep Second Hand which was not repainted.

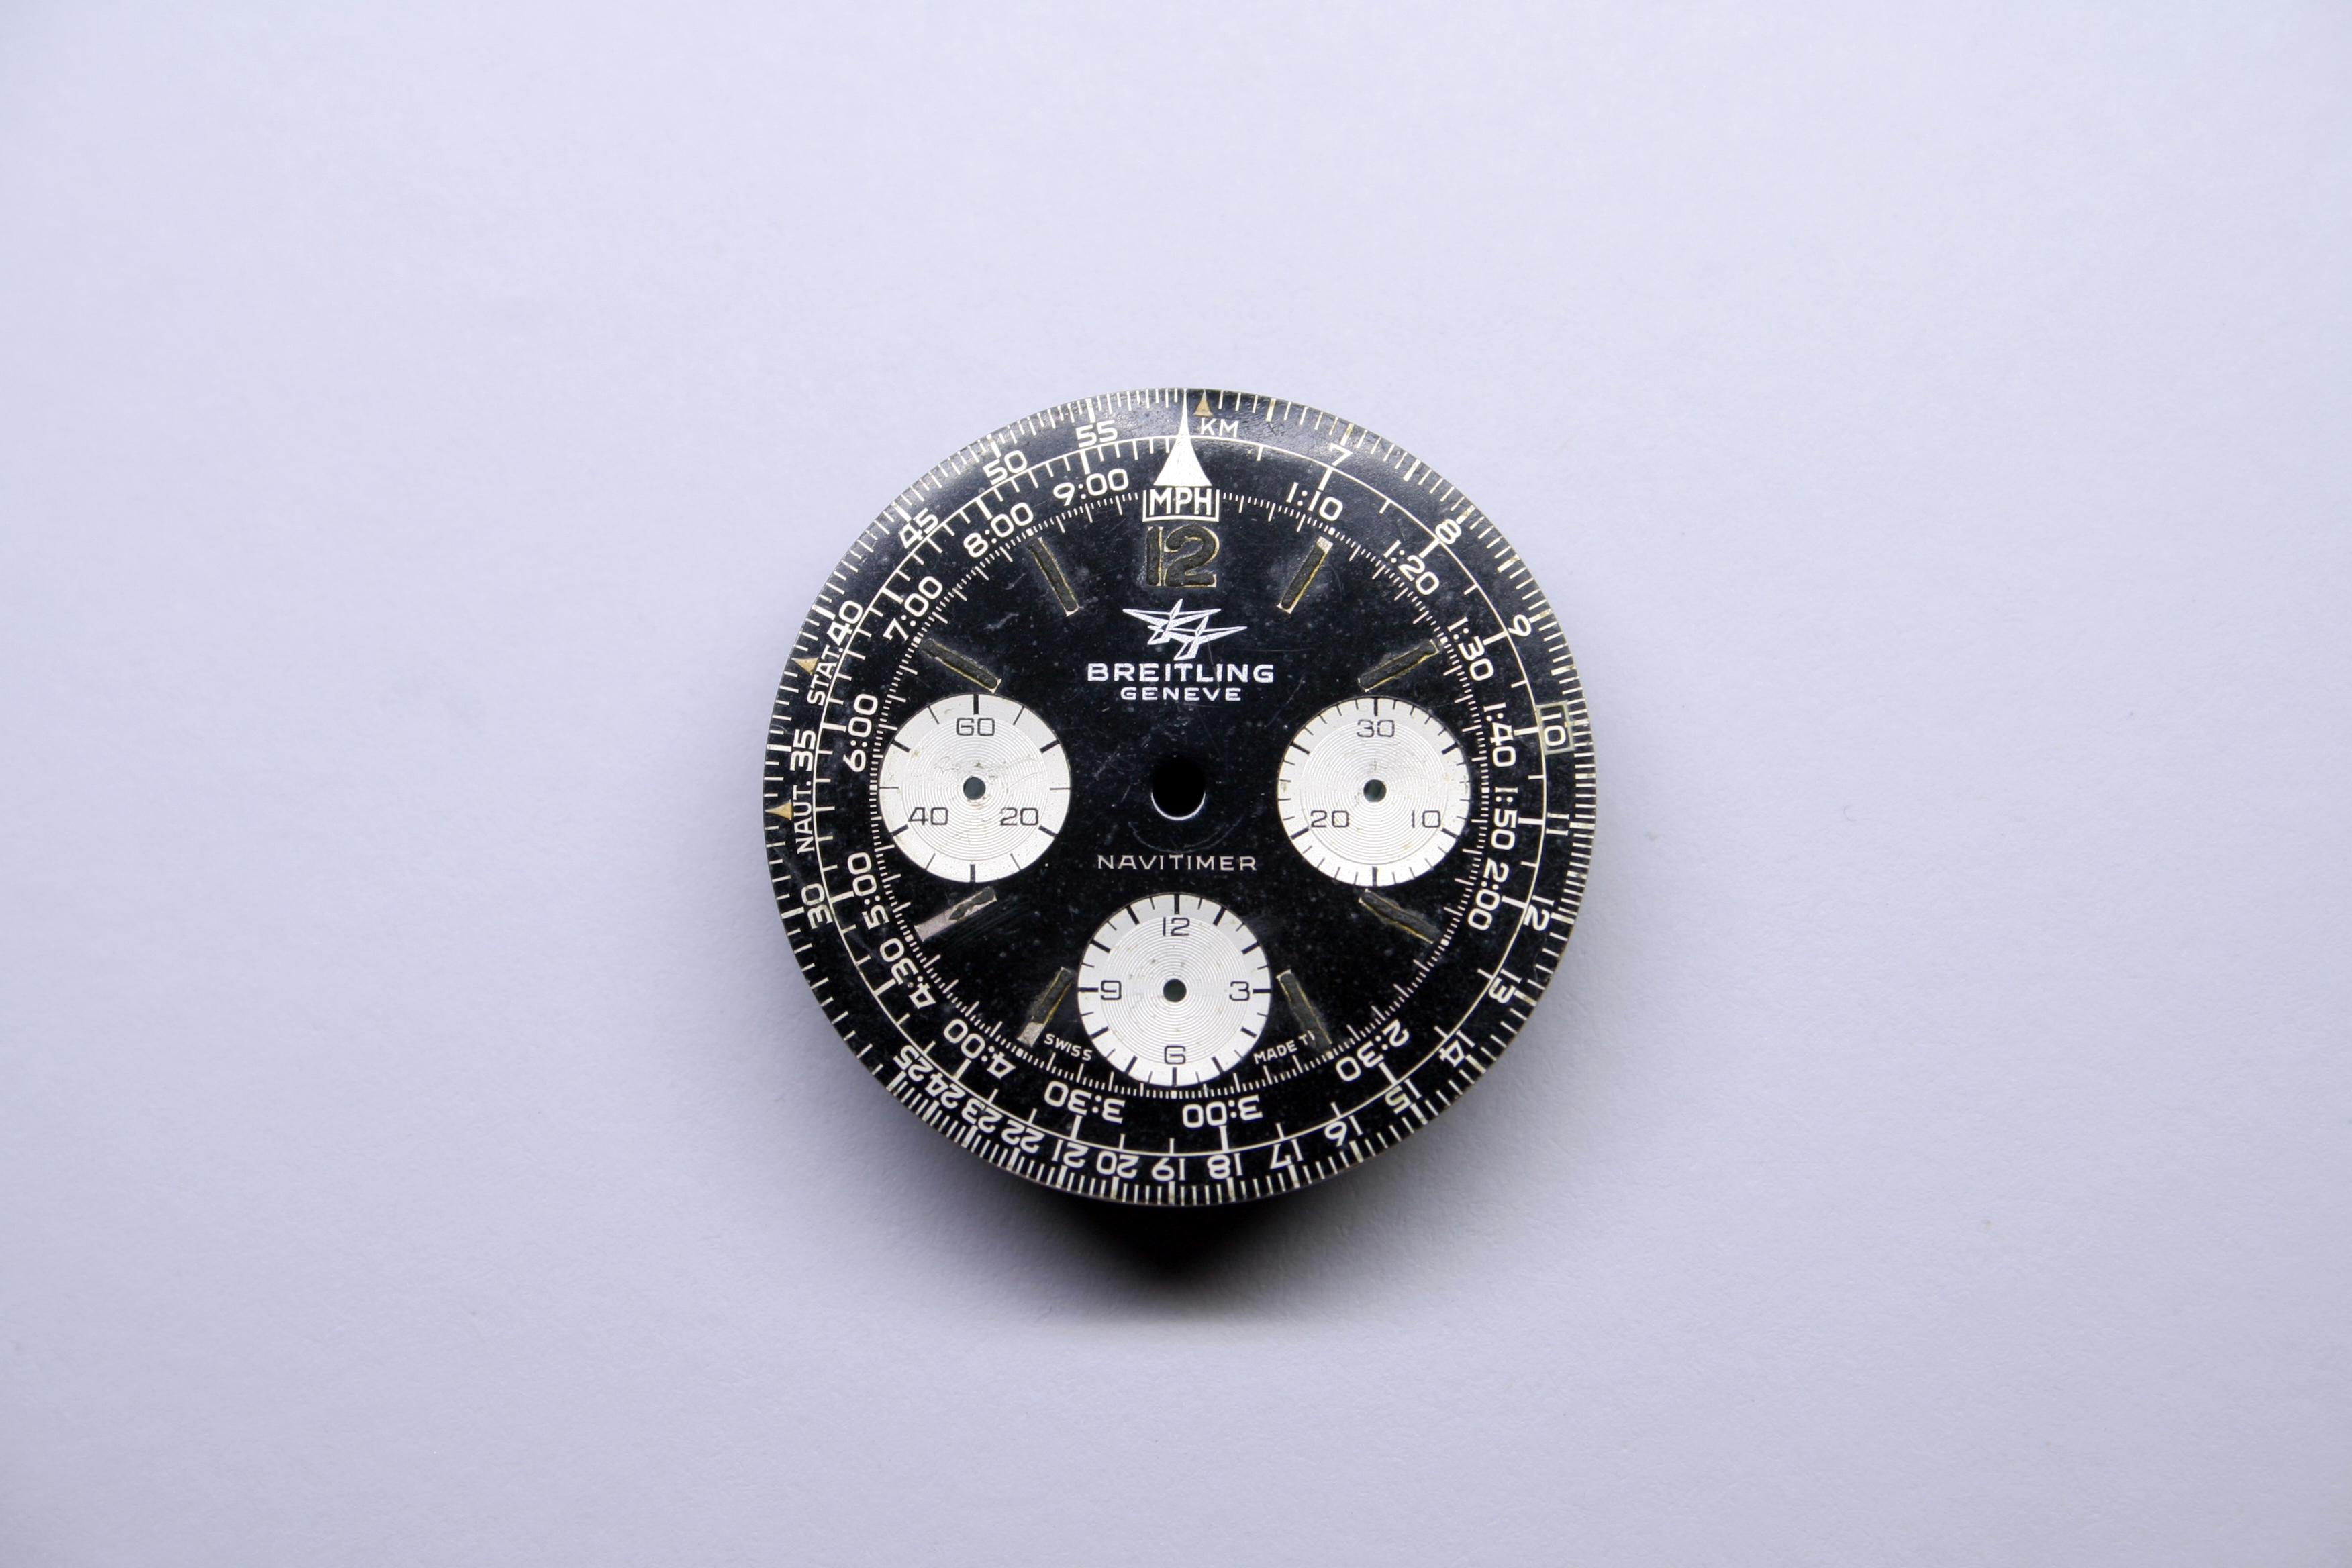
I then pulled the dial from storage to examine the luminous paint on the markers. Ideally you would like the luminous paint on the dial match the paint on the hands. On vintage watches the luminous paint will achieve a patina over time, usually a coffee brown color, and should you need to restore the dial or hands care must be taken to ensure the new luminous paint matches the existing paint.
This posed a problem for me because the luminous paint on my dial had blackened. This occurs when the paint is exposed to high humidity for a prolonged period of time (years). Old Navitimers are not waterproof so simply washing your hands regularly or living in a tropical climate can result in this metamorphosis. New luminous paint comes in many colors but significant tinting dulls its luminescence; black luminous paint simply isn’t an option.
So what to do? Remove the paint and redo the dial as well? As much as I didn’t want to face this reality, I felt it was the only real option.
Fortunately, I did have prior experience as I had earlier repainted a dial for a trench watch. In that case the dial was smaller and all the makers were Arabic numerals (requiring quite a steady hand) but since the dial was enamel, mistakes were easy to wipe away. The project took enough time that I had to add thinner to the paint to keep it from setting. Still, the end result was quite good and this triumph gave me confidence.
The first step to “relume the dial” is to remove the old luminous compound with a bit of pegwood. The compound was dry and brittle and came away easily. In fact, even before I started the compound had fallen away from the seven and eight o’clock markers.

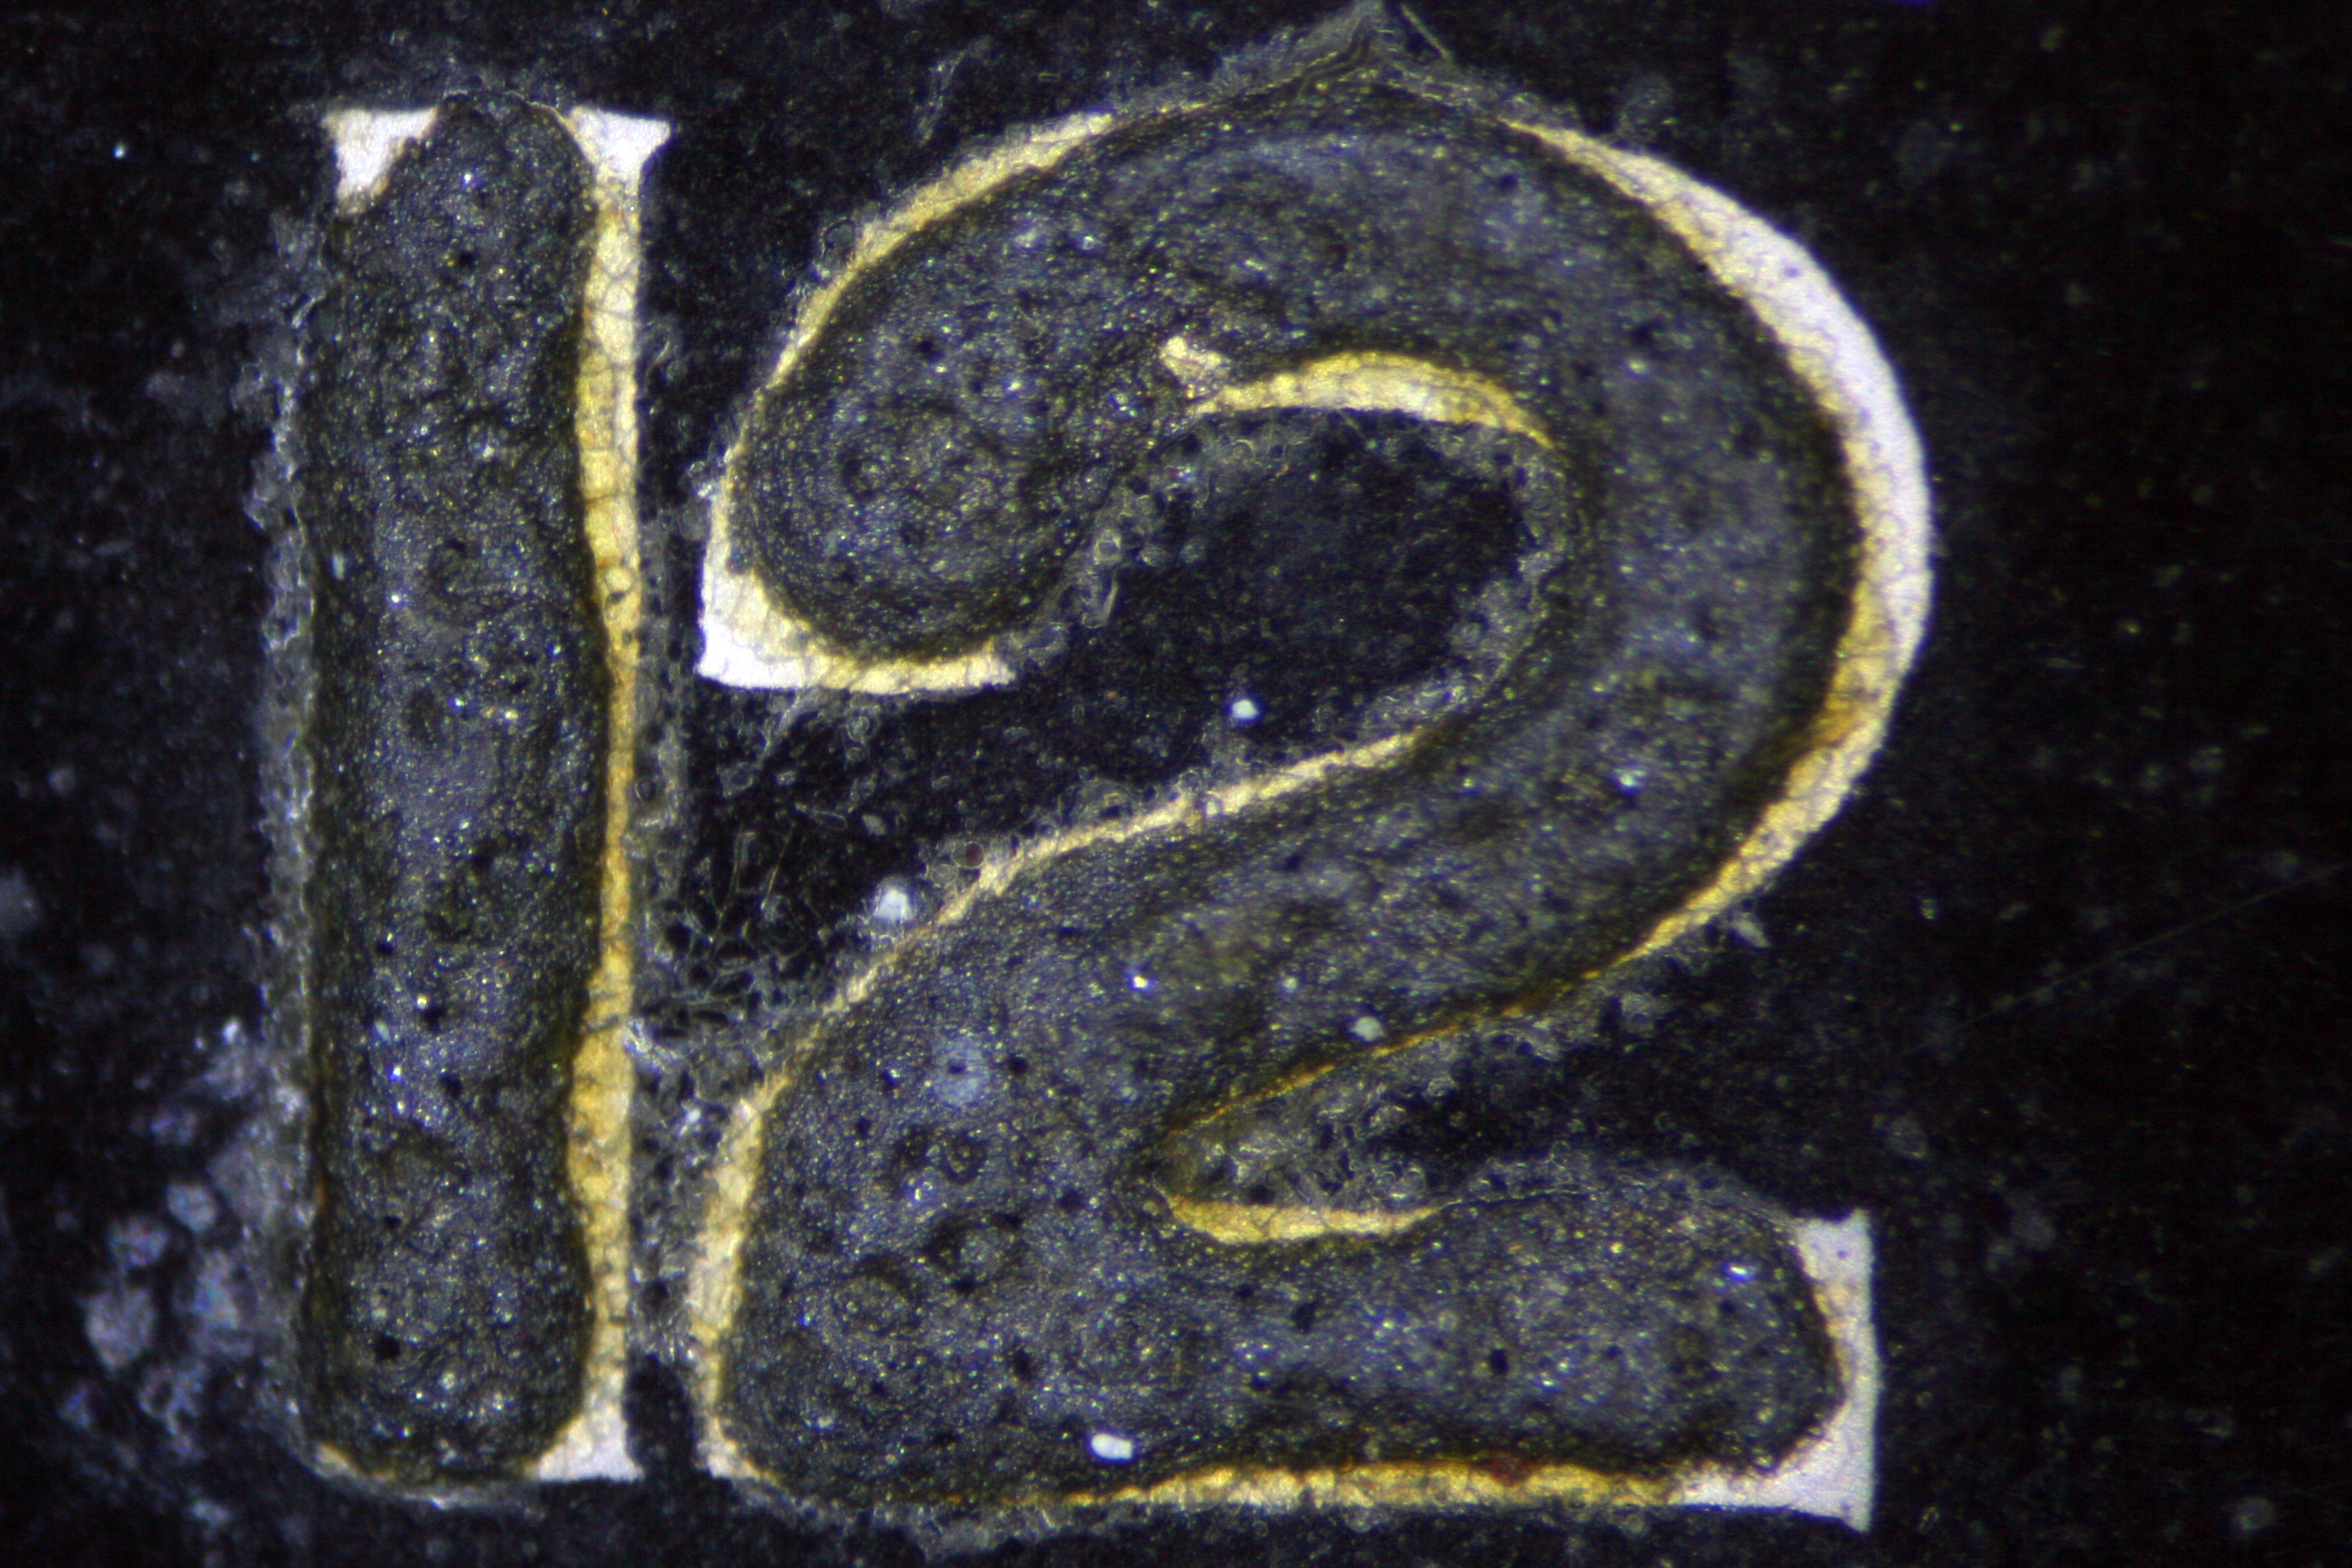
Next I mixed some white luminous powder with a bit of brown tint to produce a faux patina. The binder was added to transform the powder to a paint. This was applied to each marker using an oiler under the microscope. A drop of paint was applied to the center of the marker then spread to the perimeter. If it was too thin a second or third drop was added and again spread to the edge. The last marker was the Arabic “12” at the top of the dial. This one was a little more difficult requiring a bit more paint and patience but it came out looking just fine. The last bit of paint was used on the hands.
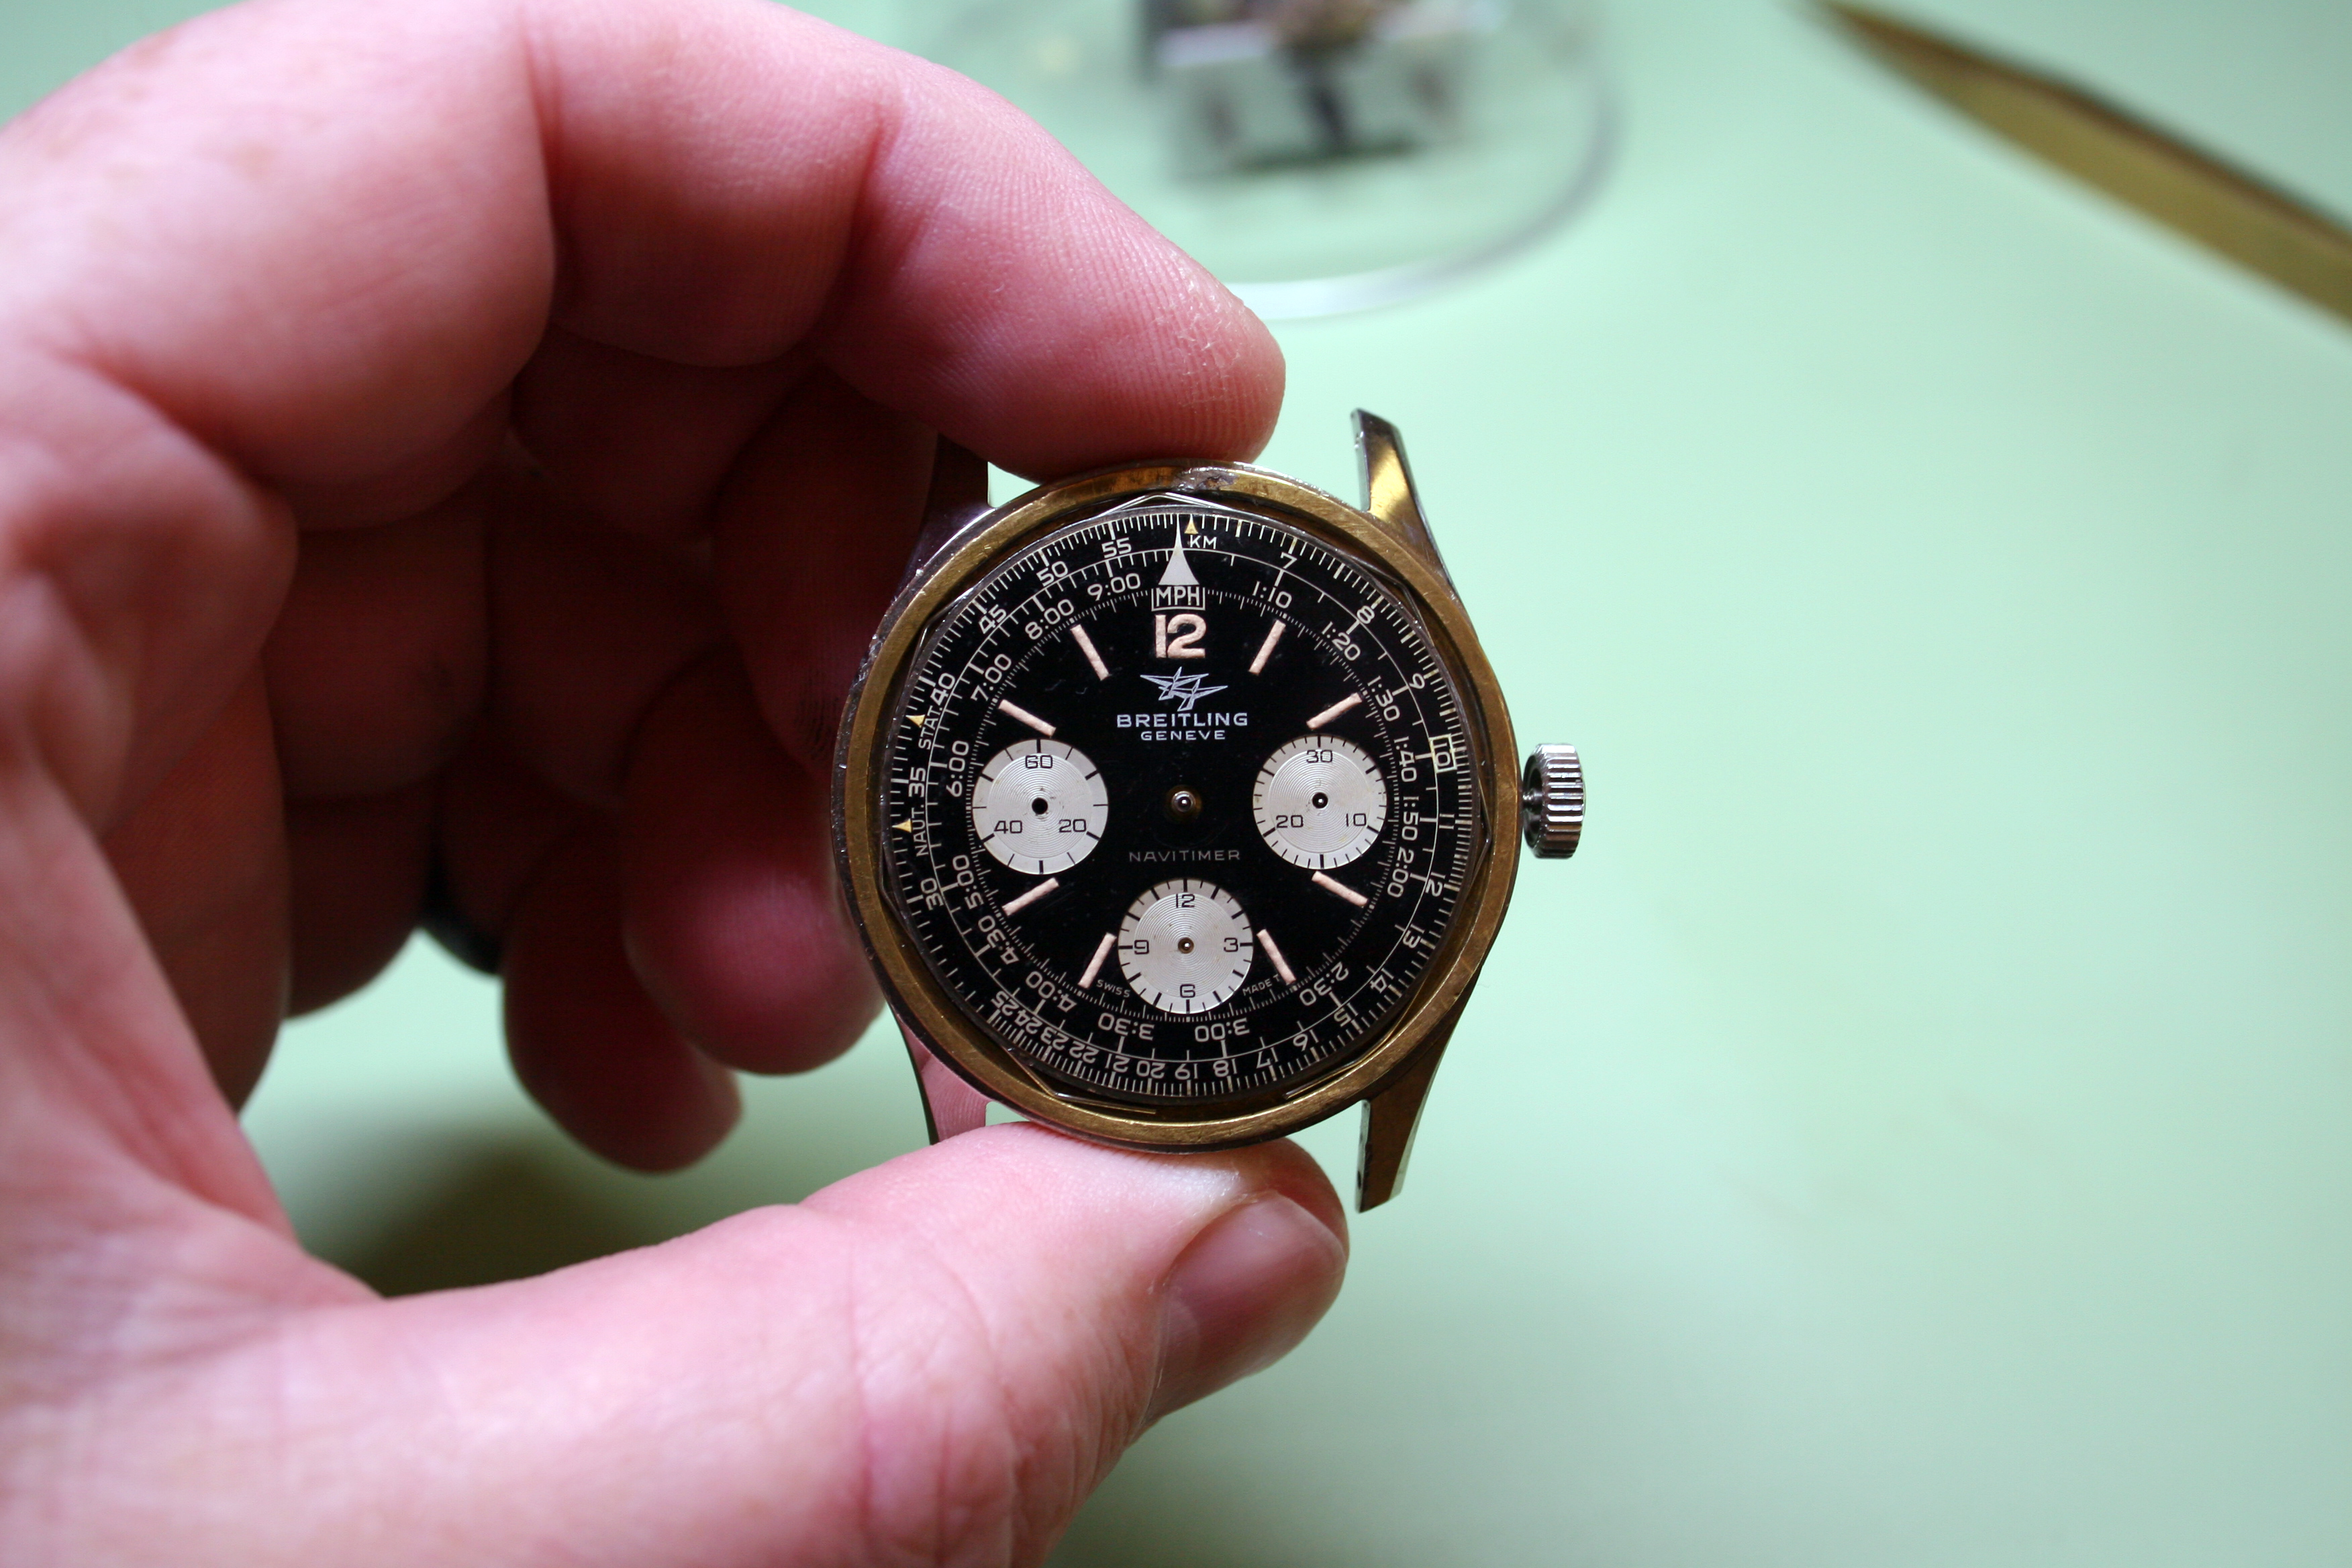
At this point I had serviced the movement, fixed the hour and minute hands, and relumed the dial and hands. I didn’t state it above but I had also fixed the lip on the case with some carefully placed taps from a jeweler’s hammer. However, there were still problems to resolve- the greatest being the missing bezel. I’ll cover this in Part 3.

One thought on “Navitimer 806 Restoration: Part Two”