
In October of 2016 I purchased a second vintage Breitling Navitimer which I knew would be a long term project. The watch consisted of only a Venus 178 movement, dial, slide rule, and hand set. I would need to service the movement and find a case and strap for it before the project was complete. I’ve continued working on this project off and on now for a little over a year and although it’s not yet complete, I have enough documented to put up a blog post or two detailing the journey thus far.
 The movement came nearly fully assembled but with a few prominent issues. I had noted that although a full set of hands were included, two of the sub-register hands were not mounted. Furthermore, the hour and minute hands appeared to be damaged although probably not beyond repair. The luminous paint on the dial had come lose from some of the markers, and certain bits of the chronograph mechanism were loose in the storage container.
The final sale price took into consideration these issues but I was still anxious to get the watch in hand for a hands-on assessment.
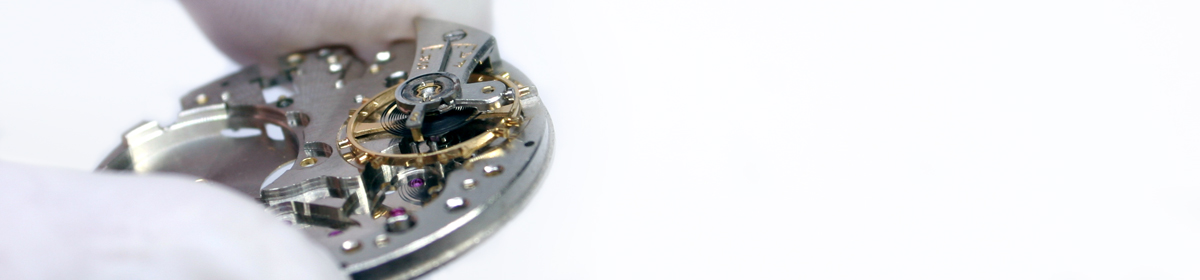
The day finally arrived when the postal carrier delivered my package so I cleared the workbench and got down to business.

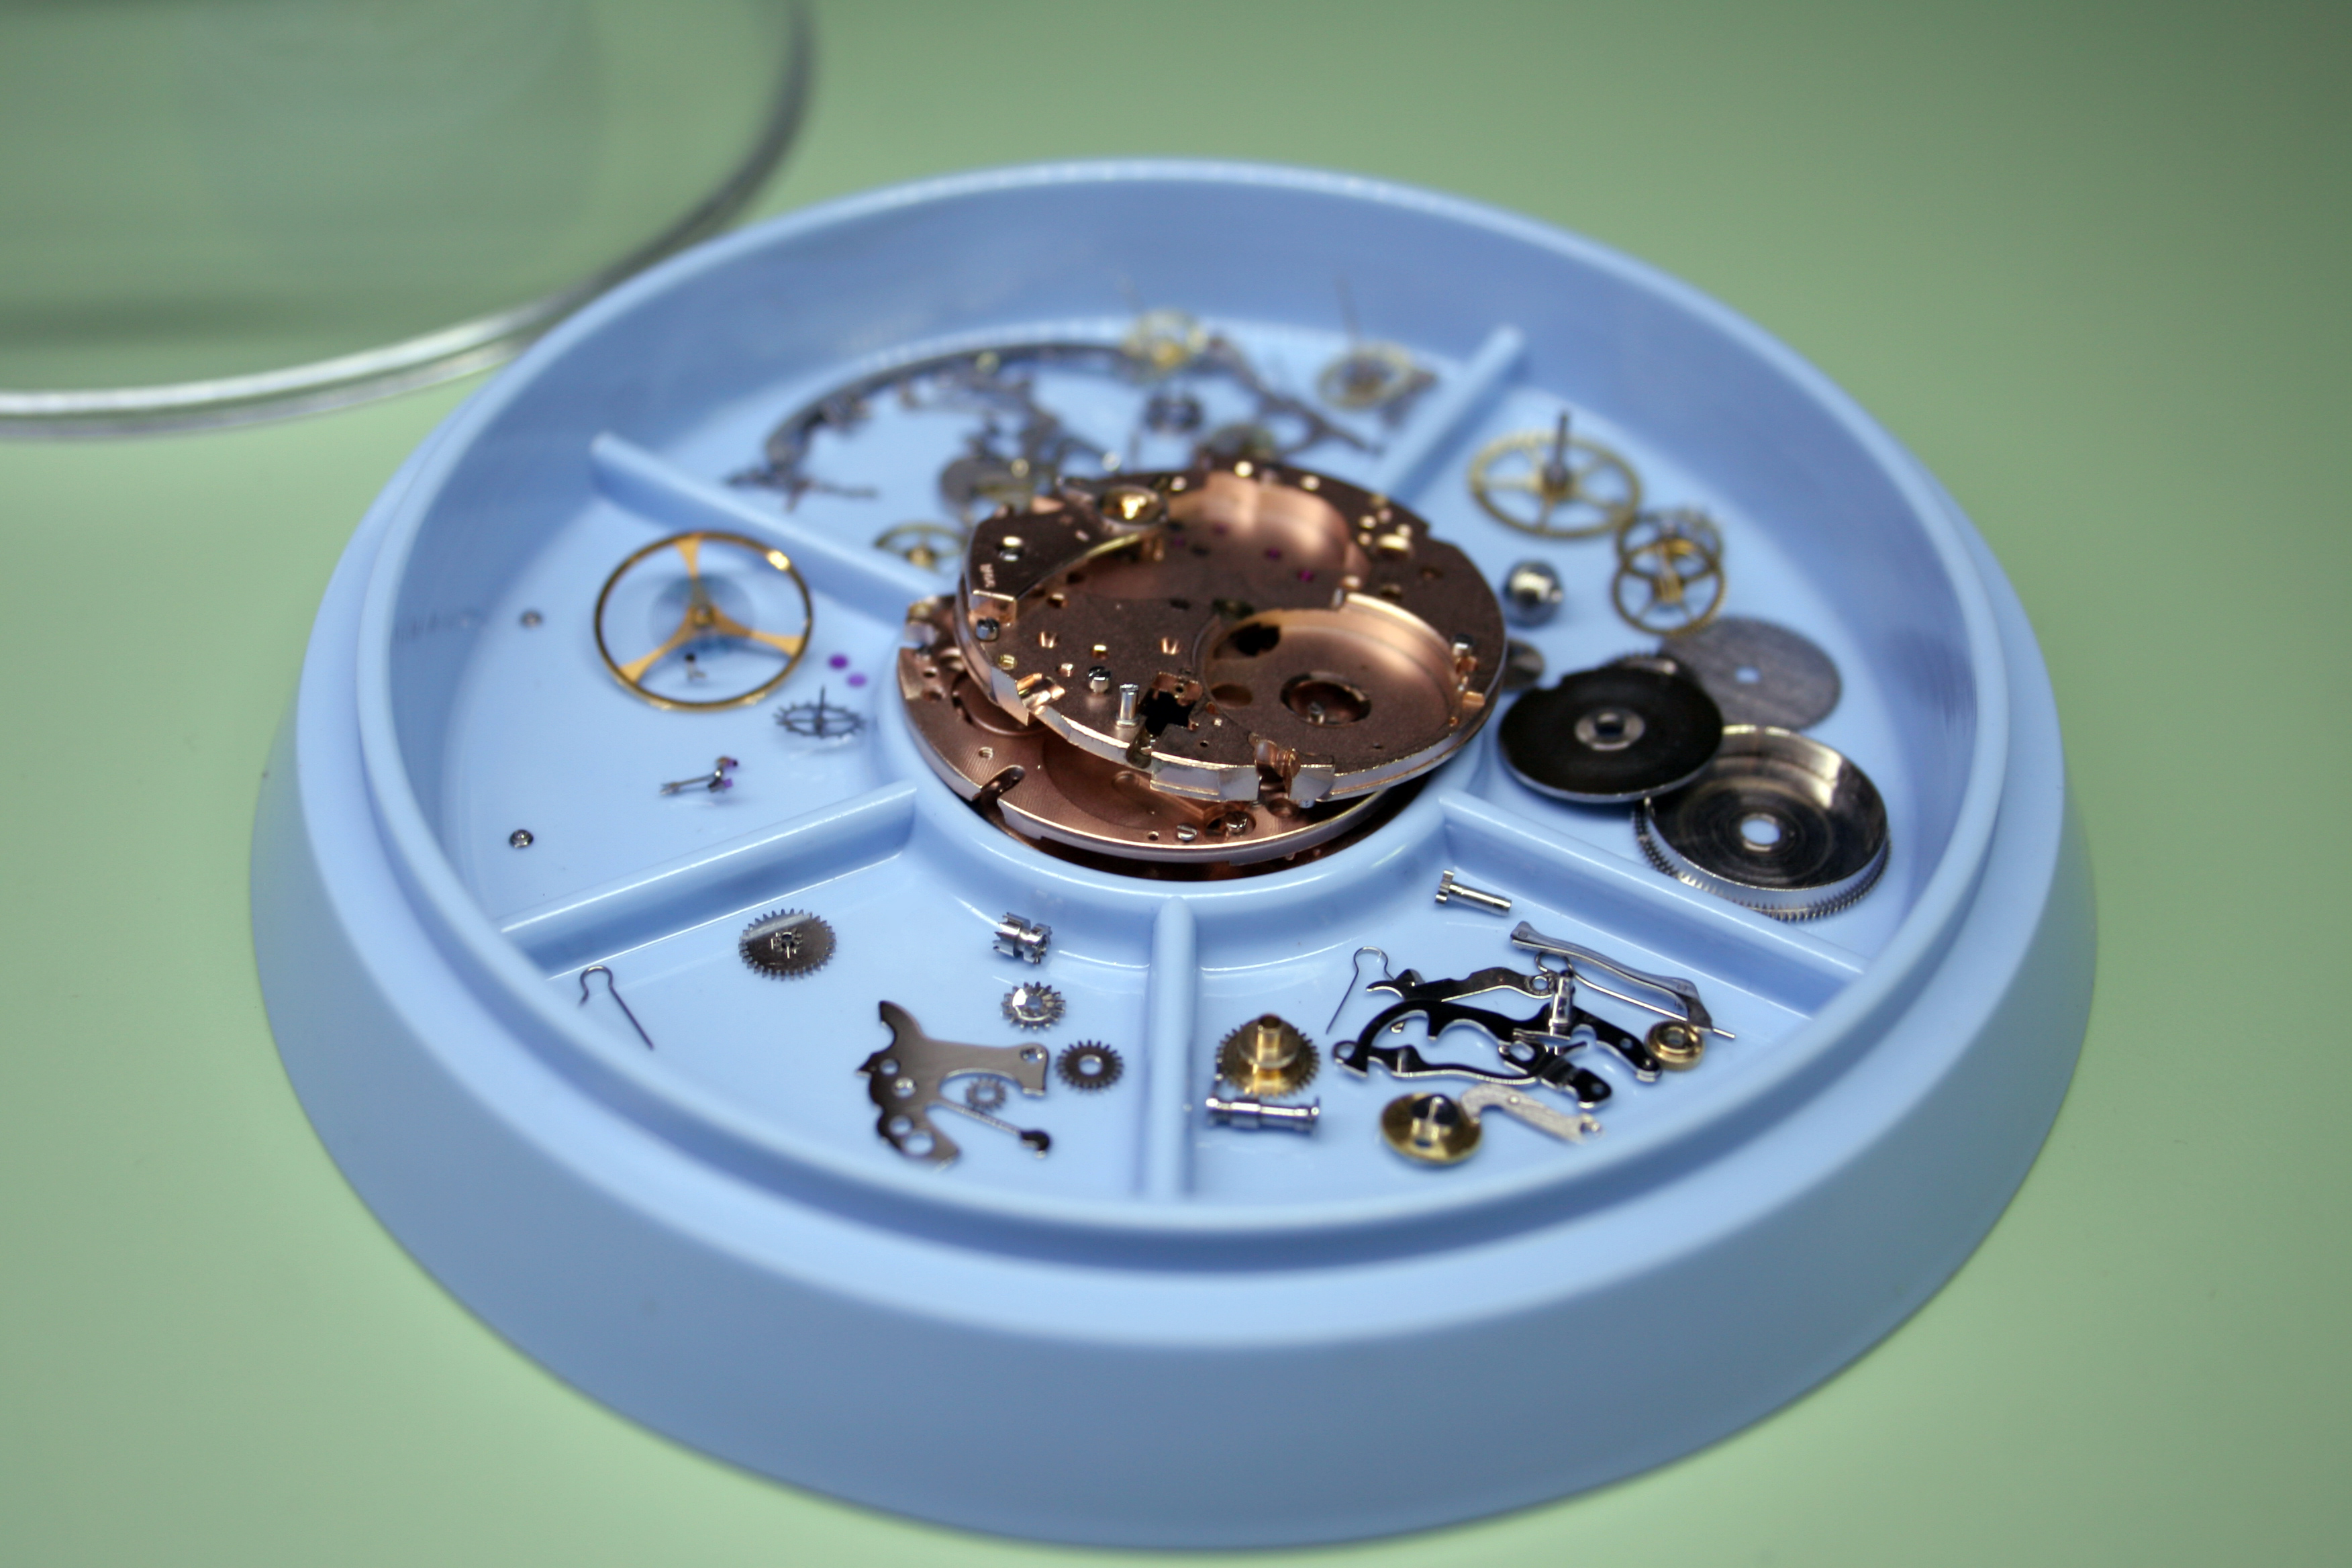
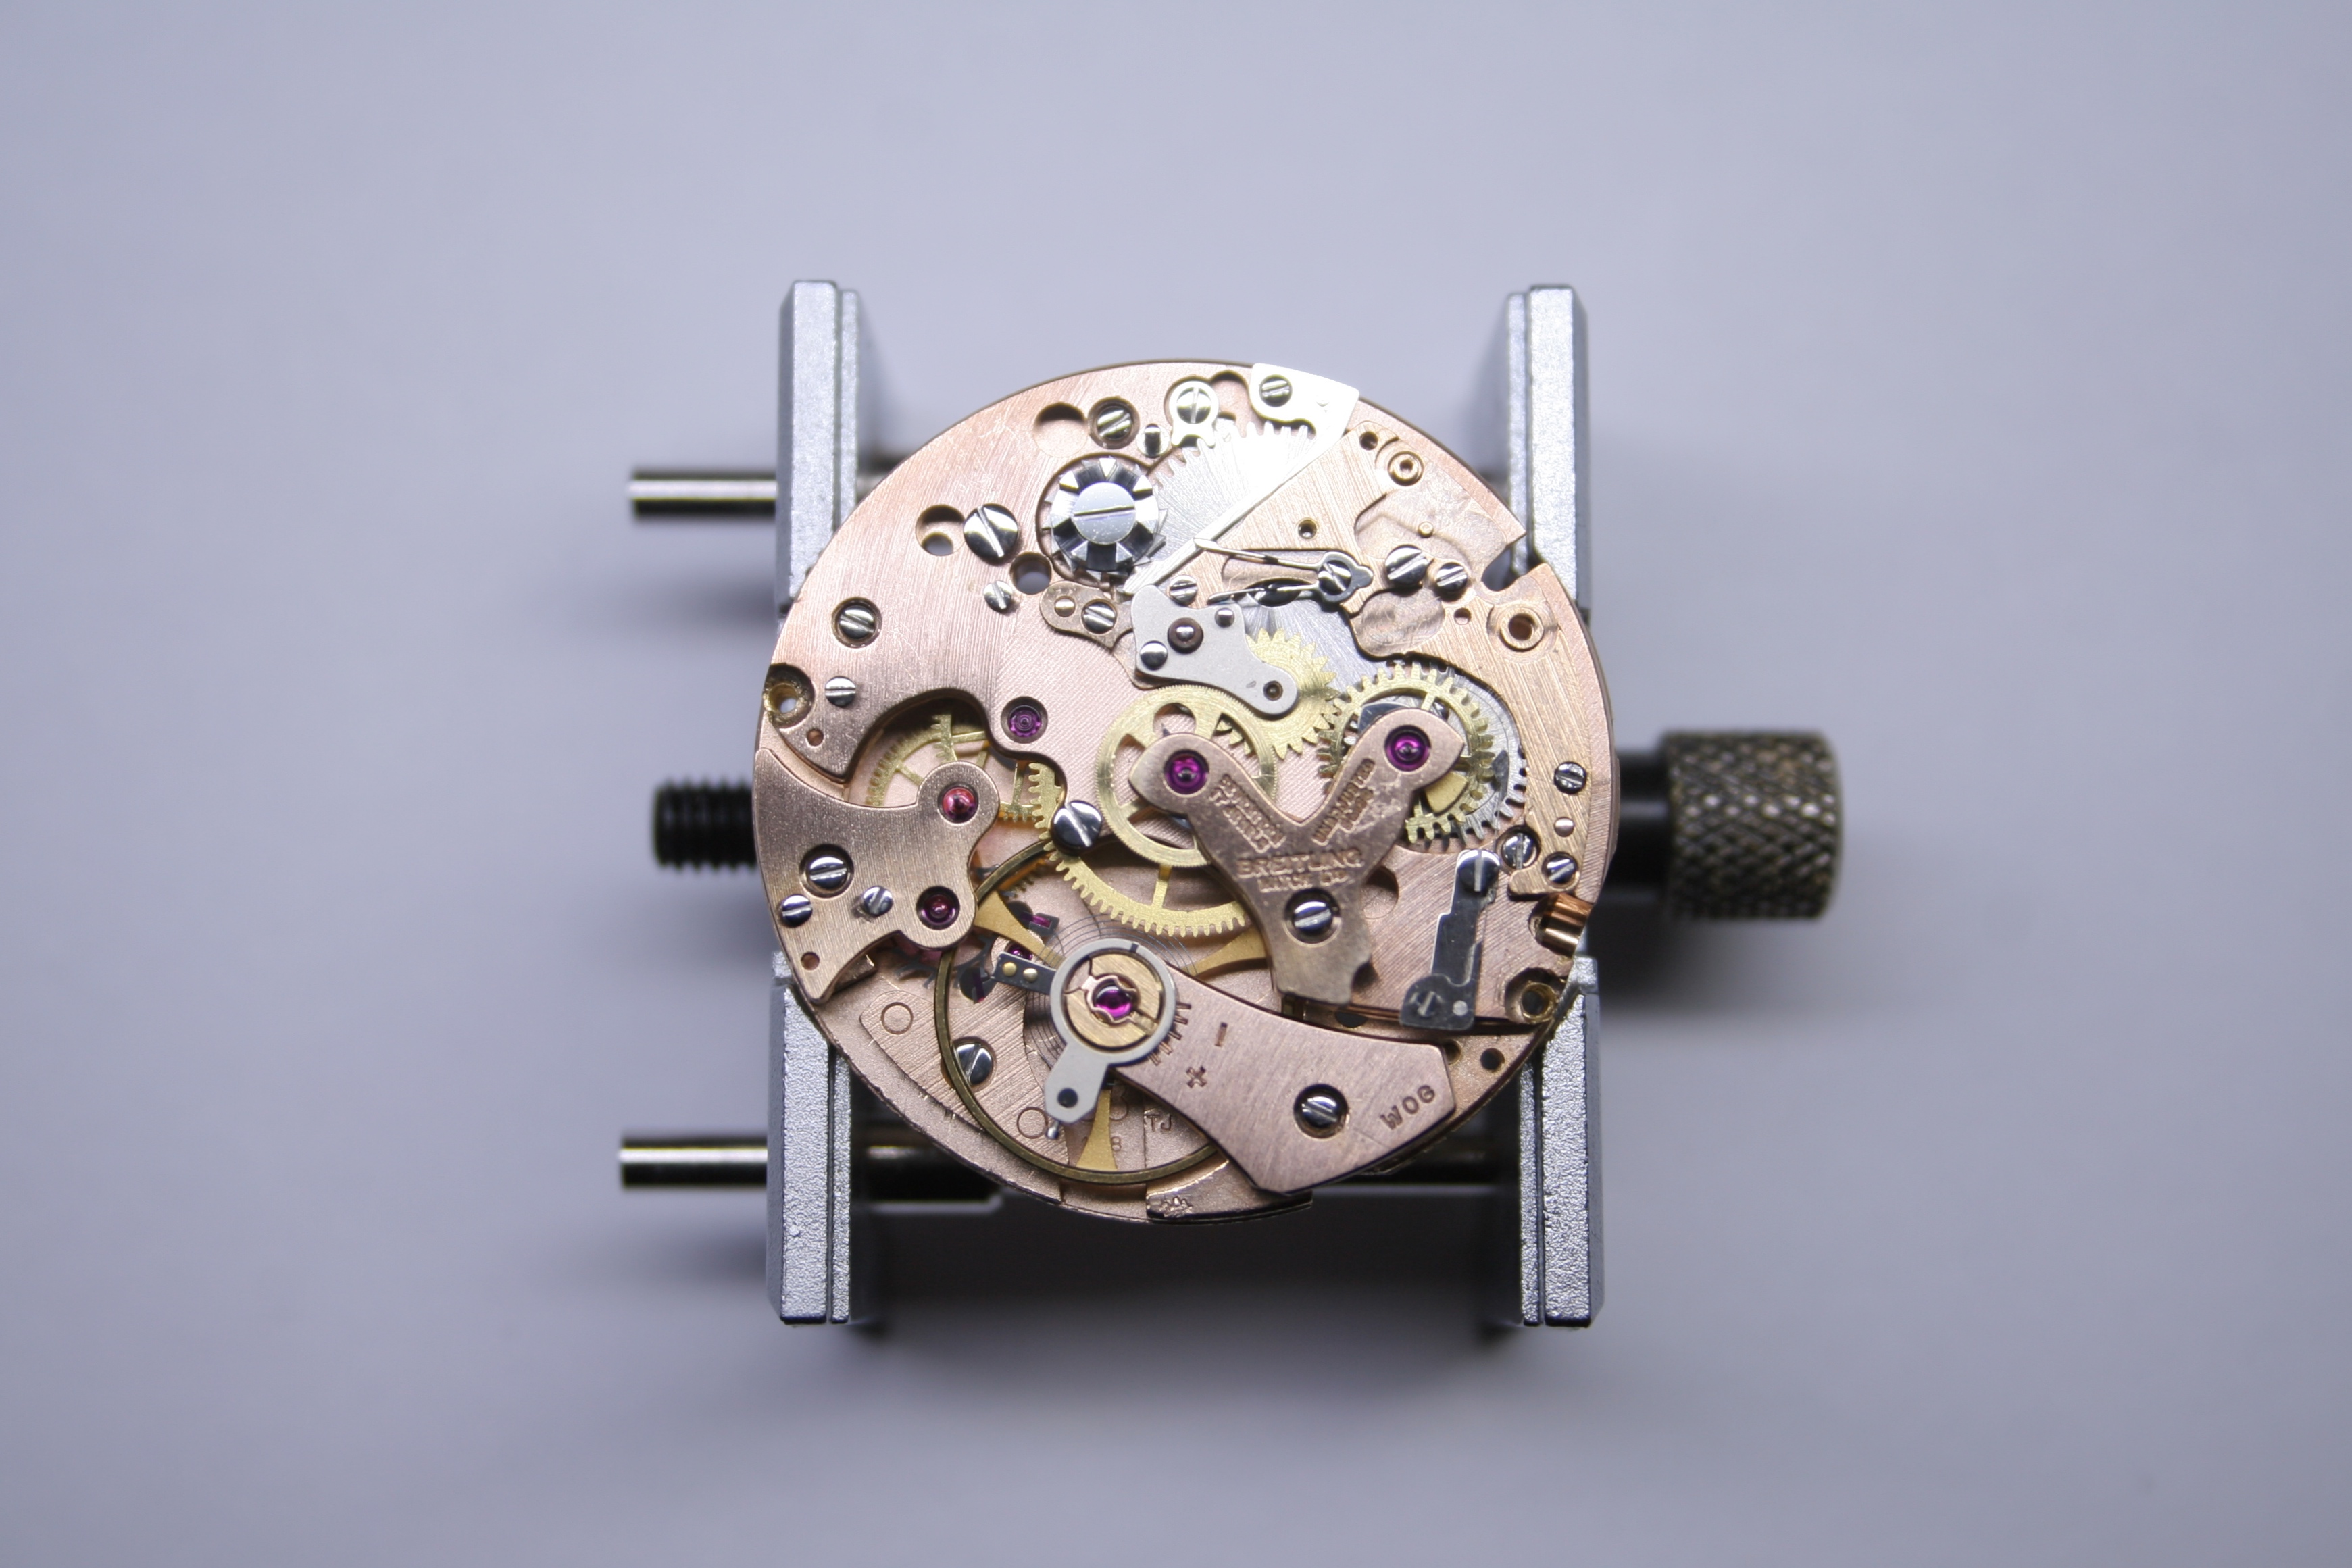
I was very pleased to see that the movement was complete although the Blocking Lever, Sliding Gear, and Hammer were not installed (these comprised the loose bits floating around in the plastic storage container). The three small hands for the sub-registers were also not mounted although the pivots for these appeared to not be damaged (the hands mount on the extended pivots of the Fourth Wheel, Minute Recording Runner, and Hour Recording Runner). Strangely, there was a makeshift hand was mounted to the extended pivot of the Fourth Wheel– this hand was crudely fashioned with a poorly applied coat of paint.
As I had expected the Hour Hand was badly mangled but not cracked and I was confident I could salvage it.

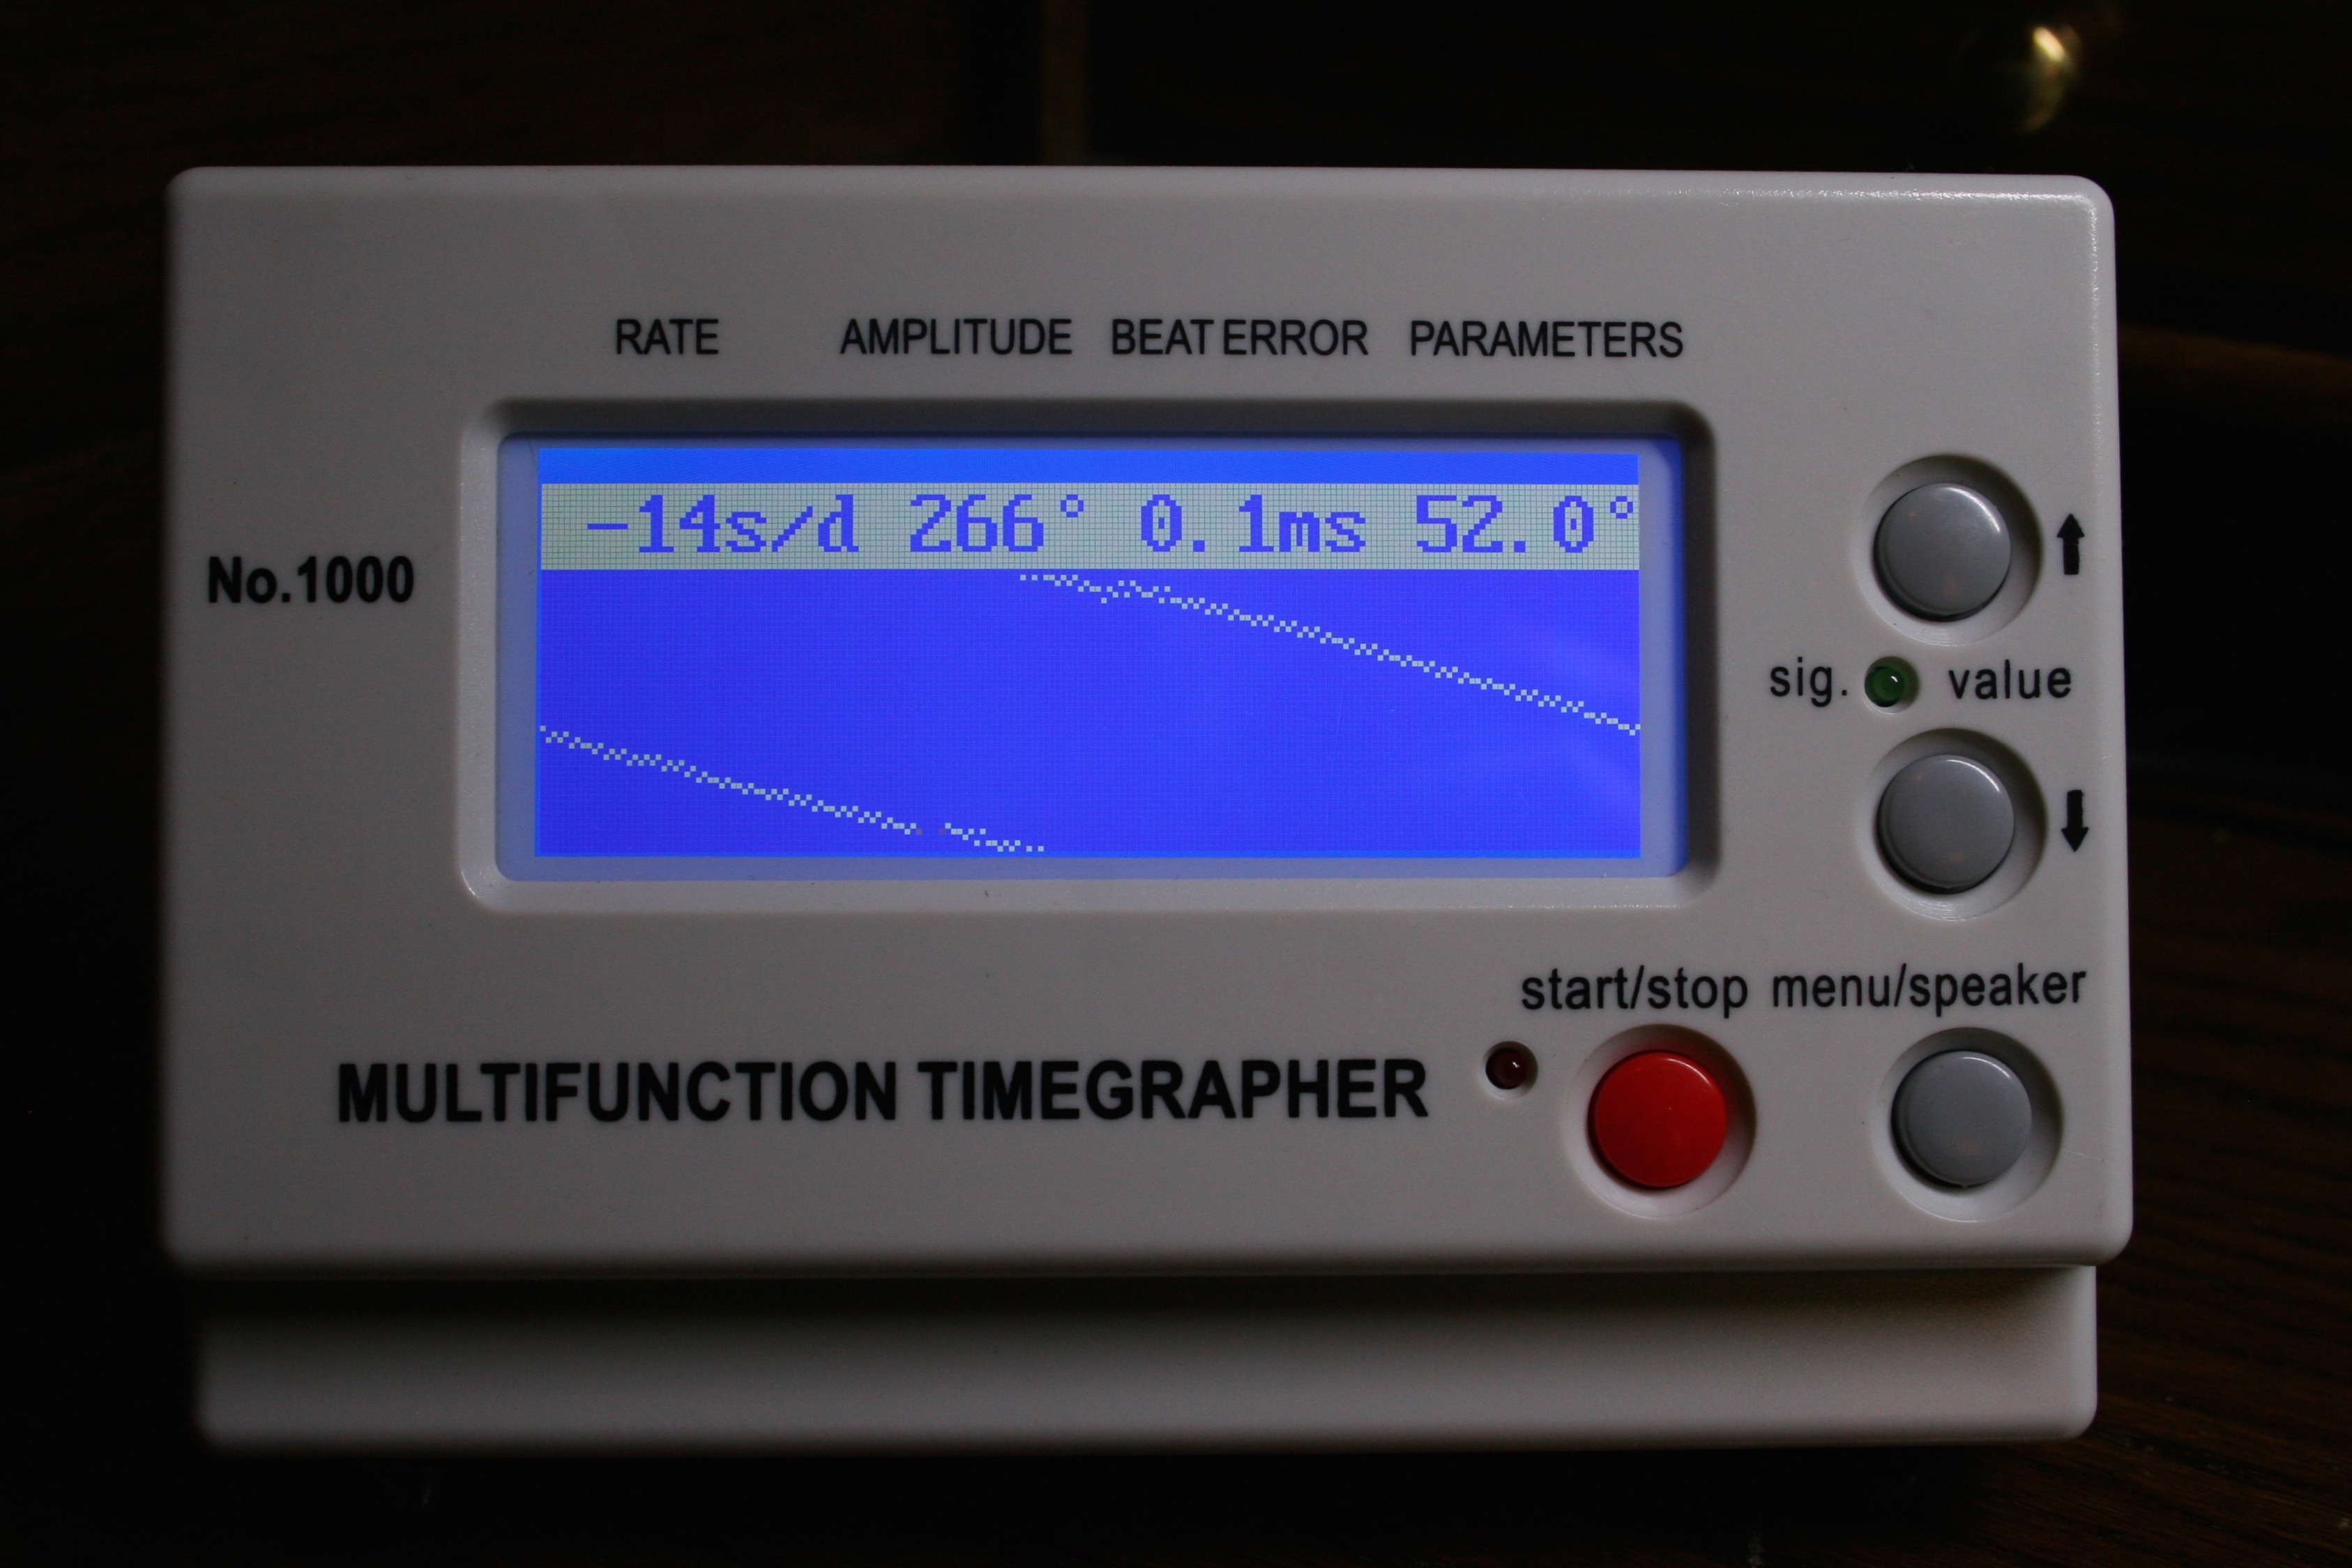
I wound the movement to get an initial reading on the timegrapher. The reading was strong although their was a considerable beat error. This occurs when the Impulse Pin (Roller Jewel) is not properly aligned with the Pallet Fork.
On older watch movements, correcting the beat error can be a pain as the Balance Spring (hairspring) needs to be adjusted to correct the error. This is a multistep process that involves removing the Balance Cock from the movement then cradling the Balance Wheel as the collet securing spring to the wheel is (ever so slightly) rotated. Trial and error is the name of the game- you never know if your adjustment was too little, too much, or just enough until you’ve reassembled the movement and generated a new reading on the timegrapher.
Newer movements employ a beat corrector which is attached to the Balance Cock next to the Regulator. A small nudge to the corrector is usually enough to bring the watch back into beat. I counted myself lucky this later iteration of the Venus 178 had a beat corrector.

Since I had already determined that a full service would be required regardless of the timegrapher results I set about breaking the movement down for a run through the cleaner.

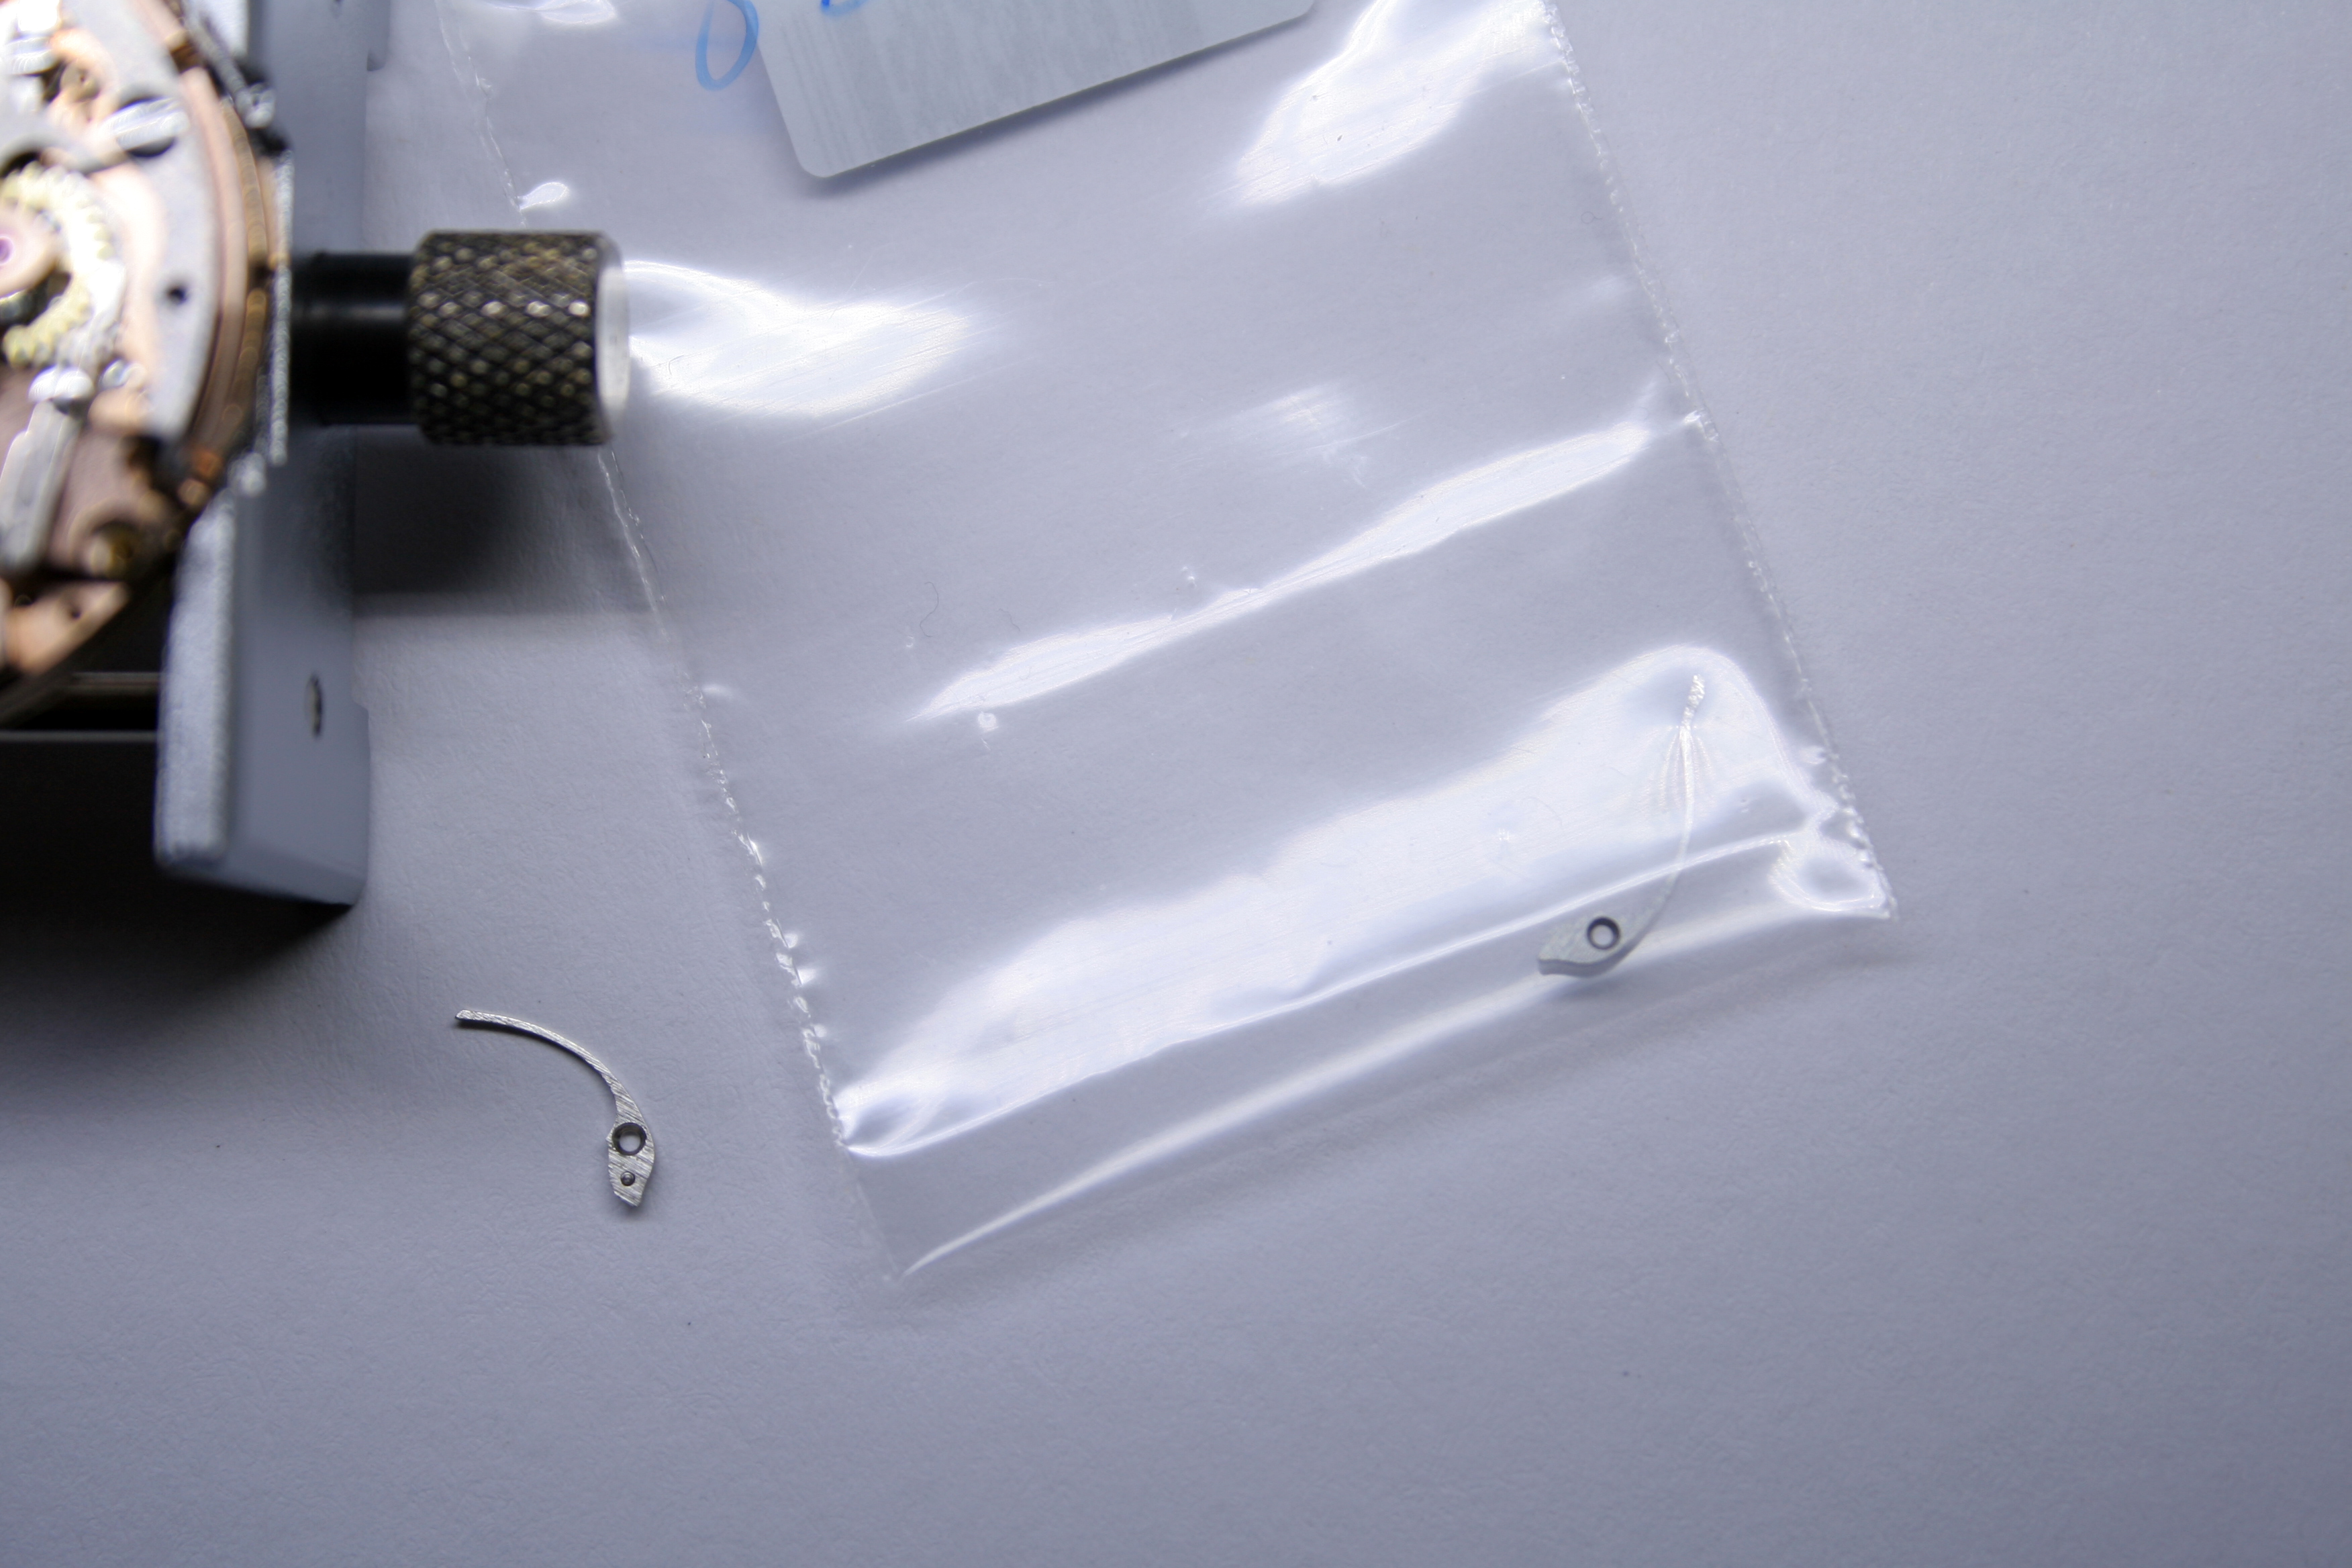
I began topside with the chronograph mechanism which was in fine shape except for the broken Hammer Spring.
The Venus 178 is a top of the line chronograph movement but you must pay special attention to where each bit goes as you take it apart. I’ll need to confirm it, but it seems to me that there are a couple more parts on the Venus 178 than the comparable Valjoux 71 chronograph movement. The screws seem to have more numerous thread sizes as well- necessitating the return of each screw to its corresponding hole before moving on to the next bit for disassembly.
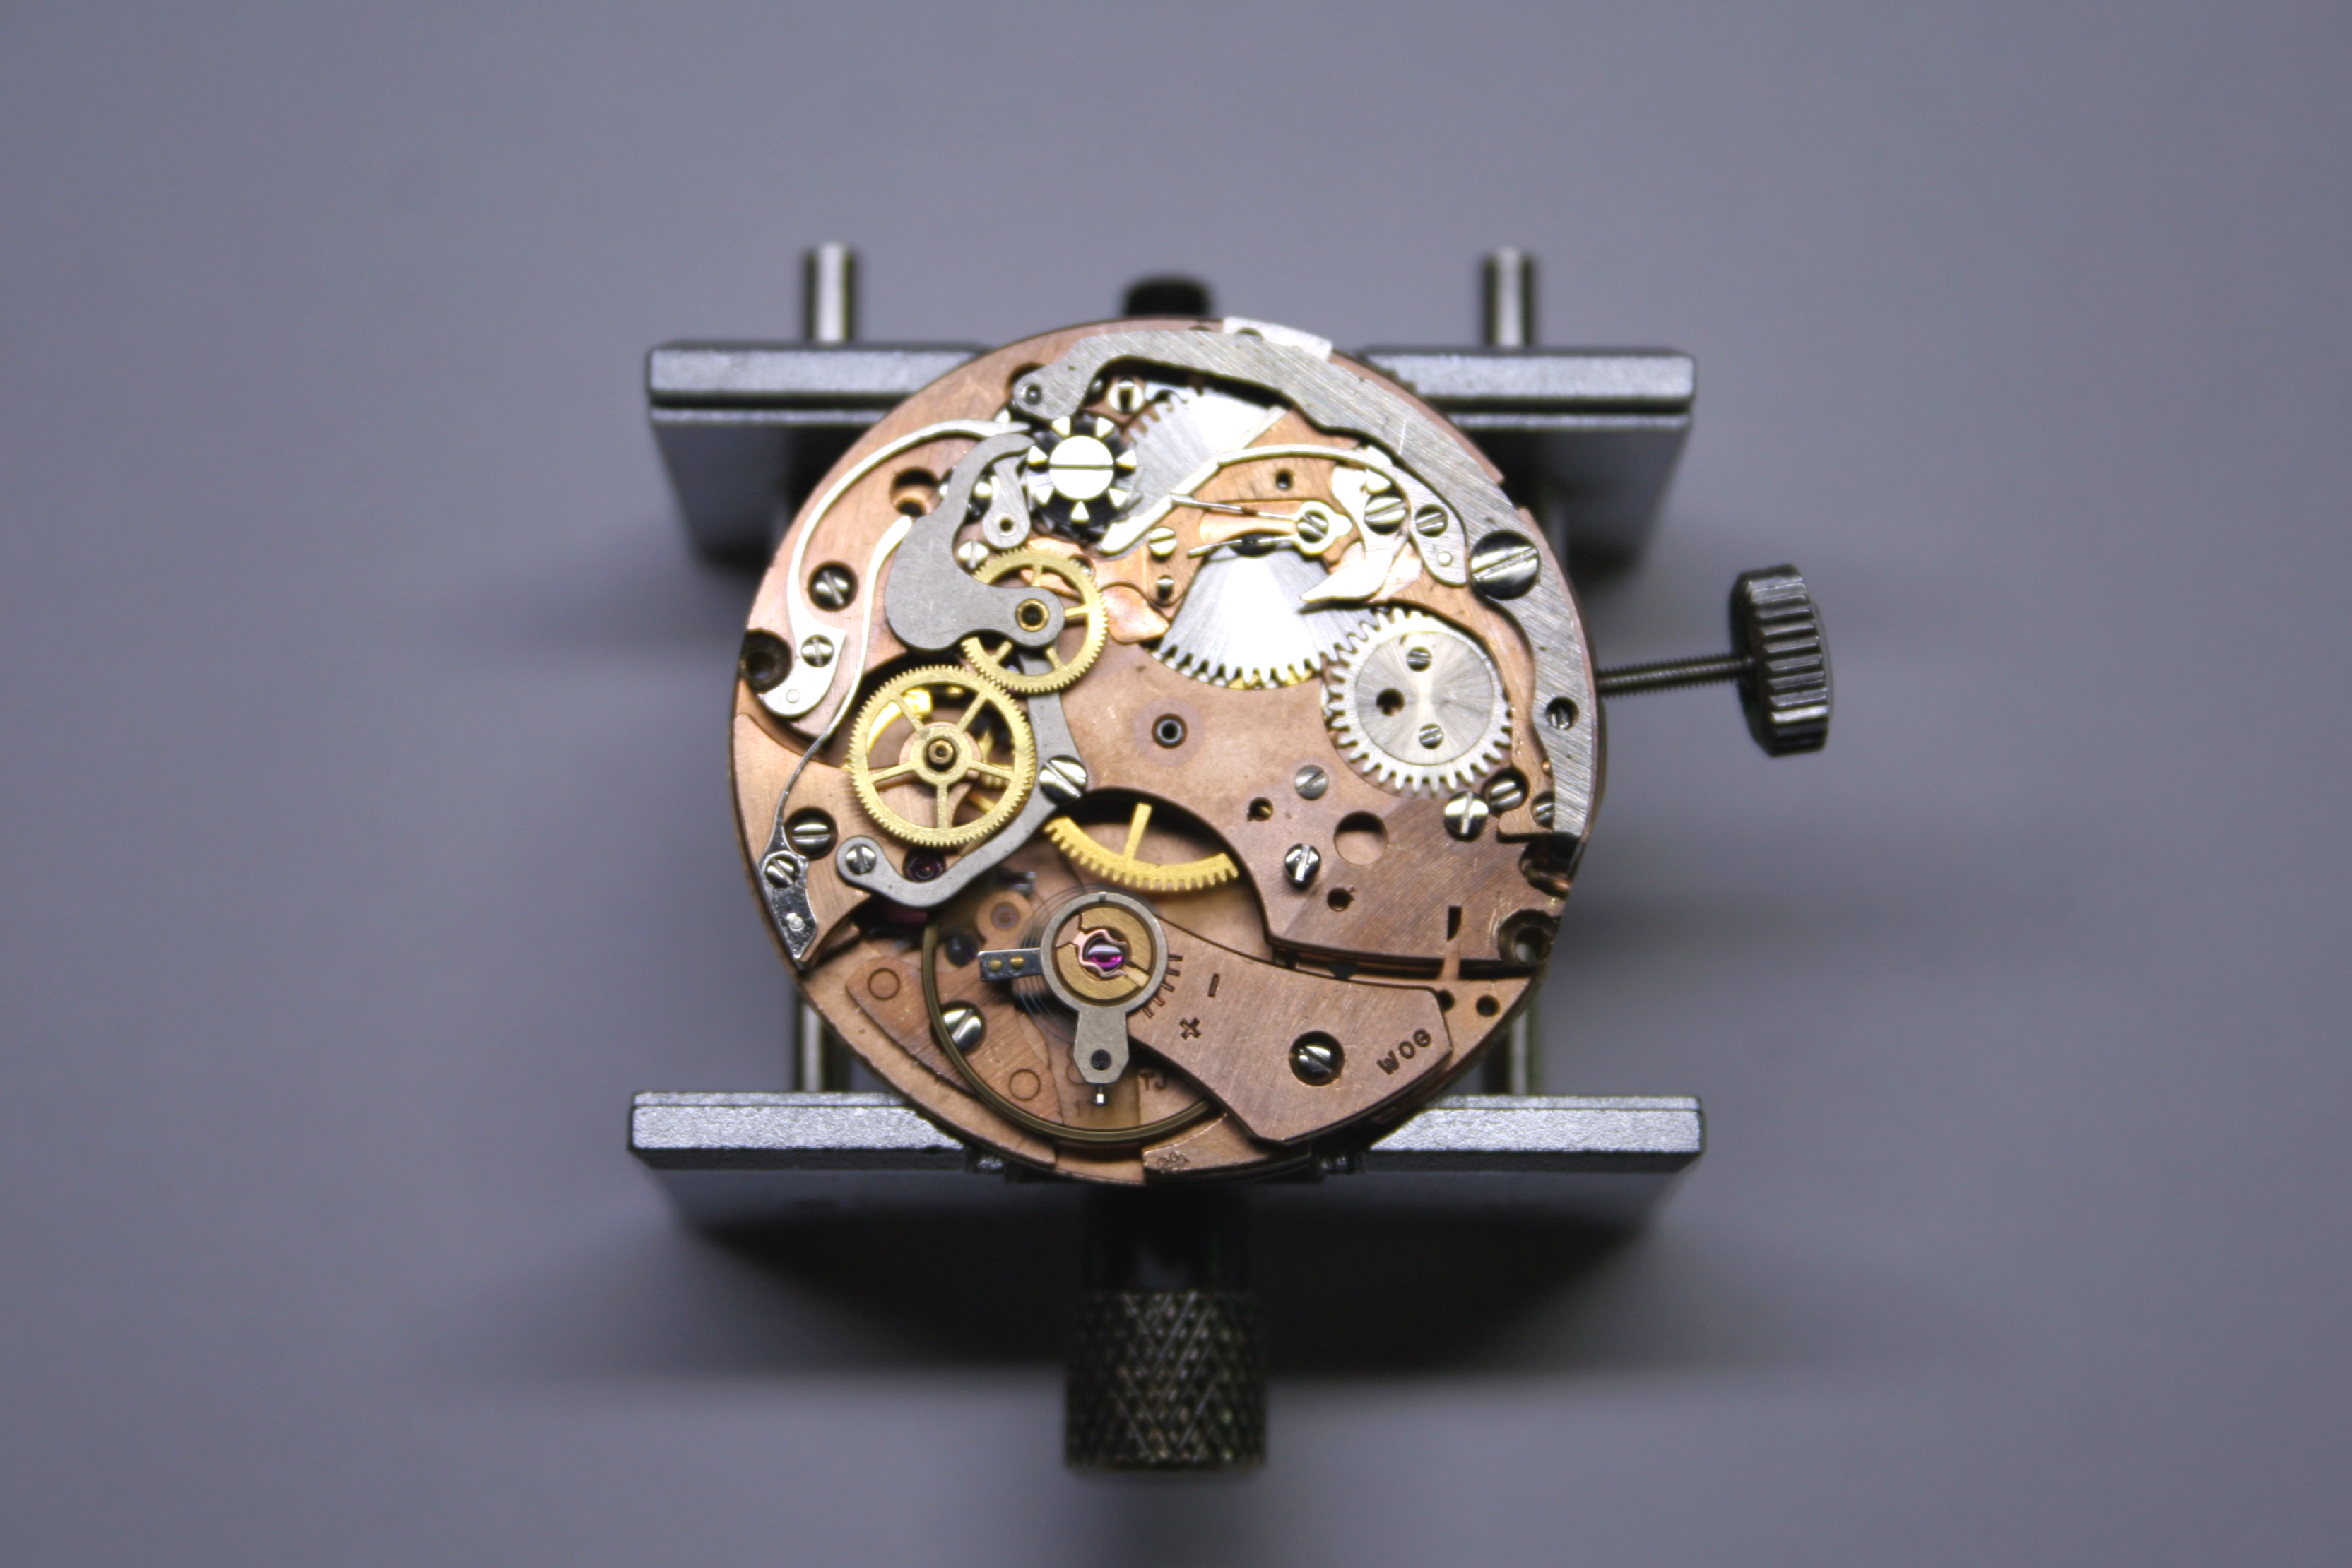

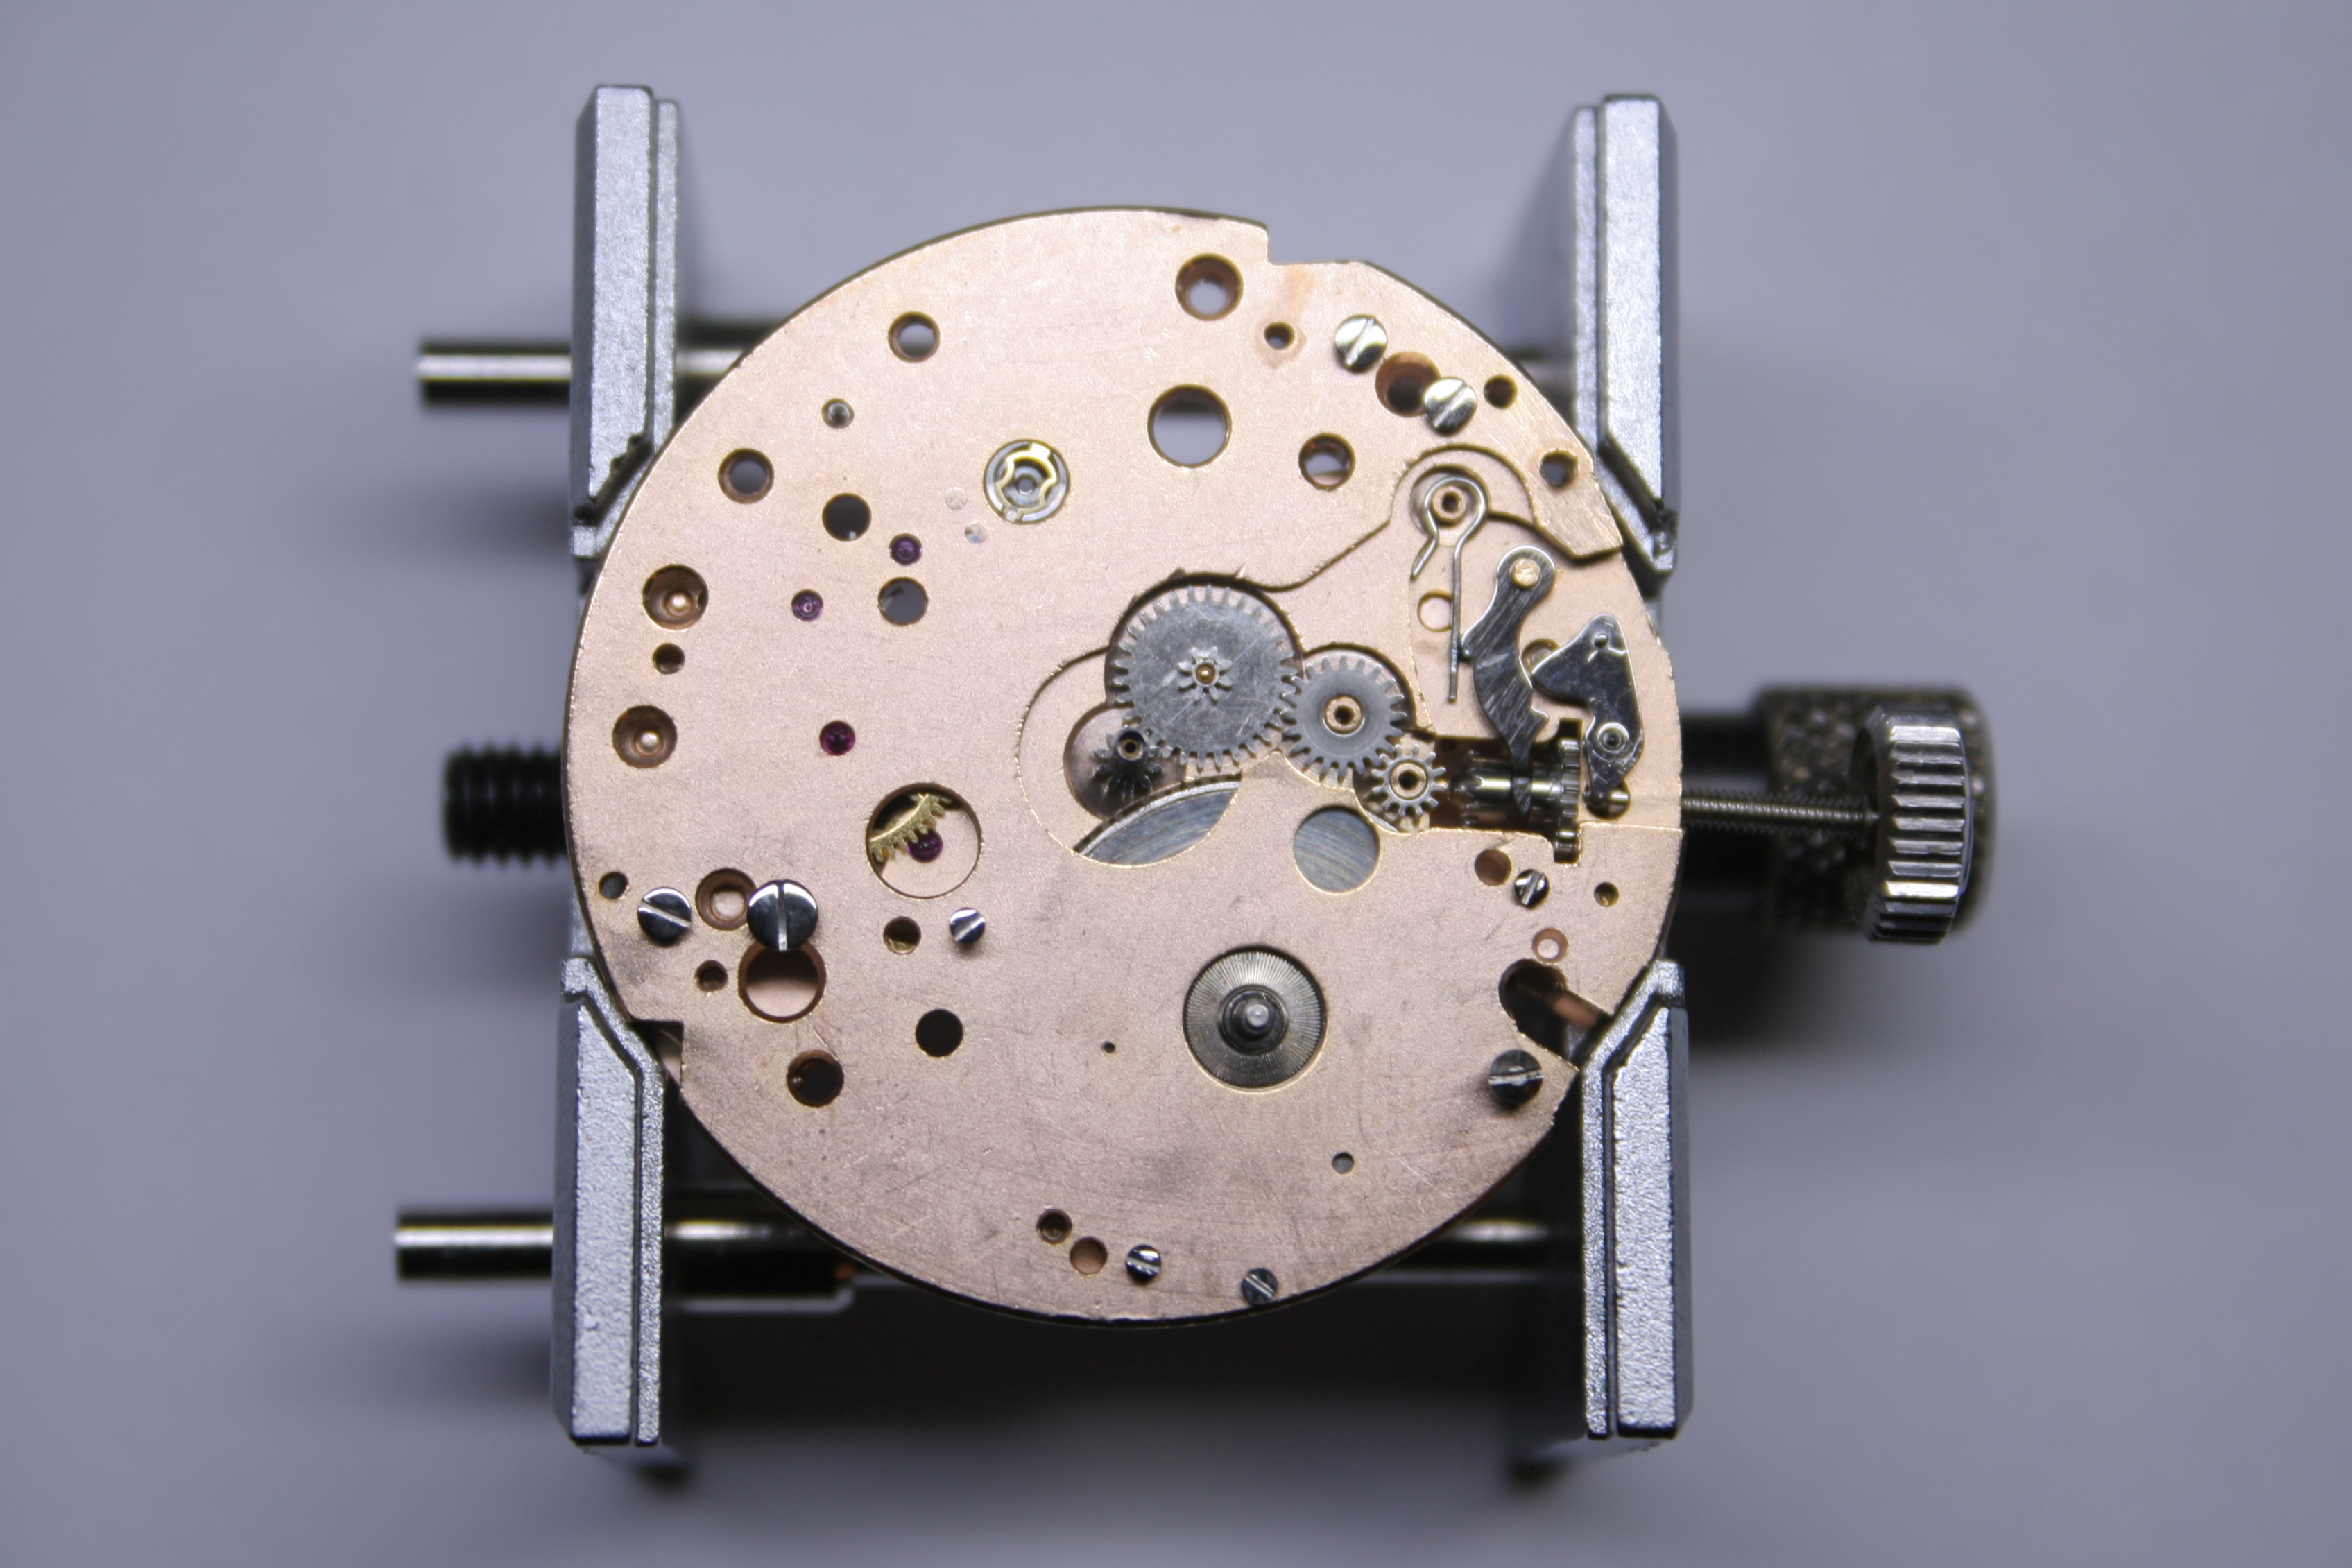
Regardless, disassembly usually proceeds quickly unless I let a screw fly into the dark recesses on my workbench. Here the chronograph layer came away quickly revealing the base movement.


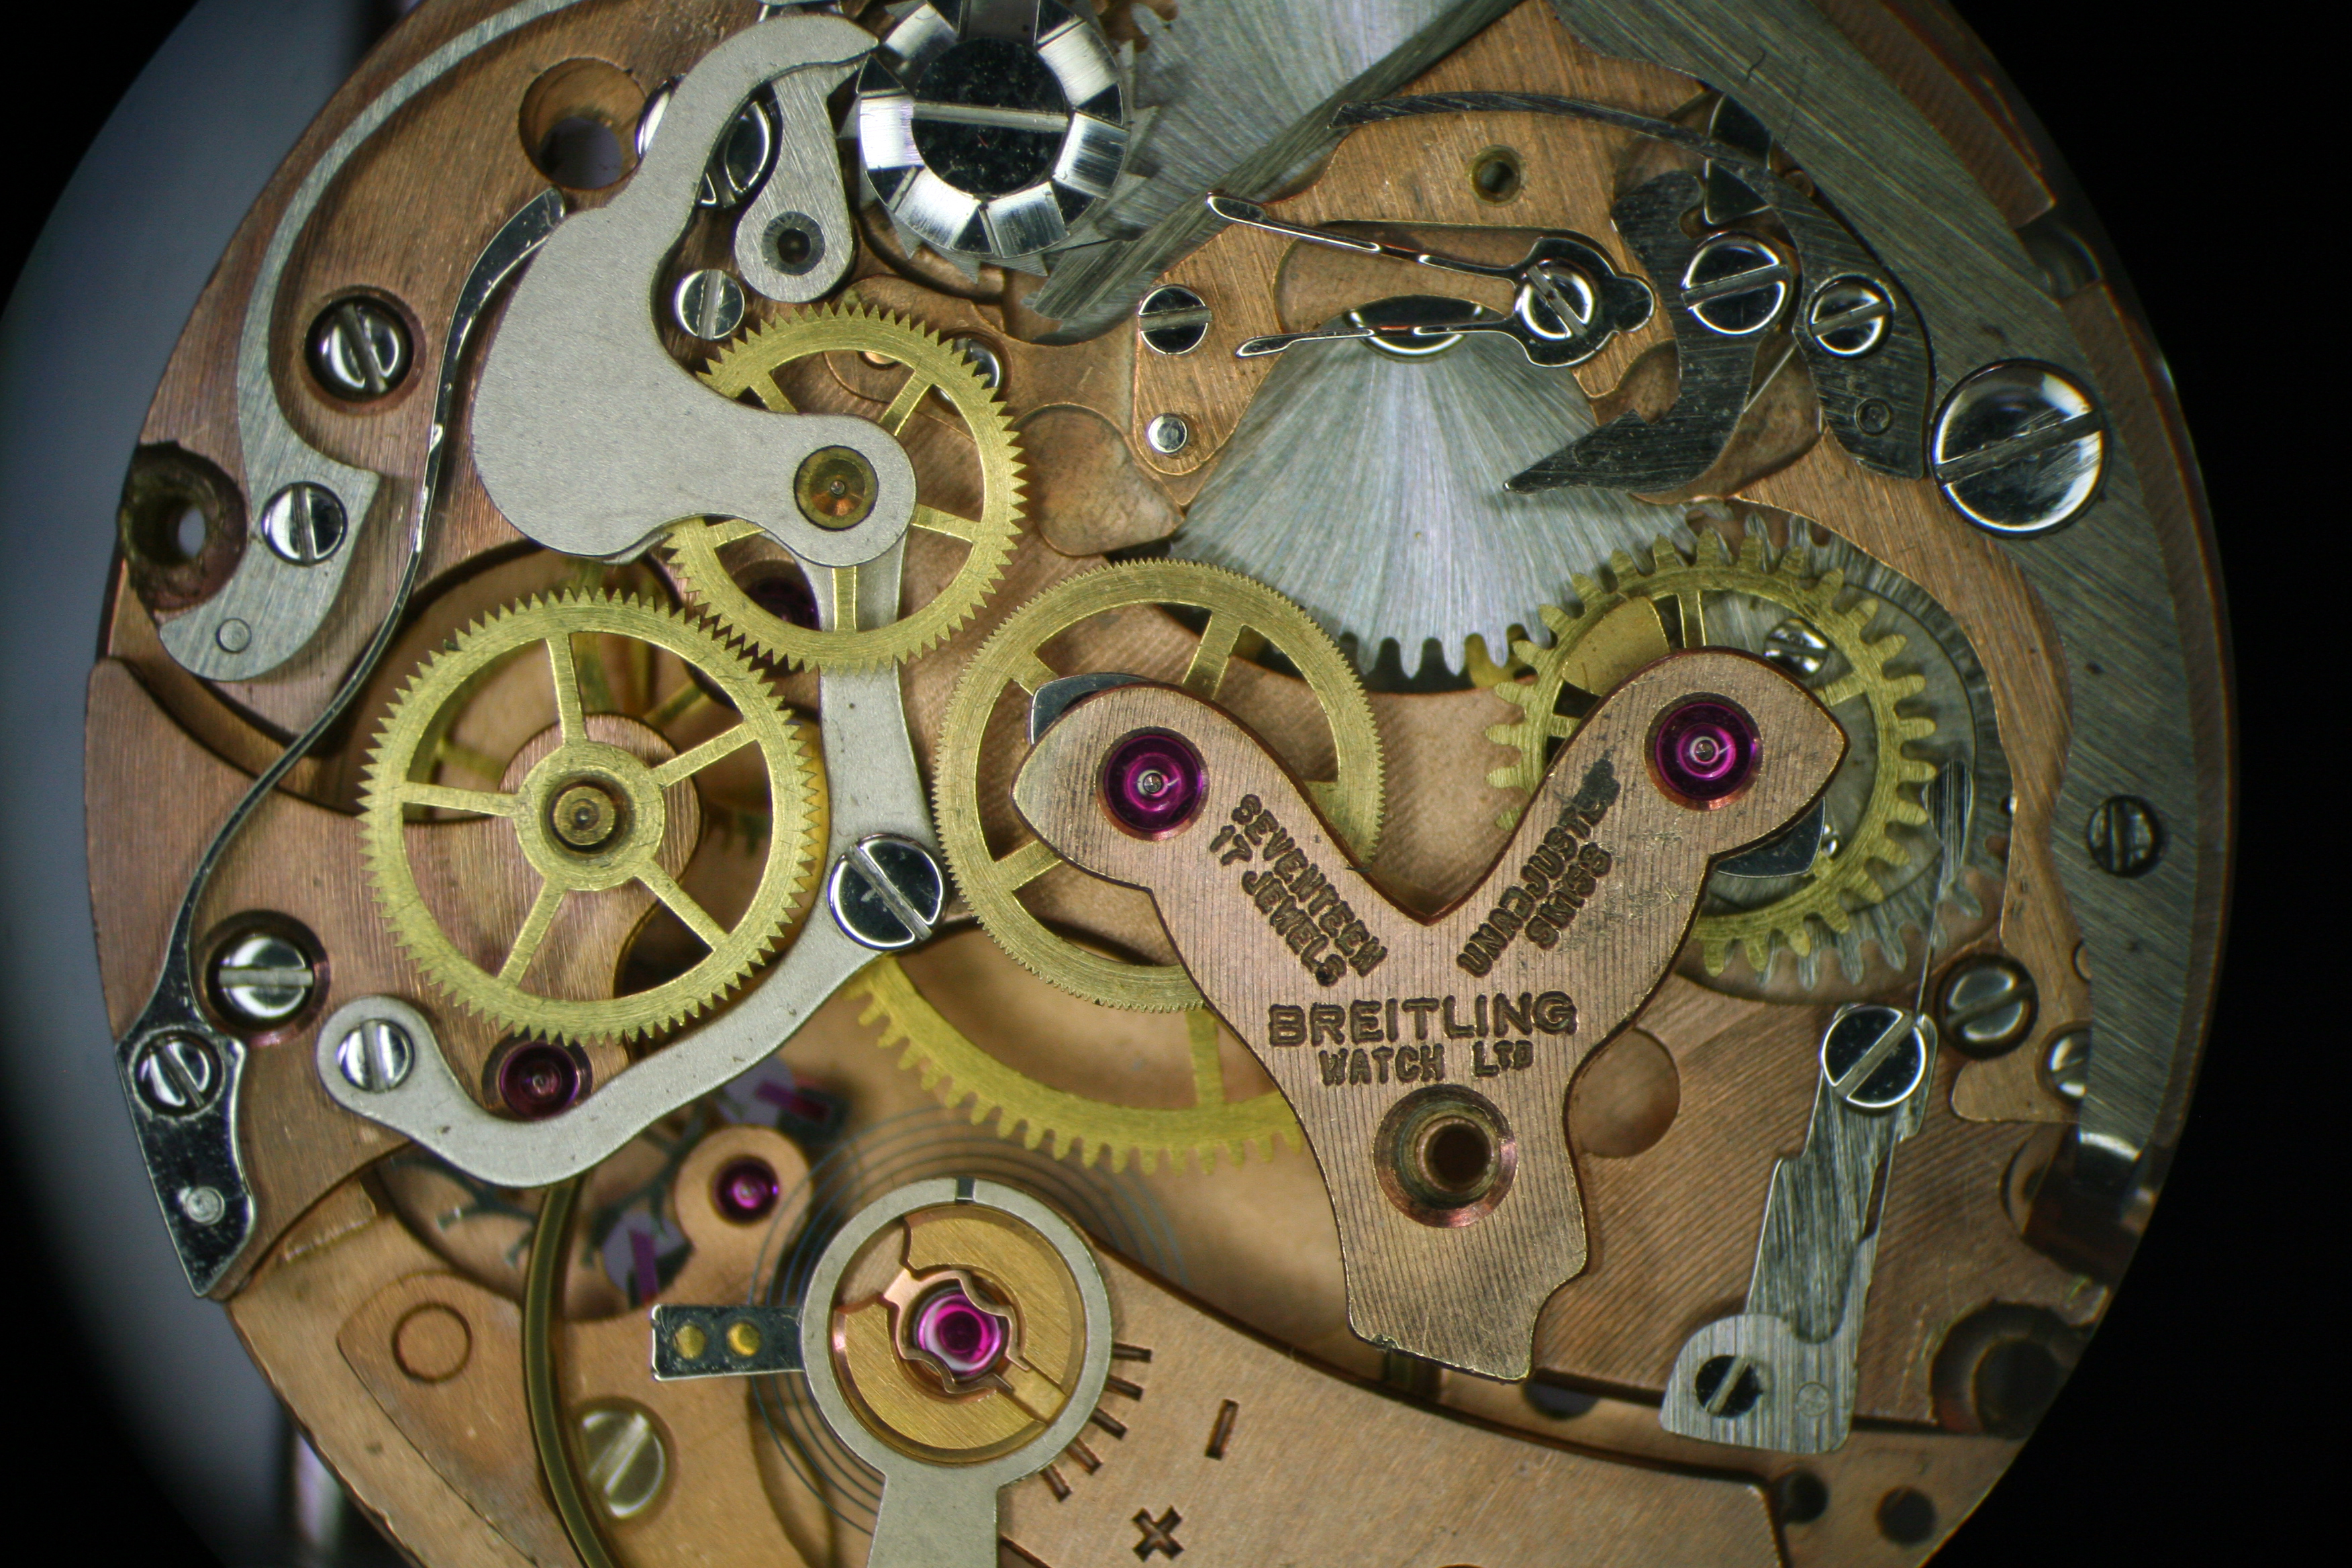
You may notice there’s a couple of minor differences between this Navitimer movement and the one I serviced earlier. This movement is from the late 1960’s and by this time the Venus company must have been feeling pressure to reduce production costs. There’s no perlage finish like before and the Breuget hairspring has been replaced with a simpler flat hairspring. The screws also have a different finish- rounded edges instead of the sharp 90 degree angles seen on the earlier movement.
The movement is still finished in rose gold and there are improvements to be found as well- the Balance Wheel is now screwless and the beat corrector on the Balance Cock is a godsend to the technician.
I like to replace the Mainspring during service although it is not always necessary. Here I thought I would be able to reuse the original but the tail end broke off as I removed it from the Mainspring Barrel.
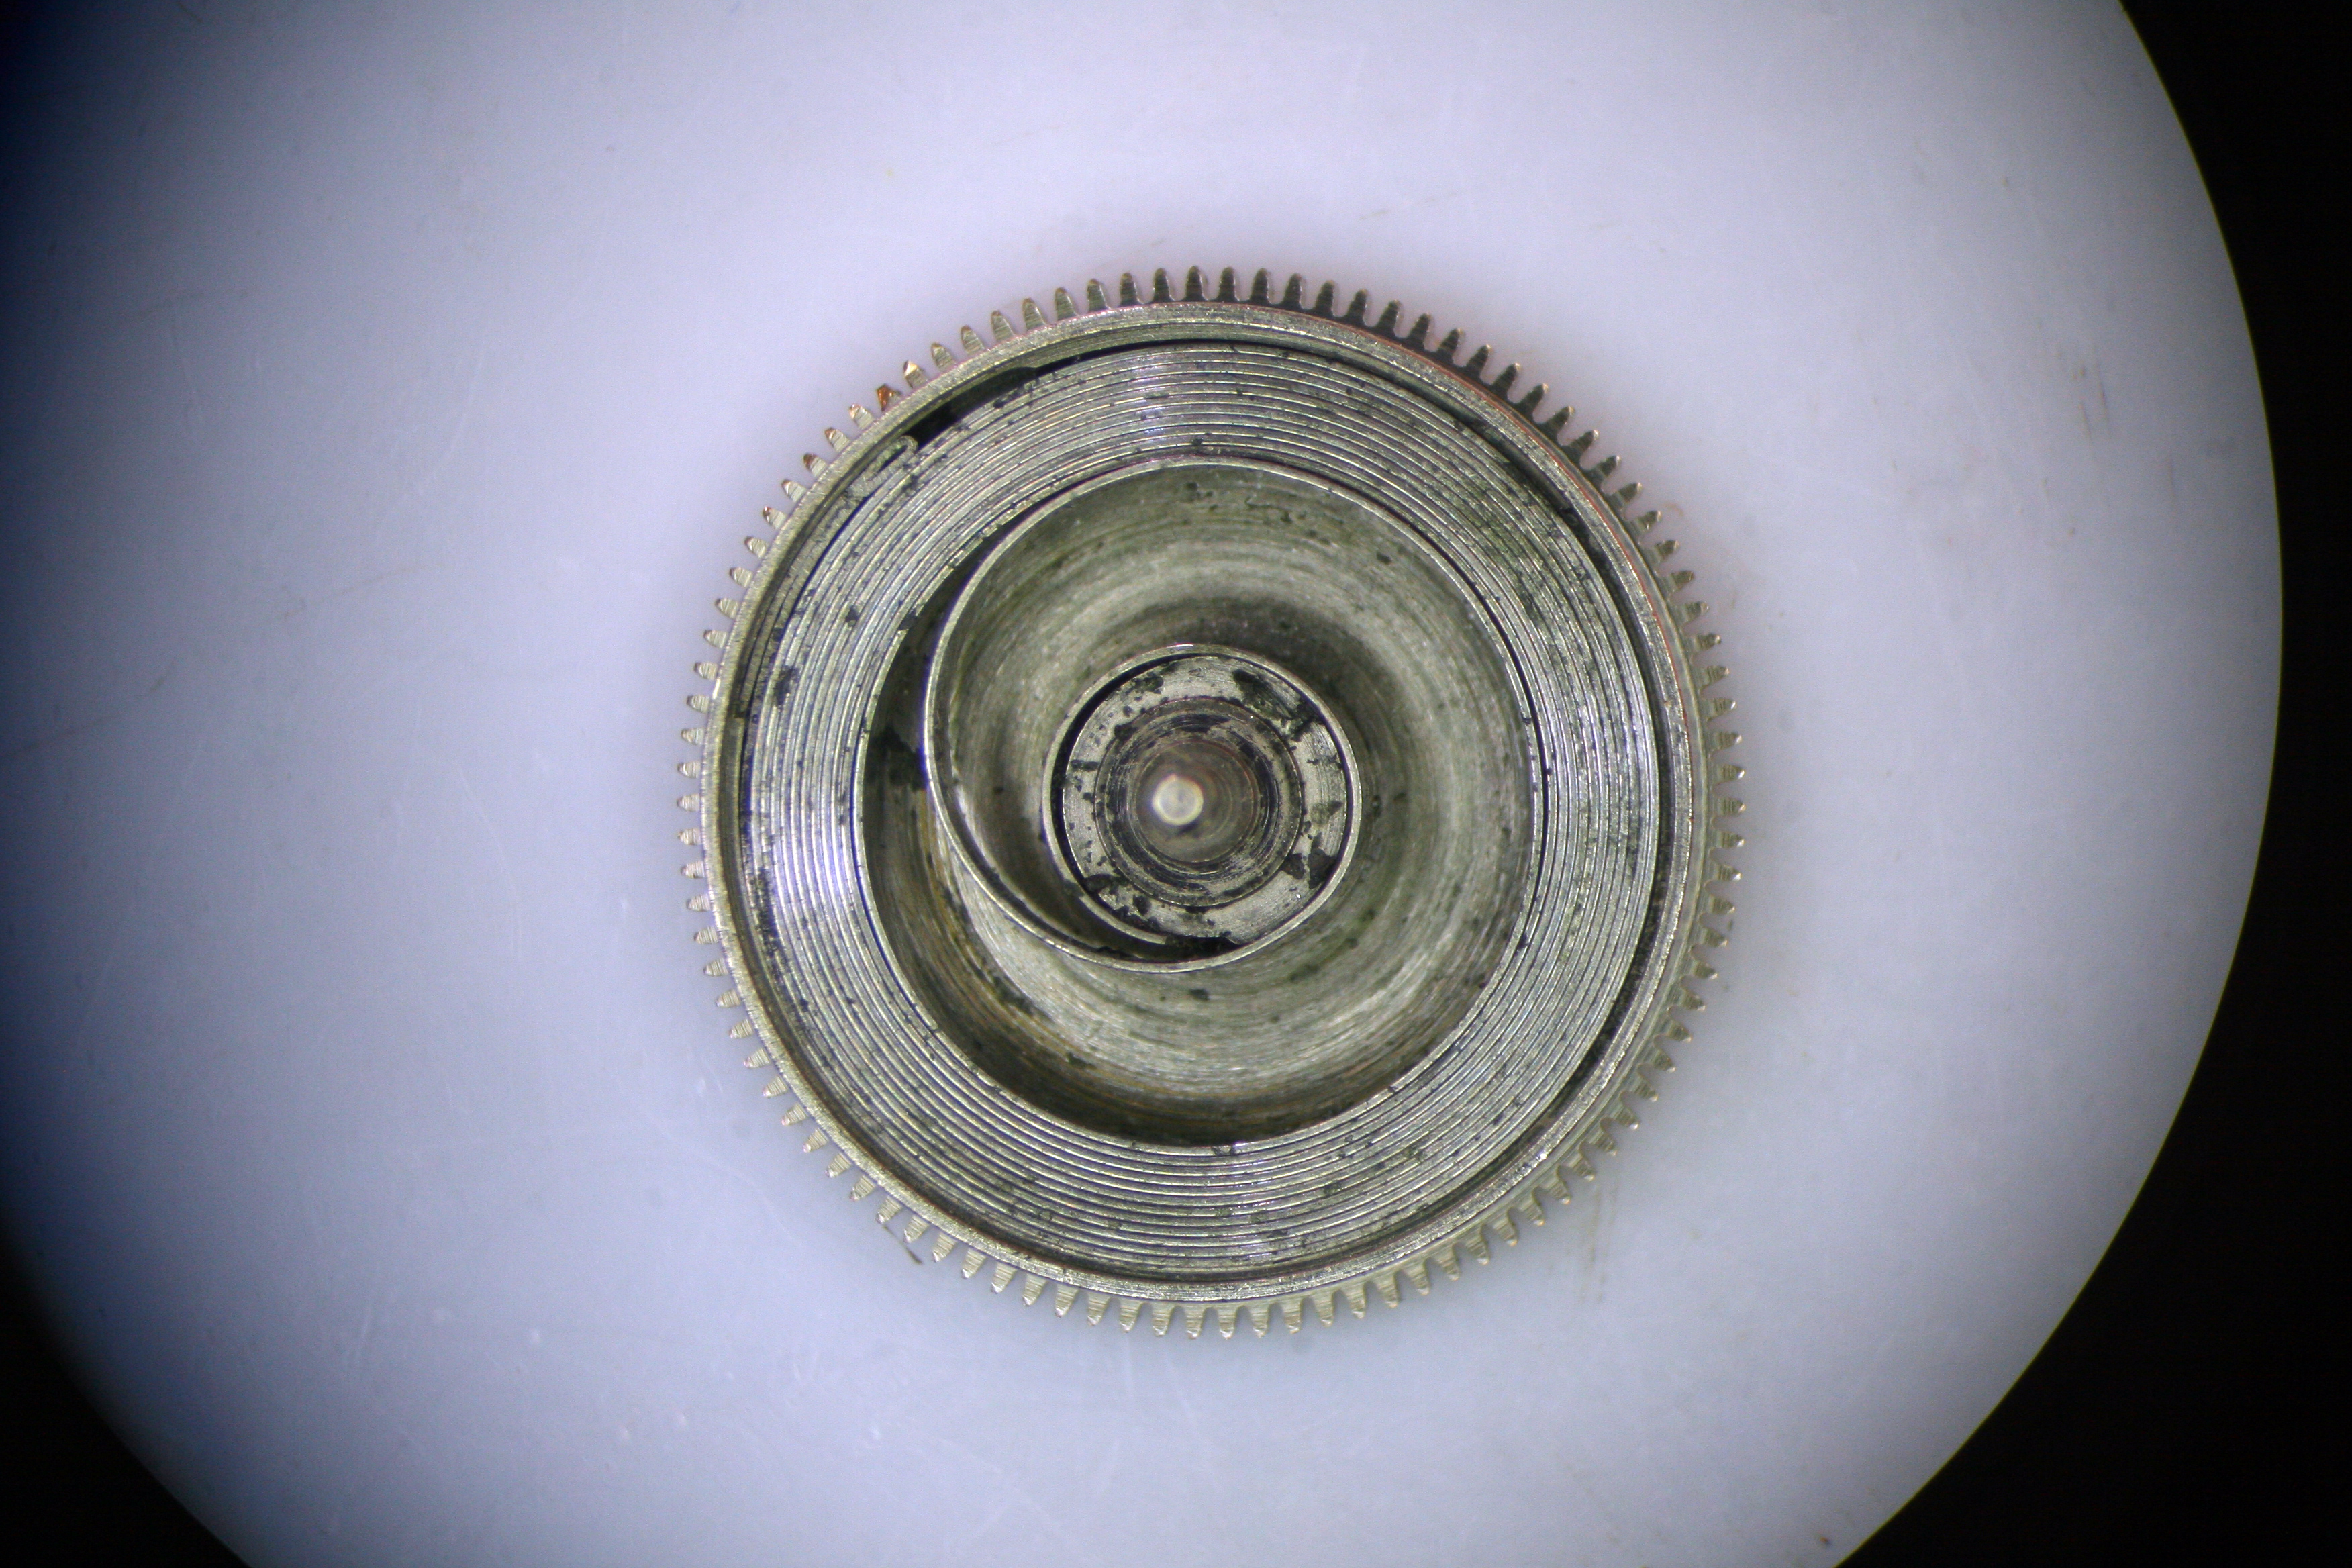
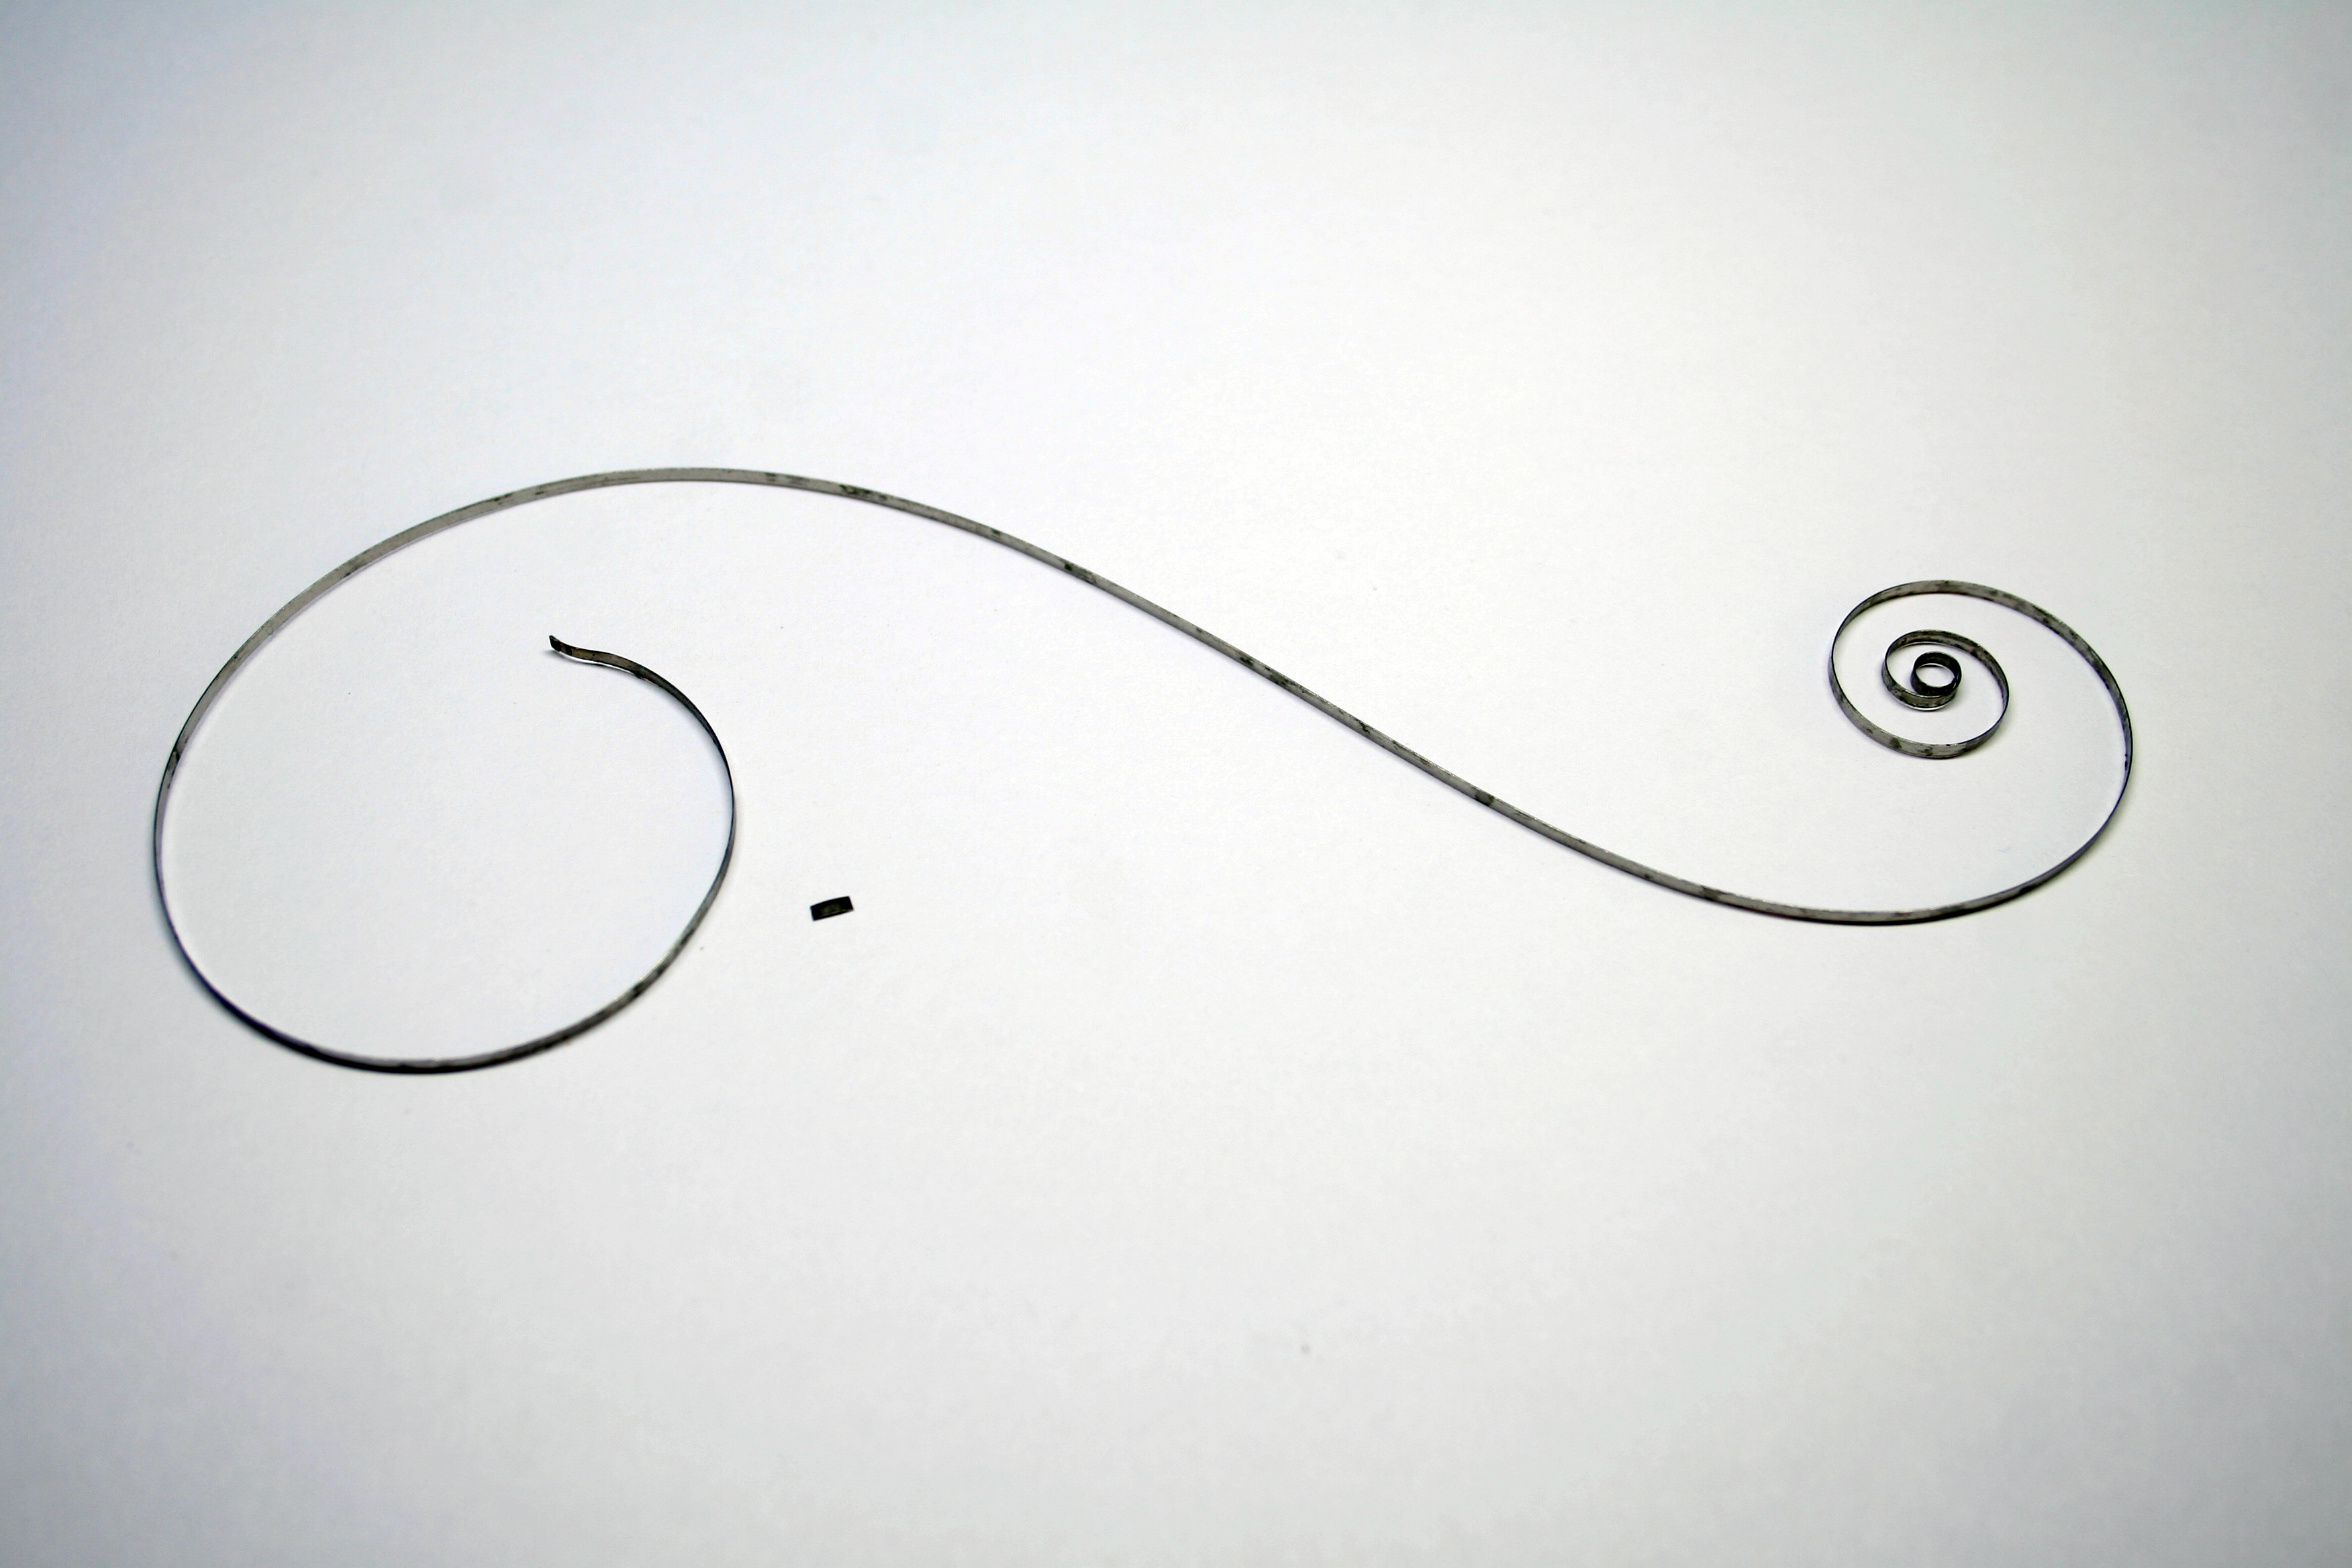
Close inspection revealed the Mainspring Barrel also had a damaged tooth which potentially could cause the movement to stop running.

Replacement barrels can be costly but before replacing it I cleaned up the tooth damage with a fine escapement file and polishing stone. I’ll reassemble the movement using the existing Mainspring Barrel and let it run several days to test the repair.

The movement was given a solid cleaning before beginning assembly with the replacement Mainspring in hand.


I cleaned the Balance Spring with One Dip solution and reattached the Balance Assembly to the Balance Cock. I always clean the Balance Assembly separate from the movement as I just don’t trust running it through the cleaning machine. I may be overly cautious but considering how expensive these assemblies can be, I try to keep the risk of loss to a minimum.

Once the jewels and bushings where lubricated I tested the movement on the timegrapher to confirm it was running properly.
Following the successful test I let the movement run for a few days to settle, then proceeded to assemble the chronograph works.
I installed the replacement Hammer Spring which arrived following an order from Cousins.
At this point things were looking pretty good so I moved onto the restoring the hands and finding a replacement case for the movement. You can read about this in Part Two (coming soon).

2 thoughts on “Navitimer 806 Restoration: Part One”