
Well, here we have another Francis Barker Mk III prismatic compass. I hadn’t intended to service another of these as parts are difficult to find and proper disposal of radium paint can be problematic, but with the holidays fast approaching I wanted something exceptional to gift my nephew and a prismatic compass fit the bill.
As you might recall from earlier posts, this past holiday season I restored a couple of Seiko 7002 diver watches for my father and brother. I also presented my brother-in-law with the fine railroad grade Accutron which was repaired earlier. My nephew is a an active individual who works in fire suppression for the state during the summer months. He already owns a Casio G-Shock so I needed to find something a little different for him.
Now, the compass in this post is not the compass he received. I purchased his compass in an unrestored state and then serviced it as I had my first one; however, there were two problems I couldn’t resolve before Christmas as they required fabricating parts.
The first problem was that his compass was missing the small knob which is used to secure the rotating bezel assembly in place. These knobs are impossible to find secondhand so a replacement would need to come off a donor compass or be custom fabricated. The second problem was that the crystal in the bezel assembly was shattered. A new crystal with degree markers printed on it would need to be found and fitted.
Since I didn’t have time to manufacture these parts, I nabbed a second compass off eBay and took what I needed to complete his. Thus I had one incomplete and unrestored Mk III compass left.
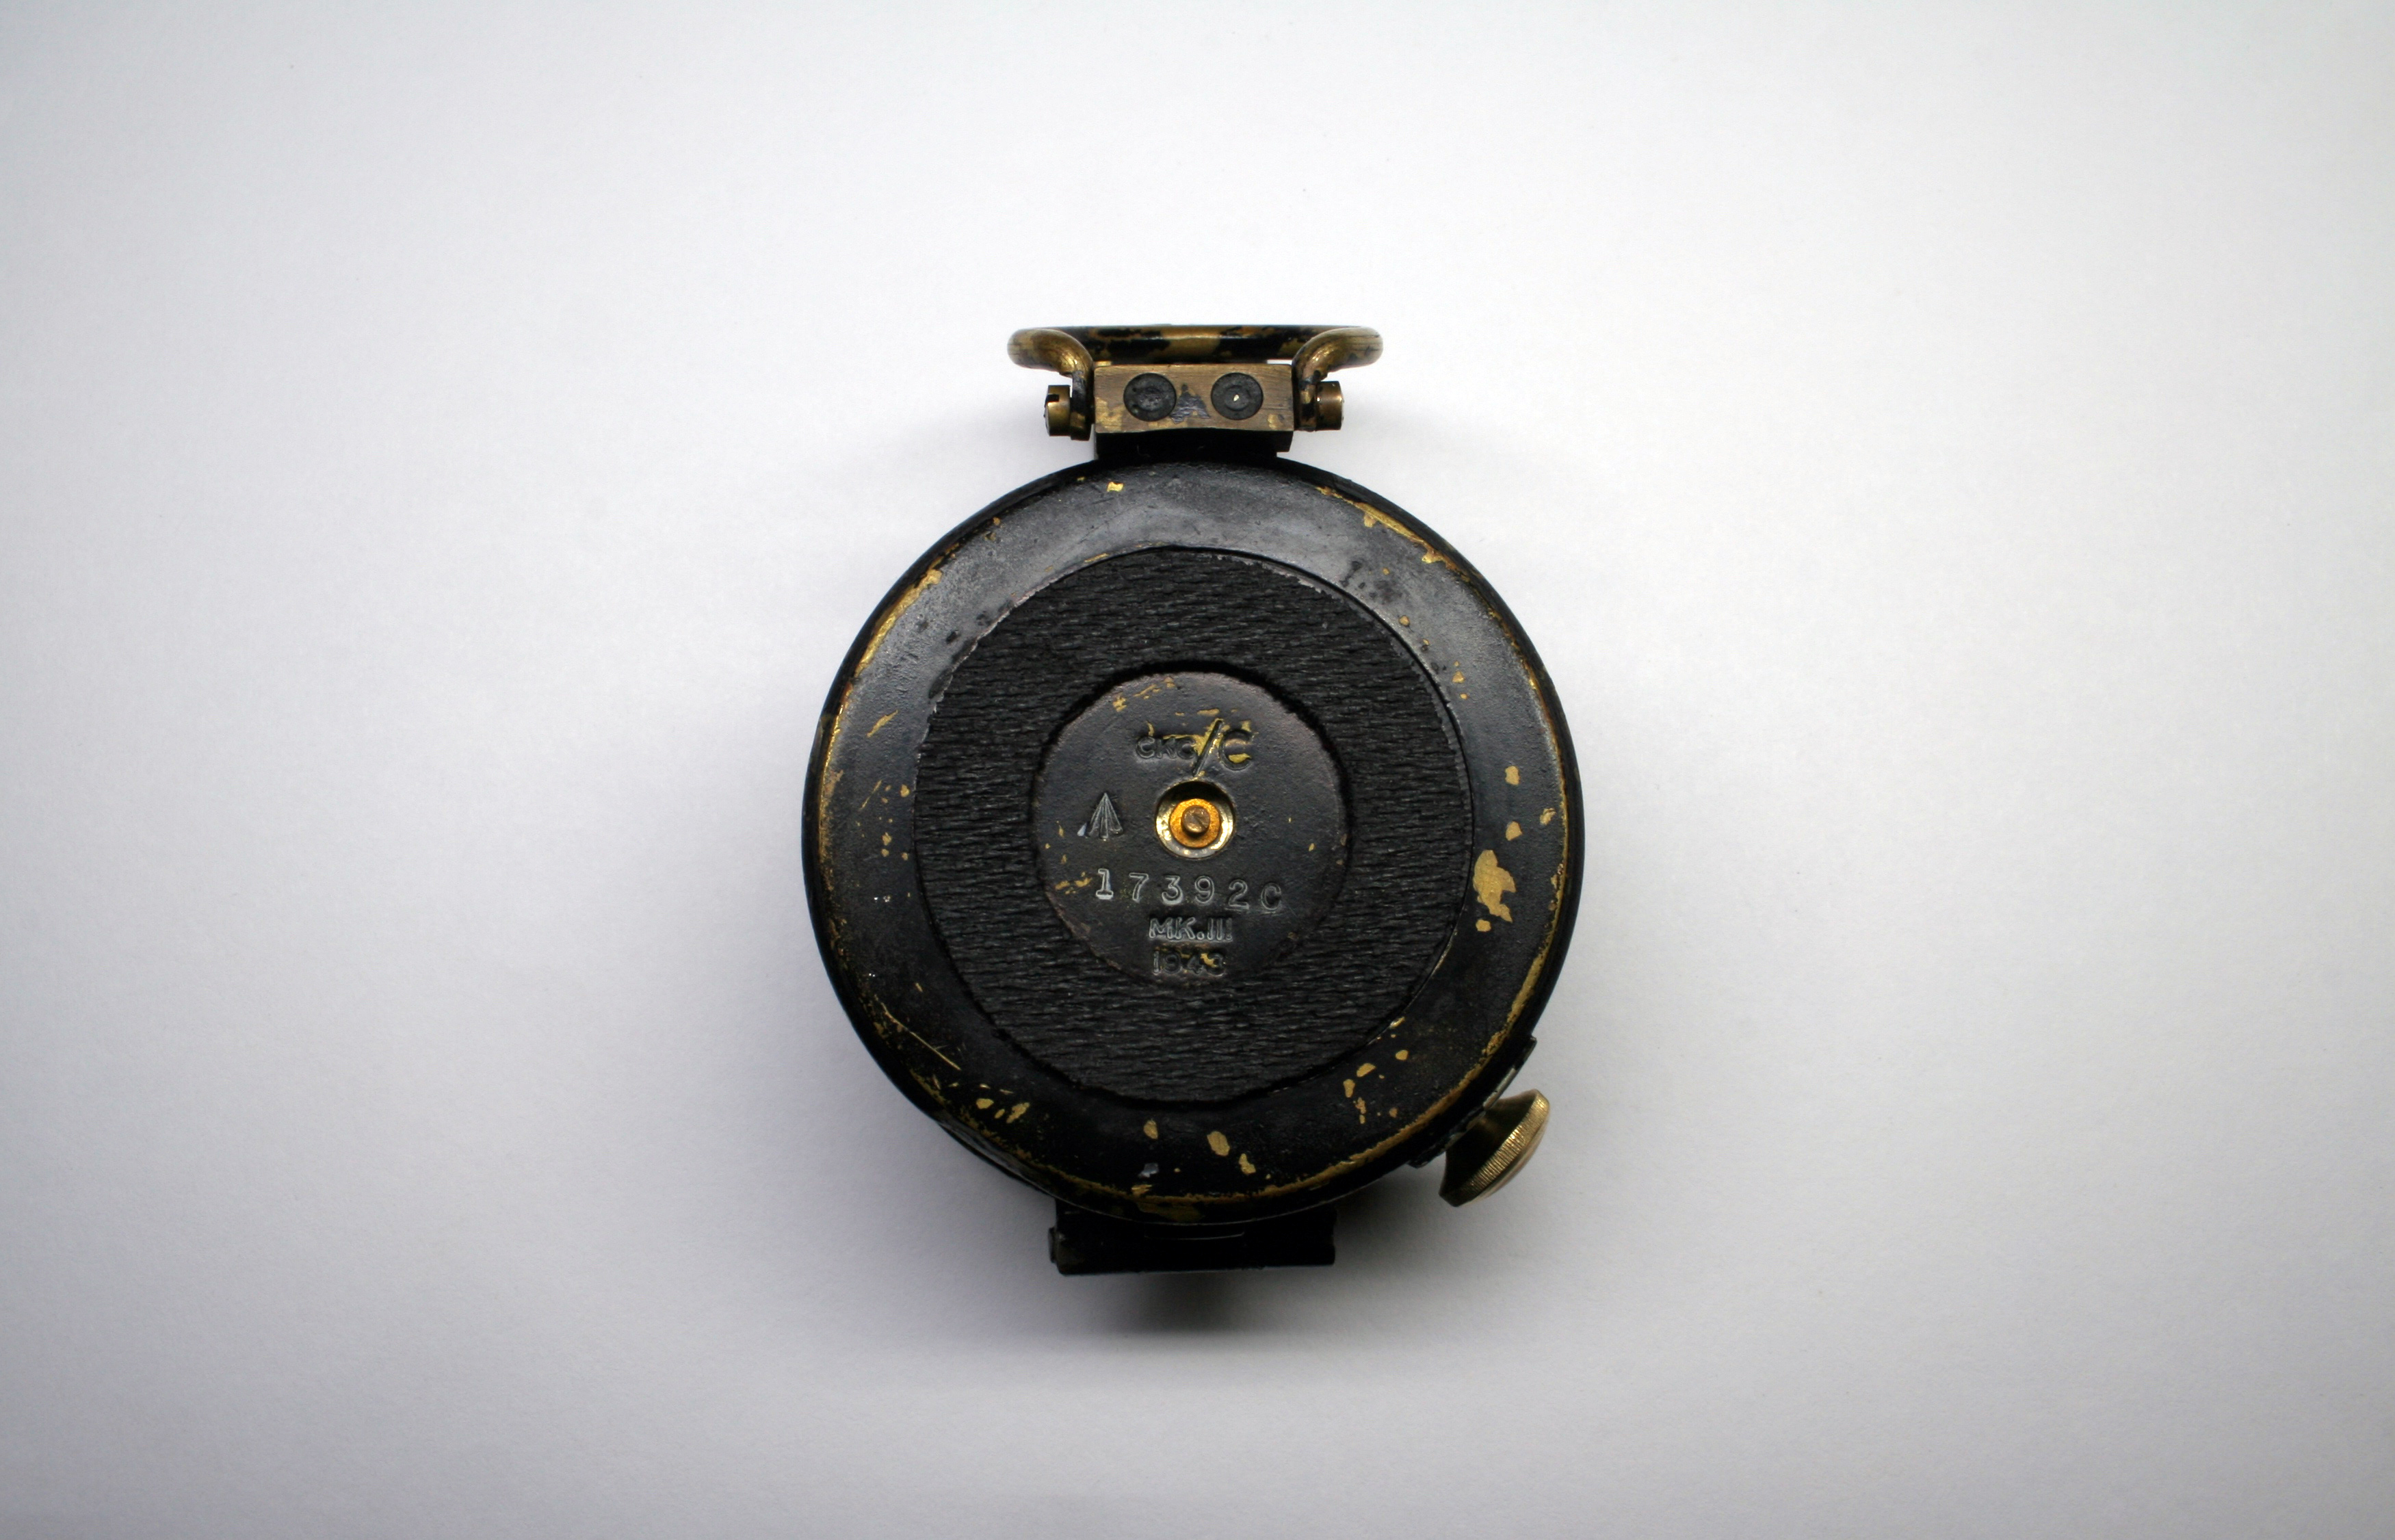
Like many others, this compass was produced by the Canadian Kodak Company for the Commonwealth during the second world war. I found it in the same condition most vintage Mk III compasses are in today- heavy exterior patina, murky dampening fluid on the inside, and at least one questionable service performed in the past.


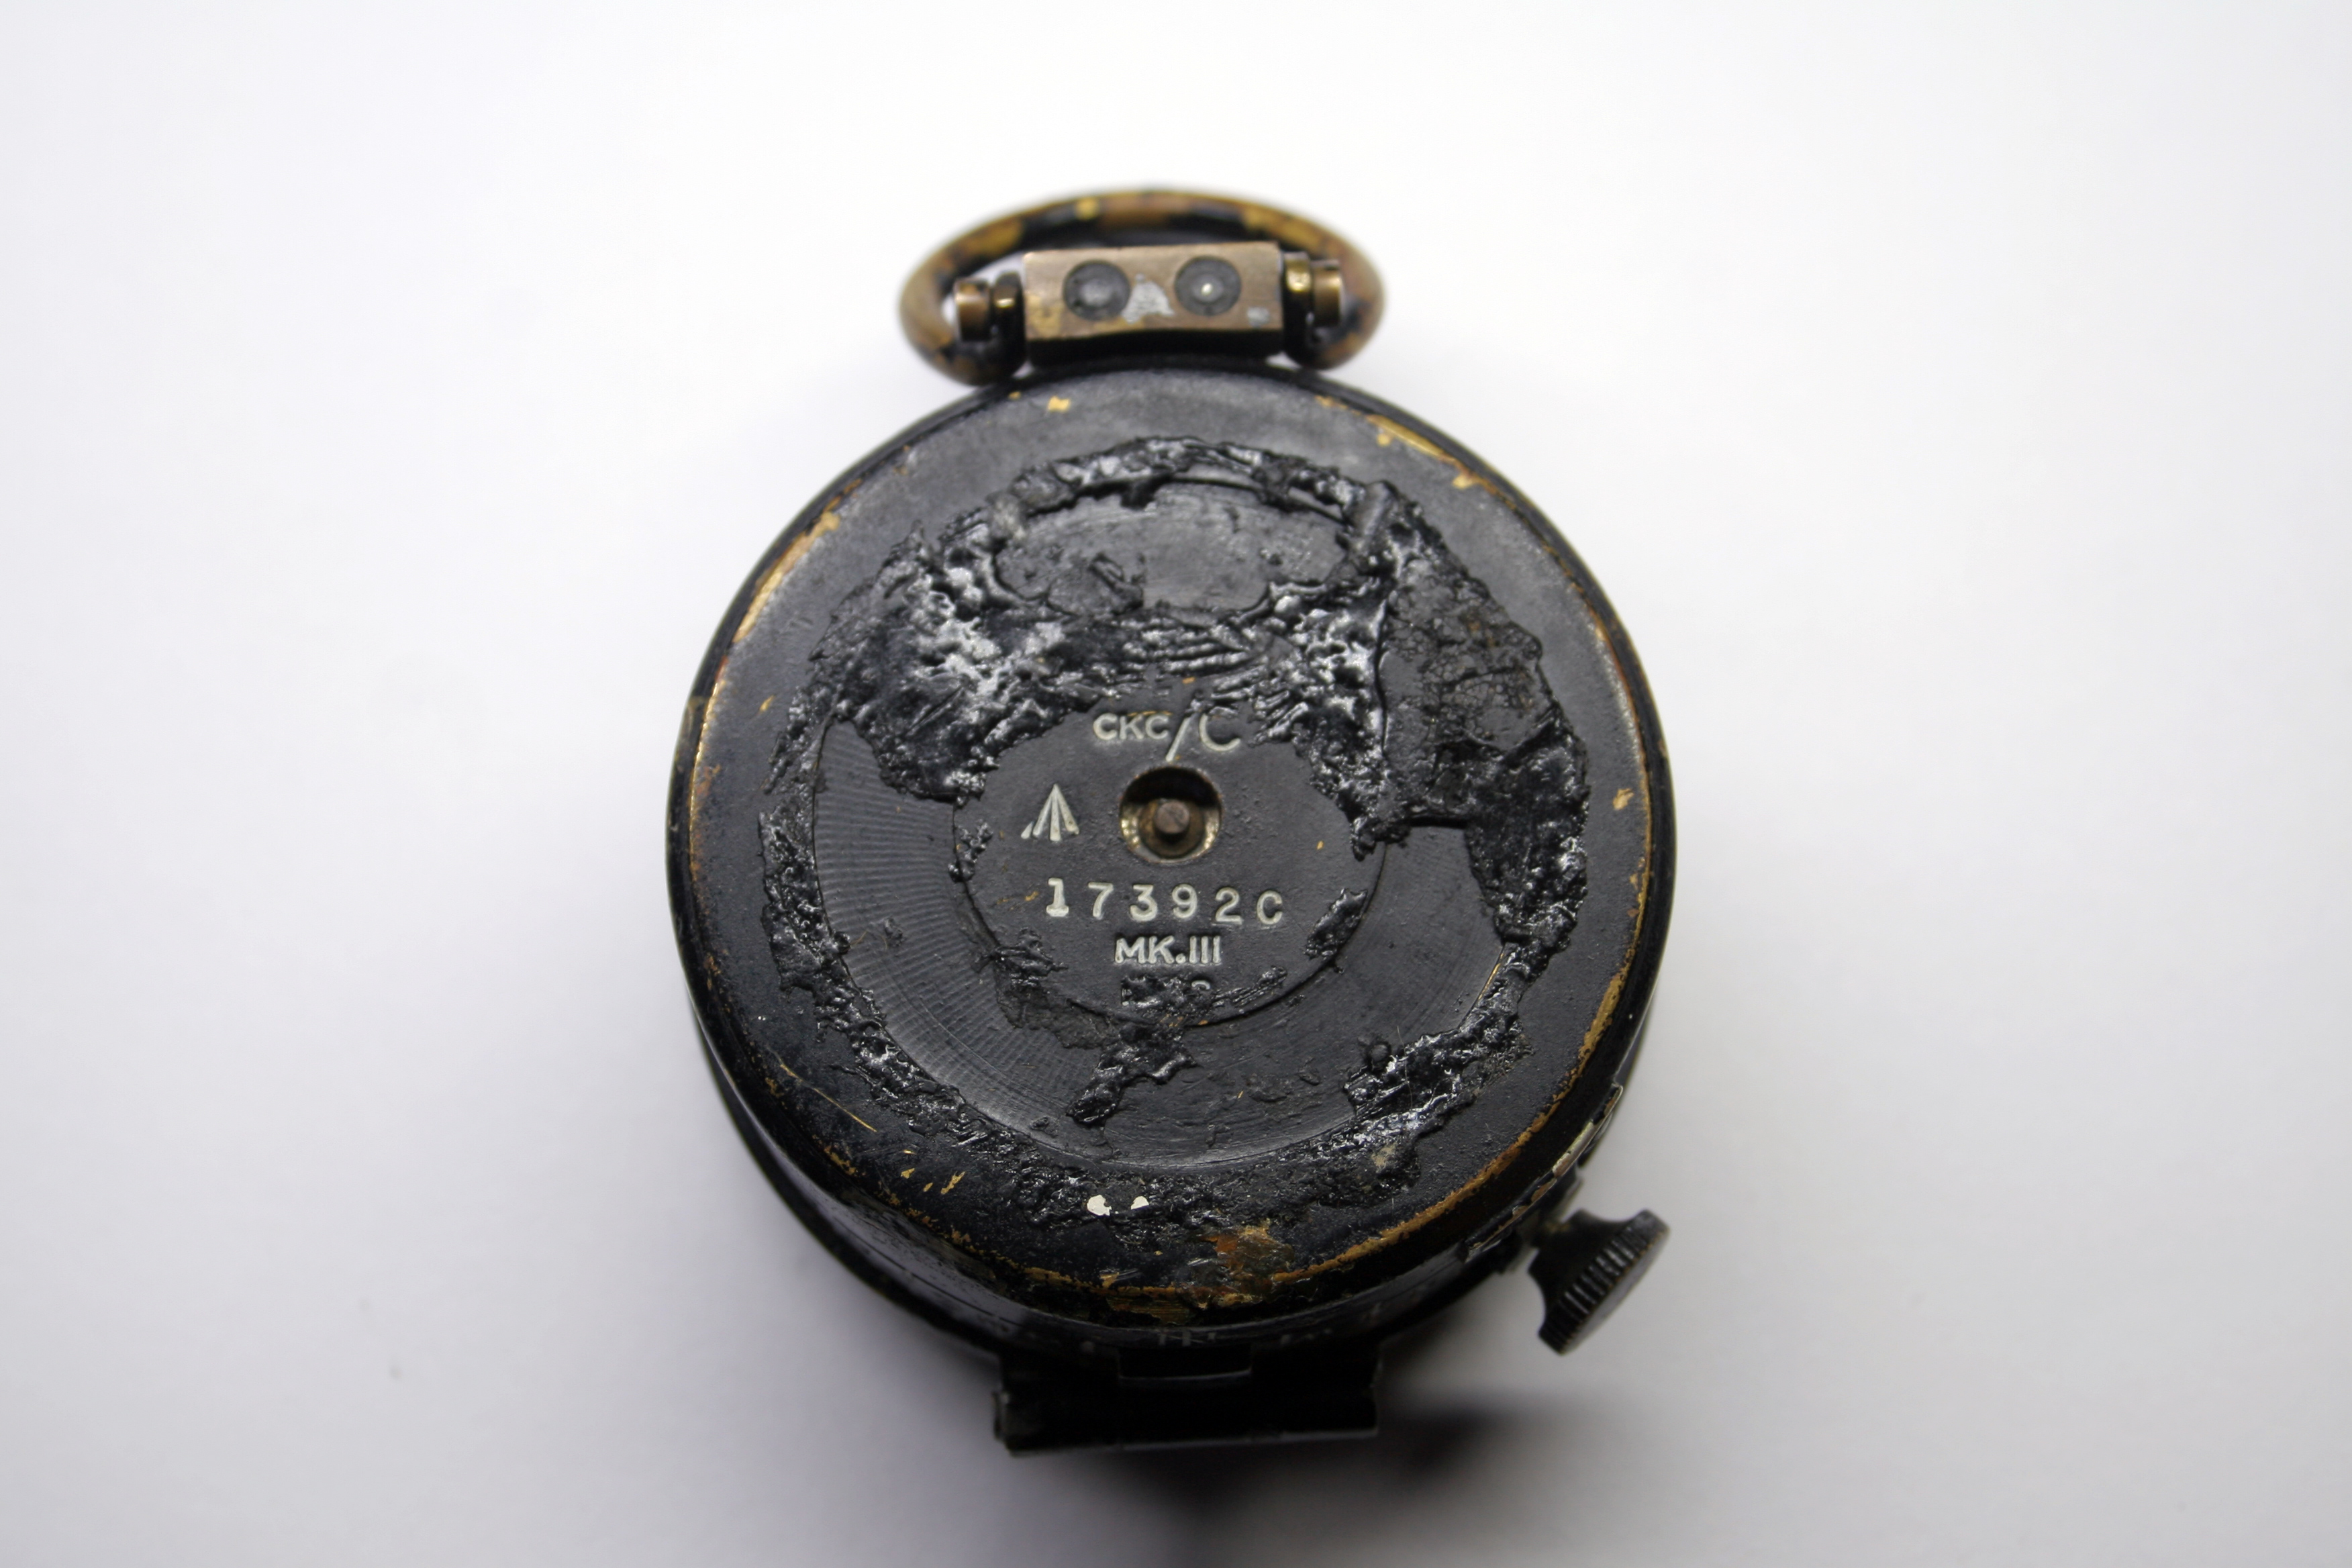
My first step in these repairs is to remove and capture the radium paint which was used to make the compass functional after dark. Radium paint residue can usually be found on the hinged lid, the top of the bowl, on the compass card, and in a small tray beneath the compass card inside the bowl. This paint residue is quite toxic so it’s best to deal with it immediately.
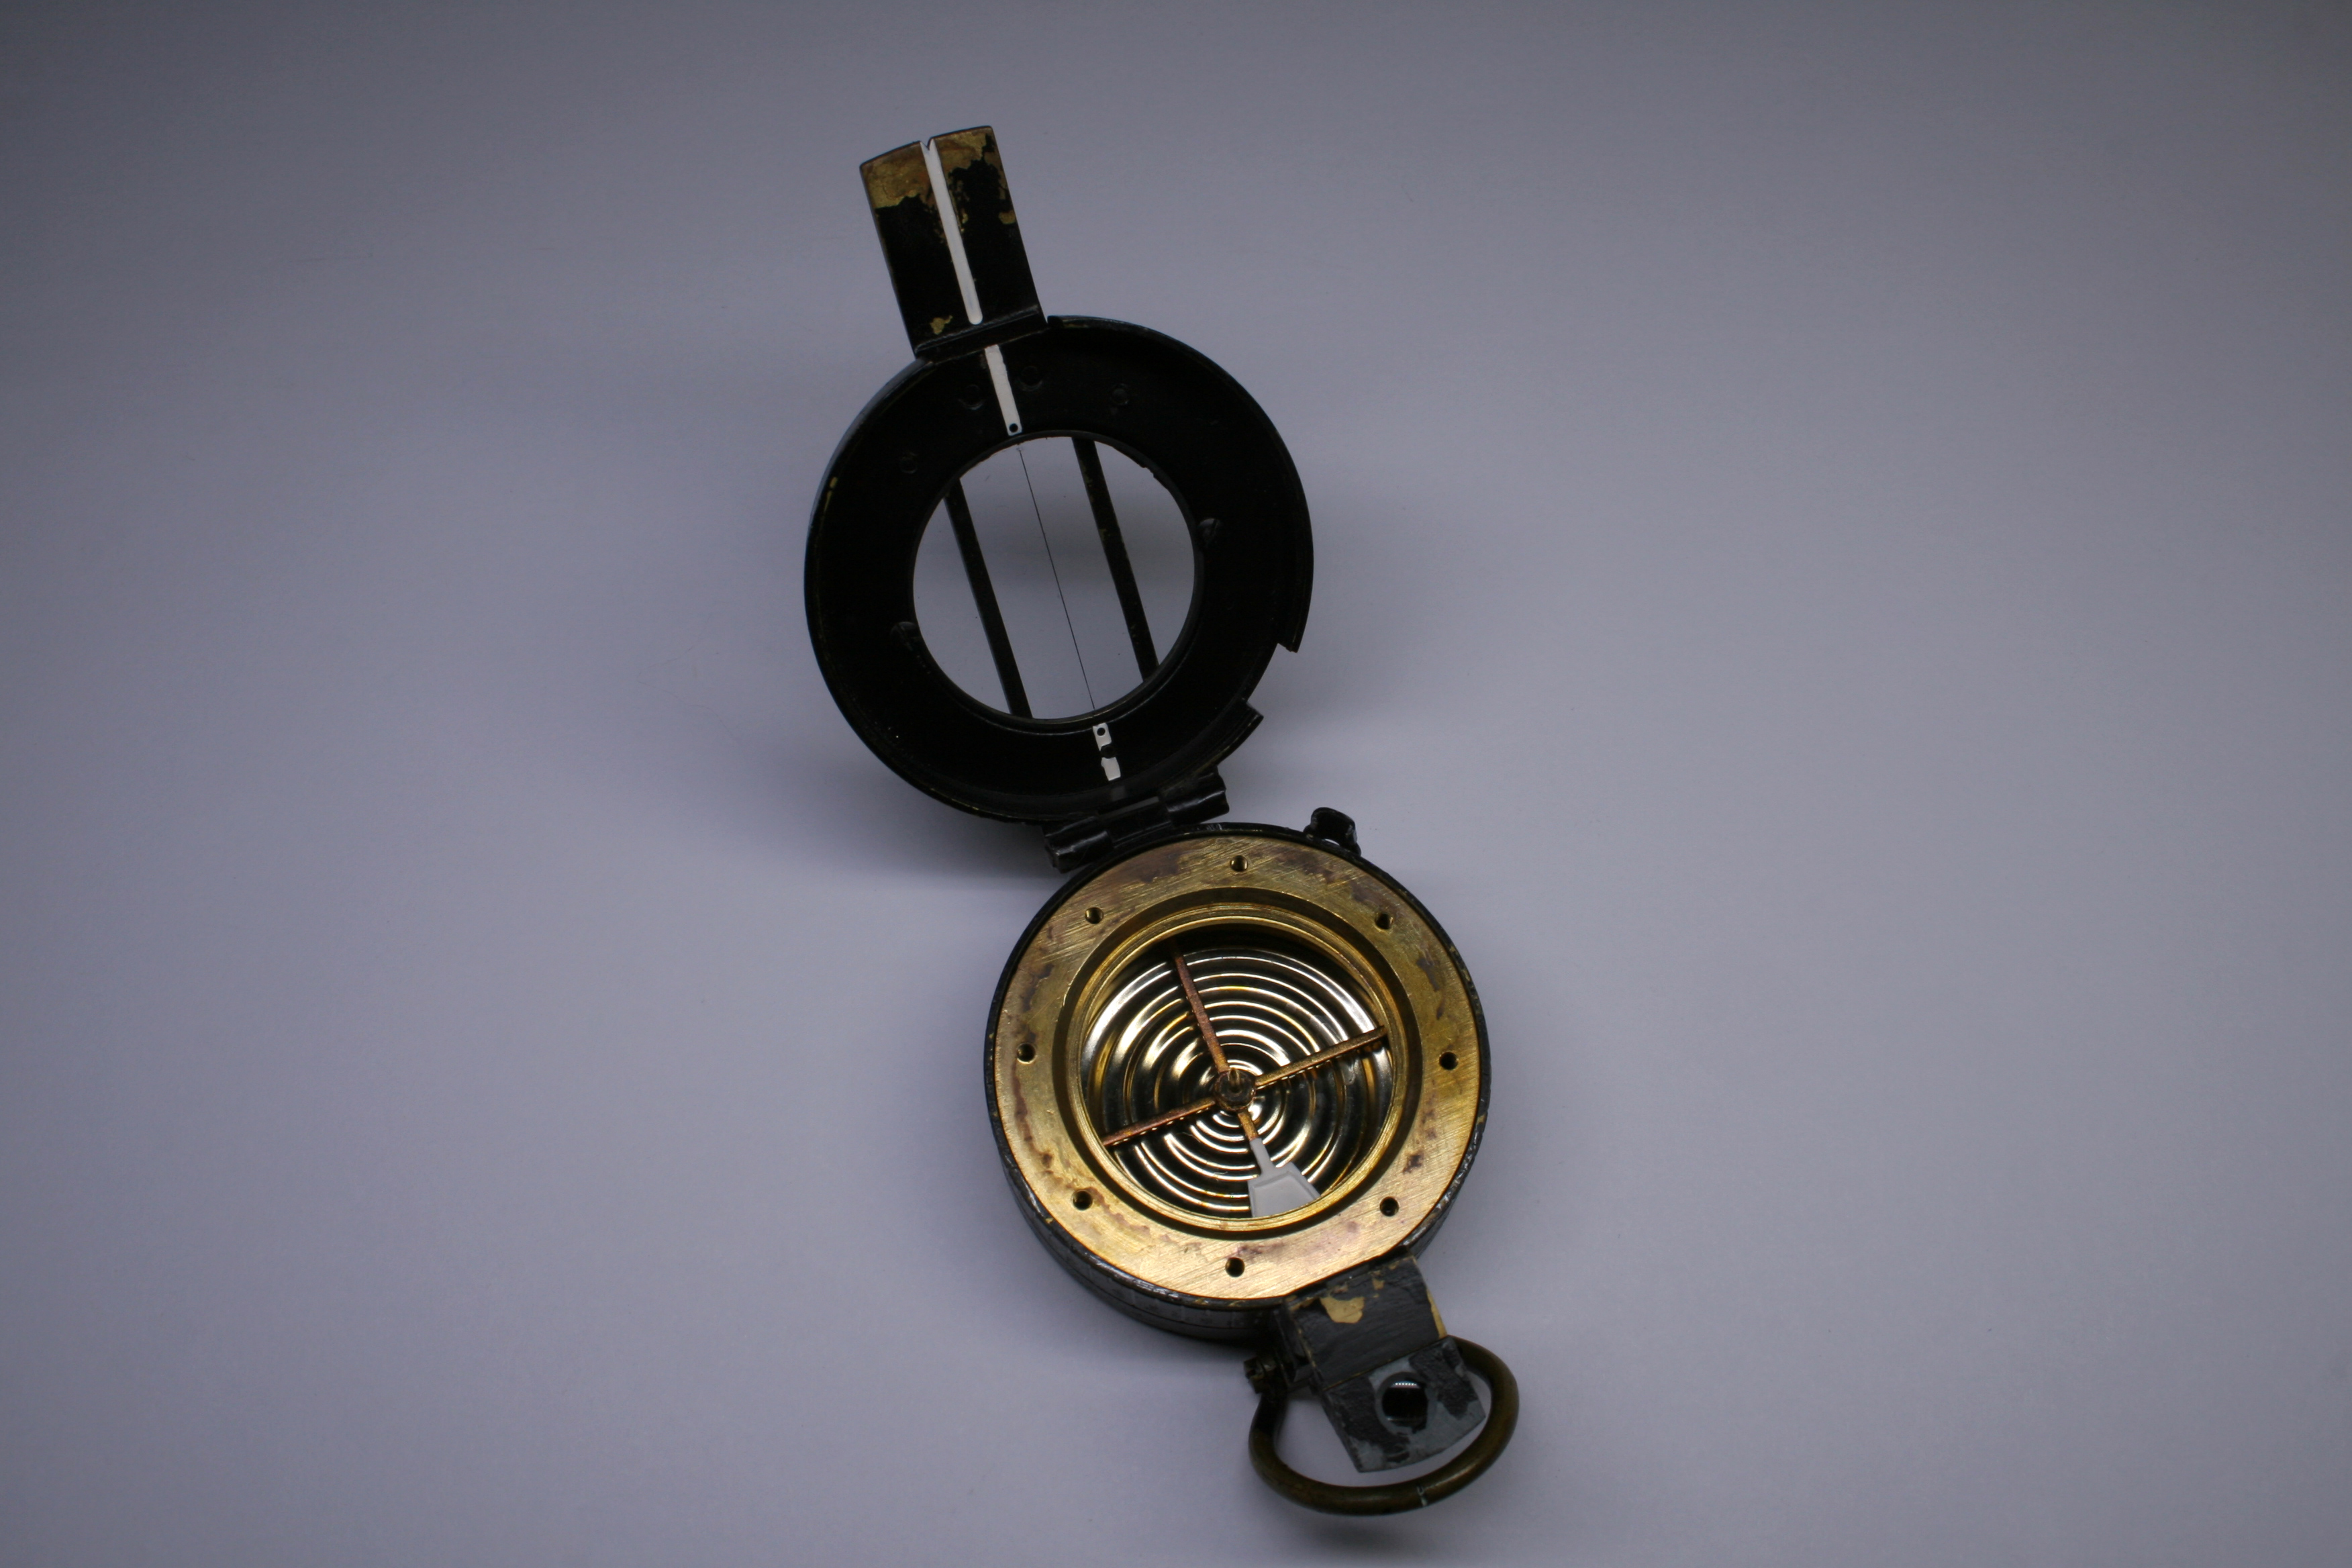
I started by removing the bowl from the brass compass housing.

The bowl was a mess as the dampening fluid had leaked out from beneath the crystal years before. The fluid mixed with the putty used back in the day as a sealing gasket and the resulting goo fused the bezel assembly to the bowl. A very long soak in acetone finally freed the two parts.
I cleared the remaining putty from the crystal with a razor blade and removed the luminous paint residue. All the parts (except the compass card) were then cleaned in the ultrasonic with a warm solution of diluted Simple Green.
The bowl and housing, which were now sparkling, got a new coat of white paint where the luminous compound used to be.
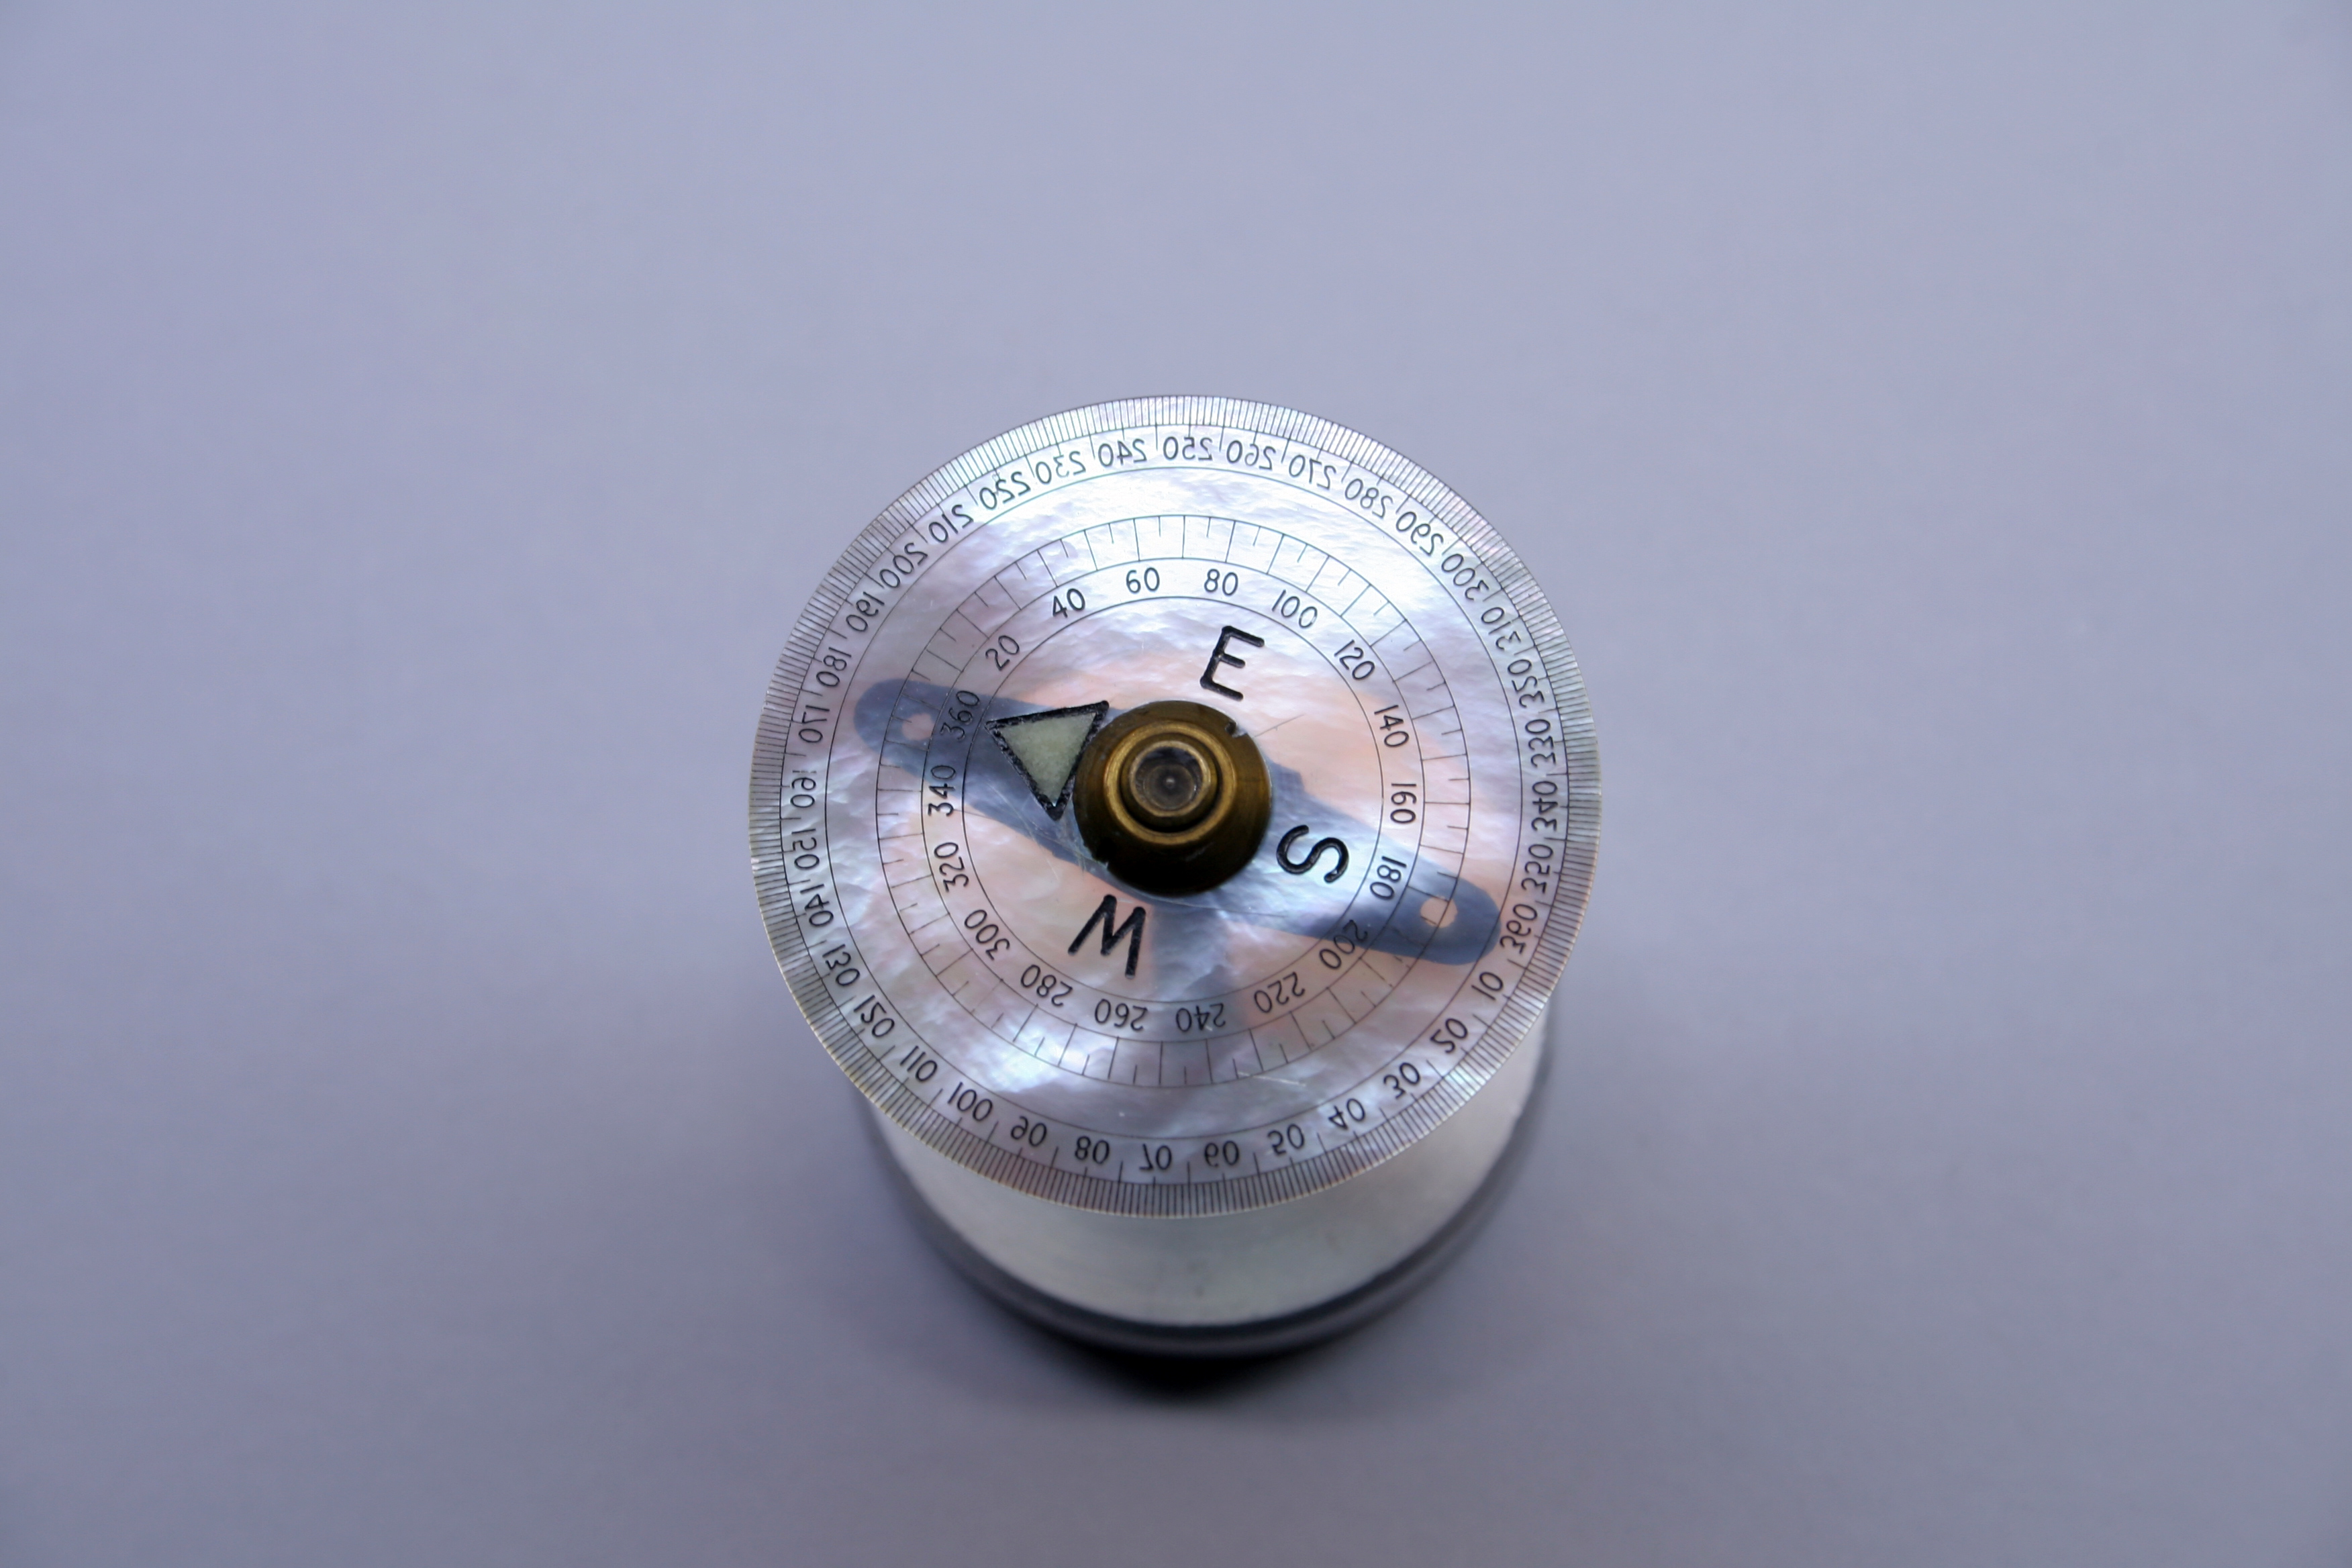
The compass card was then carefully cleaned in acetone removing the old varnish which had taken on an uneven smokey appearance. New, non-radioactive luminous compound was applied to the card along with a fresh coat of varnish.
To replace the knob which was given up for my nephew’s compass, I turned a replacement on the lathe using a 6mm rod of brass.

The knob was giving a 2.2mm thread and the compass housing tapped to accept the thread. A coin edge was added to the knob using a knurling tool.

I utilized the computer’s image scanner to create an template of the bezel assembly compass rose. A negative of this template was then printed on a transferring film via a laser printer. The film was applied with heat to a new 2.5mm thick 54.0mm diameter watch crystal- the result creating a mask on the crystal to which etching fluid was applied.
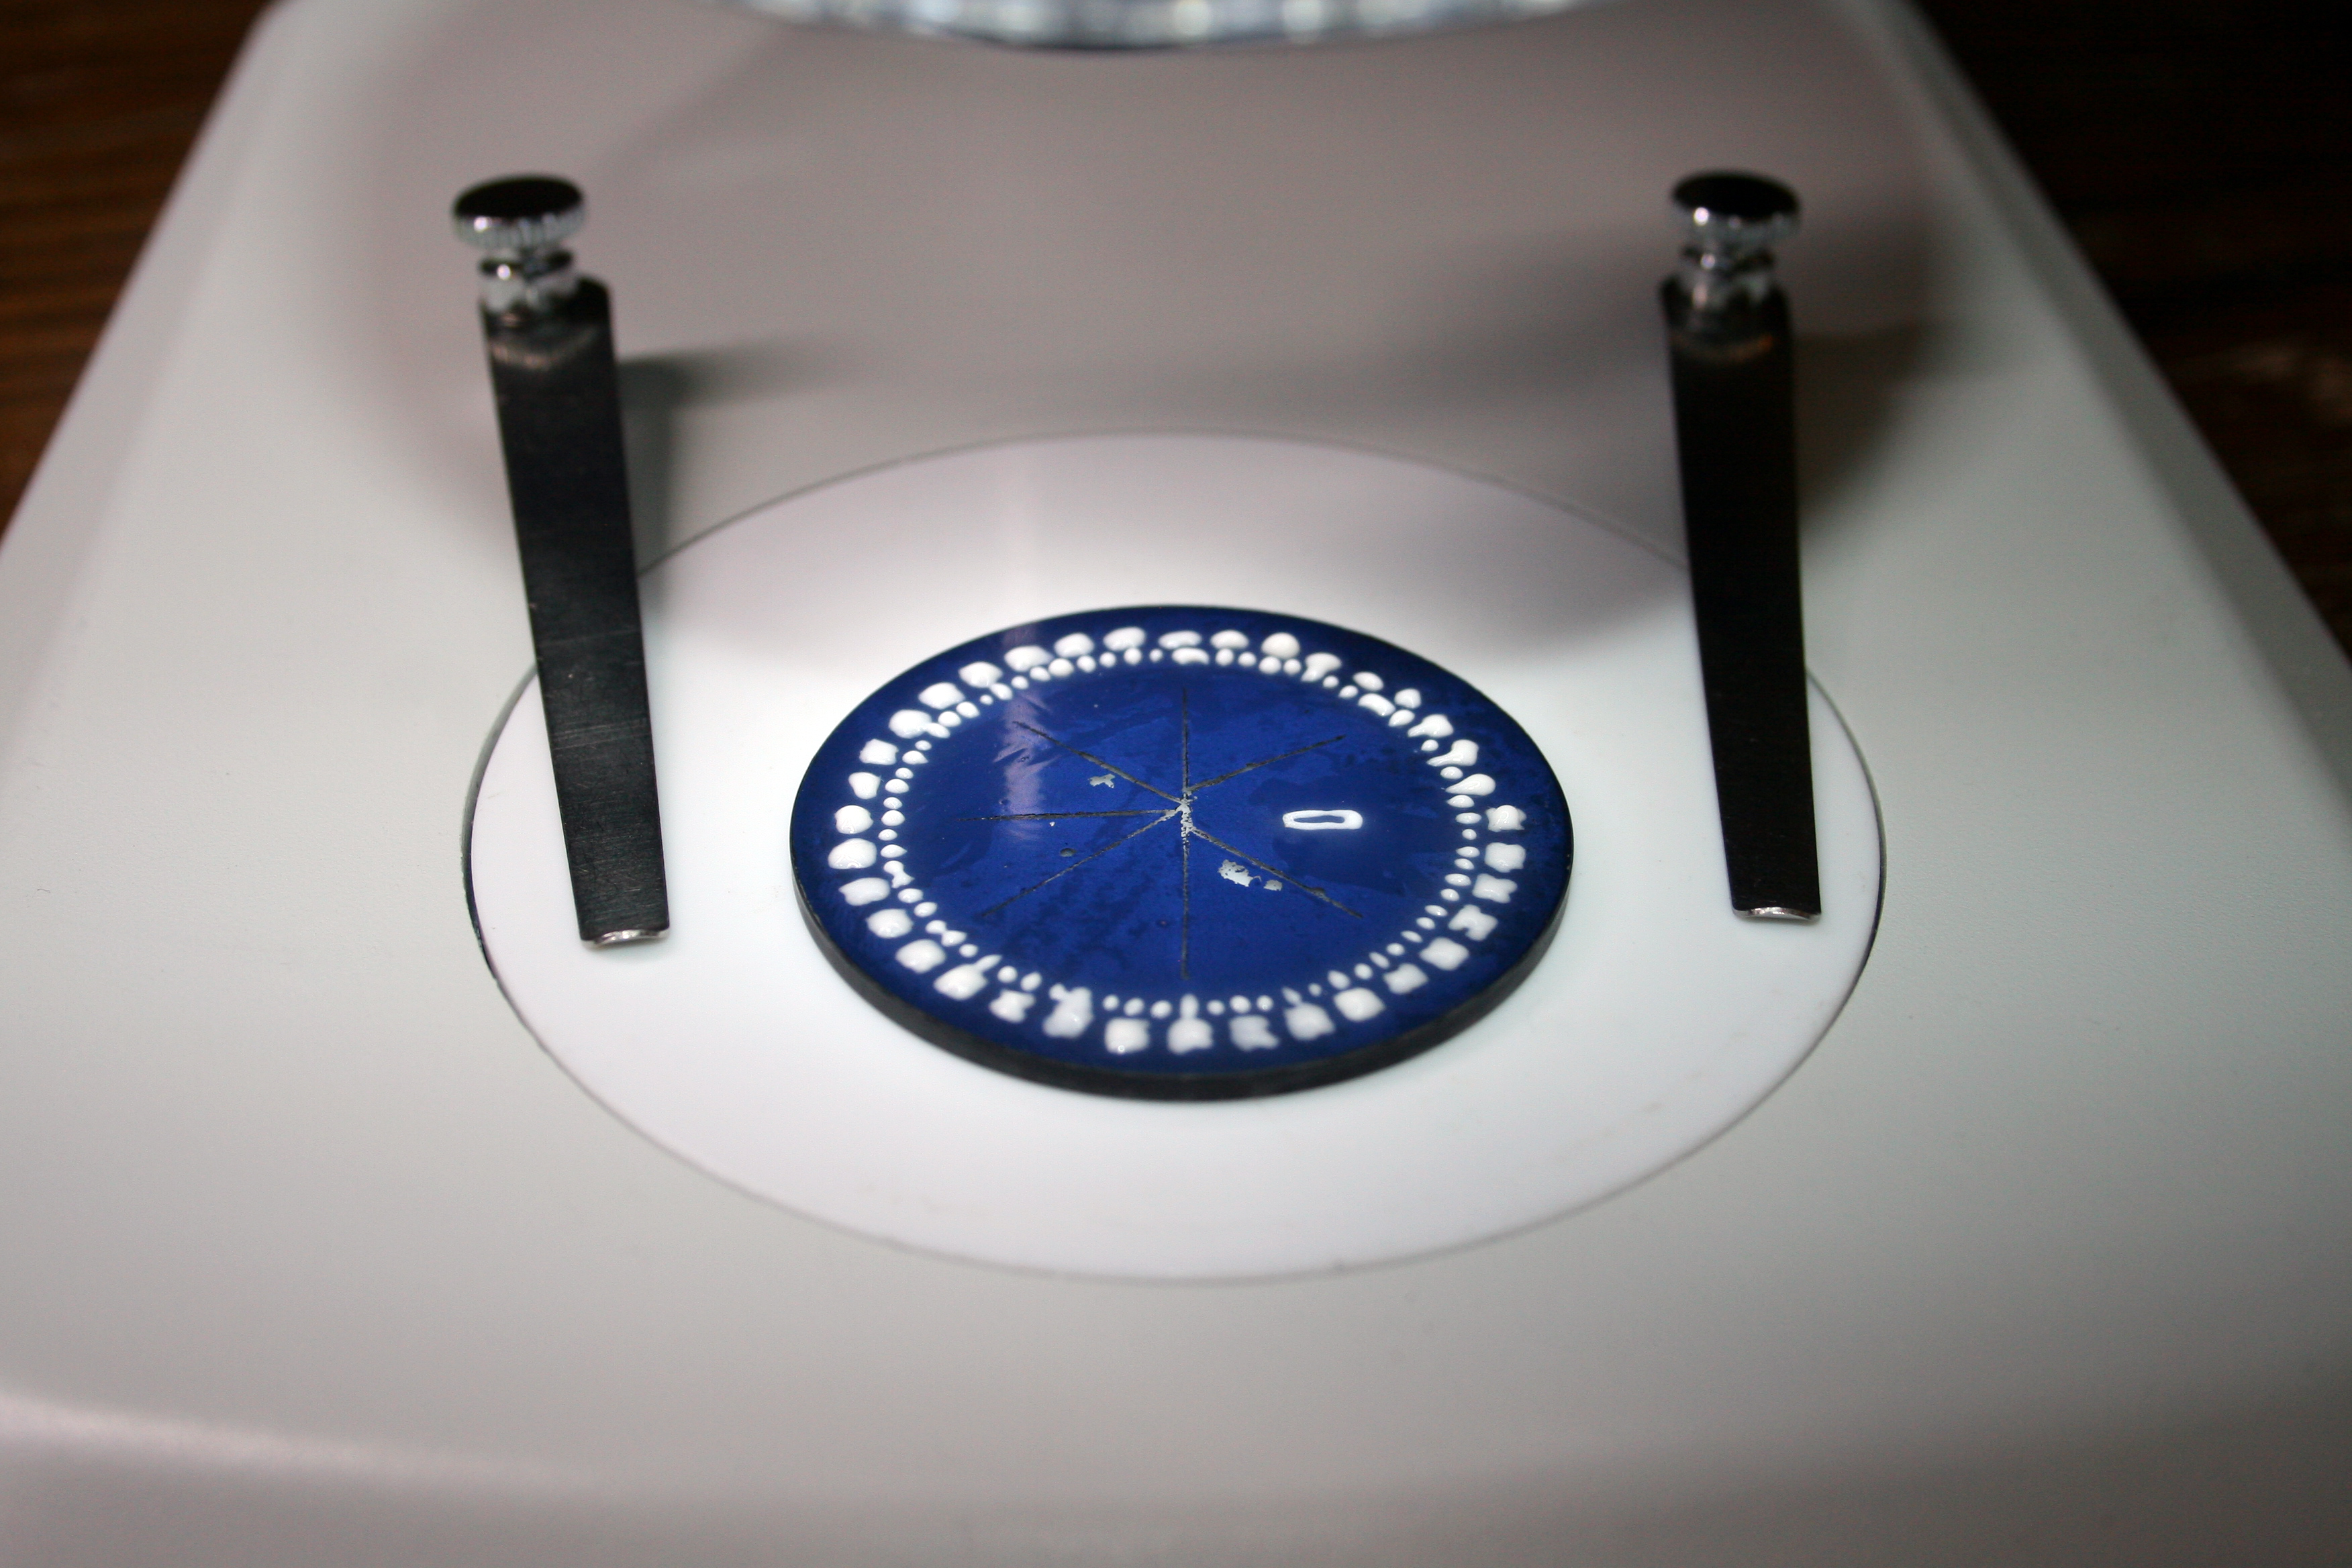

Black enamel was applied to the etched crystal to fill in the degree markers. The new crystal was pushed into the bezel ring which formerly held the shattered crystal.
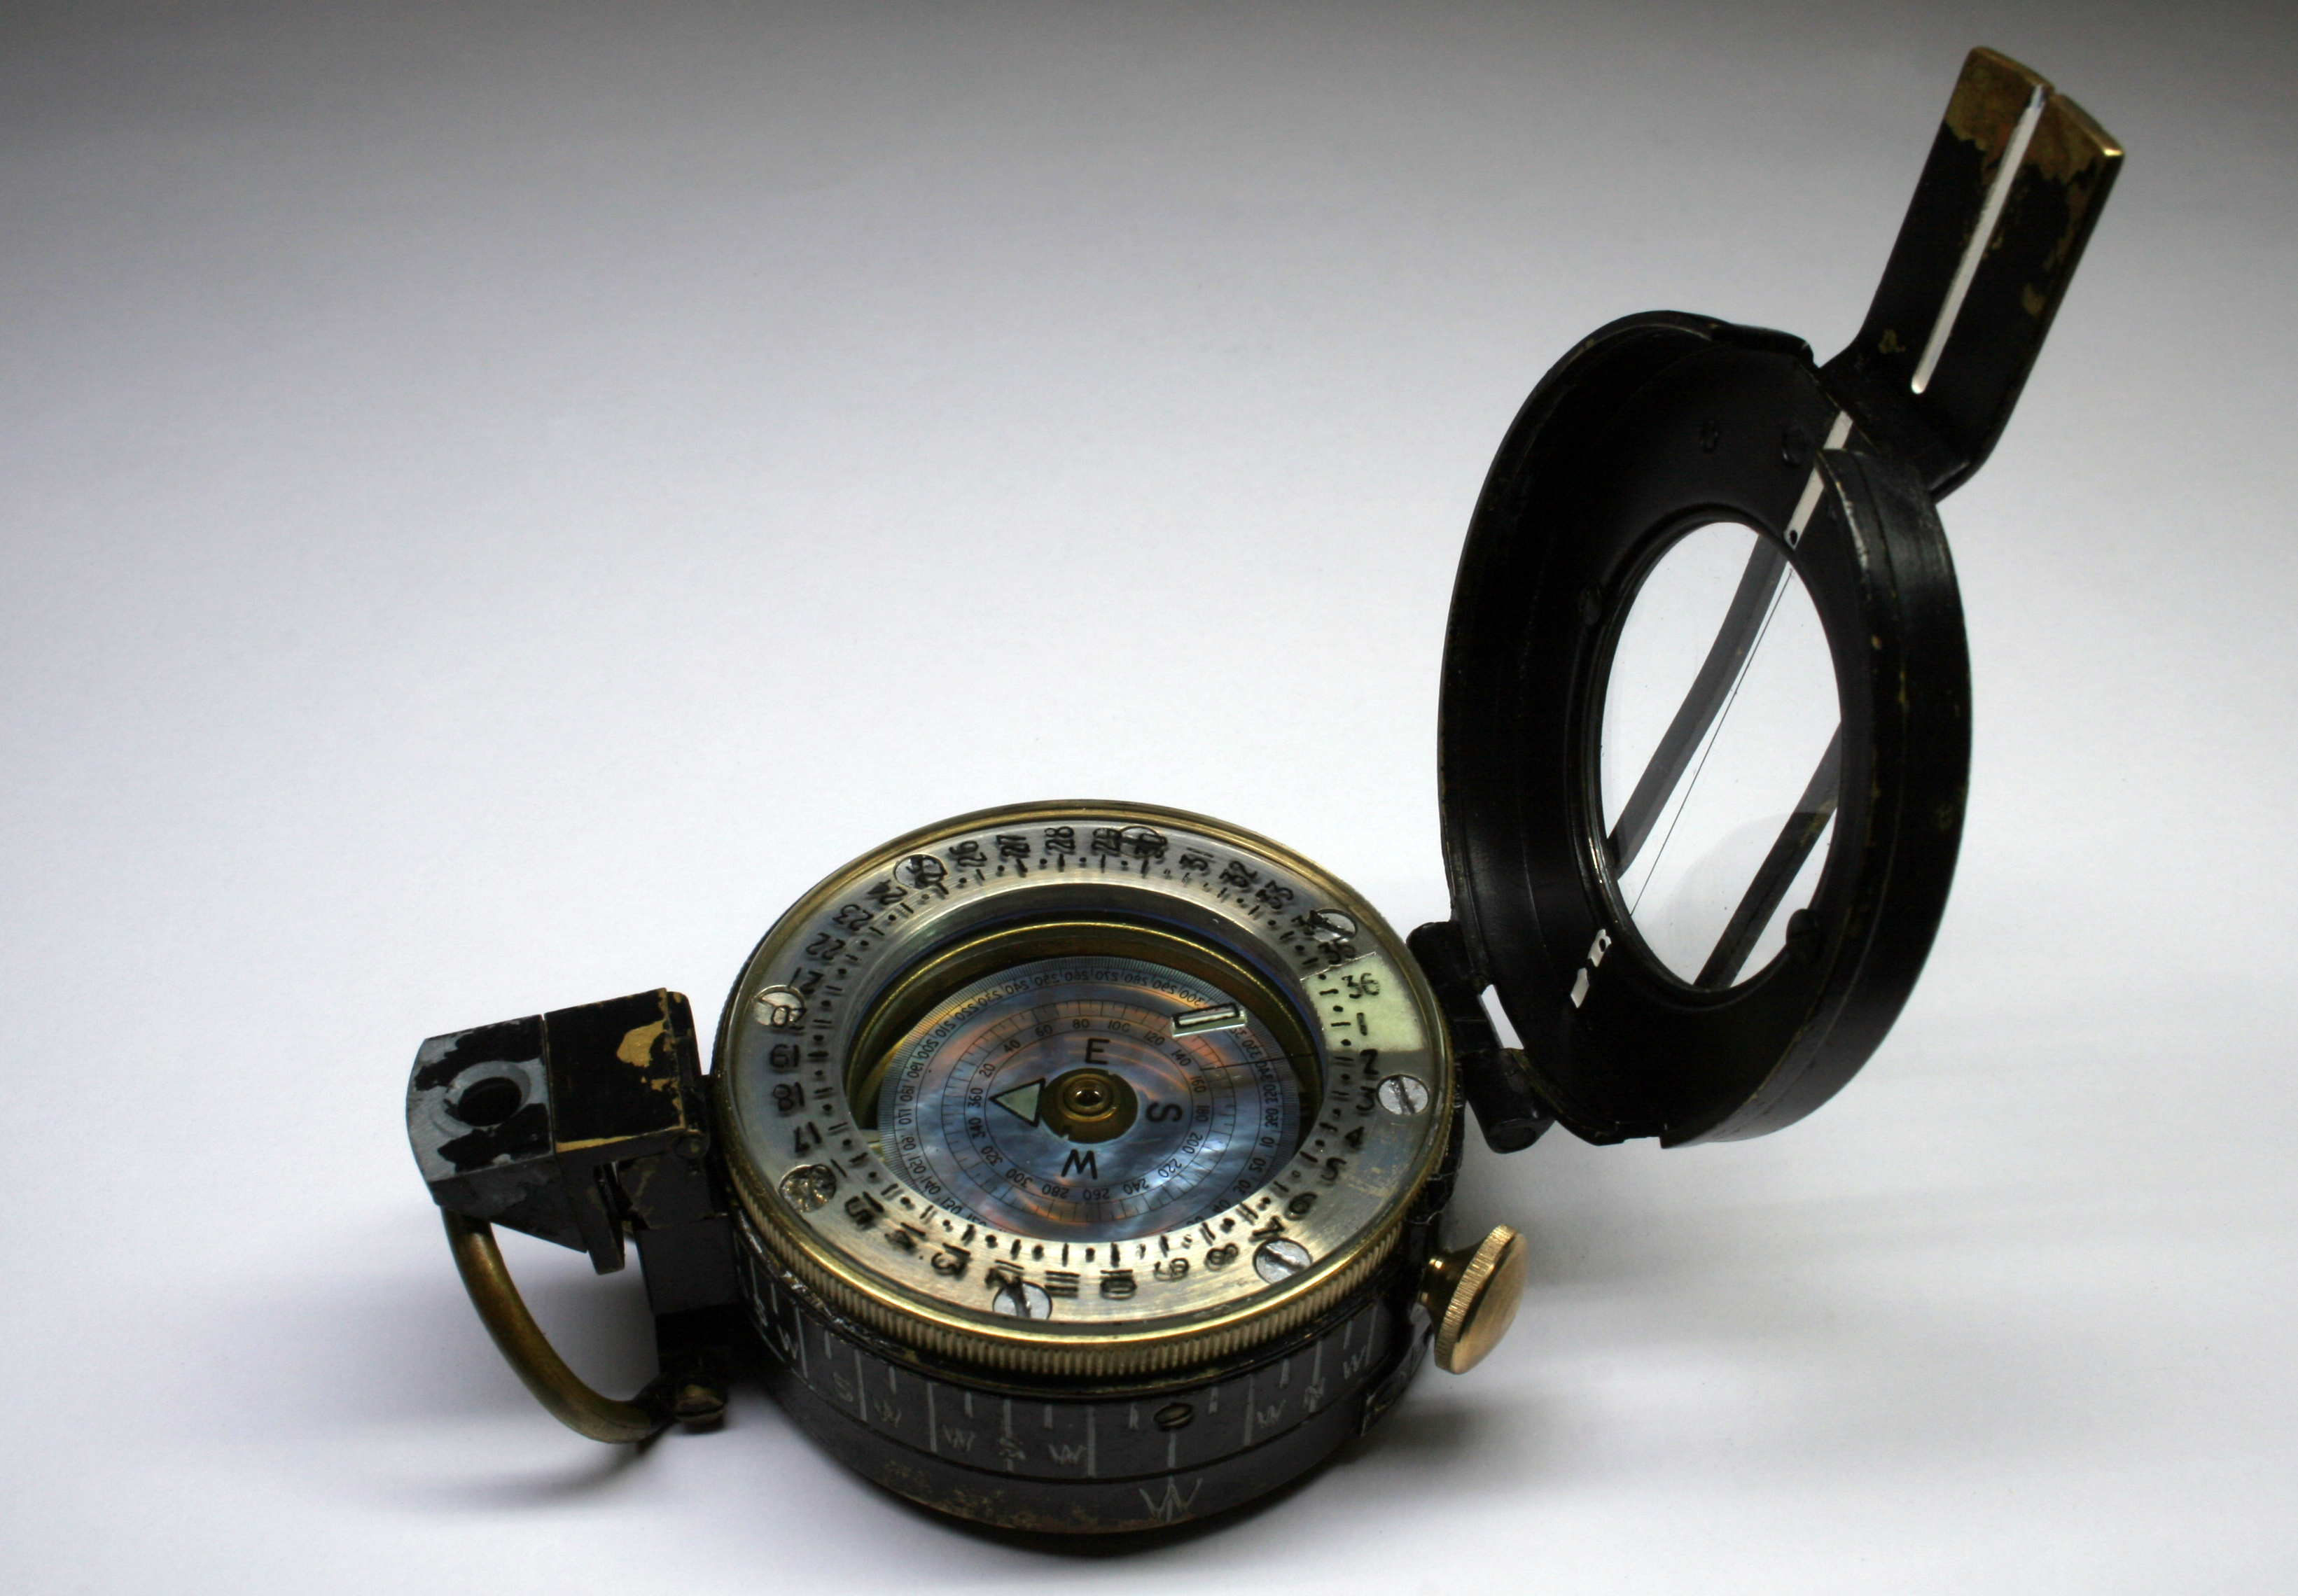
Now it was time to put it all together. Just as I had with the first compass restoration, I replaced the radium paint on the lid of the compass bowl with non-radioactive luminous paint. Beneath the compass card I installed four tritium tubes which would illuminate the card at night. A single tritium tube was added to the crystal in the rotating bezel assembly. A flourosilicone o-ring was installed in lieu of putty and the bowl refilled with dampening fluid. A new anti-skid pad was cut for the underside of the compass after chipping off the remains of the old rubber one.
I opted for a more sympathetic restoration this time and did not repaint the compass housing. I actually prefer the rough look of the original paint. I also felt the replacement knob shouldn’t be painted- it will darken a bit over time and match the rest of the exposed brass.
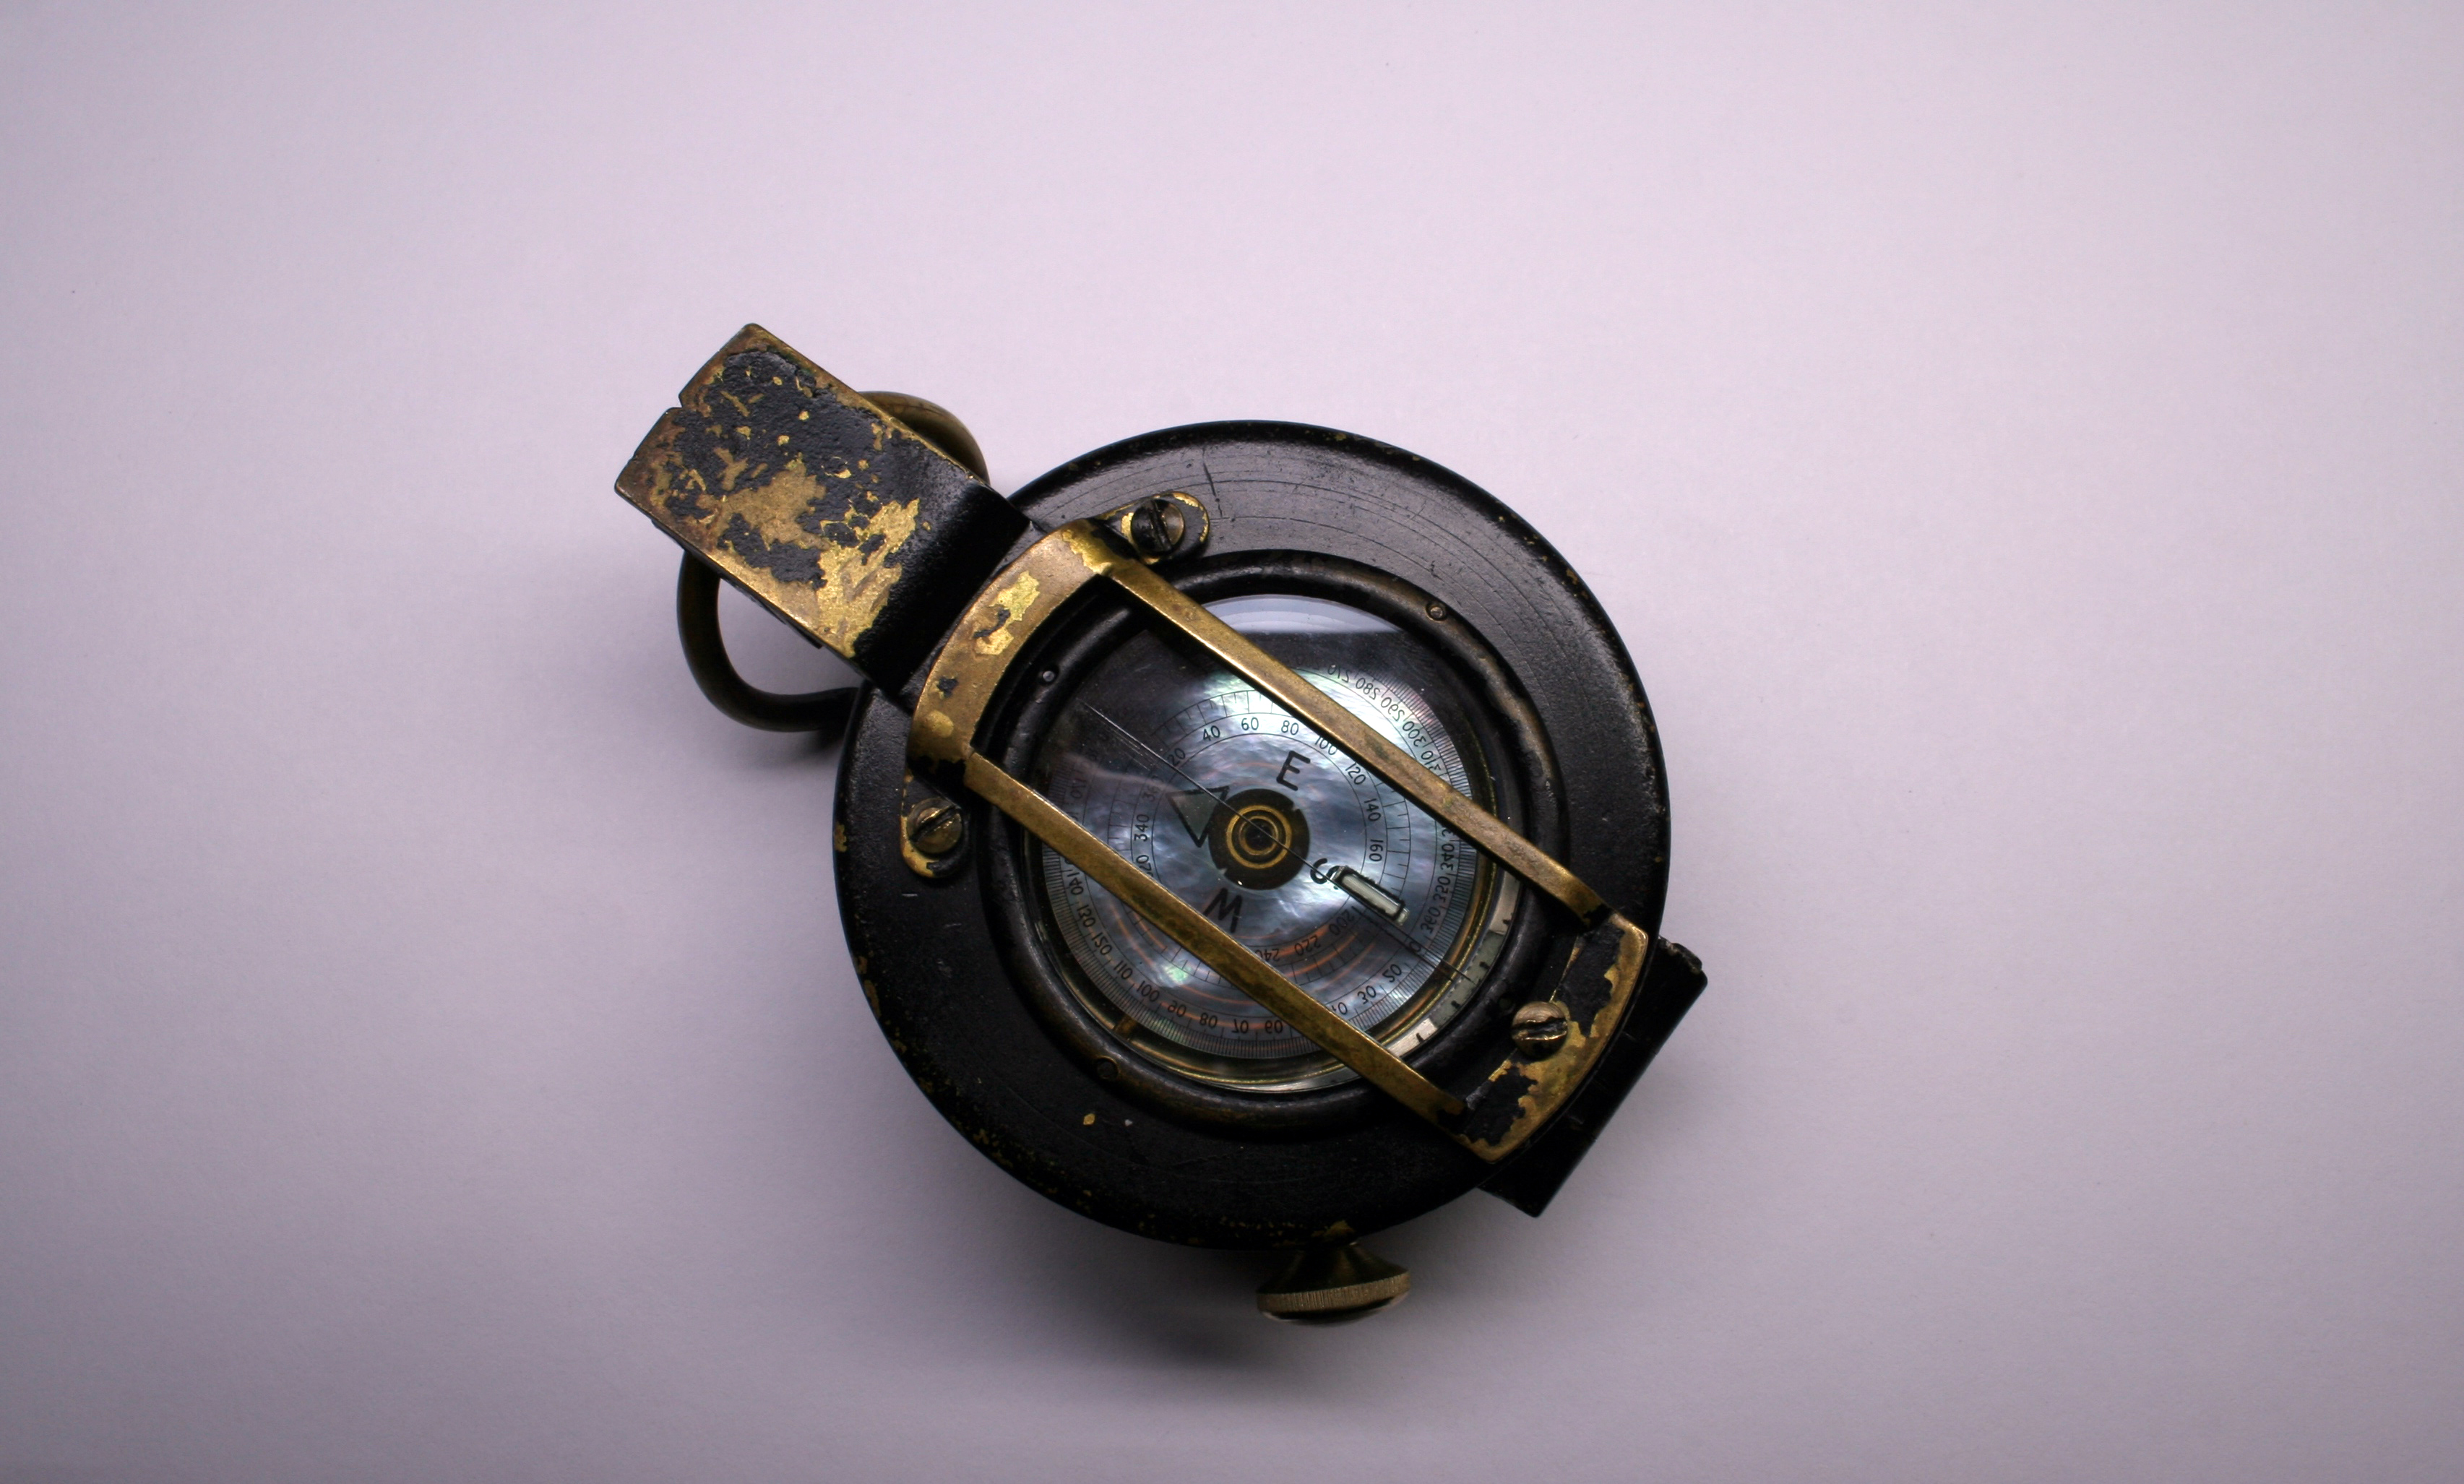
The compass was taken out for a bit of field testing. The new knob properly secures the rotating bezel assembly and the lid still snaps shut nice and tight. With the crystals and prism cleaned and new clear dampening fluid inside, readings are a cinch.


Lovely nails, Ryan. 🙂
for many years I had a British Mk3 that my uncle brought back from his posting in Germany after WW2. I was sorely tempted to clean it up myself, but fears about working with radium with children in the house put paid to that. Eventually I passed it on to the uncle’s grandson with appropriate warnings about the radium. Great to see this one restored and ready to use again.
LikeLike
I agree about the radium risk. With two young ones at home I have to be very careful how I handle it. I’m fairly certain this will the the last Mk III that crosses my bench.
LikeLike
I was given a compass very similar to this by my father. I did not know the risks of radium with these until now. I had it in my work van for a few months and I am now worried about the exposure. The level was high when measure with a gieger counter, over 640 CPM. How do we get exposed to the radium?
LikeLike
great blog post, i appreciate its years later but i wonder – i have a stanley G150 (essentially the same but more modern) and want to remove the old tritium vial from the compass card – its the same mother of pearl as the MkIII – i note you used acetone to clean, did it do anything to the lettering etc or the card itself?
I dont know what to use to dissolve the glue holding the tritium vial and didnt want to jsut randomly experiment!
thanksEd
LikeLike